Home>Production & Technology>Audio Interface>How To Connect Guitar Amp To Audio Interface
Audio Interface
How To Connect Guitar Amp To Audio Interface
Modified: February 17, 2024
Learn how to easily connect your guitar amp to an audio interface for seamless recording and high-quality sound. Enhance your music production with our step-by-step guide!
(Many of the links in this article redirect to a specific reviewed product. Your purchase of these products through affiliate links helps to generate commission for AudioLover.com, at no extra cost. Learn more)
Table of Contents
Introduction
Welcome to our guide on how to connect a guitar amp to an audio interface! If you’re a guitarist or a musician looking to record your guitar playing, then understanding the process of connecting your guitar amp to an audio interface is essential. The audio interface acts as the bridge between your guitar amp and your computer, allowing you to capture high-quality audio recordings.
Whether you’re a beginner or an experienced guitarist, this guide will give you step-by-step instructions on how to properly connect your guitar amp to an audio interface. We’ll also provide some useful tips and troubleshooting advice to help you overcome any hurdles that may arise along the way. So, let’s dive in!
But before we get into the specifics, it’s important to understand the importance of choosing the right audio interface for your needs. The audio interface you choose will have a significant impact on the quality of your recordings, so it’s worth investing some time in finding the perfect match.
In the next section, we will discuss the factors to consider when choosing an audio interface and provide some recommendations based on your recording requirements and budget.
Choosing the Right Audio Interface
When it comes to selecting the right audio interface for connecting your guitar amp, there are a few key factors to consider. These factors include your recording needs, budget, and the features offered by the audio interface. Let’s take a closer look at each of these factors:
- Recording Needs: Determine the number of input and output channels you require. If you’re primarily recording guitar and vocals, a 2-channel interface will suffice. However, if you plan on recording multiple instruments simultaneously or want to expand your setup in the future, opt for an interface with more channels.
- Audio Quality: Look for an audio interface with high-resolution audio capabilities, preferably with a bit depth of 24 and a sample rate of at least 48kHz. This will ensure that your recordings capture the full range and clarity of your guitar amp.
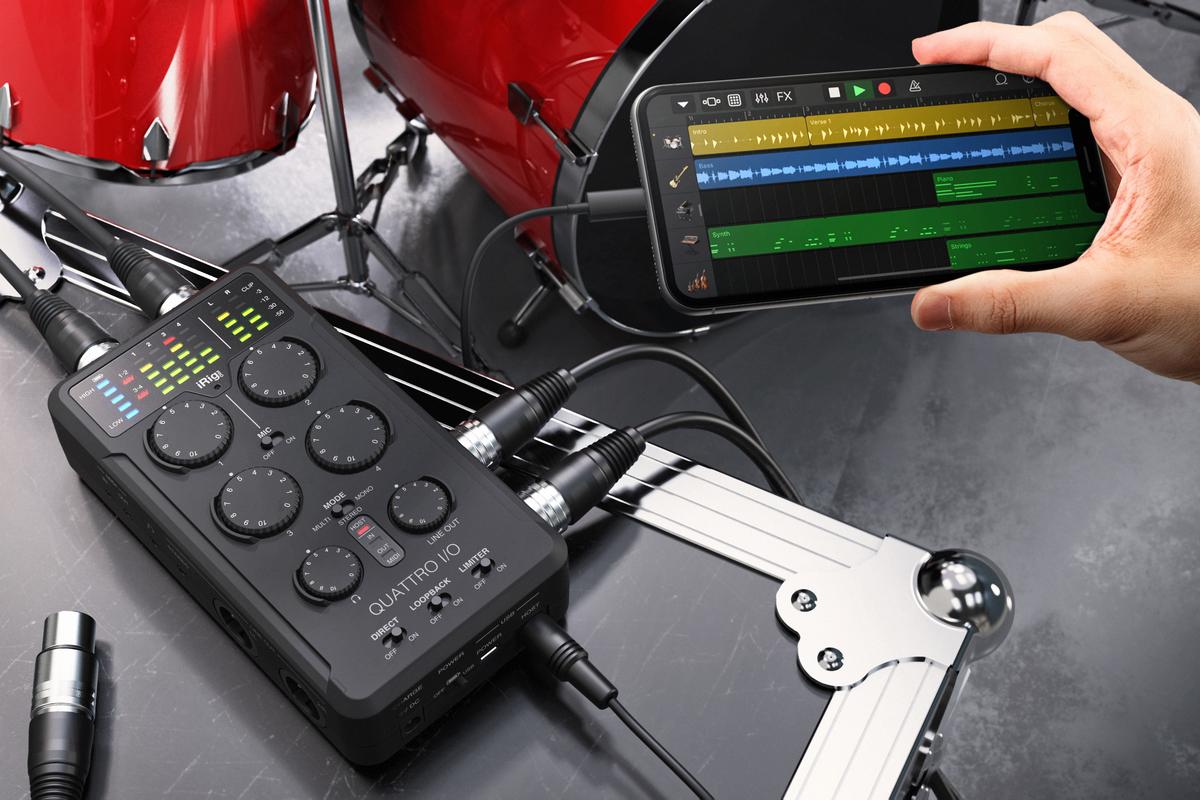
- Connectivity: Consider the connectivity options available on the audio interface. Most interfaces offer USB connectivity, which is compatible with both Mac and Windows computers. However, if you have specific hardware requirements, such as Thunderbolt or PCIe, make sure the interface supports them.
- Features: Look for additional features that can enhance your recording experience. Features like built-in preamps, phantom power for condenser microphones, direct monitoring, and MIDI connectivity can be beneficial for certain recording scenarios.
- Budget: Set a budget for your audio interface and try to find the best value within that range. It’s worth investing in a reliable and high-quality interface that will serve you well in the long run.
Based on these considerations, here are a few popular audio interfaces that are well-suited for connecting a guitar amp:
- Focusrite Scarlett 2i2: This 2-channel interface is a favorite among many musicians due to its great sound quality, ease of use, and affordability.
- Universal Audio Apollo Twin MKII: If you’re looking for professional-level audio recording, this interface offers outstanding sound quality and a range of DSP processing capabilities.
- PreSonus AudioBox USB 96: With 2 input channels and MIDI connectivity, this interface is a solid choice for those on a tight budget.
Remember, the audio interface you choose should align with your specific recording needs and budget. Once you have selected the right interface, it’s time to prepare your guitar amp for connection, which we’ll discuss in the next section.
Preparing Your Guitar Amp
Before connecting your guitar amp to an audio interface, it’s essential to ensure that your amp is properly prepared. This involves a few simple steps to ensure optimal performance and prevent any potential damage. Let’s go through the preparation process:
- Clean Your Amp: Start by cleaning the exterior of your guitar amp. Remove any dust or debris that may have accumulated on the surface or the control knobs. This will not only improve the aesthetic appeal but also prevent any interference or noise during recording.
- Check the Cables: Inspect the cables that will be used to connect the amp to the audio interface. Look for any signs of wear or damage, such as frayed wires or loose connectors. Replace any faulty cables to ensure a secure and reliable connection.
- Set the Volume and EQ: Adjust the volume and equalization settings on your guitar amp to your desired preferences. Experiment with different settings to find the tone that suits your recording needs. It’s essential to find the right balance between volume and tone to avoid clipping or distortion.
- Tune Your Guitar: Before recording, make sure your guitar is properly tuned. Use a tuner or a tuning app to ensure accurate pitch and intonation. This will result in cleaner and more precise recordings.
- Warm Up Your Amp: Allow your guitar amp to warm up for a few minutes before recording. This will ensure that the tubes or solid-state components are fully warmed up and operating optimally. It’s a good practice to let your amp warm up for at least 10-15 minutes to achieve the best sound quality.
By following these preparation steps, you’ll ensure that your guitar amp is in top condition and ready to be connected to the audio interface. In the next section, we’ll guide you through the process of connecting the two devices.
Connecting the Audio Interface to the Guitar Amp
Now that your guitar amp is properly prepared, it’s time to connect it to the audio interface. This process involves a few simple steps to establish a stable and high-quality connection. Follow these steps to connect your amp to the interface:
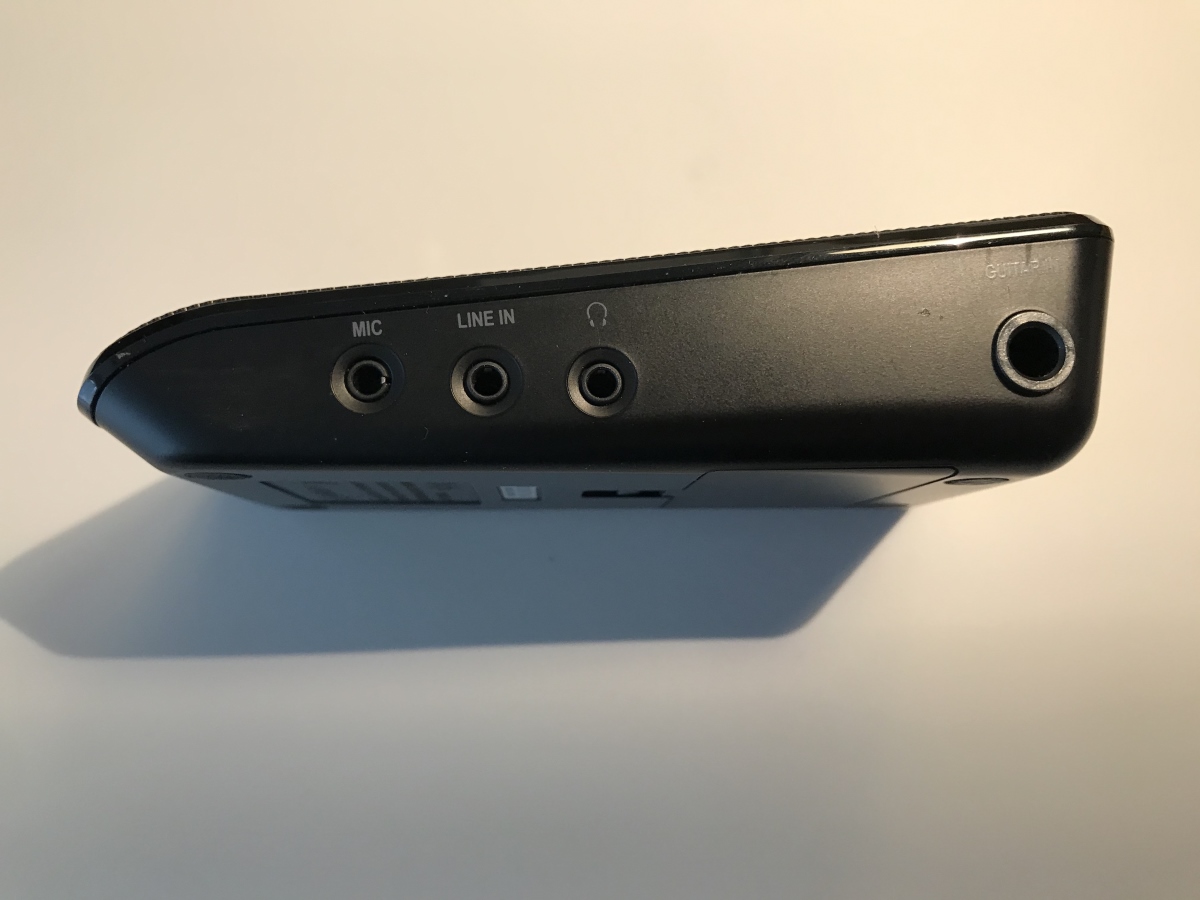
- Select the Input: Identify the input on the audio interface where you’ll connect your guitar amp. It is usually labeled as “Inst” or “Hi-Z” and may be denoted by a guitar symbol.
- Turn off the Amp and Audio Interface: Before making any connections, ensure that both your guitar amp and the audio interface are turned off. This will prevent any potential electrical damage and ensure a safe installation process.
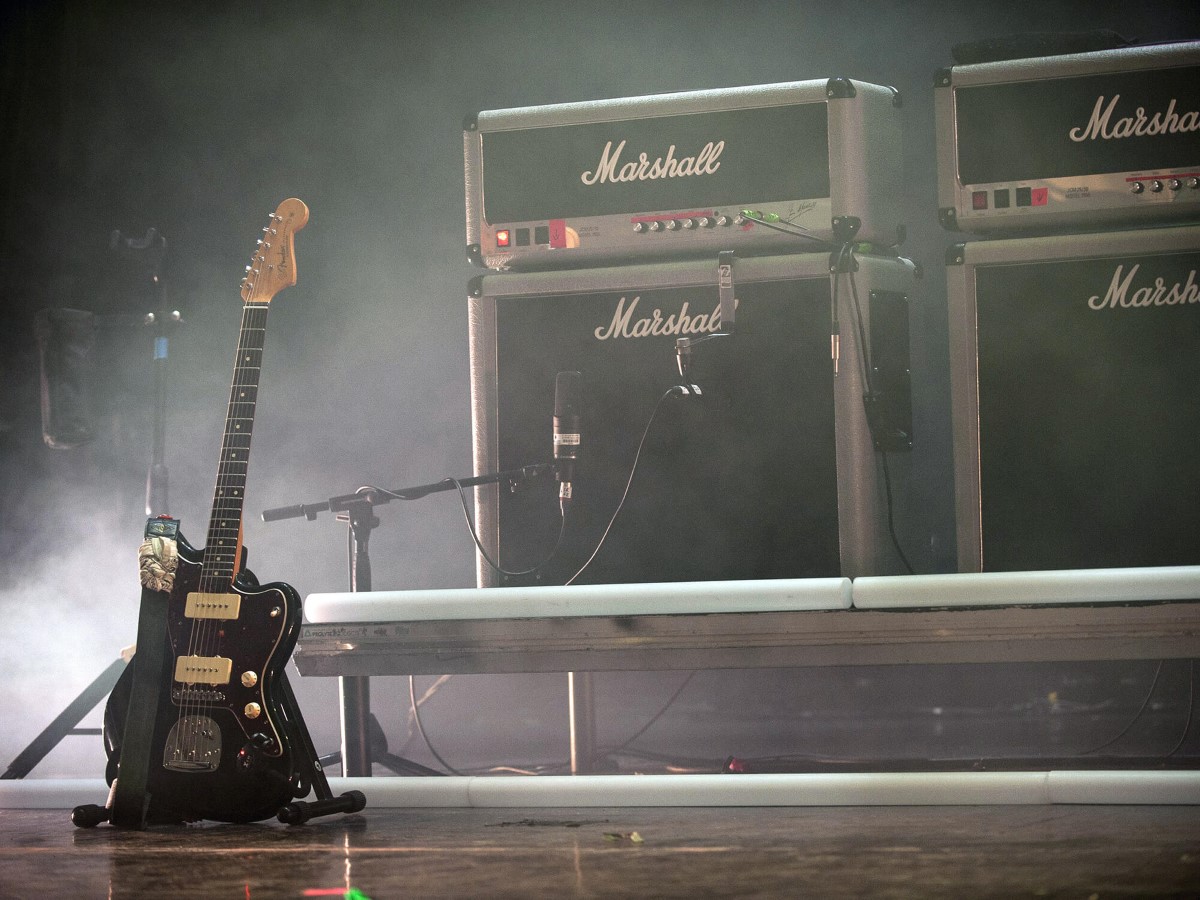
- Connect the Guitar Cable: Take one end of your guitar cable and plug it into the output jack on your guitar amp. It could be a speaker out, line out, or headphone out jack, depending on your amp’s available options.
- Connect the Other End to the Audio Interface: Plug the other end of the guitar cable into the dedicated input jack on the audio interface. Ensure a secure connection by pushing the cable all the way in. If your audio interface uses a combo XLR-1/4″ input, use a 1/4″ to 1/4″ instrument cable to connect to the instrument input.
- Power On the Amp and Audio Interface: Now, power on your guitar amp and the audio interface. Allow a few seconds for the devices to initialize and establish a connection.
That’s it! Your guitar amp is now connected to the audio interface. The audio interface will act as a medium for capturing the sound from your amp and transmitting it to your computer for recording.
It’s important to note that some audio interfaces may also require you to set the input gain or adjust other settings. Refer to your specific audio interface’s user manual for instructions on how to set the input level or any other required configurations.
In the next section, we’ll discuss the process of adjusting the levels and settings on the audio interface for optimal recording performance.
Adjusting the Levels and Settings
Once you have successfully connected your guitar amp to the audio interface, it’s crucial to adjust the levels and settings on the interface for optimal recording performance. Properly setting the levels will ensure that your recordings are clean, free from distortion, and capture the nuances of your guitar amp’s sound. Here’s how you can adjust the levels and settings:
- Set the Input Gain: Start by setting the input gain on your audio interface. This control determines how much signal is being sent into the interface. It’s important to find the right balance – too low of a gain setting could result in a weak and noisy recording, while too high of a gain setting may cause distortion. Begin with a low input gain and gradually increase it until the desired level is achieved. Monitor the signal level on the interface or in your recording software to ensure it stays within an acceptable range.
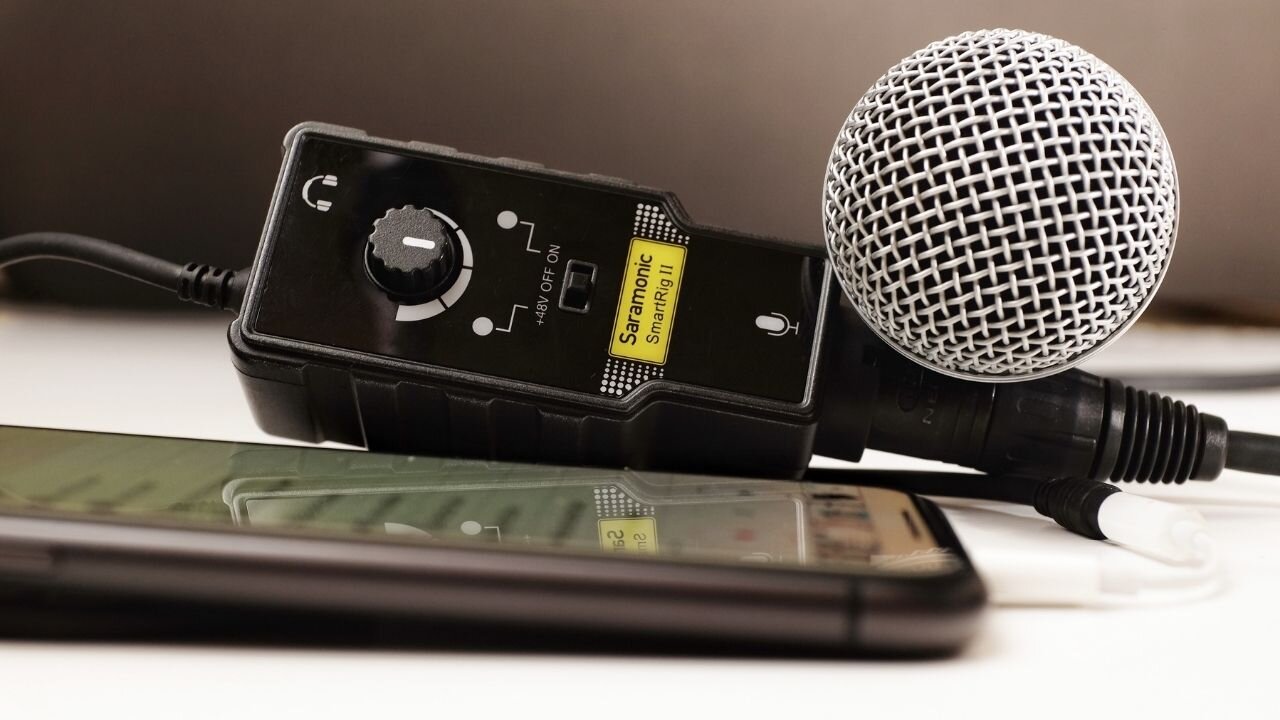
- Enable Phantom Power (if required): If you’re using a condenser microphone or any other device that requires phantom power (usually +48V), make sure to enable it on the audio interface. Phantom power provides the necessary voltage to power these types of microphones and other professional audio equipment.
- Monitor with Headphones or Studio Monitors: Connect your headphones or studio monitors to the audio interface’s headphone or line output. This will allow you to monitor the sound in real-time as you play the guitar through your amp, helping you make any necessary adjustments to the levels or settings.
- Adjust the Output Level: Use the output level controls on the audio interface to adjust the playback volume of your guitar amp. This allows you to fine-tune the sound in your headphones or studio monitors to your preferred listening level.
- Use Direct Monitoring (if available): Some audio interfaces offer direct monitoring capabilities, allowing you to hear the sound from your guitar amp in real-time without any noticeable latency. This can be useful for a more natural playing experience. Enable direct monitoring if available and adjust its level to blend with the playback sound from your computer.
Remember, it’s important to regularly monitor the input and output levels on your audio interface and make adjustments as needed throughout the recording process. This will ensure that your recordings are clean, balanced, and capture the full dynamic range of your guitar amp’s sound.
In the next section, we’ll address some common troubleshooting issues that you may encounter when connecting your guitar amp to an audio interface.
Troubleshooting Common Issues
While connecting your guitar amp to an audio interface is a straightforward process, you may encounter some common issues along the way. These issues can range from audio interference to software compatibility problems. Here are some troubleshooting tips to help you overcome these challenges:
No Sound or Low Volume:
- Ensure that your audio interface is properly connected to both your guitar amp and your computer.
- Check the input gain settings on your audio interface. Increase the gain if the signal is too weak or no sound is coming through, but be cautious not to increase it too much to avoid distortion.
- Confirm that your guitar amp is functioning correctly by testing it with headphones or a speaker.
Audio Interference or Noise:
- Check the cables connecting your guitar amp and audio interface. Make sure they are in good condition and properly inserted into the jacks.
- Keep high-powered electrical devices away from your audio interface to minimize interference. This includes devices like microwaves, fluorescent lights, and power adapters.
- Try using shielded cables and keeping them away from any power cables or transformers.
- Consider using a power conditioner to regulate the electricity supply and reduce potential electrical noise.
Latency Issues:
- Verify that you are using the latest drivers for your audio interface. Check the manufacturer’s website for any driver updates.
- Adjust the buffer size in your recording software to reduce latency. Decreasing the buffer size may reduce latency but can also increase the strain on your computer’s processing power, so find the optimal balance.
- If available, enable direct monitoring on your audio interface to hear your guitar amp in real-time without latency.
Software Compatibility:
- Make sure that your recording software is compatible with your audio interface. Check the system requirements and compatibility list provided by both the software and audio interface manufacturers.
- Update your recording software to the latest version to ensure compatibility with your audio interface.
- If you encounter challenges, reach out to the customer support of both the software and audio interface manufacturers for assistance.
If you’re still experiencing issues after troubleshooting, don’t hesitate to seek help from professionals in audio equipment or contact the customer support of your audio interface manufacturer.
Now that you’re armed with troubleshooting knowledge, you should be able to overcome most of the common issues that may arise when connecting your guitar amp to an audio interface. In the concluding section, we’ll recap what we’ve covered in this guide.
Conclusion
Connecting your guitar amp to an audio interface opens up a world of possibilities for recording and capturing your guitar playing. With the right equipment and proper setup, you can achieve high-quality recordings that accurately represent the sound and tone of your guitar amp.
In this guide, we discussed the importance of choosing the right audio interface based on your recording needs, budget, and desired features. We also covered the steps to prepare your guitar amp for connection, including cleaning it, checking cables, and setting the volume and EQ to your preferences.
We then walked you through the process of connecting the audio interface to your guitar amp, ensuring a stable and reliable connection. Adjusting the levels and settings on the interface is crucial for optimal recording performance, and we provided guidance on setting the input gain, enabling phantom power, and monitoring with headphones or studio monitors.
Additionally, we addressed some common troubleshooting issues that you may encounter, such as no sound or low volume, audio interference, latency issues, and software compatibility problems. With the troubleshooting tips provided, you should be able to overcome these challenges and achieve seamless recordings.
Remember, practice and experimentation are key to getting the best results. Take the time to familiarize yourself with your equipment, try out different settings, and explore various recording techniques to capture the sound you desire.
Now that you have a solid understanding of how to connect your guitar amp to an audio interface, you’re ready to embark on your recording journey. Enjoy the process of capturing your guitar playing and let your creativity shine through in your recordings. Happy recording!