Home>Production & Technology>Acoustic>How To Fix Chips In Acoustic Guitar
Acoustic
How To Fix Chips In Acoustic Guitar
Published: March 12, 2024
Learn how to easily fix chips in your acoustic guitar with our step-by-step guide. Keep your instrument looking and sounding its best.
(Many of the links in this article redirect to a specific reviewed product. Your purchase of these products through affiliate links helps to generate commission for AudioLover.com, at no extra cost. Learn more)
Table of Contents
Introduction
Acoustic guitars are beloved for their warm, resonant tones and timeless appeal. Whether you're a seasoned musician or a passionate beginner, the beauty of an acoustic guitar is undeniable. However, even the most cherished instruments are susceptible to wear and tear over time. One common issue that guitarists encounter is the presence of chips in the guitar's finish. These chips not only detract from the instrument's aesthetic appeal but can also affect its overall playability and sound quality.
In this comprehensive guide, we will delve into the art of repairing chips in acoustic guitars. From understanding the causes of these imperfections to providing a step-by-step tutorial on how to restore your guitar's flawless finish, we've got you covered. By the end of this article, you'll be equipped with the knowledge and skills to breathe new life into your beloved acoustic guitar.
So, whether you've recently discovered a chip in your guitar's finish or you're simply looking to expand your knowledge of guitar maintenance, you've come to the right place. Let's embark on this journey to restore the beauty and integrity of your acoustic guitar, ensuring that it continues to inspire and resonate for years to come.
Understanding the causes of chips in acoustic guitars
Acoustic guitars, with their exquisite craftsmanship and melodious resonance, are cherished by musicians and enthusiasts alike. However, despite their enduring appeal, these instruments are susceptible to various forms of damage, including chips in their finish. Understanding the root causes of these imperfections is crucial in preventing and addressing them effectively.
-
Impact and Mishandling: One of the primary culprits behind chips in acoustic guitars is impact and mishandling. Whether it's a minor bump against a hard surface or an accidental drop, the delicate finish of the guitar can easily succumb to such physical trauma, resulting in unsightly chips.
-
Environmental Factors: The environment in which an acoustic guitar is stored and played can also contribute to the development of chips. Exposure to extreme temperatures, high humidity, or rapid fluctuations in climate can weaken the finish, making it more prone to chipping.
-
Poor Storage Practices: Improper storage of acoustic guitars can exacerbate the risk of chipping. Stacking guitars haphazardly, leaving them unprotected in crowded spaces, or failing to use suitable cases or stands can leave the instrument vulnerable to damage.
-
Aging and Wear: Over time, the natural wear and tear that accompanies regular use can lead to the formation of chips in the guitar's finish. Continuous contact with the player's body, clothing, and accessories can gradually erode the protective layers, leaving the surface susceptible to chipping.
-
Low-Quality Finish: In some cases, acoustic guitars may exhibit chipping due to the application of a low-quality finish during the manufacturing process. Inferior materials or inadequate application techniques can compromise the durability of the finish, making it more prone to chipping and flaking.
By recognizing these underlying causes, guitar enthusiasts can take proactive measures to safeguard their instruments and minimize the risk of chipping. Moreover, when addressing existing chips, understanding the root causes can inform the selection of appropriate repair methods and materials, ensuring a successful restoration process.
Tools and materials needed for fixing chips
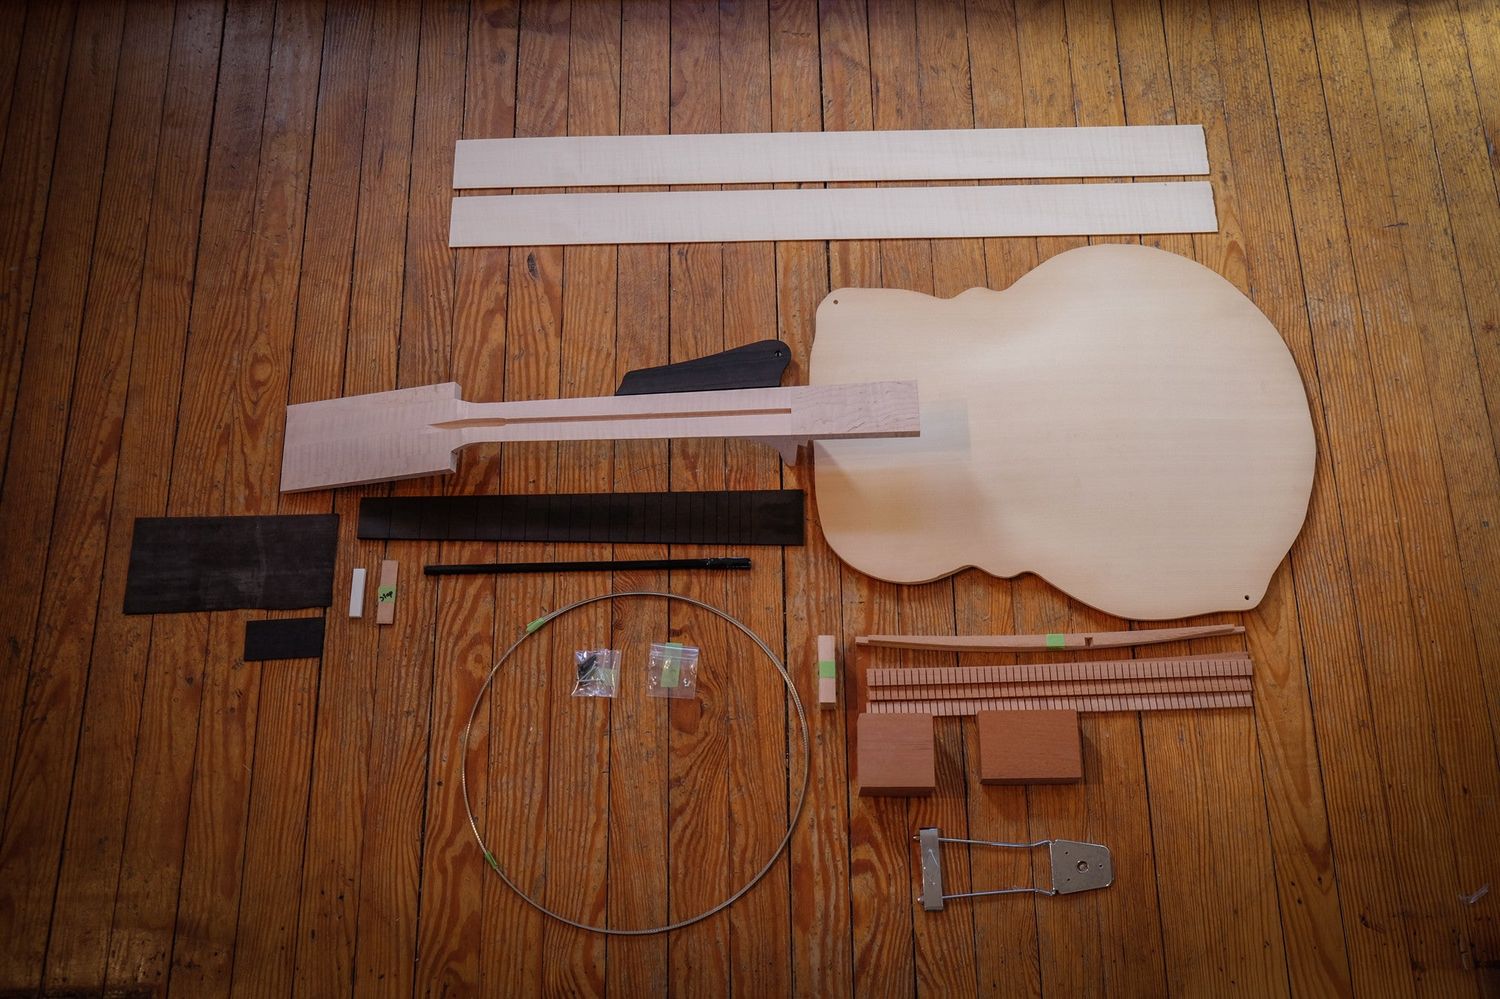
Repairing chips in the finish of an acoustic guitar requires a precise and methodical approach, supported by the use of specialized tools and high-quality materials. By assembling the necessary items beforehand, you can streamline the repair process and achieve professional-grade results. Here's a comprehensive list of the essential tools and materials needed for fixing chips in acoustic guitars:
Tools:
- Micro-Mesh Sanding Pads: These ultra-fine sanding pads are crucial for smoothing the edges of the chipped area and preparing it for the application of touch-up materials.
- Fine Detail Paintbrushes: A set of fine detail paintbrushes enables precise application of touch-up lacquer or paint, allowing for seamless blending with the surrounding finish.
- Masking Tape: High-quality masking tape is essential for creating clean boundaries around the chipped area, preventing accidental damage to the surrounding finish during the repair process.
- Rubbing Compound: This abrasive paste is used to refine the repaired area, ensuring a smooth and uniform finish that seamlessly integrates with the rest of the guitar's surface.
- Polishing Cloth: A soft, lint-free polishing cloth is employed to buff the repaired area to a high sheen, achieving a professional and flawless result.
Materials:
- Touch-Up Lacquer or Paint: Acquiring touch-up lacquer or paint that precisely matches the color and sheen of your guitar's finish is essential for achieving a seamless repair. Opt for high-quality, color-matched products to ensure a perfect blend.
- Clear Coat Finish: A clear coat finish is applied over the touch-up lacquer or paint to provide protection and enhance the durability of the repaired area, ensuring long-lasting results.
- Sandpaper (Various Grits): Assorted grits of sandpaper, ranging from fine to ultra-fine, are utilized for meticulously sanding and smoothing the chipped area, preparing it for the application of touch-up materials.
- Clean Cloth and Guitar Polish: A clean, soft cloth and guitar polish are employed to clean the guitar's surface before and after the repair, ensuring a pristine canvas for the restoration process.
By ensuring that you have these tools and materials at your disposal, you can embark on the journey of repairing chips in your acoustic guitar's finish with confidence and precision. With the right resources and a meticulous approach, you can restore the beauty and integrity of your instrument, allowing its timeless melodies to resonate anew.
Step-by-step guide to fixing chips in acoustic guitars
Repairing chips in the finish of an acoustic guitar is a meticulous process that demands attention to detail and a steady hand. By following this comprehensive step-by-step guide, you can effectively restore the flawless appearance of your beloved instrument.
Step 1: Prepare the Work Area
Begin by creating a clean and well-lit workspace where you can comfortably maneuver the guitar during the repair process. Lay down a soft cloth to protect the guitar's body and ensure that all necessary tools and materials are within reach.
Step 2: Clean the Chipped Area
Using a clean cloth and guitar polish, gently clean the chipped area to remove any dust, debris, or residue. This ensures that the surface is free from contaminants, allowing for optimal adhesion of the touch-up materials.
Step 3: Secure the Surrounding Area
Carefully apply masking tape around the chipped area to create a boundary that protects the surrounding finish from accidental damage during the repair process. Ensure that the tape adheres firmly to the surface, creating a clean and defined working space.
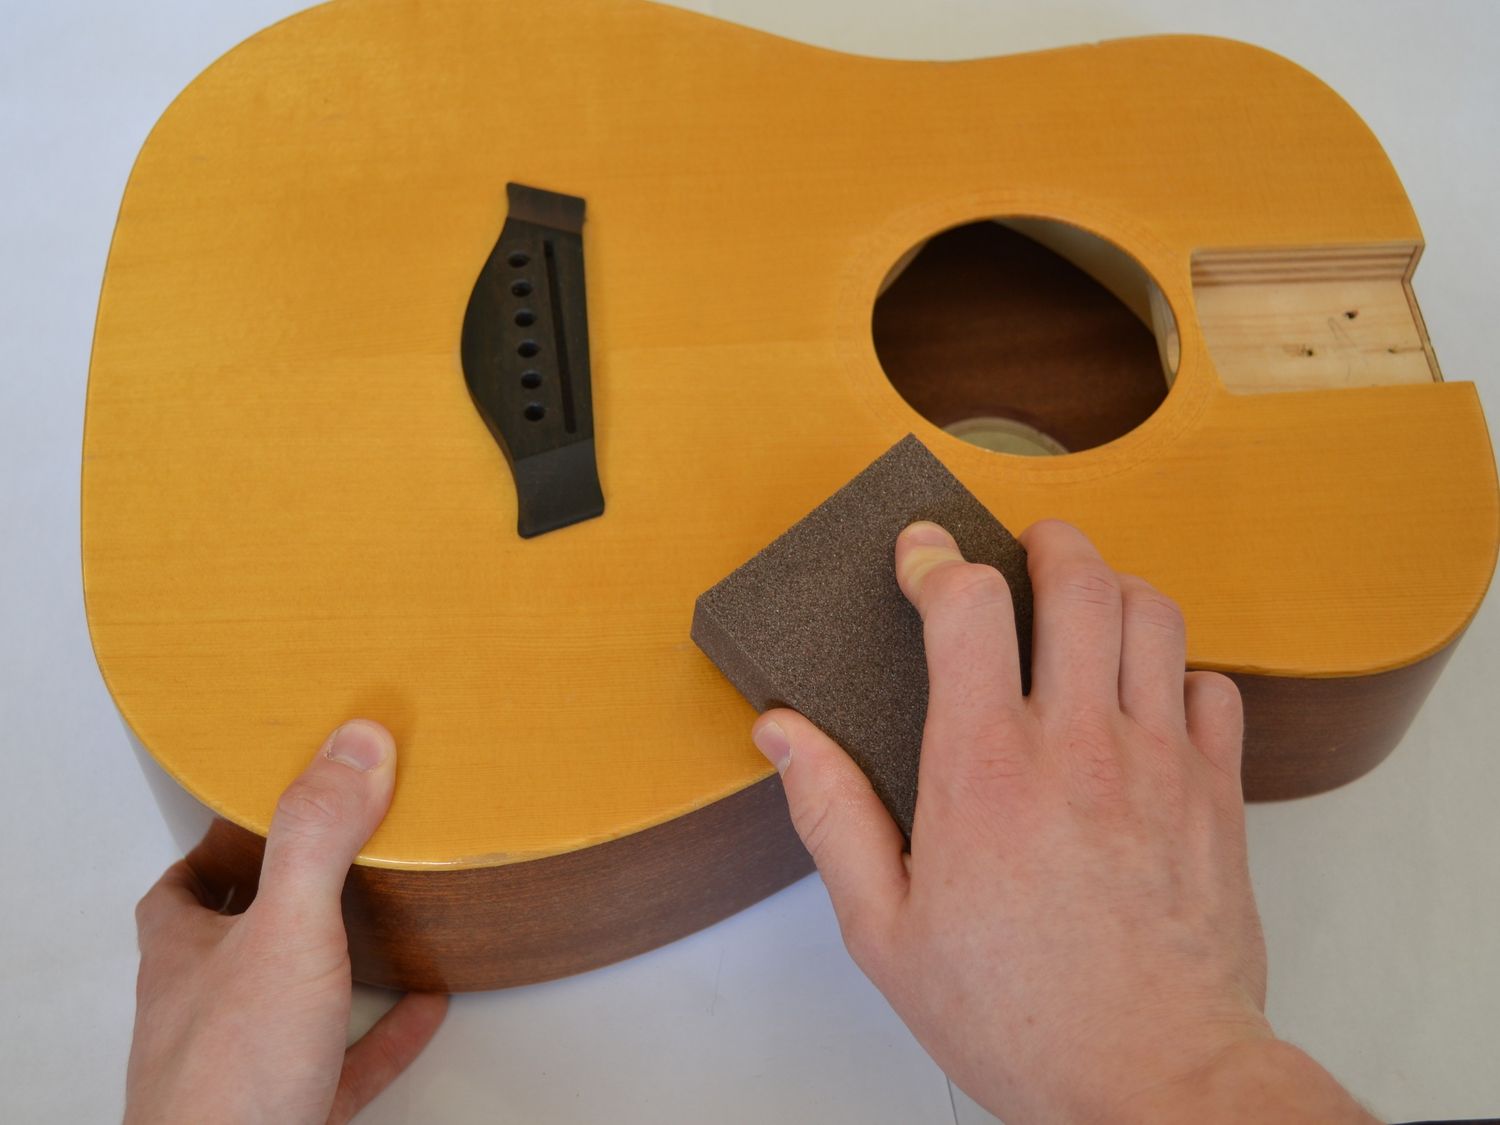
Step 4: Sand the Chipped Area
Using micro-mesh sanding pads of progressively finer grits, gently sand the edges of the chipped area to smooth any roughness and prepare it for the application of touch-up materials. Take care to blend the edges seamlessly with the surrounding finish.
Step 5: Apply Touch-Up Lacquer or Paint
Using a fine detail paintbrush, apply a small amount of touch-up lacquer or paint to the chipped area, ensuring an even and precise application. Build up the layers gradually, allowing each coat to dry completely before applying the next, until the chipped area is filled and level with the surrounding finish.
Step 6: Apply Clear Coat Finish
Once the touch-up lacquer or paint has dried thoroughly, carefully apply a clear coat finish over the repaired area to provide protection and enhance the durability of the repair. Ensure that the clear coat is applied evenly and smoothly for a seamless integration with the rest of the guitar's surface.
Step 7: Refine and Polish
Using rubbing compound and a soft polishing cloth, gently buff the repaired area to refine the finish and achieve a high sheen that matches the rest of the guitar. Take your time to ensure that the repaired area blends seamlessly with the surrounding surface.
By following these meticulous steps and exercising patience and precision, you can effectively fix chips in the finish of your acoustic guitar, restoring its visual appeal and preserving its timeless charm. With the right tools, materials, and technique, you can breathe new life into your instrument, allowing its melodies to resonate with renewed beauty and elegance.
Tips for preventing future chips
Preventing chips in the finish of an acoustic guitar is essential for maintaining its pristine appearance and structural integrity. By implementing proactive measures and adopting mindful practices, guitar enthusiasts can safeguard their instruments from the risk of chipping, ensuring long-lasting beauty and performance. Here are valuable tips for preventing future chips and preserving the flawless finish of your acoustic guitar:
-
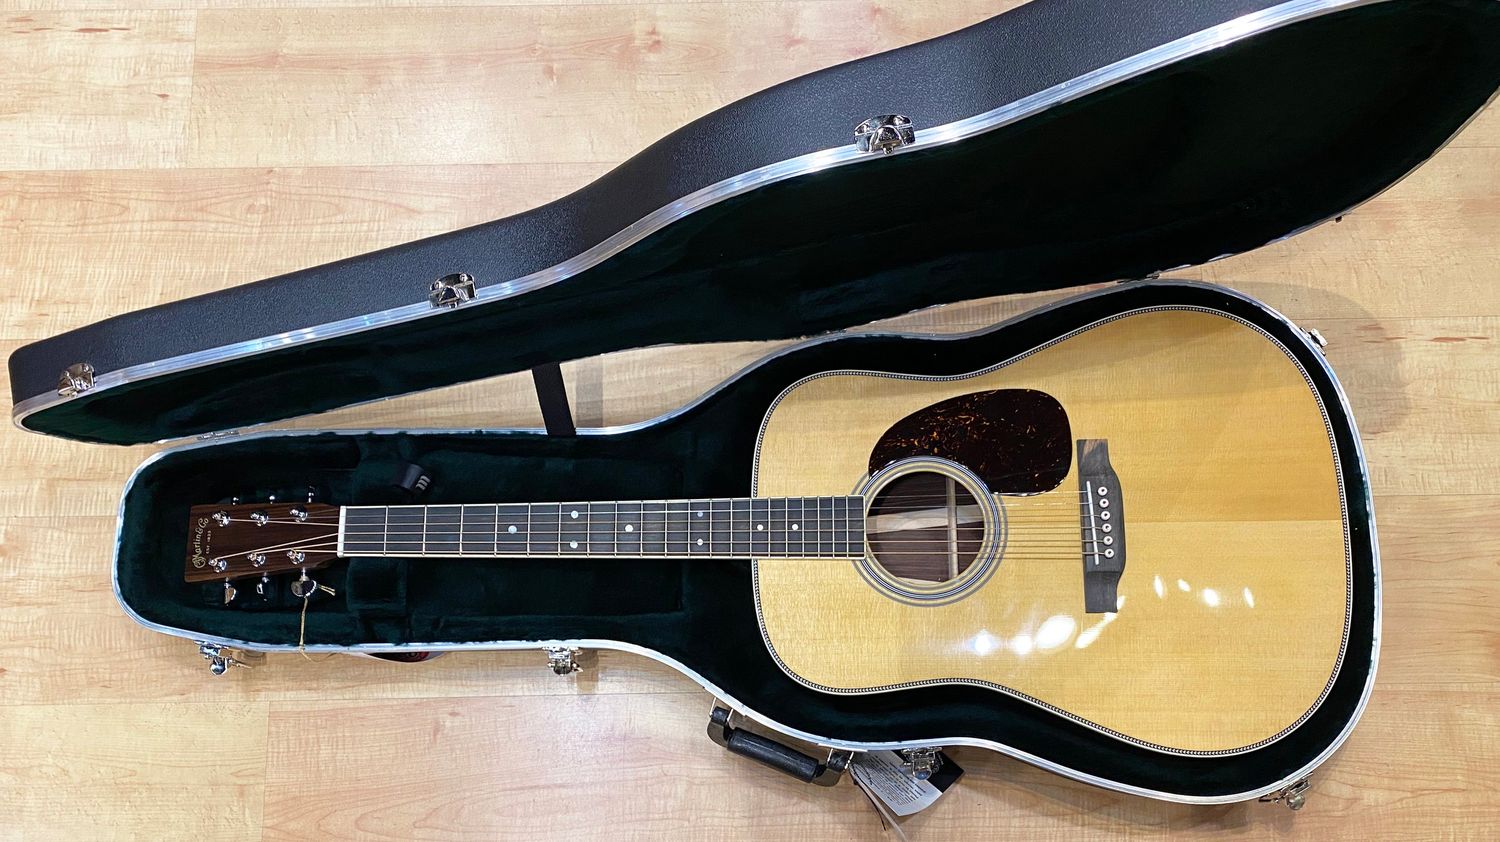
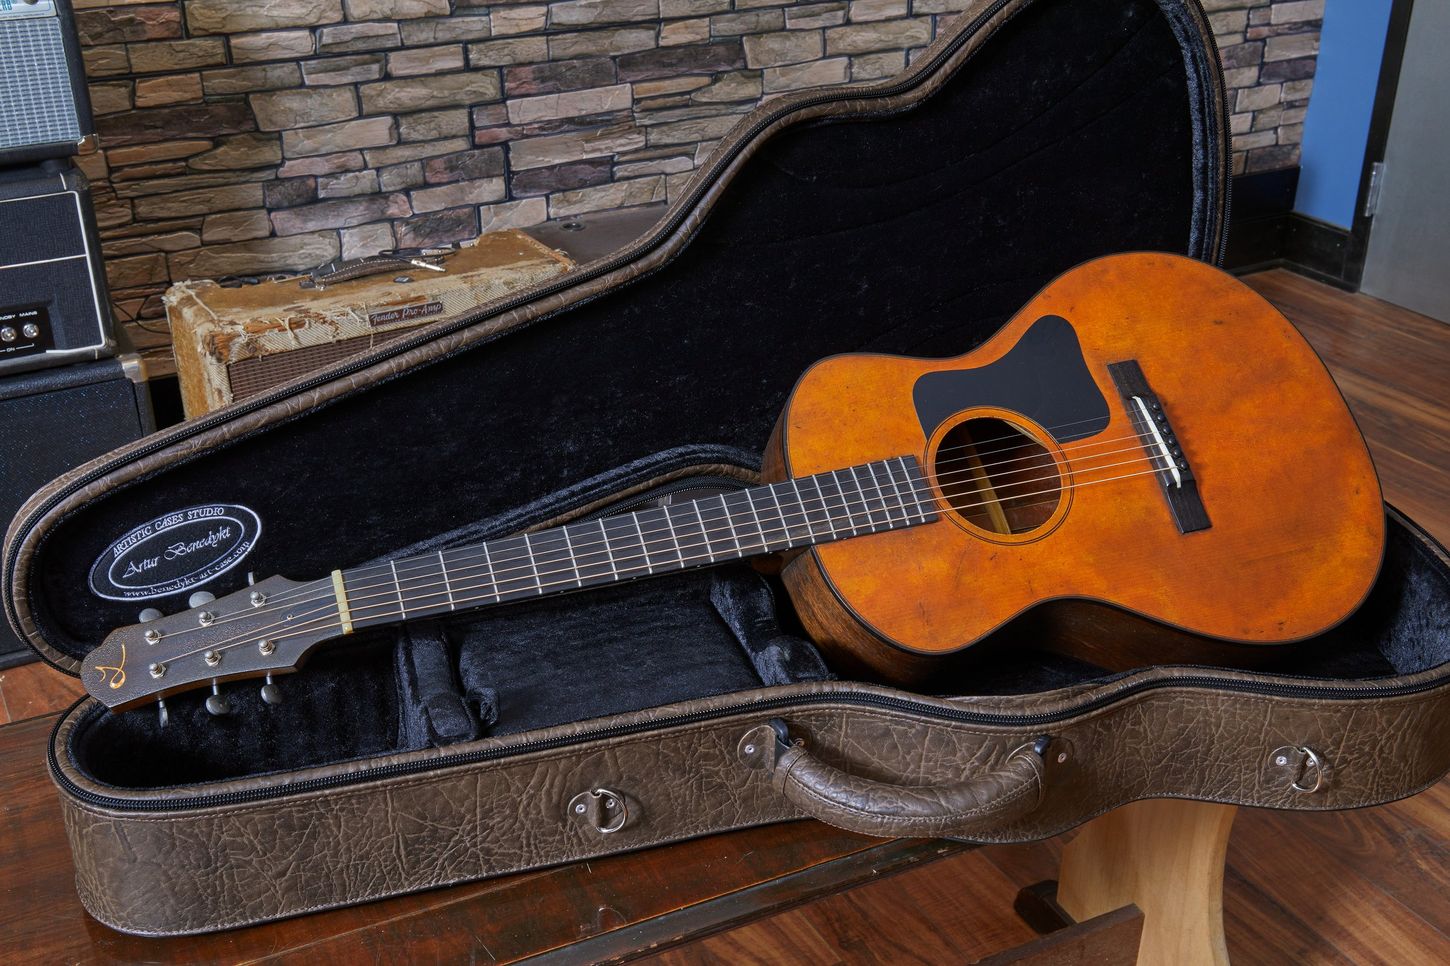
Invest in a Quality Case or Gig Bag: When not in use, store your acoustic guitar in a high-quality case or gig bag specifically designed to provide optimal protection. A well-padded and properly fitted case can shield the instrument from accidental impacts and environmental factors, reducing the likelihood of chipping.
-
Handle with Care: Exercise caution and mindfulness when handling your acoustic guitar, especially during transportation and storage. Avoid subjecting the instrument to unnecessary impacts, bumps, or knocks, and handle it gently to minimize the risk of damage to the delicate finish.
-
Maintain Stable Environmental Conditions: Create a stable and suitable environment for your acoustic guitar by controlling temperature and humidity levels. Sudden fluctuations in climate can stress the finish, making it more susceptible to chipping. Utilize a humidifier or dehumidifier as needed to maintain an optimal environment for the instrument.
-
Use Protective Padding: When placing the guitar on surfaces or in storage, use soft padding or a dedicated guitar stand to prevent direct contact with hard or abrasive materials. This simple measure can shield the finish from scratches and chips caused by friction or pressure.
-
Regular Maintenance and Inspection: Routinely inspect your acoustic guitar for any signs of wear, damage, or potential areas of concern. Addressing minor issues promptly can prevent them from escalating into more significant problems, including chipping of the finish.
-
Avoid Exposure to Extreme Conditions: Minimize the guitar's exposure to extreme temperatures, direct sunlight, and excessive moisture, as these factors can compromise the integrity of the finish. When transporting the instrument, ensure that it is shielded from harsh environmental elements.
-
Use a Strap with Protective Padding: When playing the guitar, utilize a strap with protective padding around the attachment points to minimize wear and tear on the finish caused by the strap's contact with the body of the instrument.
By incorporating these preventive measures into your guitar care routine, you can significantly reduce the risk of chipping and preserve the impeccable appearance of your acoustic guitar. With mindful maintenance and proactive protection, you can ensure that your instrument continues to exude timeless elegance and enchanting melodies for years to come.
Conclusion
In the realm of acoustic guitars, where craftsmanship meets artistry and music intertwines with emotion, the presence of chips in the instrument's finish can be a disheartening sight. However, armed with the knowledge and techniques shared in this guide, you now possess the power to restore and preserve the timeless allure of your acoustic guitar.
By understanding the underlying causes of chipping, you have gained insight into the vulnerabilities that can compromise the integrity of the guitar's finish. Whether it's the result of impact and mishandling, environmental factors, or the natural wear and tear of time, recognizing these influences empowers you to proactively protect your instrument from potential harm.
Equipped with a comprehensive list of essential tools and materials, you are prepared to embark on the journey of repairing chips in your acoustic guitar's finish with confidence and precision. From micro-mesh sanding pads to fine detail paintbrushes, each item serves as a vital ally in your quest to restore the flawless beauty of your beloved instrument.
The step-by-step guide provided in this article serves as a roadmap for your repair endeavors, guiding you through the meticulous process of preparing, repairing, and refining the chipped area. By following these detailed instructions and exercising patience and precision, you can breathe new life into your guitar, ensuring that its melodies resonate with renewed beauty and elegance.
Furthermore, the invaluable tips for preventing future chips offer a proactive approach to preserving the flawless finish of your acoustic guitar. By investing in quality protective gear, handling the instrument with care, and maintaining stable environmental conditions, you can shield your guitar from the risk of chipping, allowing its pristine appearance to endure.
In conclusion, the journey of fixing chips in acoustic guitars transcends mere restoration; it embodies a profound connection between the musician and their instrument. As you meticulously tend to the imperfections, you honor the timeless melodies that have emanated from its strings, infusing the repair process with reverence and dedication.
With the insights and guidance provided in this article, you are poised to embark on a transformative journey, breathing new life into your acoustic guitar and preserving its enduring beauty for generations to come. As you pick up your meticulously restored instrument, may its melodies resonate with the timeless elegance and enchantment that define the essence of acoustic guitars.