Home>Production & Technology>Acoustic>How To Fix Back Bow On Acoustic Guitar
Acoustic
How To Fix Back Bow On Acoustic Guitar
Published: March 12, 2024
Learn how to fix the back bow on your acoustic guitar with our step-by-step guide. Get expert tips and techniques for repairing your instrument.
(Many of the links in this article redirect to a specific reviewed product. Your purchase of these products through affiliate links helps to generate commission for AudioLover.com, at no extra cost. Learn more)
Table of Contents
Introduction
Acoustic guitars are beloved for their rich, resonant tones and timeless appeal. However, even the most well-crafted instruments can experience issues over time, and one common concern is the development of a back bow in the guitar's neck. This phenomenon occurs when the neck of the guitar curves in a manner that is opposite to the desired relief, causing buzzing strings and high action, ultimately affecting the playability and sound quality of the instrument.
Understanding how to address a back bow is essential for any guitarist or guitar enthusiast. By learning the necessary techniques and acquiring the right tools, you can effectively rectify this issue and restore your acoustic guitar to its optimal condition. In this comprehensive guide, we will delve into the intricacies of fixing a back bow on an acoustic guitar, providing step-by-step instructions and valuable insights to help you navigate this process with confidence.
Whether you are a seasoned musician, a budding guitarist, or simply an individual passionate about maintaining and caring for your acoustic guitar, this guide is designed to equip you with the knowledge and skills needed to address back bow issues effectively. By following the outlined steps and understanding the underlying principles, you can ensure that your instrument remains in prime playing condition, allowing you to fully enjoy the beautiful melodies and harmonies that only an acoustic guitar can produce.
Now, let's embark on this journey to unravel the complexities of back bow issues and discover the methods to rectify them, empowering you to preserve the integrity and playability of your cherished acoustic guitar.
Understanding the Back Bow
The back bow, also known as a reverse bow, is a condition that occurs when the neck of an acoustic guitar curves in an upward direction, away from the strings. This deviation from the desired neck relief can lead to a myriad of issues, including buzzing strings, high action, and an overall compromised playability. It is crucial to recognize the signs of a back bow, as addressing this concern promptly is essential for maintaining the optimal performance of the instrument.
When inspecting the neck of an acoustic guitar, a back bow is identified by observing a concave curvature in the opposite direction of the natural relief. This deviation can result from various factors, such as changes in humidity and temperature, improper storage, or the tension exerted by the strings over time. Additionally, the use of an excessively tight truss rod or alterations in the guitar's setup can contribute to the development of a back bow.
Understanding the implications of a back bow is pivotal for guitar enthusiasts and musicians. Not only does it affect the playability and sound quality of the instrument, but it can also lead to frustration and hindered performance. By familiarizing oneself with the characteristics and causes of a back bow, individuals can proactively address this issue and prevent further complications.
Recognizing the presence of a back bow is the first step towards restoring the optimal condition of an acoustic guitar. By gaining insight into this phenomenon, individuals can approach the rectification process with clarity and purpose, ultimately preserving the integrity and functionality of their beloved instrument.
Tools and Materials Needed
To effectively address a back bow on an acoustic guitar, it is essential to gather the appropriate tools and materials. By ensuring that you have the necessary items at your disposal, you can approach the rectification process with confidence and precision. Here are the essential tools and materials needed to undertake the task of fixing a back bow on an acoustic guitar:
-
Truss Rod Wrench: This specialized tool is crucial for adjusting the truss rod, which plays a pivotal role in rectifying the neck curvature of the guitar. It is imperative to use a truss rod wrench that is compatible with your specific guitar model to facilitate precise adjustments.
-
Capo: A capo is utilized to temporarily raise the action of the strings, allowing for easier access to the neck and truss rod. This tool aids in creating a conducive environment for assessing and adjusting the back bow effectively.
-
Straightedge: A straightedge, such as a long ruler or specialized guitar straightedge, is indispensable for evaluating the curvature of the guitar neck. By placing the straightedge along the fretboard, you can accurately determine the extent of the back bow and monitor the progress of the adjustment process.
-
Feeler Gauge: This thin, precise measuring tool is utilized to assess the neck relief and ensure that the adjustments to the truss rod align with the desired specifications. A feeler gauge enables you to gauge the gap between the straightedge and the frets, providing valuable insights into the neck relief.
-
Guitar Tuner: A reliable guitar tuner is essential for ensuring that the instrument is tuned to the appropriate pitch throughout the adjustment process. This facilitates accurate assessments of the string action and overall playability as the back bow is rectified.
-
Soft Cloth: Utilizing a soft cloth to protect the guitar's finish during the adjustment process is crucial. This simple yet essential material helps prevent scratches or damage to the instrument's exterior while working on the neck and truss rod.
By assembling these tools and materials, you can embark on the process of rectifying a back bow on an acoustic guitar with the necessary resources at your disposal. This comprehensive toolkit equips you to approach the task methodically and effectively, ensuring that the adjustment process is carried out with precision and care.
Step 1: Loosening the Truss Rod
The first step in addressing a back bow on an acoustic guitar involves loosening the truss rod, a crucial component that plays a pivotal role in controlling the curvature of the guitar's neck. Before proceeding with this step, it is essential to ensure that the guitar is in a stable and secure position, such as resting on a supportive surface or utilizing a guitar maintenance stand to facilitate easy access to the truss rod.
To begin the process, it is advisable to detune the guitar strings to alleviate the tension exerted on the neck. This precautionary measure helps prevent potential damage to the truss rod and facilitates smoother adjustments. Once the strings are adequately detuned, the next step is to locate the access point for the truss rod, which is typically situated either at the headstock or within the soundhole, depending on the guitar's design and construction.
Using the appropriate truss rod wrench that corresponds to the specific dimensions of the truss rod access point, carefully insert the wrench and rotate it counterclockwise to loosen the truss rod. It is crucial to exercise caution and apply gentle, incremental adjustments to avoid over-loosening the truss rod, which can lead to undesirable outcomes such as excessive relief or instability in the neck.
As the truss rod is gradually loosened, it is essential to monitor the changes in the neck curvature using a straightedge placed along the fretboard. This allows for real-time assessment of the adjustments and provides valuable insights into the impact of loosening the truss rod on the back bow. Additionally, utilizing a feeler gauge to measure the gap between the straightedge and the frets enables precise evaluation of the neck relief, ensuring that the adjustments align with the desired specifications.
Throughout the process of loosening the truss rod, it is imperative to proceed methodically and attentively, taking care to maintain a delicate balance in the adjustments to achieve the optimal relief. By approaching this step with patience and precision, individuals can effectively prepare the neck for subsequent adjustments and set the foundation for rectifying the back bow on the acoustic guitar.
By following these detailed instructions and exercising diligence in loosening the truss rod, individuals can lay the groundwork for addressing the back bow and embark on the subsequent steps with confidence and clarity. This methodical approach sets the stage for a successful resolution of the back bow issue, ultimately restoring the optimal playability and performance of the acoustic guitar.
Step 2: Adjusting the Truss Rod
With the truss rod appropriately loosened in the previous step, the stage is set for the pivotal process of adjusting the truss rod to rectify the back bow on the acoustic guitar. This step requires precision, attentiveness, and a keen understanding of the desired neck relief, as it directly influences the curvature and playability of the instrument.
To commence the adjustment process, it is imperative to utilize the straightedge to evaluate the current state of the neck curvature. Placing the straightedge along the fretboard allows for a comprehensive assessment, enabling individuals to gauge the extent of the back bow and identify the areas that require corrective measures. This initial evaluation serves as a crucial reference point for guiding the adjustments to the truss rod, ensuring that the rectification process is carried out with accuracy and purpose.
Using the appropriate truss rod wrench, individuals can proceed to make incremental adjustments to the truss rod, carefully rotating it in either a clockwise or counterclockwise direction, depending on the specific requirements dictated by the back bow. It is essential to approach this process with caution and deliberation, as excessive or abrupt adjustments can lead to unintended consequences, such as an overcompensated relief or undue strain on the neck.
Throughout the adjustment process, it is advisable to continually assess the changes in the neck curvature using the straightedge, allowing for real-time observations of the impact of the truss rod adjustments. By monitoring the progression of the adjustments and maintaining a keen eye on the evolving neck relief, individuals can ensure that the rectification process aligns with the desired specifications, ultimately leading to the restoration of the optimal curvature and playability of the guitar.
Additionally, employing a feeler gauge to measure the gap between the straightedge and the frets provides valuable insights into the evolving neck relief, facilitating precise adjustments and informed decision-making. This meticulous approach enables individuals to fine-tune the truss rod with accuracy and purpose, ensuring that the back bow is effectively addressed and the integrity of the guitar's neck is preserved.
By navigating the process of adjusting the truss rod with diligence and precision, individuals can effectively rectify the back bow on the acoustic guitar, setting the stage for a harmonious and optimal playing experience. This step serves as a pivotal juncture in the overall rectification process, laying the groundwork for the subsequent evaluations and refinements that contribute to the successful restoration of the instrument's playability and performance.
Step 3: Checking the Neck Relief
After adjusting the truss rod to address the back bow, the next critical step in the process of restoring an acoustic guitar to optimal playability involves checking the neck relief. This pivotal assessment allows individuals to evaluate the curvature of the guitar's neck and ensure that the adjustments made to the truss rod align with the desired specifications for neck relief.
To commence the evaluation, it is essential to utilize a straightedge placed along the fretboard, providing a comprehensive visual reference for assessing the current state of the neck relief. By carefully observing the gap between the straightedge and the frets, individuals can gauge the curvature of the neck and identify any residual back bow or potential overcompensation resulting from the truss rod adjustments.
In addition to visual assessments, employing a feeler gauge to measure the gap between the straightedge and the frets offers precise quantitative insights into the neck relief. This meticulous measurement facilitates a comprehensive understanding of the curvature, allowing individuals to ensure that the relief aligns with the optimal specifications for playability and performance.
Throughout the process of checking the neck relief, it is imperative to maintain a keen eye for subtle nuances and deviations, as even minor discrepancies can impact the overall playability of the guitar. By approaching this evaluation with attentiveness and precision, individuals can ascertain the effectiveness of the truss rod adjustments and identify any areas that require further refinement to achieve the desired neck relief.
Furthermore, assessing the neck relief serves as a crucial validation of the adjustments made to rectify the back bow, providing individuals with the assurance that the curvature of the guitar's neck aligns with the optimal specifications for playability and performance. This comprehensive evaluation sets the stage for the final step in the process, ensuring that the acoustic guitar is poised for re-tuning and testing to confirm the successful resolution of the back bow issue.
By navigating the process of checking the neck relief with diligence and precision, individuals can ascertain the effectiveness of the truss rod adjustments and validate the restoration of the optimal curvature for the guitar's neck. This step serves as a pivotal juncture in the overall rectification process, laying the groundwork for the subsequent evaluations and refinements that contribute to the successful restoration of the instrument's playability and performance.
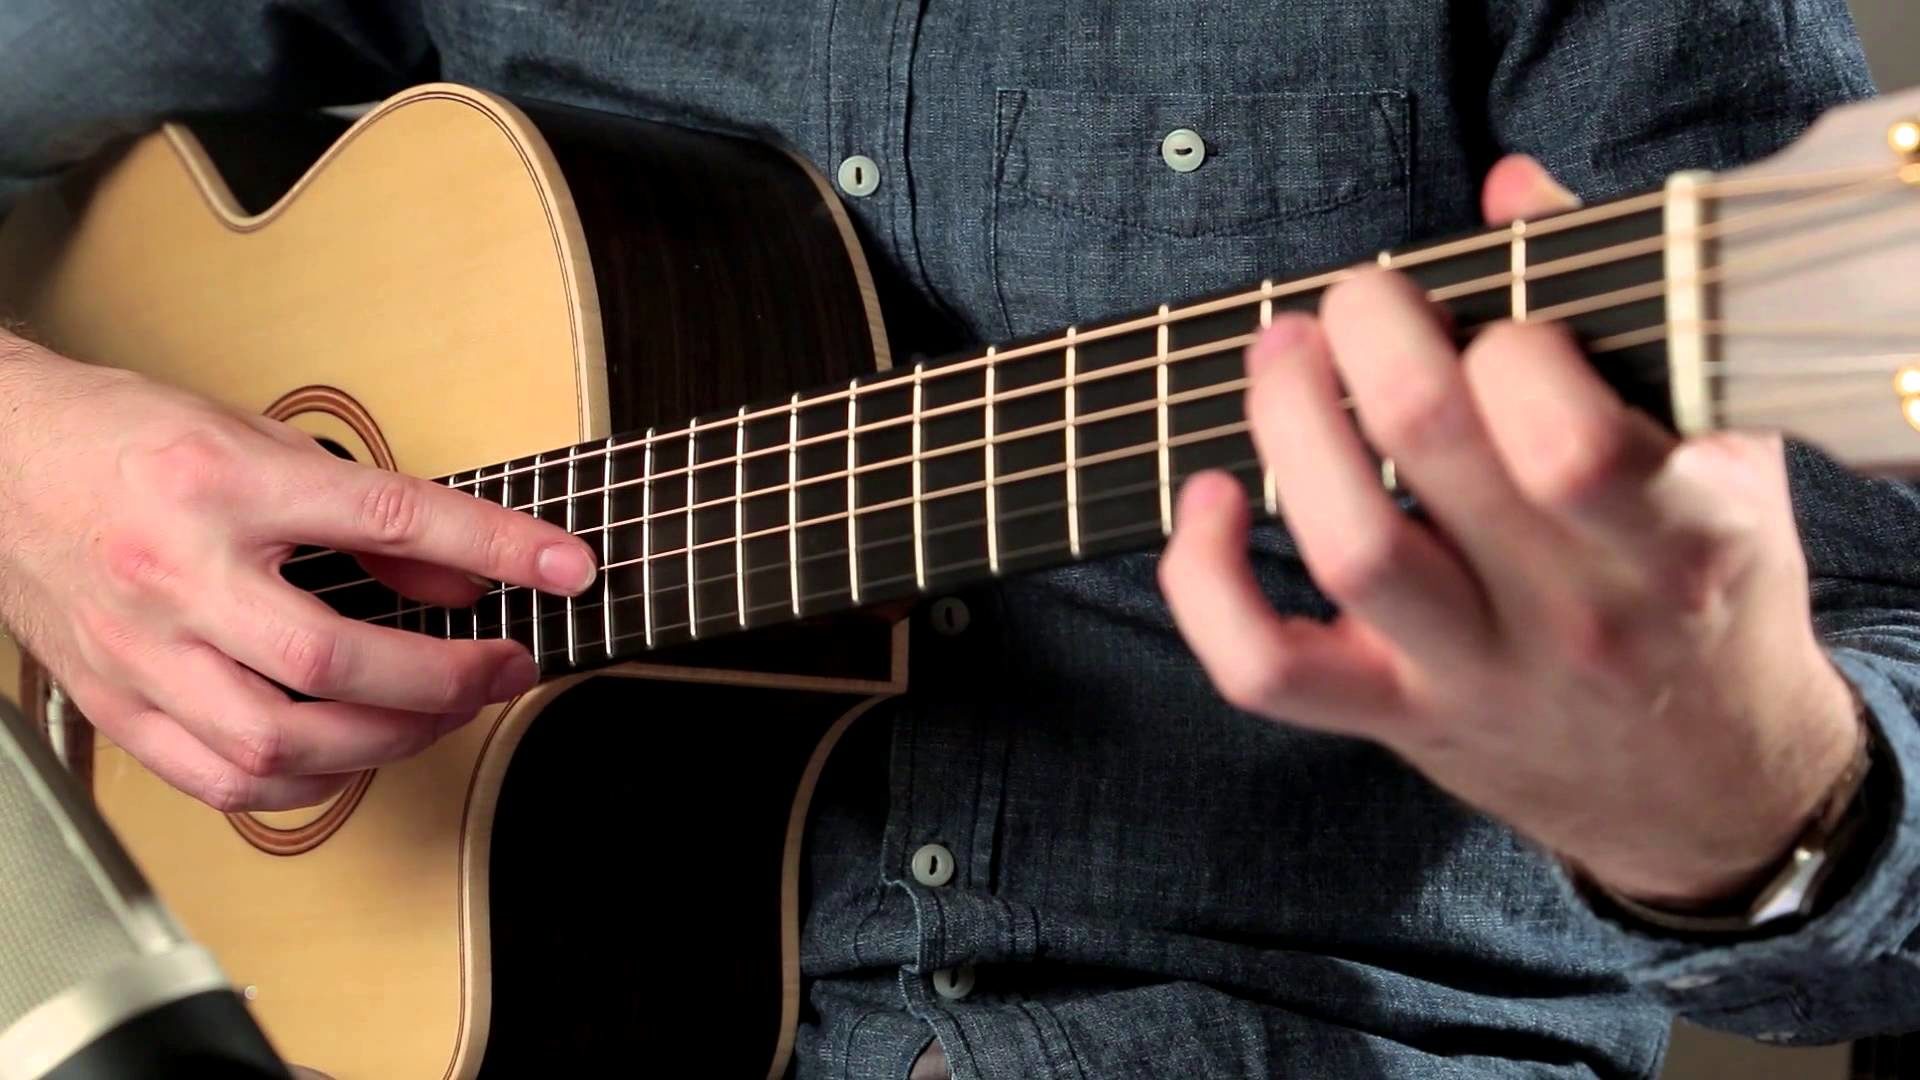
Step 4: Re-tuning and Testing
With the back bow rectification process nearing completion, the crucial step of re-tuning and testing the acoustic guitar is essential to confirm the successful restoration of optimal playability and performance. This pivotal phase allows individuals to validate the effectiveness of the adjustments made to address the back bow and ensures that the instrument is poised for harmonious melodies and seamless playability.
To commence the re-tuning process, it is imperative to utilize a reliable guitar tuner to meticulously adjust the strings to the appropriate pitch. This meticulous tuning ensures that the strings are in harmony with each other and facilitates accurate assessments of the string action and overall playability. By carefully tuning each string to the desired pitch, individuals can establish a stable foundation for testing the acoustic guitar and evaluating its responsiveness following the back bow rectification.
Once the guitar is meticulously tuned, the subsequent step involves testing the playability and sound quality across the fretboard. This comprehensive assessment allows individuals to gauge the responsiveness of the strings, evaluate the string action, and ensure that the back bow has been effectively rectified. By playing various chords, scales, and melodic passages across the fretboard, individuals can ascertain the uniformity of the string action and confirm that the back bow issue has been successfully addressed.
Furthermore, testing the acoustic guitar involves assessing the sustain, resonance, and tonal characteristics to ensure that the instrument exhibits the desired qualities indicative of optimal playability. By strumming chords, picking individual notes, and exploring the sonic nuances across the fretboard, individuals can gain valuable insights into the responsiveness and tonal integrity of the guitar, validating the successful restoration of its performance.
Throughout the re-tuning and testing process, it is imperative to maintain a keen ear for subtle nuances and deviations, as even minor discrepancies can impact the overall playability and sound quality of the guitar. By approaching this evaluation with attentiveness and precision, individuals can confirm the successful resolution of the back bow issue and ensure that the acoustic guitar is poised for harmonious melodies and seamless playability.
By navigating the process of re-tuning and testing with diligence and precision, individuals can validate the effectiveness of the back bow rectification and confirm the restoration of the optimal playability and performance of the acoustic guitar. This final step serves as a pivotal juncture in the overall rectification process, ensuring that the instrument is poised to deliver harmonious melodies and a seamless playing experience.
Conclusion
In conclusion, addressing a back bow on an acoustic guitar is a meticulous process that requires patience, precision, and a comprehensive understanding of the instrument's dynamics. By navigating the steps outlined in this guide, individuals can effectively rectify the back bow and restore the optimal playability and performance of their cherished acoustic guitar.
The journey of rectifying a back bow begins with a thorough understanding of the issue, recognizing the signs of a back bow, and identifying the factors that contribute to its development. Armed with this knowledge, individuals can proceed to gather the essential tools and materials needed for the rectification process, ensuring that they are equipped to approach the task with confidence and precision.
Loosening the truss rod sets the stage for subsequent adjustments, allowing individuals to prepare the neck for the pivotal process of addressing the back bow. By exercising caution and attentiveness, individuals can gradually adjust the truss rod, fine-tuning the curvature of the neck to align with the desired relief. This meticulous process is complemented by the comprehensive evaluation of the neck relief, ensuring that the adjustments made effectively rectify the back bow and restore the optimal playability of the guitar.
The final steps of re-tuning and testing serve as a validation of the successful restoration of the acoustic guitar, allowing individuals to confirm the harmonious melodies and seamless playability of the instrument. By meticulously tuning the strings and testing the responsiveness and tonal integrity across the fretboard, individuals can validate the effectiveness of the back bow rectification, ensuring that the acoustic guitar is poised to deliver an exceptional playing experience.
Ultimately, the process of rectifying a back bow on an acoustic guitar is a testament to the dedication and care invested in preserving the integrity and performance of a beloved instrument. By following the detailed steps outlined in this guide and approaching the task with diligence and precision, individuals can ensure that their acoustic guitar remains a source of joy and inspiration, resonating with beautiful melodies and harmonies for years to come.