Home>Instruments>Guitar>How To Fix A Broken Guitar String

Guitar
How To Fix A Broken Guitar String
Published: February 12, 2024
Learn how to fix a broken guitar string with our step-by-step guide. Keep your guitar playing smoothly with these easy-to-follow repair tips.
(Many of the links in this article redirect to a specific reviewed product. Your purchase of these products through affiliate links helps to generate commission for AudioLover.com, at no extra cost. Learn more)
Table of Contents
Introduction
Introduction
Playing the guitar is a deeply rewarding experience, but it can be frustrating when a string snaps. Whether you’re in the middle of a jam session or practicing alone, a broken guitar string can bring your musical journey to a screeching halt. However, fear not! With a few simple tools and a little know-how, you can easily replace a broken guitar string and get back to making beautiful music in no time.
In this guide, we will walk you through the step-by-step process of fixing a broken guitar string. You’ll learn how to safely remove the broken string, prepare the replacement string, install the new string, and tune your guitar to perfection. By the end of this tutorial, you’ll feel confident and empowered to handle this common guitar maintenance task with ease.
So, grab your guitar, gather your materials, and let’s dive into the world of guitar string replacement. Before you know it, you’ll be back to strumming and picking your favorite tunes, all thanks to your newfound skill in fixing a broken guitar string.
Materials Needed
Materials Needed
Before embarking on the journey of fixing a broken guitar string, it’s essential to gather the necessary materials to ensure a smooth and successful process. Here’s what you’ll need:
-
Replacement Strings: Ensure you have the correct type and gauge of strings for your guitar. Acoustic, electric, and classical guitars require different string types, so double-check to match your guitar’s specifications.
-
Wire Cutters: A pair of wire cutters will be essential for trimming the excess string length after installation.
-
Tuner: A reliable tuner is crucial for ensuring your guitar is perfectly in tune once the new string is installed.
-
String Winder (optional): While not mandatory, a string winder can significantly speed up the process of installing the new string, especially for acoustic guitars.
-
Clean Cloth: Having a clean cloth on hand can help you wipe down your guitar and keep it free from any dust or debris that may interfere with the string replacement process.
-
Guitar Polish (optional): If you’re already replacing a string, it’s a great opportunity to give your guitar a quick polish to keep it looking and feeling fresh.
By ensuring you have these materials at your disposal, you’ll be well-equipped to tackle the task of replacing your broken guitar string with confidence and ease.
Step 1: Remove the Broken String
Step 1: Remove the Broken String
Before you can install a new string, you’ll need to safely remove the broken one. Follow these steps to ensure a smooth and hassle-free removal process:
-
Loosen the Tuning Peg: Start by loosening the tuning peg that corresponds to the broken string. Turn the peg counterclockwise to unwind the string until it’s slack enough to remove from the peg.
-
Unwind the String: Once the tension is released, unwind the broken string from the tuning peg. Be cautious as you remove it to avoid any potential injury from the sharp ends of the broken string.
-
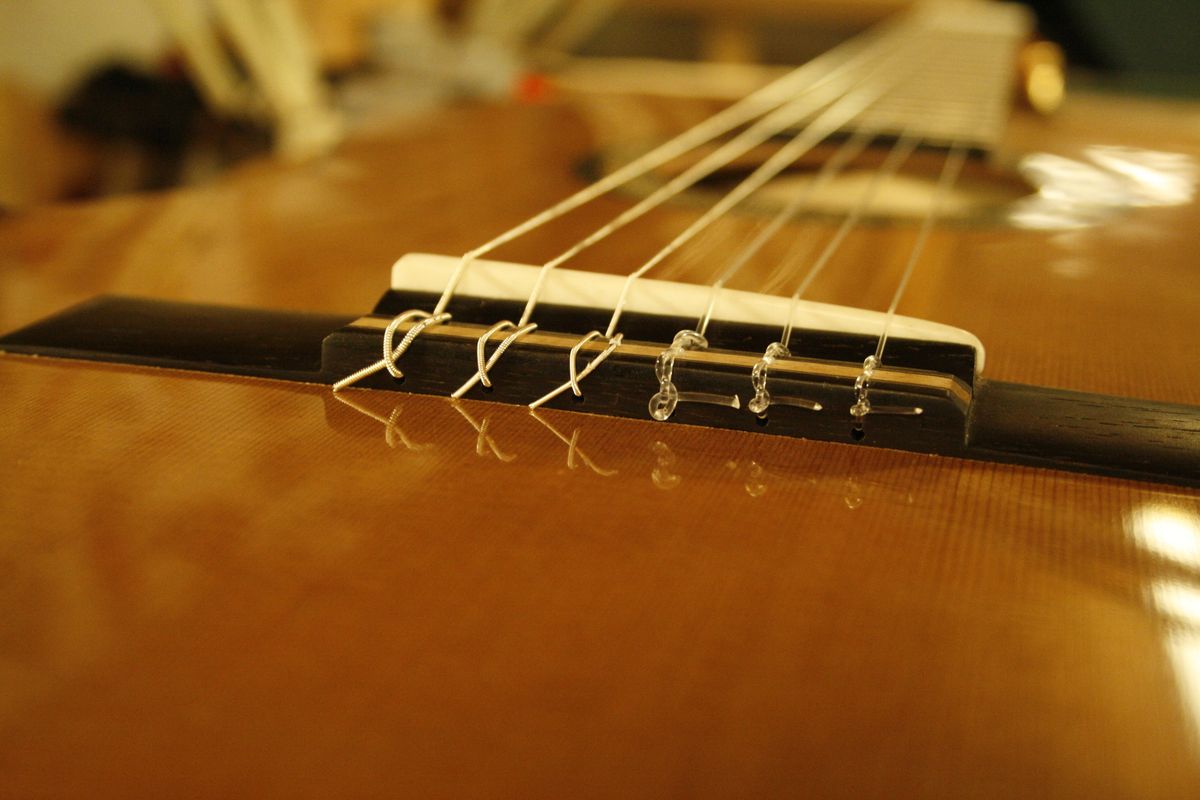
Remove the String from the Bridge: After detaching the string from the tuning peg, carefully remove it from the bridge of the guitar. This may involve untying a knot or simply feeding the string through the bridge, depending on your guitar’s design.
-
Discard the Broken String: Once the broken string is completely removed from the guitar, safely dispose of it. Be mindful of the sharp ends to prevent any accidental injuries.
With the broken string successfully removed, you’re now ready to move on to preparing the replacement string for installation. This crucial first step sets the stage for seamlessly transitioning to the next phase of the string replacement process.
Step 2: Prepare the Replacement String
Step 2: Prepare the Replacement String
With the broken string removed, it’s time to prepare the replacement string for installation. Follow these essential steps to ensure your new string is ready to be fitted onto your guitar:
-
Select the Correct Replacement String: Ensure that you have the appropriate replacement string for the one you’ve removed. Match the gauge and type of the new string to the specifications of your guitar. This is crucial for achieving the right tone and playability.
-
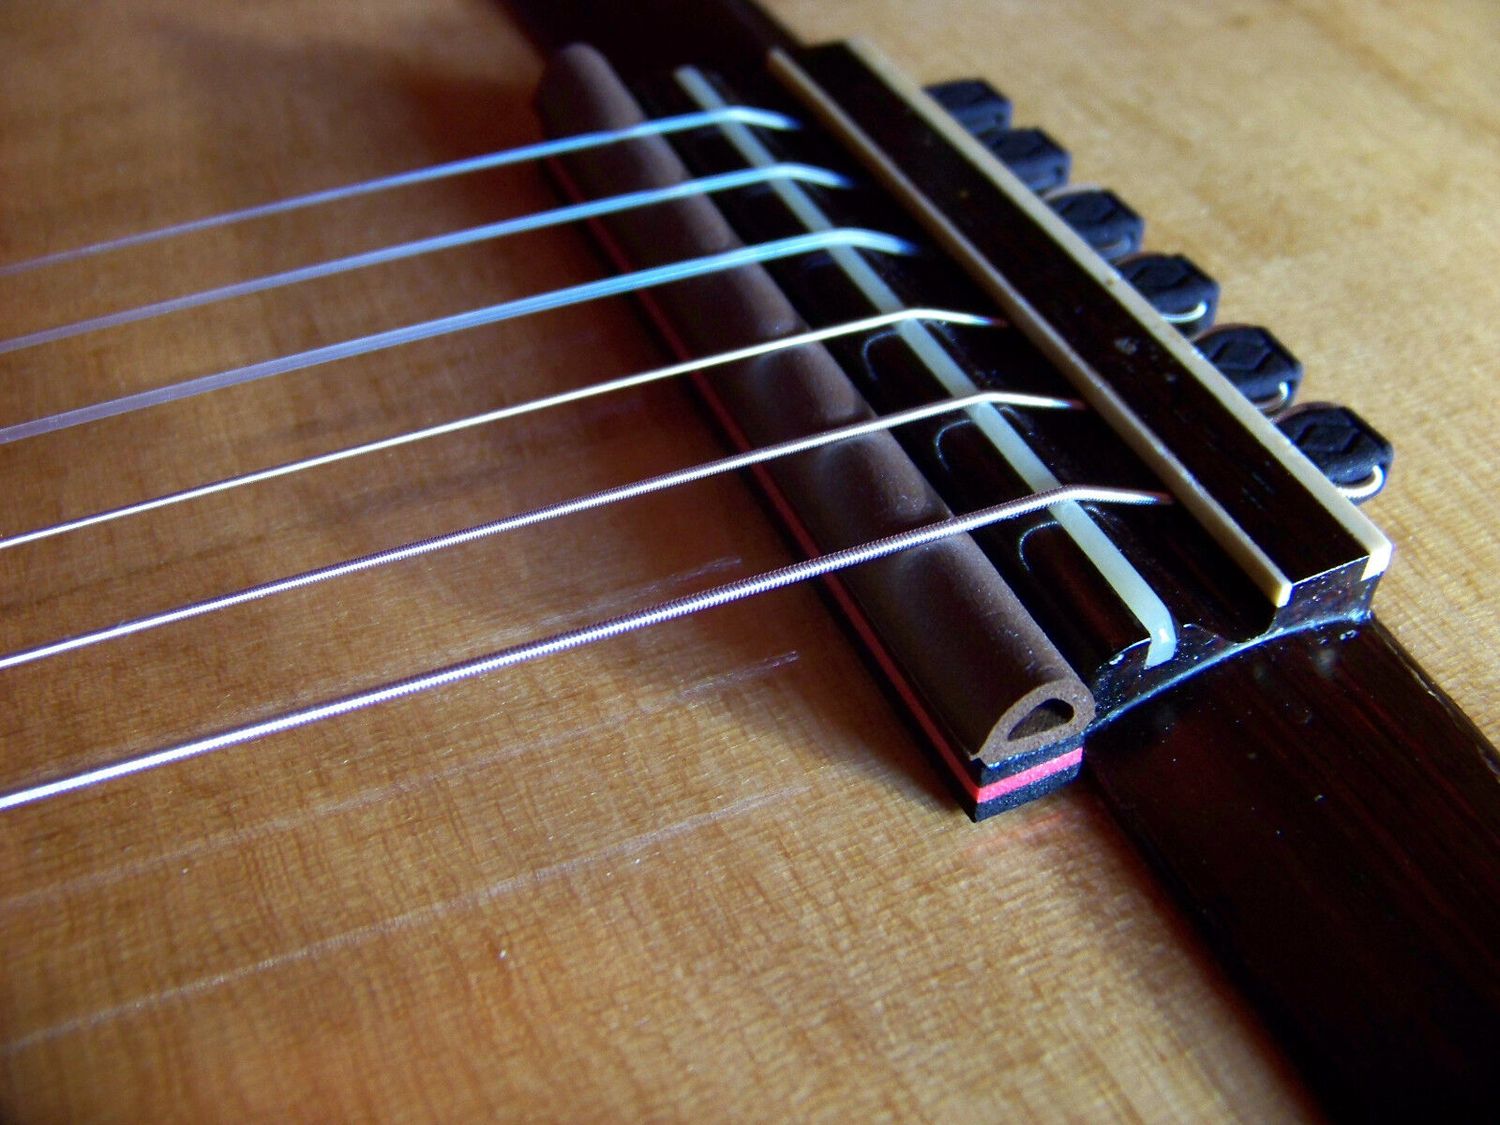
Inspect the Bridge and Nut: Take a moment to inspect the bridge and nut of your guitar. Ensure that they are free from any debris or old string remnants that could interfere with the installation of the new string.
-
Trim Excess String Length: If your replacement string is longer than necessary, use wire cutters to trim the excess length. Be mindful of leaving enough length to wind around the tuning peg without being too short or too long.
-
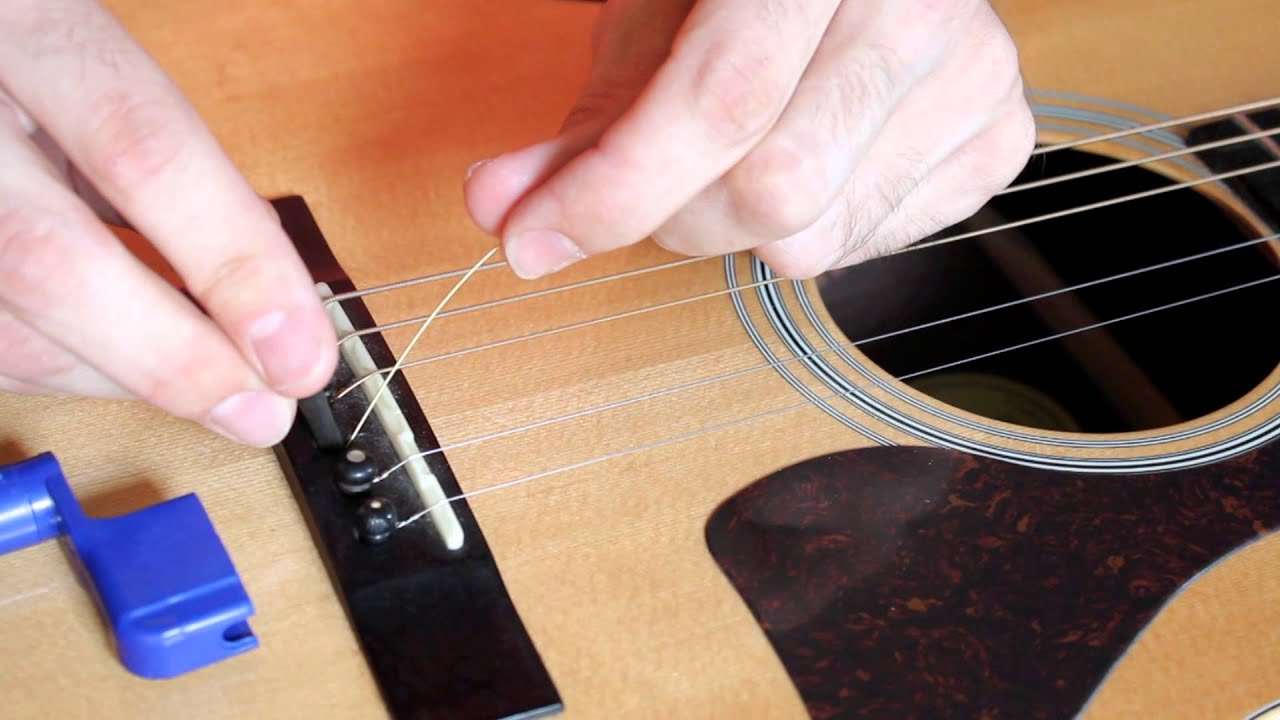
Thread the String Through the Bridge: Carefully thread the end of the replacement string through the corresponding hole in the bridge of your guitar. Depending on your guitar’s design, this may involve tying a knot or securing the string in a specific manner.
-
Wind the String Around the Tuning Peg: Once the string is secured at the bridge, begin winding it around the appropriate tuning peg. Ensure that the winds are neat and tidy, with the string wrapping from the inside to the outside of the peg.
By meticulously preparing the replacement string, you set the stage for a successful installation process. Attention to detail during this phase will ensure that your new string is ready to be securely and accurately installed on your guitar.
Step 3: Install the New String
Step 3: Install the New String
Now that you’ve prepared the replacement string, it’s time to install it onto your guitar. Follow these steps to ensure a smooth and effective installation process:
-
Secure the String at the Bridge: Ensure that the end of the replacement string is securely fastened at the bridge of your guitar. This may involve tying a knot or using a specific method based on your guitar’s design.
-
Begin Winding the String: With the string anchored at the bridge, start winding it around the corresponding tuning peg. Use your fingers to maintain tension on the string as you wind it, ensuring that the winds are neat and properly spaced.
-
Leave Adequate Slack: As you wind the string, leave enough slack between the bridge and the tuning peg to allow for proper tension adjustment during the tuning process.
-
Ensure Proper Alignment: As you continue winding the string, ensure that it aligns properly with the nut and the bridge, minimizing any potential friction points that could affect tuning stability and string longevity.
-
Trim Excess String: Once the string is securely wound and tuned to the appropriate pitch, use wire cutters to trim any excess length. Leave a small amount of slack to avoid any issues with the string slipping or unraveling.
By following these steps, you’ll successfully install the new string onto your guitar, setting the stage for the final and crucial step of tuning your instrument to perfection.
Step 4: Tune the Guitar
Step 4: Tune the Guitar
With the new string securely installed, it’s time to tune your guitar to ensure it produces the right notes and harmonizes with the other strings. Follow these essential steps to achieve optimal tuning:
-
Use a Tuner: Utilize a reliable tuner to ensure accurate tuning. Whether it’s a digital tuner, clip-on tuner, or a tuning app on your smartphone, having a precise tuning reference is crucial for achieving the correct pitch.
-
Begin with the Low E String: Start by tuning the low E string to the appropriate pitch. Turn the tuning peg to tighten or loosen the string until it matches the desired note.
-
Progress Through the Remaining Strings: Once the low E string is tuned, proceed to tune the A, D, G, B, and high E strings in sequence. Use the tuner to adjust each string to its respective pitch.
-
Check for Proper Intonation: After tuning all the strings, play a few chords and individual notes across the fretboard to ensure that the guitar’s intonation is accurate. Adjust the tuning as needed to achieve consistent and harmonious sound across the entire range of the instrument.
-
Stretch the Strings (Optional): If you want to expedite the settling of the new string, gently tug on each string to stretch it slightly. This can help stabilize the tuning and reduce the frequency of retuning during the initial playing sessions.
By meticulously tuning your guitar, you ensure that each string produces the right pitch, enabling you to play in tune with other musicians or recordings. This final step completes the process of replacing a broken guitar string, allowing you to resume playing with confidence and precision.
Conclusion
Conclusion
Congratulations! You’ve successfully navigated the process of fixing a broken guitar string, equipping yourself with the knowledge and skills to tackle this common issue with confidence. By following the steps outlined in this guide, you’ve not only replaced a broken string but also gained valuable insight into the maintenance and care of your beloved instrument.
Remember, encountering a broken guitar string is a natural part of a musician’s journey, and knowing how to address it efficiently ensures that your musical pursuits remain uninterrupted. Whether you’re a seasoned player or just beginning your guitar adventure, the ability to handle string replacements empowers you to keep the music flowing without missing a beat.
As you continue to hone your guitar skills and explore new musical horizons, the knowledge gained from this experience will serve you well. Embrace the process of maintaining and caring for your instrument, as it fosters a deeper connection with your music and enhances your overall playing experience.
So, pick up your newly strung guitar, feel the tension of the fresh string under your fingers, and let the music resonate as you embark on your next musical endeavor. With the ability to fix a broken guitar string in your repertoire, you’re well-prepared to face the challenges and triumphs that await you on your musical journey.