Home>Production & Technology>Audio Interface>How To Connect Presonus Eris E3.5 To Audio Interface
Audio Interface
How To Connect Presonus Eris E3.5 To Audio Interface
Published: February 5, 2024
Learn how to connect your Presonus Eris E3.5 speakers to your audio interface for optimal sound quality. Enhance your audio production with this step-by-step guide.
(Many of the links in this article redirect to a specific reviewed product. Your purchase of these products through affiliate links helps to generate commission for AudioLover.com, at no extra cost. Learn more)
Table of Contents
Introduction
Audio interfaces are an essential piece of equipment for anyone involved in professional audio recording, producing, or mixing. They serve as the bridge between your computer and your studio monitors, allowing you to achieve high-quality audio playback and recording.
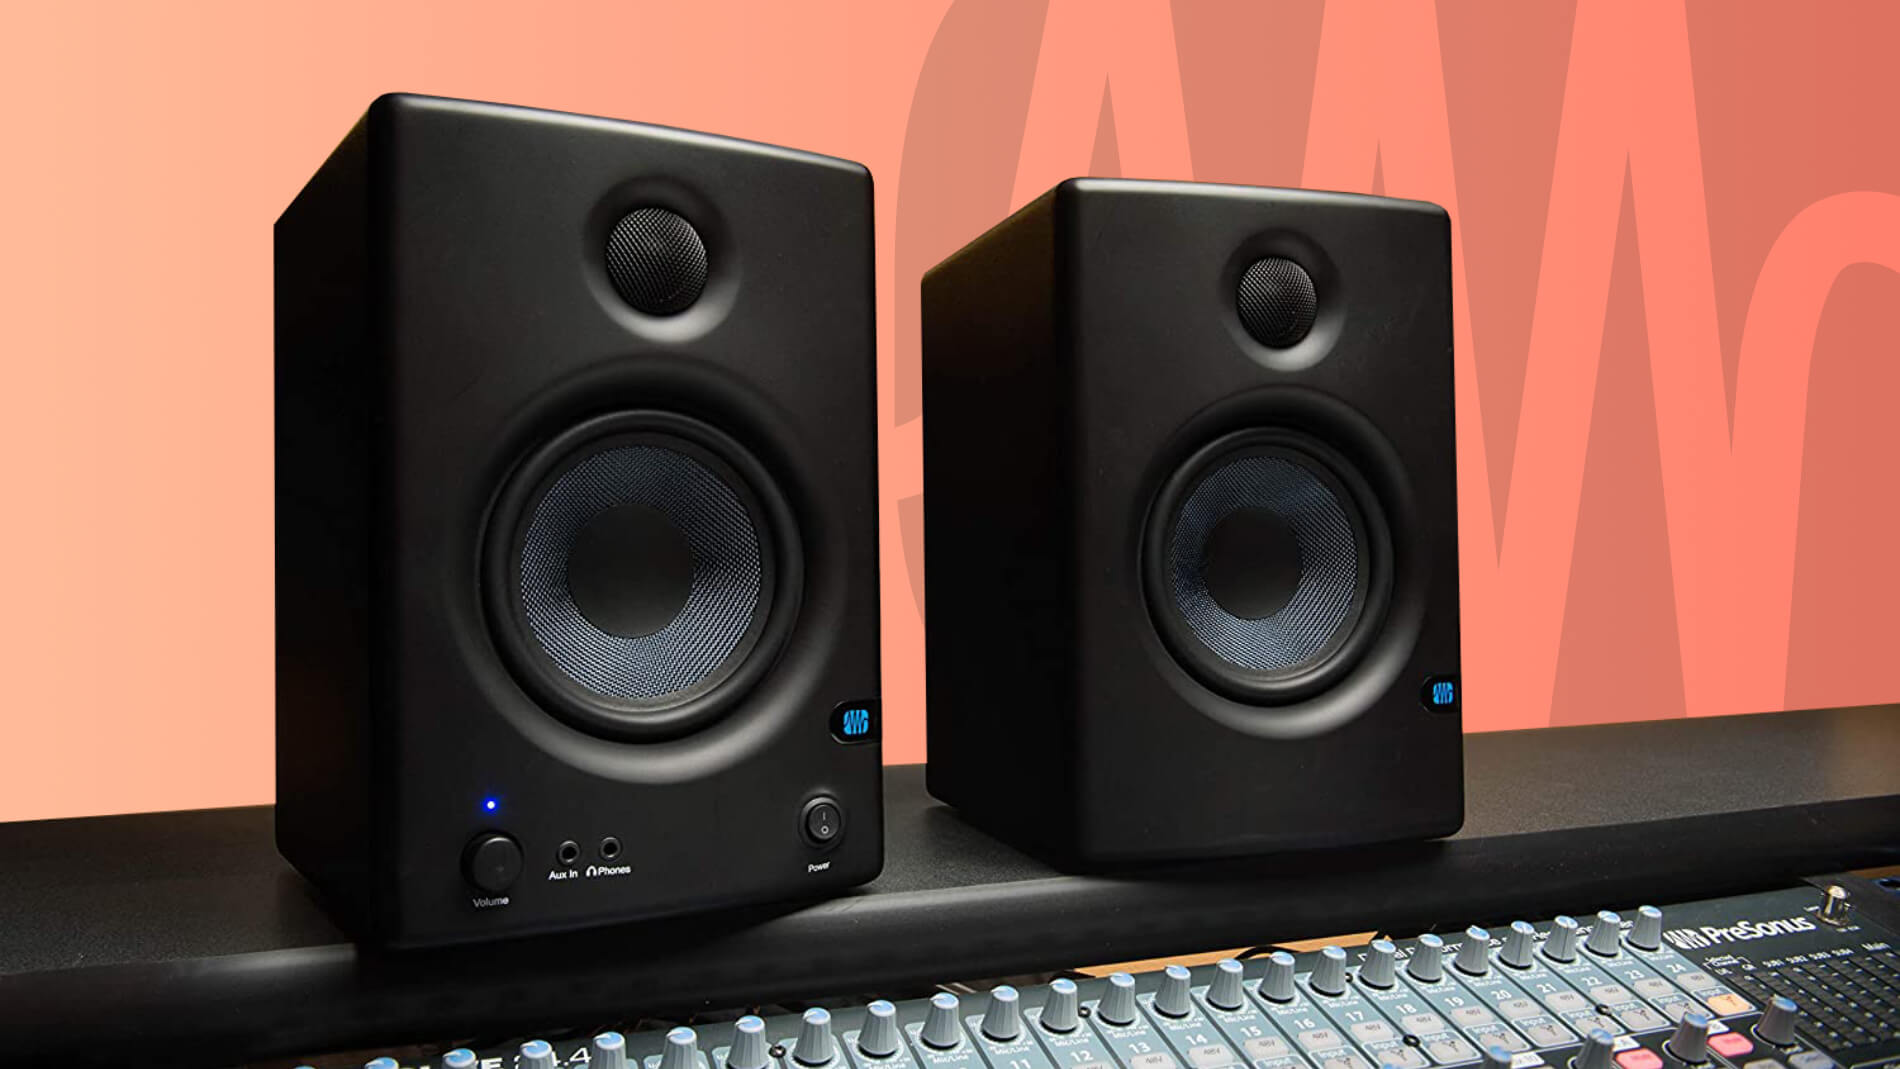
In this article, we will guide you through the process of connecting the popular Presonus Eris E3.5 speakers to an audio interface. The Presonus Eris E3.5 is a compact and affordable set of studio monitors that are known for their excellent sound quality and versatility, making them a popular choice for both beginners and experienced audio enthusiasts.
By connecting the Eris E3.5 to an audio interface, you can take advantage of the interface’s advanced features such as low-latency monitoring, multiple inputs/outputs, and improved sound quality. This setup allows you to achieve accurate monitoring and precise control over your audio recordings and playback.
Whether you are a musician, podcaster, content creator, or audio engineer, following this step-by-step guide will help you set up your Presonus Eris E3.5 speakers with an audio interface and unlock their full potential.
Before we dive into the setup process, let’s take a moment to ensure you have all the necessary equipment on hand.
Step 1: Gathering the necessary equipment
Before you begin the setup process, make sure you have the following equipment readily available:
- Presonus Eris E3.5 speakers: These compact studio monitors provide excellent sound quality and are specifically designed for accurate audio playback.
- Audio interface: Choose an audio interface that suits your needs and budget. Look for one that offers the necessary inputs and outputs for your recording setup.
- Computer: You will need a computer with available USB ports to connect the audio interface.
- USB cables: Ensure you have USB cables that are compatible with both your audio interface and computer.
- Audio cables: Depending on the connections available on your audio interface and speakers, you may need TRS, XLR, or RCA cables to connect them.
Once you have gathered all the necessary equipment, you are ready to move on to the next step: setting up the audio interface.
Step 2: Setting up the audio interface
Setting up the audio interface correctly is crucial for achieving optimal audio quality and functionality. Follow these steps to ensure a proper setup:
- Read the manual: Familiarize yourself with the specific instructions provided by the manufacturer of your audio interface. This will help you understand any unique features or requirements.
- Connect the power supply: If your audio interface requires external power, plug it into a power outlet using the provided power supply.
- Connect the audio interface to your computer: Use the USB cable to connect the audio interface’s USB port to an available USB port on your computer. Ensure a secure connection.
- Install the necessary drivers: In many cases, you will need to install drivers provided by the manufacturer to ensure compatibility between your audio interface and computer. Visit the manufacturer’s website and follow the instructions for driver installation.
- Configure the audio interface settings: Open your computer’s audio settings and make sure the audio interface is selected as the default input and output device. Adjust the sample rate and buffer size to match your desired recording and playback settings.
- Test the audio interface: Verify that the audio interface is functioning correctly by playing a test tone or audio file. Ensure that sound is being output through the interface and that volume levels are appropriate.
With your audio interface properly set up, you are now ready to connect the Presonus Eris E3.5 speakers and enjoy their exceptional audio performance. Move on to the next step to learn how to make the physical connections.
Step 3: Connecting the audio interface to the computer
Now that your audio interface is set up, it’s time to establish the connection between the interface and your computer:
- Locate the appropriate ports: Identify the USB port on your audio interface. It is typically labeled as “USB” or “Computer.”
- Connect the USB cable: Plug one end of the USB cable into the USB port on the audio interface, and the other end into an available USB port on your computer. Ensure a secure connection.
- Check for recognition: After connecting the USB cable, your computer should recognize the audio interface. It may automatically install any necessary drivers or prompt you to install them manually. Follow any on-screen instructions.
- Verify the connection: Once the audio interface is recognized, check your computer’s audio settings to ensure that the interface is selected as the default input and output device. This will ensure that audio signals are routed through the interface.
With the audio interface successfully connected to your computer, you are now ready to move on to the next step: connecting the Presonus Eris E3.5 speakers to the audio interface. This will allow you to hear the output from the audio interface through the speakers and complete the setup process.
Step 4: Connecting the Presonus Eris E3.5 speakers to the audio interface
With the audio interface and computer connected, the next step is to connect the Presonus Eris E3.5 speakers to the audio interface. Follow these steps to establish the physical connection:
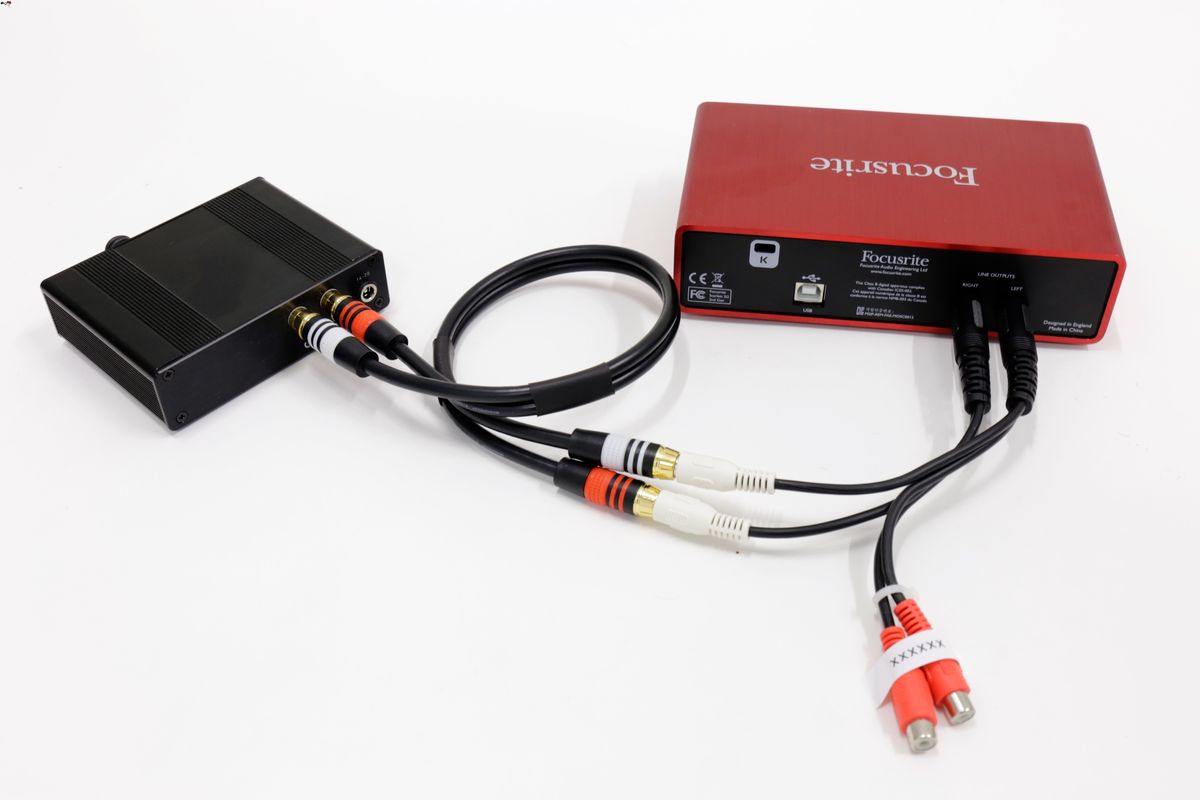
- Locate the audio outputs: Identify the appropriate audio outputs on your audio interface. Depending on your interface, these may be labeled as “Main Out,” “Line Out,” or something similar.
- Identify the input ports on the Eris E3.5 speakers: The Eris E3.5 speakers feature various connectivity options, including balanced TRS, unbalanced RCA, and an auxiliary input. Choose the input type that matches the output ports on your audio interface.
- Choose the appropriate cables: Select the cables required to connect the audio outputs on the interface to the input ports on the Eris E3.5 speakers. If your interface and speakers have TRS outputs and inputs, use TRS cables. If they have RCA outputs and inputs, use RCA cables. Ensure that the connectors are properly inserted into the respective ports.
- Connect the cables: Connect one end of the cables to the audio outputs on the interface and the other end to the input ports on the Eris E3.5 speakers. Take care to line up the connections properly and secure them.
- Repeat for both speakers: If you’re working with a stereo setup, repeat the connection process for both Eris E3.5 speakers. Ensure that you connect the left speaker to the left output and the right speaker to the right output on your audio interface.
With the Presonus Eris E3.5 speakers successfully connected to the audio interface, you are one step closer to experiencing top-notch audio quality in your studio environment. Now, let’s move on to adjusting the settings to ensure optimal performance.
Step 5: Adjusting the settings
Once you have connected the Presonus Eris E3.5 speakers to the audio interface, it’s essential to make a few adjustments to ensure optimal performance. Follow these steps to fine-tune the settings:
- Monitor control: On the audio interface, locate the monitor control knobs or buttons. Adjust the volume levels to your desired listening level. It’s recommended to start with a lower volume and gradually increase it to prevent any sudden, loud noises.
- Equalization: Many audio interfaces offer built-in equalization controls. Use these controls to adjust the bass, midrange, and treble frequencies to your preference. Experiment with different settings to find the perfect balance for your audio playback.
- Software control panel: Some audio interfaces come with dedicated software control panels. Install the provided software and explore the options available. These control panels often provide advanced features such as spatialization, surround sound, and audio routing customization.
- Testing the speakers: Play a sound or music file through your chosen audio software or digital audio workstation (DAW). Listen carefully to ensure that both speakers are producing sound evenly and without any distortion. Adjust the settings if necessary.
- Room setup: Consider the placement of the Eris E3.5 speakers in your studio. Position them so that the sound is directed towards your listening position, and there are no obstructions that could interfere with the audio quality. Use isolation pads or stands to reduce any unwanted vibrations or resonances.
Remember, the settings may vary depending on your personal preferences and the requirements of your specific audio projects. Take your time to experiment and find the settings that work best for you and your studio setup.
Now that you have adjusted the settings, it’s time to put the connection to the test.
Step 6: Testing the connection
After completing the setup and adjusting the settings, it’s crucial to test the connection between your audio interface and the Presonus Eris E3.5 speakers to ensure everything is working as expected. Follow these steps to test the connection:
- Play a test signal: Use your audio software or DAW to play a test signal or audio file. It could be a simple tone or a piece of music. Ensure that the audio is routed through the audio interface and being played back through the Eris E3.5 speakers.
- Check for balanced sound: Listen carefully to the audio output from both the left and right speakers. Pay attention to the balance between the two speakers. The sound should be evenly distributed, with no noticeable volume differences between them.
- Test different audio sources: Try playing audio from different sources, such as music from your media player or streaming services, audio recordings, or projects from your DAW. This will help you evaluate the overall performance and ensure seamless playback from different sources.
- Verify audio quality: Assess the audio quality of the playback. Listen for clarity, detail, and accuracy of the sound reproduction. Pay attention to the low end, midrange, and high frequencies to ensure they are well-balanced and without any distortion or muddiness.
- Make necessary adjustments: If you notice any issues during the testing process, such as imbalanced sound or distortion, go back to the previous steps and recheck your connections and settings. Make any necessary adjustments until you achieve the desired audio quality.
By thoroughly testing the connection between your audio interface and the Presonus Eris E3.5 speakers, you can ensure that your setup is functioning optimally. It’s important to remember that audio preferences can vary from person to person, so take the time to fine-tune the settings to match your specific needs and preferences.
Congratulations! You have successfully connected your Presonus Eris E3.5 speakers to the audio interface and completed the setup process. Now you can enjoy the exceptional audio quality and precise monitoring capabilities these speakers provide in your studio environment.
Now that you’re ready to create your music or content, go ahead and start your audio journey with confidence!
Conclusion
Connecting the Presonus Eris E3.5 speakers to an audio interface is a crucial step in achieving high-quality audio playback and recording. By following the step-by-step guide outlined in this article, you have learned how to set up your audio interface, connect it to your computer, and establish the physical connection with the Eris E3.5 speakers.
Throughout the process, it’s essential to pay attention to the details and make adjustments to ensure optimal performance. By adjusting the settings, testing the connection, and fine-tuning the audio output, you can create a professional audio environment in your studio.
Remember to take advantage of the versatile features offered by your audio interface, such as low-latency monitoring and customizable control panels, to enhance your recording and mixing capabilities.
With the Presonus Eris E3.5 speakers and audio interface properly connected, you can now enjoy accurate audio monitoring, precise sound reproduction, and an immersive audio experience. Whether you are a musician, podcaster, content creator, or audio enthusiast, this setup will greatly enhance your audio production quality.
Take your time to experiment, find the optimal settings for your specific needs, and enjoy the benefits of reliable and exceptional audio playback.
Now that you have successfully completed the setup process, it’s time to unleash your creativity and embark on your audio endeavors with confidence.