Home>Production & Technology>Audio Interface>How To Connect Audio Interface To Studio One
Audio Interface
How To Connect Audio Interface To Studio One
Published: February 4, 2024
Learn how to easily connect your audio interface to Studio One for seamless recording and editing. Enhance your audio production with this step-by-step tutorial.
(Many of the links in this article redirect to a specific reviewed product. Your purchase of these products through affiliate links helps to generate commission for AudioLover.com, at no extra cost. Learn more)
Table of Contents
Introduction
Welcome to this comprehensive guide on how to connect an audio interface to Studio One. If you’re a musician, podcaster, or audio engineer, you likely understand the importance of having a high-quality audio interface to capture and record your music or voiceovers. Studio One is a powerful digital audio workstation (DAW) that allows you to create, produce, and mix your music or audio projects with professional-grade tools.
By connecting your audio interface to Studio One, you can achieve pristine audio recordings, take advantage of low-latency monitoring, and unlock a world of creative possibilities. Whether you’re a beginner or an experienced user, this step-by-step guide will walk you through the process of connecting your audio interface to Studio One, ensuring that you’re up and running quickly and efficiently.
In this guide, we’ll cover the basics of audio interfaces and their role in recording audio, as well as the necessary steps to prepare your audio interface and Studio One for optimal performance. You’ll also learn how to connect your audio interface to Studio One, configure the audio settings, and perform a test to ensure everything is working as expected.
So, let’s dive in and explore the world of audio interfaces and Studio One, and discover how to make the most of this powerful combination!
Step 1: Understanding the Audio Interface
Before we dive into connecting your audio interface to Studio One, it’s important to have a clear understanding of what an audio interface is and how it works.
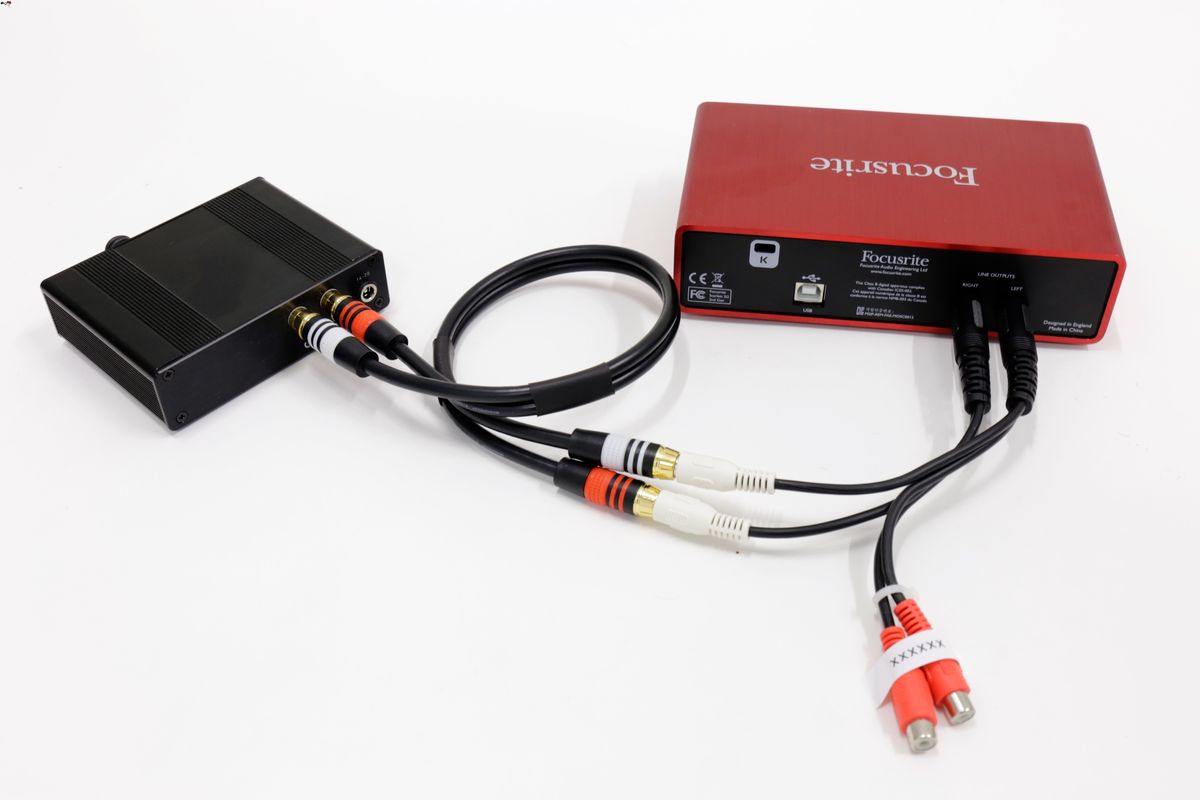
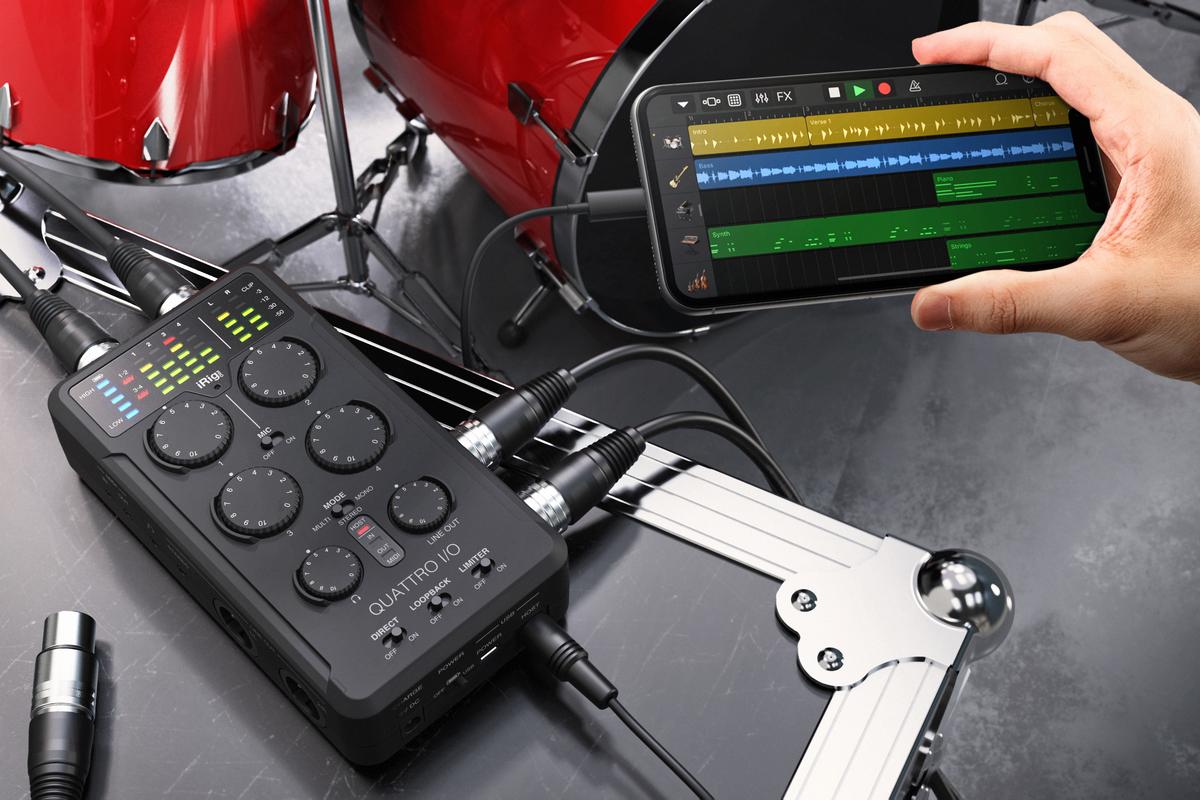
An audio interface is a device that allows you to connect your instruments, microphones, and other audio sources to your computer or recording equipment. It converts analog audio signals into digital data that can be processed and recorded by your computer or DAW.
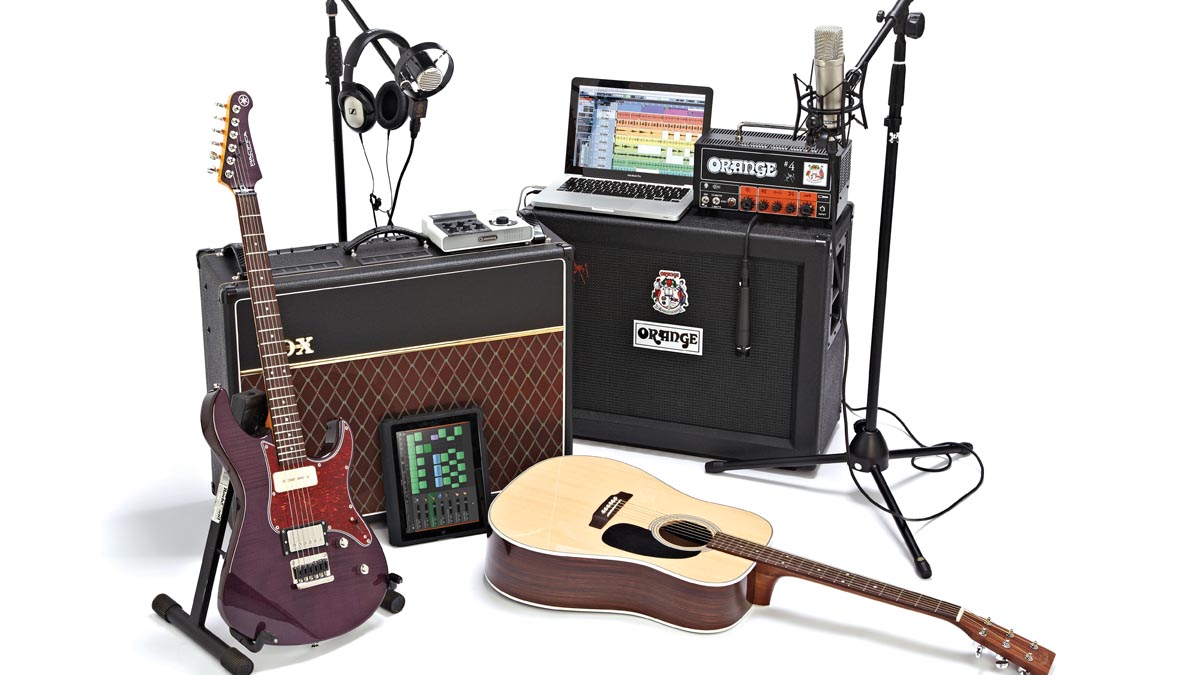
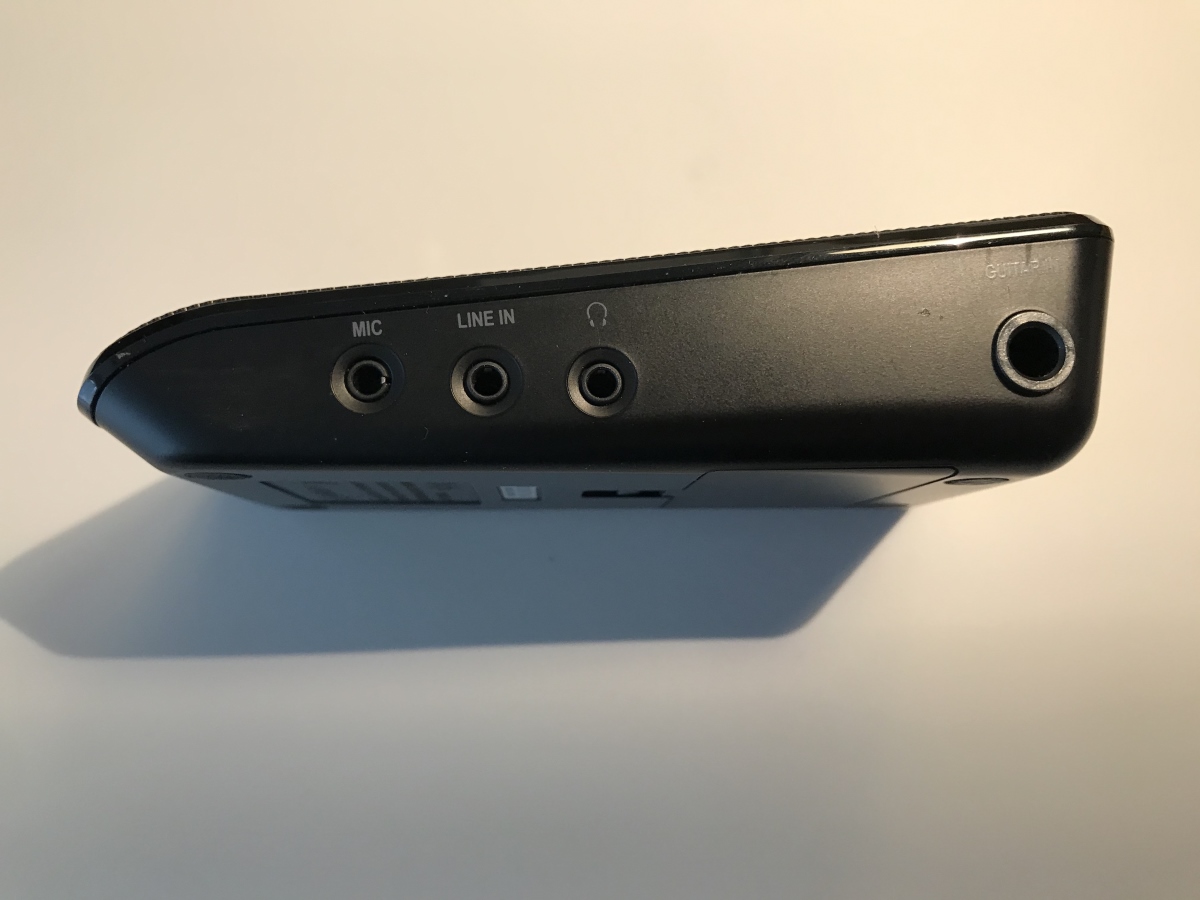
Audio interfaces come in various shapes and sizes, with different input and output options to suit different recording needs. They typically feature microphone preamps, instrument inputs, line inputs, headphone outputs, and line outputs. Some higher-end audio interfaces may also include digital connectivity options like ADAT, Thunderbolt, or USB-C.
When choosing an audio interface, consider the number and type of inputs and outputs you require, the quality of the preamps, and the overall sound quality. It’s important to choose an audio interface that matches your recording needs and fits within your budget.
Once you have chosen and acquired your audio interface, it’s crucial to install the necessary drivers and software provided by the manufacturer. These drivers ensure compatibility between the audio interface and your computer, allowing seamless communication and optimal performance.
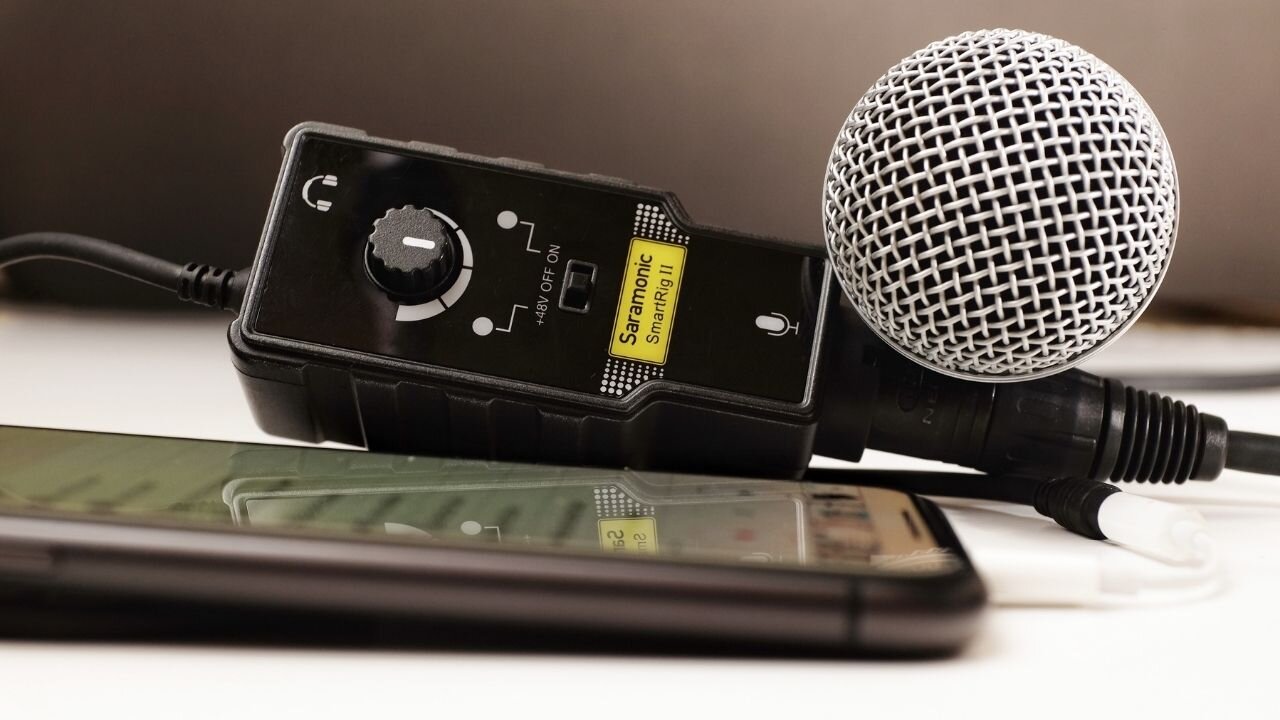
Additionally, familiarize yourself with the various controls and features on your audio interface, such as gain knobs, phantom power switches, and headphone volume controls. Understanding the functionality of these controls will help you achieve the best recording and monitoring experience.
By having a solid understanding of how your audio interface operates, you’ll be better prepared to connect it to Studio One and make the most of its features and capabilities.
Now that we have a good understanding of audio interfaces, let’s move on to the next step: preparing your audio interface and Studio One for the connection process.
Step 2: Preparing your Audio Interface and Studio One
Before connecting your audio interface to Studio One, it’s essential to ensure that both your audio interface and software are properly prepared and set up. This will help to avoid any compatibility issues or interruptions during the connection process.
Firstly, make sure to check for any available firmware or driver updates for your audio interface. Visit the manufacturer’s website and download the latest drivers or firmware, following their installation instructions. Keeping your drivers up to date will ensure optimal performance and compatibility.
Next, connect your audio interface to your computer using a USB or Thunderbolt cable, depending on the interface’s connectivity options. Make sure the interface is powered on and properly connected.
Now, let’s move on to preparing Studio One for the connection. Launch the Studio One software on your computer and ensure that it is updated to the latest version. Updates often include bug fixes and improvements, so it’s important to stay up to date.
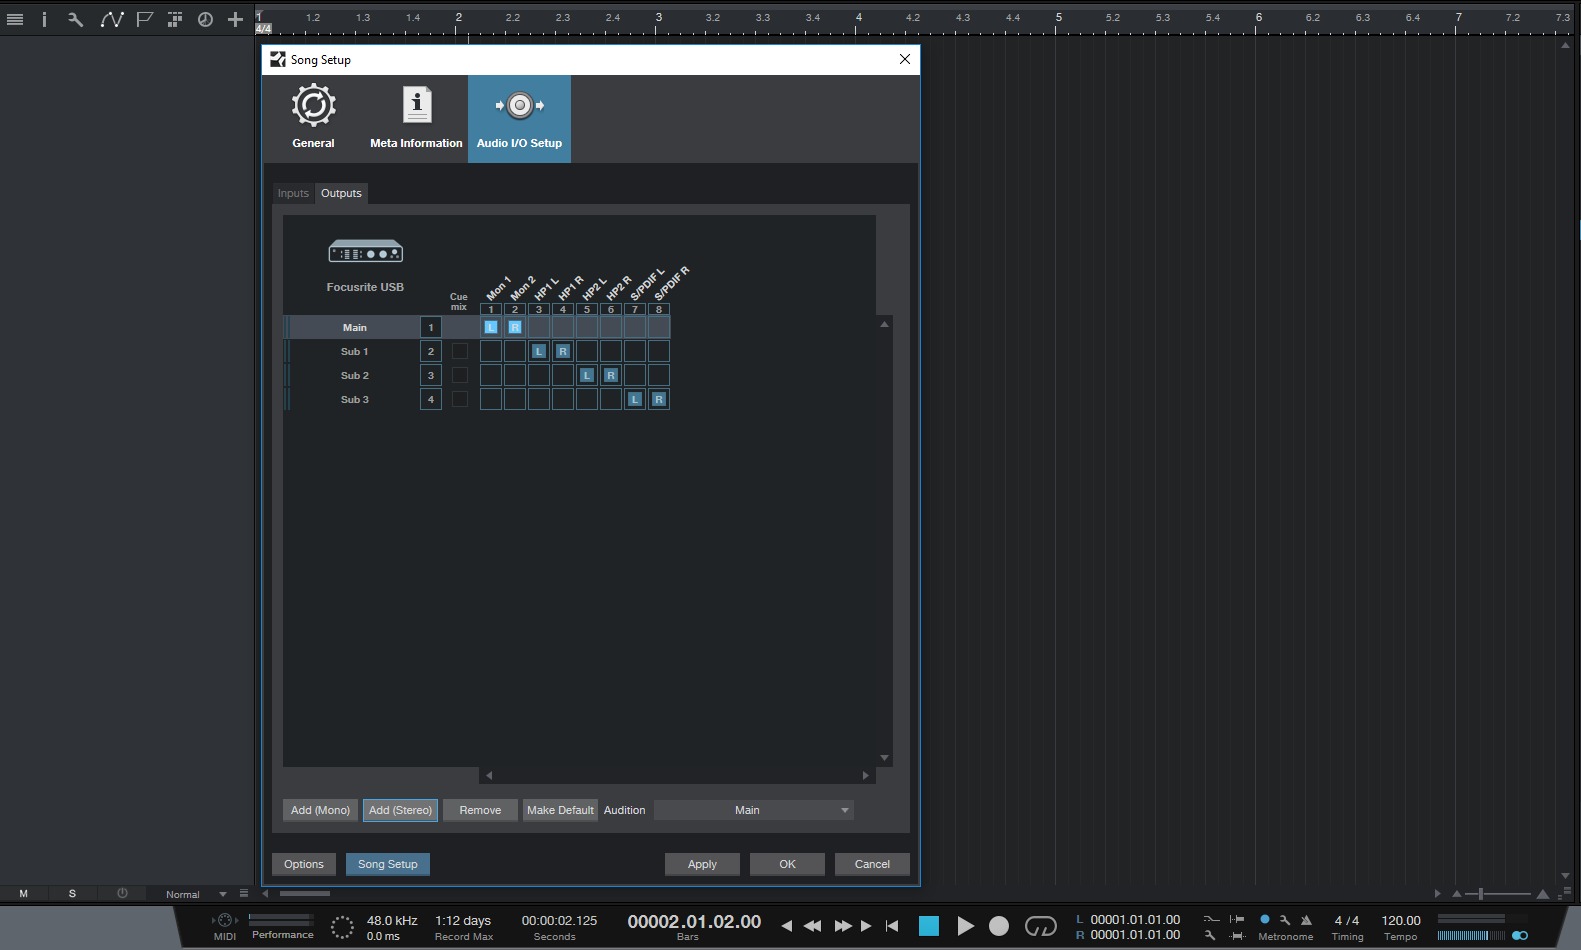
Once Studio One is open, navigate to the audio settings. Go to “Options” or “Preferences” and select “Audio Setup” or a similar option. Here, you can select your audio interface as the default input and output device. Choose the appropriate driver and adjust the sample rate and buffer settings according to your needs. It’s generally recommended to choose a sample rate of 44.1kHz or 48kHz and adjust the buffer size for a balance between latency and performance.
Take note of any additional settings specific to your audio interface, such as sample rate options or clock synchronization. Consult the user manual or manufacturer’s website for detailed instructions on configuring your audio interface within Studio One.
With both your audio interface and Studio One prepared, you’re now ready to establish the physical and digital connection between the two. In the next step, we’ll explore how to connect your audio interface to Studio One.
Remember, preparation is key to a smooth and successful connection process. By ensuring that your audio interface and Studio One are properly set up, you’ll minimize any potential complications and be well on your way to recording your audio with ease.
Step 3: Connecting your Audio Interface to Studio One
Now that you have prepared your audio interface and Studio One, it’s time to establish the physical and digital connection between the two. Follow the steps below to connect your audio interface to Studio One:
- Ensure that both your audio interface and computer are powered off before making any connections.
- Connect one end of your USB or Thunderbolt cable to the corresponding port on your audio interface.
- Connect the other end of the cable to an available USB or Thunderbolt port on your computer.
- Power on your audio interface.
- Power on your computer and wait for it to boot up.
- Launch Studio One on your computer.
- In Studio One, navigate to the audio settings by going to “Options” or “Preferences” and selecting “Audio Setup.”
- Ensure that your audio interface is selected as the default input and output device.
- Verify that the sample rate and buffer settings in Studio One match the settings configured on your audio interface.
Once the above steps are completed, your audio interface should be successfully connected to Studio One. You can now start recording and producing your audio projects with confidence.
If you encounter any issues with the connection, double-check the cable connections, ensure that the drivers for your audio interface are properly installed, and verify that the audio settings in Studio One are correctly configured. It’s also helpful to consult the user manual or contact the manufacturer’s support for further assistance.
Remember that each audio interface may have slight variations in the connection process, so always refer to the specific instructions provided by the manufacturer. By following these steps, you’ll be well on your way to unleashing the full potential of your audio interface with Studio One.
Step 4: Configuring Audio Settings in Studio One
Once your audio interface is connected to Studio One, it’s important to configure the audio settings to ensure optimal performance and compatibility. Follow the steps below to configure the audio settings in Studio One:
- In Studio One, go to “Options” or “Preferences” and select “Audio Setup” or a similar option.
- Select your audio interface as the default input and output device.
- Choose the appropriate driver for your audio interface. Typically, you’ll have options like ASIO, Core Audio, or WASAPI. ASIO is generally recommended for Windows, while Core Audio is preferred for macOS.
- Adjust the sample rate and buffer settings according to your needs. The sample rate determines the number of audio samples per second, while the buffer size affects the latency and audio processing performance. Higher sample rates yield better audio quality, but may require more processing power.
- Enable or disable features like dropout protection or low-latency monitoring, depending on your preferences and system capabilities.
- Configure any additional settings specific to your audio interface, such as clock source, sync options, or input/output routing. Consult the user manual or manufacturer’s website for detailed instructions on configuring these settings.
- Click “Apply” or “OK” to save the changes.
By properly configuring the audio settings in Studio One, you’ll ensure that your audio interface works seamlessly with the software, enabling accurate recording, monitoring, and playback capabilities.
If you experience issues with audio quality, latency, or compatibility, try adjusting the buffer size and sample rate settings. Increasing the buffer size can reduce the strain on your computer’s processing power, but may introduce higher latency. Conversely, decreasing the buffer size can reduce latency, but may require more processing power.
It’s also worth noting that different audio interfaces may have additional settings or features specific to their models. Make sure to explore the options available in the audio settings of Studio One and consult the user manual or manufacturer’s documentation for guidance on optimizing the performance of your specific audio interface.
With the audio settings properly configured, you’re now ready to start recording, mixing, and producing your audio projects in Studio One with your connected audio interface.
Step 5: Testing and Troubleshooting
After connecting your audio interface to Studio One and configuring the audio settings, it’s crucial to perform some tests and troubleshoot any potential issues that may arise. This step will ensure that your audio interface and Studio One are working together seamlessly. Follow the steps below to test and troubleshoot your setup:
- Open a new project in Studio One.
- Create a new audio track by clicking on the “Add Track” button or using the keyboard shortcut.
- Arm the audio track for recording by clicking on the record enable button.
- Verify that the input source on the audio track is set to the appropriate input channel of your audio interface.
- Speak into your microphone or play an instrument connected to your audio interface to test the input signal. You should see the audio meters on the track showing the incoming signal.
- Monitor the input signal by adjusting the headphone or monitor volume on your audio interface.
- Record a short test recording to ensure that the audio is capturing properly and that there are no distortion or noise issues.
- Play back the recording to check the output sound quality and ensure that it aligns with your expectations.
If you encounter any issues during the testing phase, here are a few troubleshooting tips:
- Make sure that your audio interface is selected as the audio device in Studio One.
- Check that all cables are securely connected to the correct ports on your audio interface and computer.
- Verify that the input source on your audio track corresponds to the input channel on your audio interface.
- Ensure that the gain or input levels are set appropriately on your audio interface to prevent distortion.
- Check the settings on your audio interface for any built-in effects or processing that may affect the sound quality.
- If you are still experiencing issues, consult the user manual for your audio interface, check for any firmware or software updates, or contact the manufacturer’s support for further assistance.
By conducting these tests and troubleshooting any potential issues, you’ll be able to identify and resolve any problems with your audio interface and Studio One configuration, ensuring that you can confidently create and produce high-quality audio projects.
Now that you have successfully tested and troubleshooted your setup, it’s time to unleash your creativity and start recording, mixing, and producing your music or audio projects using your connected audio interface in Studio One.
Conclusion
Congratulations! You have now successfully connected your audio interface to Studio One and are well on your way to creating professional-quality audio recordings. By following the steps outlined in this guide, you have learned how to understand and prepare your audio interface, connect it to Studio One, configure the audio settings, and perform tests to ensure optimal performance.
Remember, the audio interface is an essential tool for capturing the true essence of your music or voiceover. It allows you to harness the power of Studio One’s powerful tools and features to create and produce your audio projects with precision and clarity.
Throughout this guide, you have gained a solid understanding of the role of an audio interface, the necessary preparations, and the connection process. You have also learned how to configure the audio settings within Studio One to achieve the best possible recording and monitoring experience.
Should you encounter any issues along the way, remember the troubleshooting tips provided. Checking connections, adjusting settings, and consulting the manufacturer’s resources will help you overcome any obstacles you may face.
Now, armed with this knowledge, it’s time to let your creativity flow. Experiment with different recording setups, explore the vast array of plugins and virtual instruments available in Studio One, and unleash your artistic vision.
Whether you’re a musician, podcaster, or audio engineer, connecting your audio interface to Studio One opens up a world of possibilities for creating professional-grade audio. So, grab your instruments, plug in your microphones, and let Studio One be your creative companion in bringing your musical or audio projects to life.
Thank you for following this guide, and we wish you the best of luck on your audio journey!