Home>Production & Technology>Audio Interface>How To Link MIDI Keyboard To Fl Studio Through Audio Interface
Audio Interface
How To Link MIDI Keyboard To Fl Studio Through Audio Interface
Modified: February 22, 2024
Learn how to connect your MIDI keyboard to FL Studio using an audio interface. Discover the best methods for seamless integration and optimized performance.
(Many of the links in this article redirect to a specific reviewed product. Your purchase of these products through affiliate links helps to generate commission for AudioLover.com, at no extra cost. Learn more)
Table of Contents
Introduction
Are you an aspiring music producer or an experienced musician looking to enhance your digital recording setup? If so, connecting your MIDI keyboard to FL Studio through an audio interface is a crucial step in unlocking the full potential of your creative process. In this article, we will guide you through the process of linking your MIDI keyboard to FL Studio with the help of an audio interface, allowing you to seamlessly integrate hardware and software for a unified musical experience.
FL Studio, one of the most popular digital audio workstations (DAWs) on the market, offers unparalleled flexibility and versatility in music production. By connecting your MIDI keyboard, you can unleash your creativity and perform intricate melodies, chords, and rhythms directly into FL Studio.
An audio interface acts as the bridge between your MIDI keyboard and FL Studio, converting the analog signals from your keyboard into digital information that FL Studio can understand. This enables you to control virtual instruments, record MIDI data, and manipulate various parameters with ease.
Whether you are a beginner or an advanced user, we will walk you through the step-by-step process of setting up and configuring your MIDI keyboard with FL Studio through an audio interface. We will also provide troubleshooting tips to help you overcome common issues that may arise during the setup process.
So, without further ado, let’s dive into the world of MIDI keyboards, audio interfaces, and FL Studio and unlock your true musical potential!
Step 1: Setting up the MIDI Keyboard
The first step in connecting your MIDI keyboard to FL Studio through an audio interface is to properly set up your MIDI keyboard. Follow these steps to ensure a seamless connection:
- Power on your MIDI keyboard and make sure it is connected to your computer via a USB cable. If your MIDI keyboard requires an external power source, ensure that it is plugged in and turned on.
- Install any necessary drivers or software that may come with your MIDI keyboard. Consult the manufacturer’s instructions or website for specific details on driver installation.
- Once your MIDI keyboard is connected and the drivers are installed, open FL Studio on your computer.
- In FL Studio, navigate to the Options menu and select MIDI settings. This will open the MIDI settings window.
- In the MIDI settings window, select your MIDI keyboard from the Input and Output device drop-down menus. These menus will list all the available MIDI devices connected to your computer. If you don’t see your MIDI keyboard listed, ensure that it is properly connected and that the drivers are installed correctly.
- After selecting your MIDI keyboard, click on the Enable button next to it to activate the MIDI input and output for your device in FL Studio.
- Click OK to save the changes and close the MIDI settings window.
Once you have completed these steps, your MIDI keyboard is set up and ready for the next stage of the process: connecting it to an audio interface.
It is important to note that the specific steps may vary depending on the make and model of your MIDI keyboard. Always refer to the manufacturer’s instructions for detailed setup steps tailored to your specific device. Now that your MIDI keyboard is set up, let’s move on to connecting it to the audio interface.
Step 2: Connecting the Audio Interface
Connecting your MIDI keyboard to an audio interface is crucial for translating the MIDI signals into digital audio that can be processed by your computer and FL Studio. Here’s how you can connect your MIDI keyboard to the audio interface:
- Ensure that your audio interface is powered off and disconnected from your computer.
- Connect your MIDI keyboard’s MIDI OUT port to the MIDI IN port on your audio interface using a standard MIDI cable. Make sure to align the pins on both ends of the cable correctly.
- Connect your audio interface to your computer using a USB cable. Most audio interfaces will require a USB connection to establish communication with your computer.
- Power on your audio interface and wait for it to establish a connection with your computer. This may be indicated by LED lights or a confirmation message on your computer screen.
- If your audio interface requires drivers or software installation, follow the manufacturer’s instructions to install them on your computer. These drivers are necessary for your computer to recognize and communicate with the audio interface.
- Once the drivers are installed, open FL Studio and navigate to the Options menu.
- Select Audio Settings from the menu to open the Audio settings window.
- In the Audio settings window, select your audio interface from the Input and Output device drop-down menus. These menus will display all the available audio devices connected to your computer. Choose your audio interface as both the input and output device to enable two-way communication.
- Adjust the sample rate and buffer size settings in the Audio settings window. These settings may affect the latency and overall performance of your audio interface. Consult the manufacturer’s recommendations for optimal settings.
- Click OK to save the changes and close the Audio settings window.
Once you have completed these steps, your MIDI keyboard is successfully connected to your audio interface. The next step is to configure FL Studio to recognize and utilize the MIDI signals from your keyboard.
Remember, specific steps may vary depending on the make and model of your audio interface. Always refer to the manufacturer’s instructions for detailed setup steps tailored to your specific device.
Step 3: Configuring FL Studio
Now that your MIDI keyboard is connected to your audio interface, it’s time to configure FL Studio to recognize and utilize the MIDI signals. Follow these steps to configure FL Studio:
- Open FL Studio on your computer if it’s not already running.
- Create a new project or open an existing one where you want to use your MIDI keyboard.
- Click on the Options menu at the top of the FL Studio window and select MIDI settings. This will open the MIDI settings window.
- In the MIDI settings window, make sure that your MIDI keyboard is selected as both the input and output device. If not, choose your MIDI keyboard from the respective drop-down menus.
- Enable the “Auto detect” option if you want FL Studio to automatically detect and map the MIDI controls on your keyboard to the corresponding functions in FL Studio.
- If you prefer manual control mapping, click on the “Controller type” drop-down menu and select your MIDI keyboard model. This will load a preset mapping for your specific keyboard.
- If you are using a MIDI keyboard with additional features like pads or knobs, you can customize their functionality in the “MIDI scripting” section of the MIDI settings window.
- Once you have configured the MIDI settings to your preference, click OK to save the changes and close the MIDI settings window.
With these steps, you have successfully configured FL Studio to recognize and utilize the MIDI signals from your keyboard. Now, you can start playing and recording MIDI data directly into your FL Studio project using your MIDI keyboard.
It is important to note that FL Studio offers extensive customization options for MIDI mapping and control assignment. Feel free to explore the various settings and options to tailor FL Studio’s behavior to your workflow and preferences.
Now that FL Studio is configured, let’s move on to the next step: testing the MIDI connection to ensure everything is working correctly.
Step 4: Testing the MIDI Connection
After setting up and configuring your MIDI keyboard and audio interface, it’s essential to test the MIDI connection to ensure that everything is working correctly. Follow these steps to test the MIDI connection in FL Studio:
- Ensure that your MIDI keyboard is powered on and connected to your computer via the audio interface.
- Open FL Studio on your computer and load a project or create a new one.
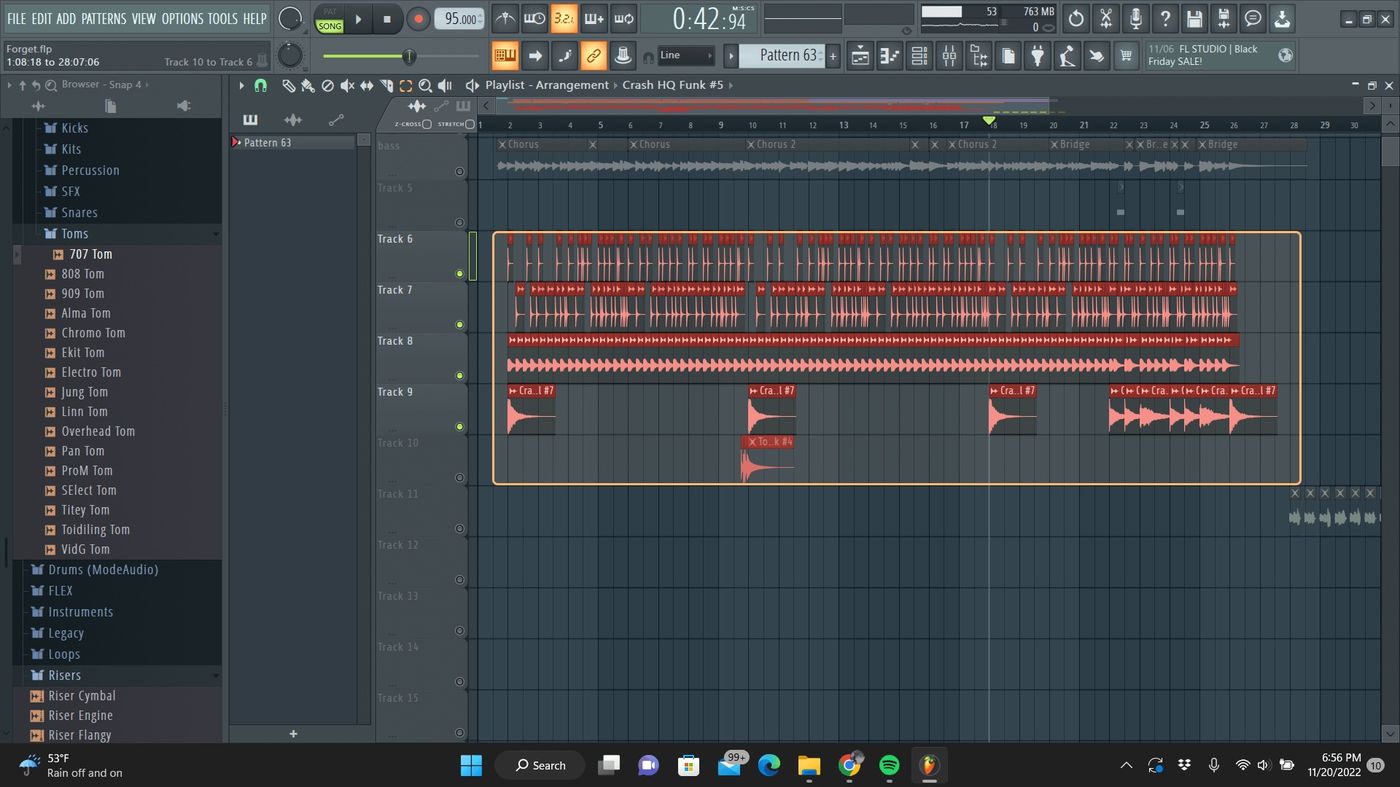
- Create a new MIDI track in FL Studio by right-clicking on the empty space in the Channel Rack or Playlist and selecting “Insert > MIDI track.
- Select a virtual instrument or plugin that you want to control with your MIDI keyboard. You can choose from the wide range of instruments and plugins available in FL Studio.
- Arm the MIDI track for recording by clicking on the record button or enabling the “Arm” option for the MIDI track.
- Start playing your MIDI keyboard. You should hear the sounds coming from the virtual instrument or plugin that you selected.
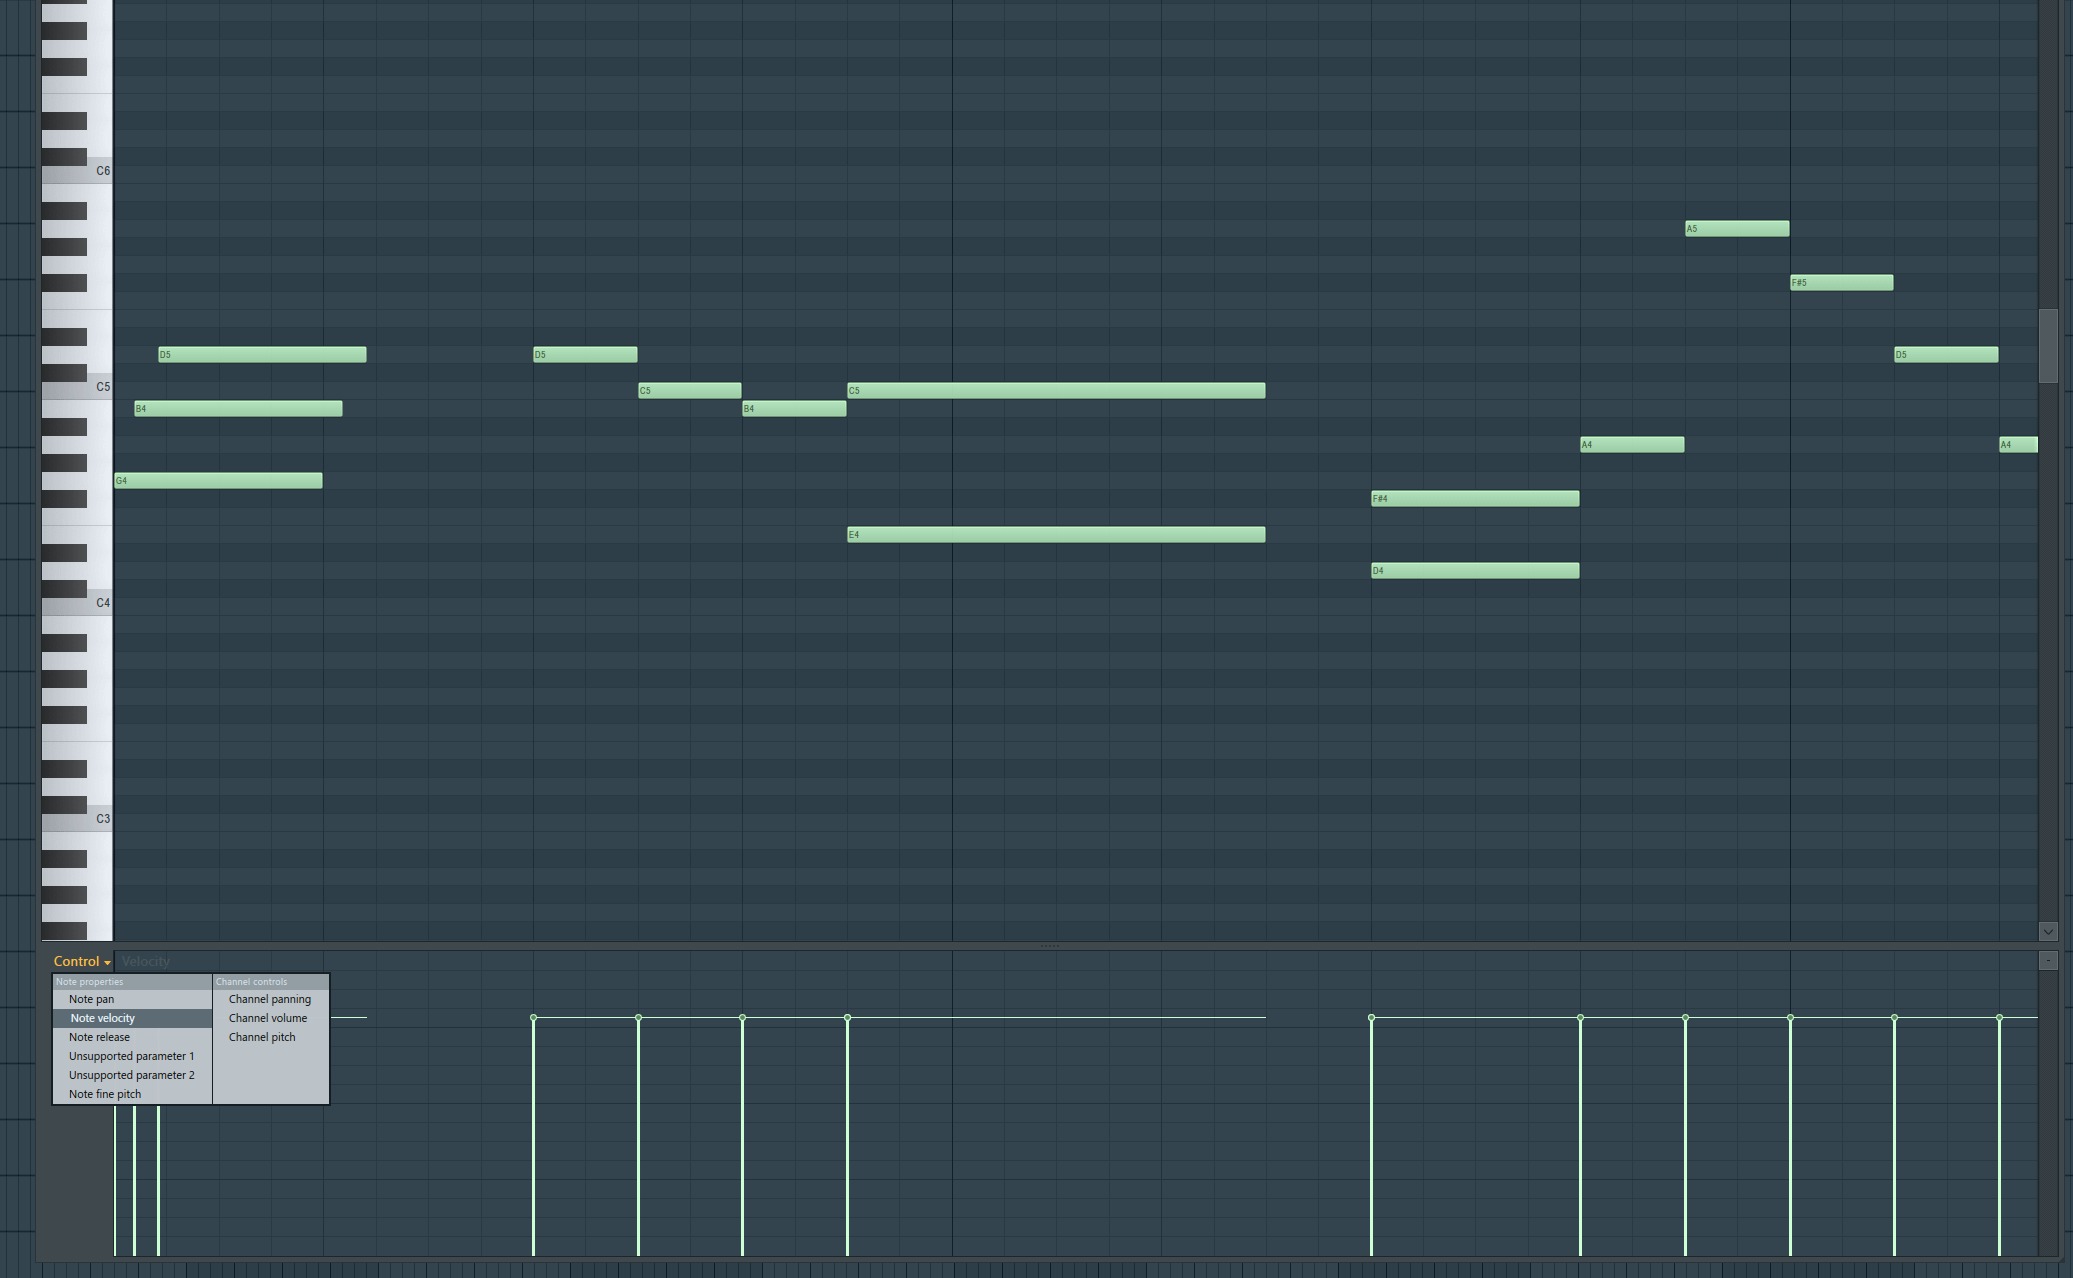
- Verify that the MIDI notes you play on your keyboard are being recorded in real-time in the MIDI track in FL Studio. You can check the piano roll or MIDI events to confirm the MIDI data recording.
- Try experimenting with different virtual instruments, plugins, and MIDI settings in FL Studio to test the full range of functionality of your MIDI keyboard.
If you hear the sounds, see the MIDI events, and can control the virtual instrument using your MIDI keyboard, congratulations! Your MIDI connection is working correctly. However, if you encounter any issues, refer to the troubleshooting tips below or consult the documentation for your MIDI keyboard, audio interface, or FL Studio for further assistance.
Remember, practice and experimentation are key to unlocking your creativity with the MIDI keyboard in FL Studio. So, don’t hesitate to explore different techniques, play styles, and musical ideas using your MIDI keyboard.
Now that you have tested the MIDI connection and everything is functioning as expected, you are ready to embark on your musical journey with FL Studio and your MIDI keyboard.
Troubleshooting Tips
While setting up and connecting your MIDI keyboard to FL Studio through an audio interface can be a smooth process, there may be occasional challenges or issues that you encounter along the way. Here are some troubleshooting tips to help you overcome common problems:
- Check the connections: Ensure that all cables are securely plugged in and that your MIDI keyboard and audio interface are properly connected to your computer. Sometimes, loose connections can result in intermittent or no MIDI signal transmission.
- Install the latest drivers and updates: Make sure you have the most up-to-date drivers and firmware for your MIDI keyboard, audio interface, and FL Studio. Manufacturers often release updates to address compatibility issues and improve performance.
- Adjust MIDI settings: Double-check that your MIDI keyboard and audio interface are properly selected in the MIDI settings of FL Studio. Ensure that the input and output devices are correctly specified to establish the MIDI connection.
- Check power sources: If your MIDI keyboard requires external power, make sure it is connected to a power source and turned on. Additionally, ensure that your audio interface is receiving power and correctly plugged in.
- Test on a different computer: If you have access to another computer, try connecting your MIDI keyboard and audio interface to see if the issue persists. This can help identify whether the problem lies with the hardware or software on your original computer.
- Consult the documentation: Refer to the user manuals and documentation provided by the manufacturers of your MIDI keyboard, audio interface, and FL Studio. The troubleshooting sections often contain valuable information and solutions to common issues.
- Reach out for support: If you have tried all the troubleshooting tips and are still experiencing difficulties, don’t hesitate to seek support from the manufacturer’s customer support or online forums. Sometimes, a specific issue may require specialized assistance.
Remember, troubleshooting is a normal part of the setup process, and patience is key. By following these tips and exploring the available resources, you’ll be able to resolve most issues and enjoy a fully functional MIDI setup with FL Studio.
Continue to experiment, learn, and create music using your MIDI keyboard and FL Studio. Don’t let technical obstacles hinder your creative journey.
Conclusion
Congratulations! You’ve successfully learned how to connect your MIDI keyboard to FL Studio through an audio interface. By following the steps outlined in this article, you’ve unlocked a world of creative possibilities in your music production journey.
Together, your MIDI keyboard and FL Studio provide you with the tools to create beautiful melodies, breathtaking harmonies, and captivating rhythms. The seamless integration of hardware and software allows you to express yourself with greater precision and control over your musical compositions.
Remember, setting up your MIDI keyboard involves properly configuring the device, connecting it to an audio interface, and configuring FL Studio to recognize MIDI signals. The troubleshooting tips provided can help overcome common challenges you may encounter during the setup process.
With your MIDI keyboard correctly connected to FL Studio, you can now explore endless possibilities. Experiment with different virtual instruments, record MIDI data, and unleash your creativity in the digital realm.
As you continue your musical journey, don’t forget to regularly update your MIDI keyboard, audio interface, and FL Studio software to take advantage of new features, improved performance, and bug fixes.
Remember to have patience and explore the vast resources available, including online forums, tutorials, and communities of fellow FL Studio users. Collaboration and sharing knowledge can provide invaluable insights and inspiration.
Now that you have the knowledge and tools at your disposal, go ahead and create music that resonates with your soul. Embrace the power of your MIDI keyboard, audio interface, and FL Studio to bring your musical visions to life.
Enjoy the journey of music production and let your creativity soar!