Home>Production & Technology>Audio Interface>Audio Interface And How It Helps With Fl Studio CPU Load
Audio Interface
Audio Interface And How It Helps With Fl Studio CPU Load
Modified: February 19, 2024
Discover how an audio interface can significantly reduce CPU load in Fl Studio. Enhance your music production experience with the power of an audio interface.
(Many of the links in this article redirect to a specific reviewed product. Your purchase of these products through affiliate links helps to generate commission for AudioLover.com, at no extra cost. Learn more)
Table of Contents
Introduction
Welcome to the world of music production! If you are an aspiring music producer or a seasoned professional, chances are you have come across the term “audio interface.” In the realm of digital audio workstations (DAWs) like FL Studio, having a reliable audio interface can make a world of difference in enhancing your sound quality and optimizing your CPU (Central Processing Unit) load.
An audio interface serves as the bridge between your computer and your music production setup, allowing for high-quality audio input and output. It acts as a sound card with specialized features designed to handle the demands of professional audio production. While you may be tempted to rely solely on your computer’s built-in sound card, using a dedicated audio interface can offer a multitude of benefits and significantly improve your FL Studio experience.
In this article, we will explore the importance of audio interfaces in FL Studio and how they can help reduce CPU load. We will also delve into the various benefits of using an audio interface and provide essential factors to consider when selecting the right one for your needs. Additionally, we will share some valuable tips for optimizing CPU load in FL Studio to ensure smooth music production.
So, whether you’re a beginner navigating the world of audio production or a seasoned pro looking to fine-tune your setup, let’s dive into the world of audio interfaces and discover how they can take your FL Studio experience to new heights.
What is an Audio Interface?
At its core, an audio interface is a device that enables you to connect professional audio equipment to your computer. It acts as a middleman between your DAW, such as FL Studio, and your audio input/output devices, such as microphones, instruments, and studio monitors.
Unlike the built-in sound cards found in most computers, audio interfaces are designed with high-quality components and advanced circuitry to ensure pristine audio recording and playback. They offer a range of input and output options, including XLR, TRS, and MIDI ports, to accommodate various audio sources and devices.
Audio interfaces come in different shapes and sizes, ranging from compact USB-powered devices to rack-mounted units with a multitude of inputs and outputs. They also offer features like preamps, phantom power, and low-latency monitoring to enhance the recording process.
One of the key functions of an audio interface is to convert analog signals to digital and vice versa. When you sing or play an instrument into a microphone, the audio signal is initially in analog form. The audio interface converts this analog signal into digital data that your computer can process and manipulate in your DAW. On the other hand, when you want to hear the playback of your recorded music, the audio interface converts the digital audio data back into analog signals that can be played through your studio monitors or headphones.
Overall, an audio interface serves as the backbone of your music production setup, providing reliable and high-quality audio connections between your computer and external devices.
How Does an Audio Interface Help with FL Studio CPU Load?
When working with a powerful DAW like FL Studio, one of the main challenges is managing CPU load. CPU load refers to the amount of processing power used by your computer to handle real-time audio processing and software tasks. High CPU load can cause audio glitches, stuttering, and latency issues, which can greatly hinder your music production workflow.
An audio interface plays a crucial role in helping to alleviate CPU load in FL Studio. Here’s how:
- Offloading processing tasks: When you use an audio interface, it takes over the task of audio processing from your computer’s CPU. The audio interface has its own onboard processor, also known as a DSP (Digital Signal Processor), which is specifically designed for handling audio data. By offloading audio processing to the audio interface, you free up valuable CPU resources, allowing your computer to focus on other tasks within FL Studio.
- Reducing latency: Latency is the delay between when you play or record an audio signal and when you hear it back through your speakers or headphones. High latency can be frustrating and disrupt your creative flow. With an audio interface, you can achieve lower latency compared to using your computer’s built-in sound card. Audio interfaces are optimized for low-latency performance, providing a more responsive and real-time monitoring experience in FL Studio.
- Improving audio quality: Built-in sound cards often lack the audio fidelity and robustness required for professional music production. An audio interface offers higher-quality audio conversion, better signal-to-noise ratio, and improved dynamic range. This means that your recordings will be cleaner, clearer, and more accurate, allowing you to make precise edits and mix with confidence. By capturing and reproducing audio with greater accuracy, you may need to apply less processing within FL Studio, thereby reducing CPU load.
- Expanding input and output options: Audio interfaces provide a range of input and output options, allowing you to connect multiple microphones, instruments, and studio monitors simultaneously. This flexibility is especially useful when working on complex projects with multiple audio sources. By distributing audio processing across different inputs and outputs on the audio interface, you can further distribute the CPU load, reducing the strain on your computer’s resources.
Overall, using an audio interface with FL Studio can help optimize CPU load, enhance audio quality, reduce latency, and provide greater flexibility in your music production workflow.
Benefits of Using an Audio Interface with FL Studio
Using an audio interface with FL Studio can bring numerous benefits to your music production workflow. Here are some key advantages:
- Improved sound quality: One of the primary benefits of using an audio interface is the enhanced sound quality it offers. Built-in sound cards in computers are often limited in terms of audio fidelity and can introduce noise and distortion into your recordings. Audio interfaces, on the other hand, are designed with high-quality components, advanced converters, and superior preamps, resulting in cleaner, more accurate recordings and playback. This means that your mix will sound professional and polished when using an audio interface with FL Studio.
- Reduced latency: Latency, or the delay between input and output, can be a significant challenge when recording and monitoring audio in real time. Audio interfaces are engineered with low-latency performance in mind, allowing you to monitor your recordings with minimal delay. This is critical for capturing tight performances and achieving optimal results in FL Studio.
- Multichannel recording: Many audio interfaces come with multiple input and output options, allowing you to record multiple audio sources simultaneously. This is especially useful for recording live bands, ensembles, or multi-mic setups. With an audio interface, you can connect microphones, instruments, and other devices directly to dedicated inputs, enabling you to capture each source independently and achieve a more professional and versatile sound.
- Flexible monitoring options: Audio interfaces typically come with dedicated headphone outputs and multiple line outputs, making it easy to set up custom monitoring configurations. You can route individual tracks, submixes, or the master output to different outputs, enabling you to create a personalized monitoring setup tailored to your needs. This level of flexibility is invaluable when mixing and mastering in FL Studio.
- Expanded connectivity: Another advantage of using an audio interface is the variety of connectivity options it offers. Whether you need XLR, TRS, MIDI, or digital connections, audio interfaces have a wide range of input and output ports to accommodate different audio gear. This versatility allows you to easily integrate external hardware, such as microphones, instruments, MIDI controllers, and studio monitors, into your FL Studio setup.
- Enhanced CPU performance: As mentioned earlier, using an audio interface helps offload audio processing tasks from your computer’s CPU. By handling audio processing internally, audio interfaces reduce the strain on your computer’s resources, giving you more CPU power to work with in FL Studio. This can significantly improve the stability and performance of your DAW, allowing you to run more plugins and achieve complex mixes without experiencing CPU overload.
Overall, incorporating an audio interface into your FL Studio setup brings a range of benefits, including improved sound quality, reduced latency, multichannel recording capabilities, flexible monitoring options, expanded connectivity, and enhanced CPU performance. These advantages can elevate your music production experience and help you achieve professional-grade results.
Factors to Consider when Choosing an Audio Interface for FL Studio
Choosing the right audio interface for FL Studio is crucial for achieving optimal performance and sound quality. Here are some key factors to consider when making your decision:
- Input and output options: Consider the number and types of inputs and outputs you require for your music production needs. If you plan on recording vocals, instruments, or external gear, ensure that the audio interface has sufficient XLR, TRS, and MIDI inputs. For monitoring purposes, check for multiple line outputs or headphone outputs to accommodate your preferred setup.
- Audio quality: Look for an audio interface with high-quality analog-to-digital and digital-to-analog converters. This ensures accurate and transparent audio conversion, resulting in pristine recordings and playback. Pay attention to specifications such as signal-to-noise ratio (SNR), dynamic range, and sample rate/bit depth to gauge the overall audio quality of the interface.
- Preamp quality: Preamps play a crucial role in capturing clean and detailed recordings. Consider the quality of the preamps included in the audio interface. Look for features like low noise, high gain, and transparent sound reproduction. This will ensure that your recordings retain clarity and fidelity throughout the production process.
- Compatibility: Ensure that the audio interface you choose is compatible with your computer’s operating system (Windows or macOS). Check for driver support and software integration with FL Studio to ensure seamless performance. Additionally, if you plan on using external gear or MIDI controllers, ensure that the interface supports the necessary protocols and connections.
- Latency performance: Low latency is essential for real-time monitoring and recording. Look for an audio interface with optimized drivers and hardware design to minimize latency. Specifications such as buffer size, sample rate, and driver stability contribute to achieving low-latency performance.
- Budget: Set a realistic budget for your audio interface as prices vary depending on the features and quality. While it’s important to invest in a reliable and feature-rich interface, ensure that it aligns with your specific needs and budget.
- Expandability: Consider your future needs and growth as a producer. If you anticipate expanding your setup with additional gear, such as more microphones or instruments, choose an audio interface that can accommodate those additions. Look for interfaces with expandability options like ADAT or S/PDIF ports.
- User reviews and recommendations: Take the time to research and read user reviews and recommendations for the audio interfaces you are considering. This can provide valuable insights into real-world performance, reliability, and user satisfaction.
By carefully considering these factors, you can select the audio interface that best suits your needs, ensuring a seamless integration with FL Studio and a solid foundation for your music production endeavors.
Tips for Optimizing CPU Load in FL Studio
Efficiently managing CPU load is crucial for a smooth and uninterrupted music production process in FL Studio. Here are some tips to help you optimize CPU performance:
- Use audio freezing: FL Studio offers a feature called audio freezing, which allows you to temporarily render and freeze tracks or sections of your project. By freezing tracks that contain heavy CPU-intensive plugins or effects, you can reduce the CPU load and free up resources for other tasks. Freezing allows you to retain the audio quality while making the processing more efficient.
- Adjust buffer size: The buffer size determines the amount of audio data processed at a time. A larger buffer can result in higher latency but lower CPU load, while a smaller buffer reduces latency but may increase CPU load. Experiment with different buffer sizes to find the optimal balance between responsiveness and CPU usage for your specific setup.
- Optimize plugin usage: Be mindful of the plugins you use and their impact on CPU load. Use plugins efficiently by only loading the ones you need for a specific task. Consider using lightweight or CPU-friendly alternatives when possible. Additionally, disable or bypass unused plugins in your project to minimize their impact on CPU performance.
- Disable unnecessary background processes: Close any unnecessary background applications or processes that are running on your computer. These processes can consume CPU resources and may interfere with the performance of FL Studio. Ensure that your computer is dedicated to running FL Studio and its associated tasks during your production sessions.
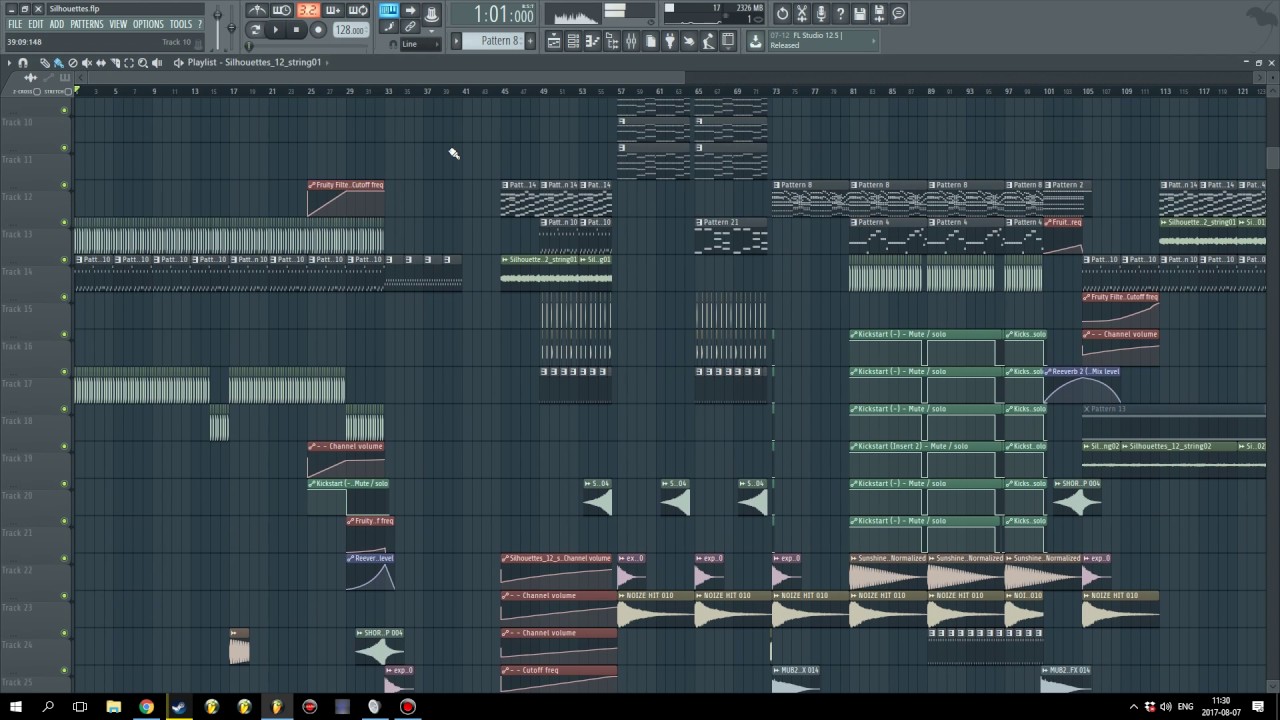
- Manage sample and plugin libraries: Large sample libraries and plugin collections can consume significant CPU resources. Organize your samples and plugins and remove any unnecessary or duplicate files. Consider using external storage devices or dedicated hard drives to store your large libraries and only load the necessary files into FL Studio when needed.
- Utilize multi-core processing: FL Studio supports multi-core processing, which allows it to distribute processing tasks across different CPU cores. Enable this feature in the settings to improve performance, especially when working with complex projects that involve multiple tracks and plugins.
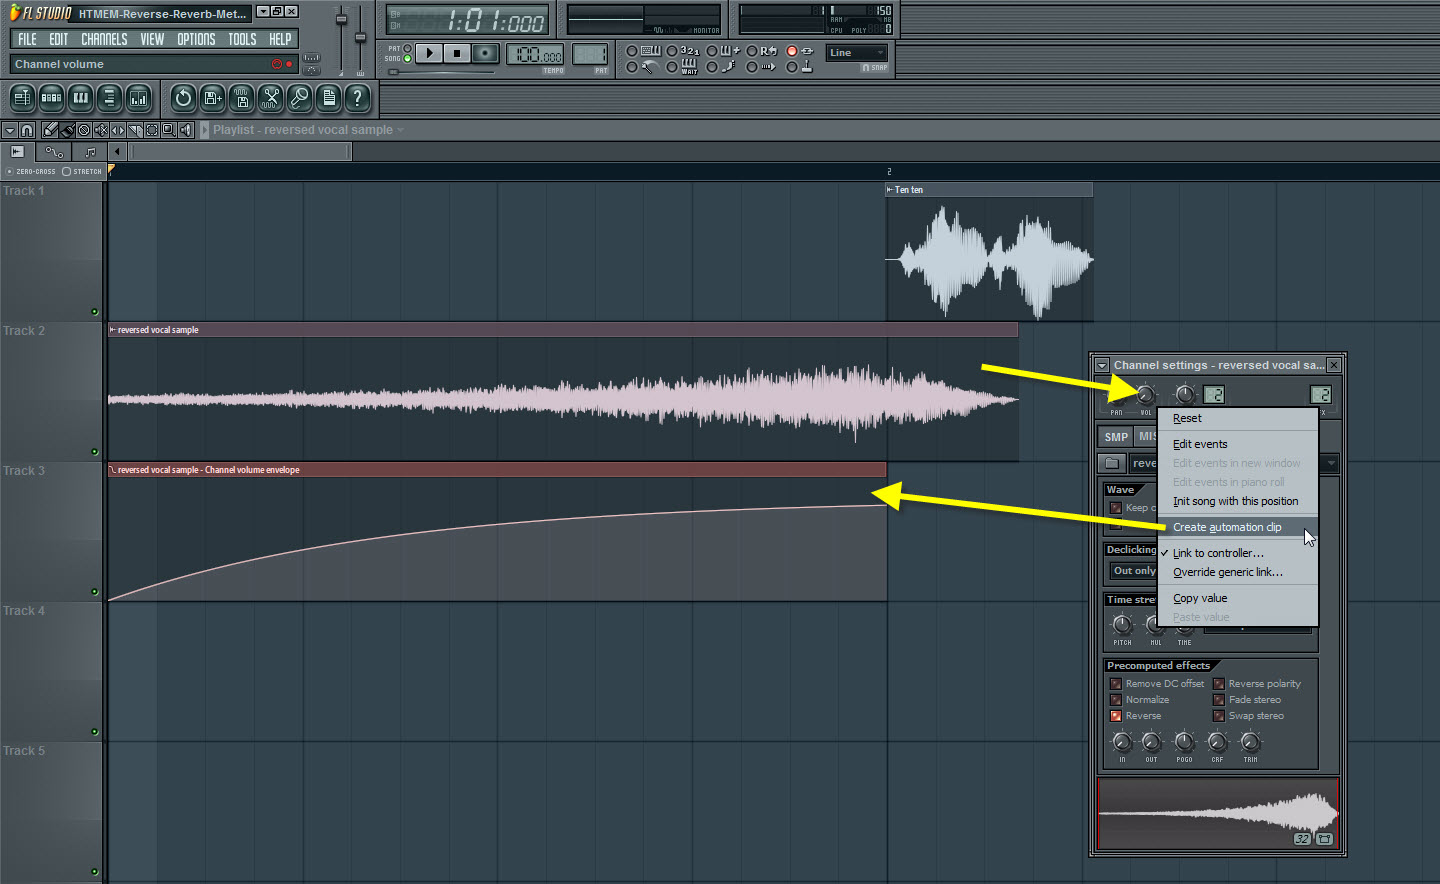
- Use automation sparingly: Excessive automation in your project can increase CPU load. Use automation strategically and only when necessary. Consider consolidating automation data or using clip-based automation instead of continuous automation curves to minimize CPU usage.
- Keep your software up to date: Regularly update FL Studio and its plugins to the latest versions. Developers often release updates that include performance optimizations and bug fixes, which can improve CPU efficiency. Staying up to date ensures that you are benefiting from these improvements.
By implementing these tips, you can effectively optimize CPU load in FL Studio, allowing for a smoother and more productive music production experience.
Conclusion
An audio interface is a crucial tool for optimizing your music production workflow in FL Studio. By acting as the intermediary between your computer and your audio devices, an audio interface offers a range of benefits that enhance sound quality, reduce latency, and offload CPU processing.
Using an audio interface allows you to enjoy improved audio fidelity, thanks to high-quality converters and preamps. It also provides lower latency, ensuring a more responsive and real-time monitoring experience. Moreover, audio interfaces offer flexibility in terms of input and output options, enabling you to connect different devices simultaneously.
When choosing an audio interface for FL Studio, consider factors such as input/output options, audio quality, compatibility, and budget. Research user reviews and recommendations to make an informed decision. Once you have your audio interface, follow the tips outlined in this article to optimize CPU load in FL Studio. Tasks like freezing audio, adjusting buffer size, using efficient plugins, managing sample libraries, and keeping your software up to date can greatly improve performance.
Incorporating an audio interface into your FL Studio setup empowers you to elevate your music production to new heights. With improved sound quality, reduced latency, and enhanced CPU performance, you can focus on honing your creative skills, crafting professional-grade productions, and achieving your artistic vision.
So, invest in a reliable and feature-rich audio interface, optimize your CPU load, and unlock the full potential of FL Studio for your music production journey.