Home>Production & Technology>Audio Interface>How To Record Electric Guitar Without Audio Interface
Audio Interface
How To Record Electric Guitar Without Audio Interface
Modified: February 15, 2024
Learn how to record electric guitar without an audio interface and still achieve professional quality sound with our helpful step-by-step guide.
(Many of the links in this article redirect to a specific reviewed product. Your purchase of these products through affiliate links helps to generate commission for AudioLover.com, at no extra cost. Learn more)
Table of Contents
- Introduction
- Option 1: Using a Direct Guitar-to-Computer Connection
- Option 2: Using a Digital Audio Workstation (DAW) with Built-in Guitar Amp Simulations
- Option 3: Using a Digital Multi-Effects Processor with USB Recording Capability
- Option 4: Using a Portable Guitar Recorder with Built-in Microphones
- Option 5: Using a Smartphone or Tablet with Guitar Recording Apps
- Conclusion
Introduction
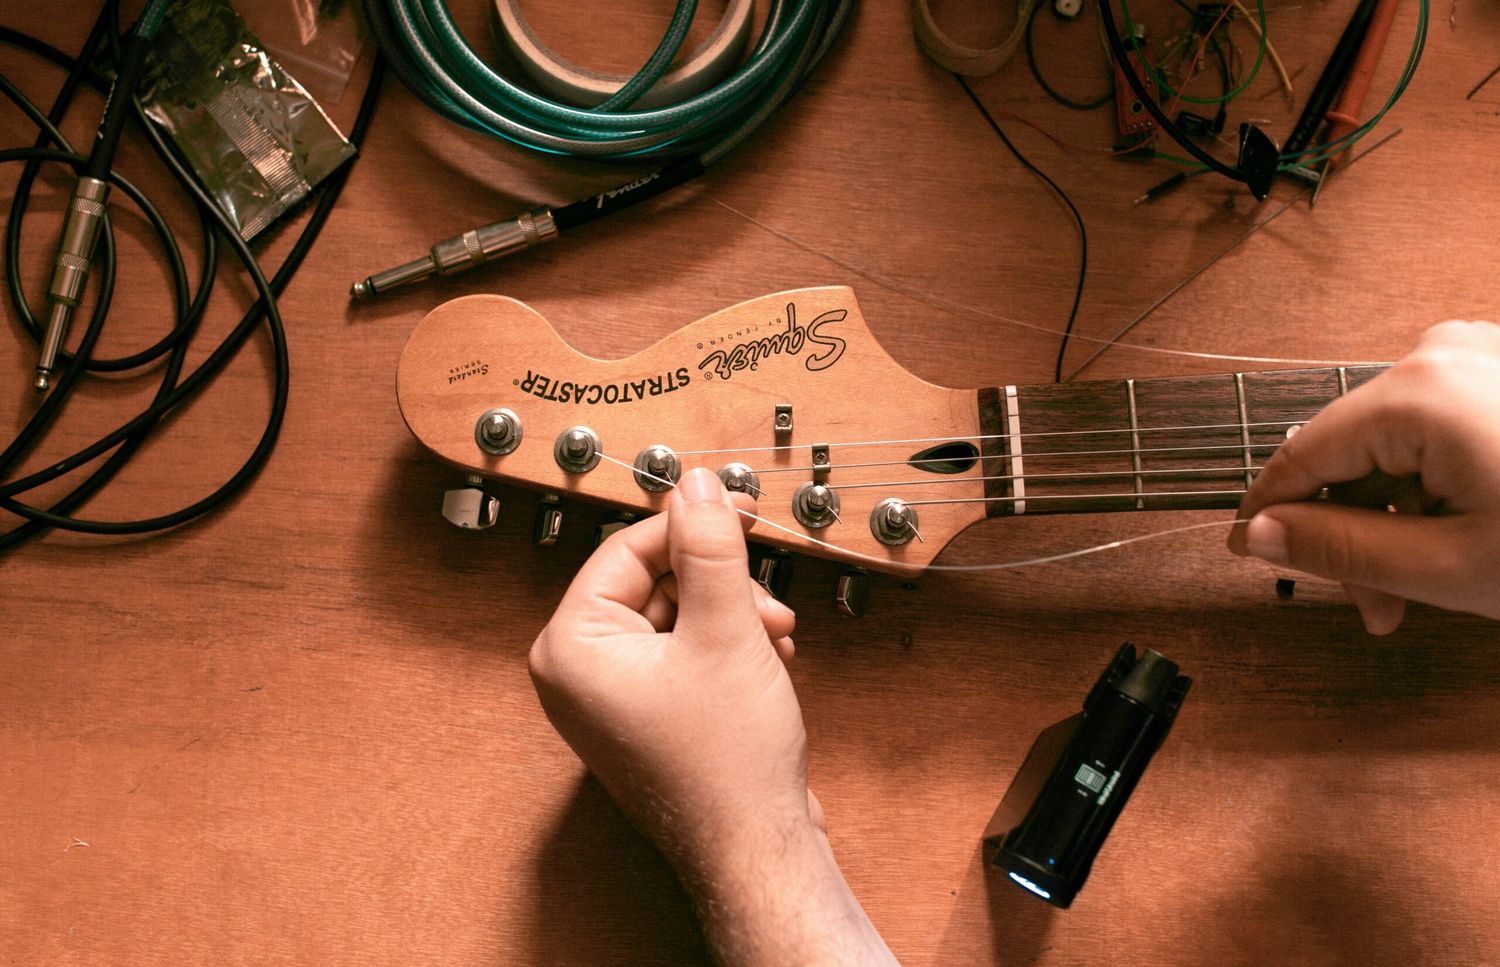
Recording electric guitar without an audio interface may seem like a challenge, but it is indeed possible. Whether you’re a guitarist on the go, a beginner looking to experiment, or simply don’t have access to an audio interface, there are several options available to help you capture your electric guitar riffs and solos with ease.
An audio interface is typically used to connect your electric guitar to your computer or recording device, allowing you to record high-quality audio. However, if you don’t have an audio interface or don’t want to invest in one just yet, you can still record your electric guitar using alternative methods.
In this article, we will explore five different options for recording electric guitar without an audio interface. These options range from using a direct guitar-to-computer connection, utilizing built-in amp simulations on a digital audio workstation (DAW), using a digital multi-effects processor with USB recording capability, employing a portable guitar recorder with built-in microphones, to leveraging smartphone or tablet guitar recording apps.
Each method has its own advantages and limitations, so it’s important to consider your specific needs and resources when deciding which approach to take. Whether you’re a bedroom guitarist or a seasoned musician, there’s a solution out there that will allow you to capture your electric guitar performances without the need for an audio interface.
So, let’s dive in and explore these alternatives to recording electric guitar without an audio interface, and discover the possibilities that await you.
Option 1: Using a Direct Guitar-to-Computer Connection
One of the simplest ways to record electric guitar without an audio interface is by connecting your guitar directly to your computer. This method requires a guitar cable with a 1/4″ jack on one end and a USB connector on the other.
To use this method, start by plugging one end of the cable into the output jack of your electric guitar and the USB connector into an available USB port on your computer. Many modern computers have built-in audio drivers that can recognize and process the incoming guitar signal.
Once your guitar is connected, you can use recording software such as Audacity, GarageBand, or Reaper to capture the sound. Configure the software to use your computer’s built-in sound card as the input device and select the appropriate recording settings.
While this method allows you to record your guitar directly into your computer, it’s important to note that the quality of the recording may not be as high as when using an audio interface. The sound is processed by your computer’s sound card, which may introduce noise and latency.
If you choose to use this method, it’s also worth considering investing in a guitar amp simulation software or plugin. These tools can mimic the sound of various amplifiers and effects, enhancing the tone of your recorded guitar.
Overall, using a direct guitar-to-computer connection is a convenient and cost-effective method for recording electric guitar without an audio interface. It’s ideal for quick demos, practice sessions, or beginners looking to explore the world of recording. However, for professional-grade recordings, you may want to consider alternative options with better audio quality and more extensive features.
Option 2: Using a Digital Audio Workstation (DAW) with Built-in Guitar Amp Simulations
If you’re looking to achieve a more professional sound without an audio interface, using a Digital Audio Workstation (DAW) with built-in guitar amp simulations is an excellent choice. DAWs are powerful software programs that allow you to record, edit, and mix audio tracks.
Many popular DAWs such as Pro Tools, Logic Pro, and Ableton Live come with a wide array of guitar amp simulations, allowing you to mimic the sound of various amplifiers and effects pedals. These simulations aim to replicate the tone and characteristics of classic guitar gear, giving you a versatile range of options to experiment with.
To use this method, start by connecting your guitar to your computer using a guitar cable and a 1/4″ to USB adapter. Make sure your guitar is properly tuned and your DAW is open and set up to record.
Next, create a new track in your DAW and select the appropriate input source for your guitar. This will typically be labeled as “guitar,” “instrument,” or the name of your USB adapter. Arm the track for recording and start playing your guitar to hear its sound through the DAW.
Now it’s time to experiment with the built-in amp simulations. Each DAW will have its own unique interface for selecting and adjusting amp settings. You can choose different amplifier models, adjust the gain, tone, and various effects like reverb and delay to craft your desired guitar tone.
Once you are satisfied with your guitar sound, you can start recording. Hit the record button in your DAW and play your guitar performance. The DAW will capture your guitar track with the applied amp simulations and effects.
Using a DAW with built-in guitar amp simulations is a versatile option for recording electric guitar without an audio interface. It gives you access to a wide range of amp models and effects, allowing you to achieve professional-sounding results. However, it’s important to note that this method requires a computer with sufficient processing power to handle the demands of amp simulations and recording simultaneously.
When using this method, take the time to experiment with different amp models and settings to find the perfect tone for your recording. With practice and attention to detail, you can achieve impressive results that rival those obtained with an audio interface.
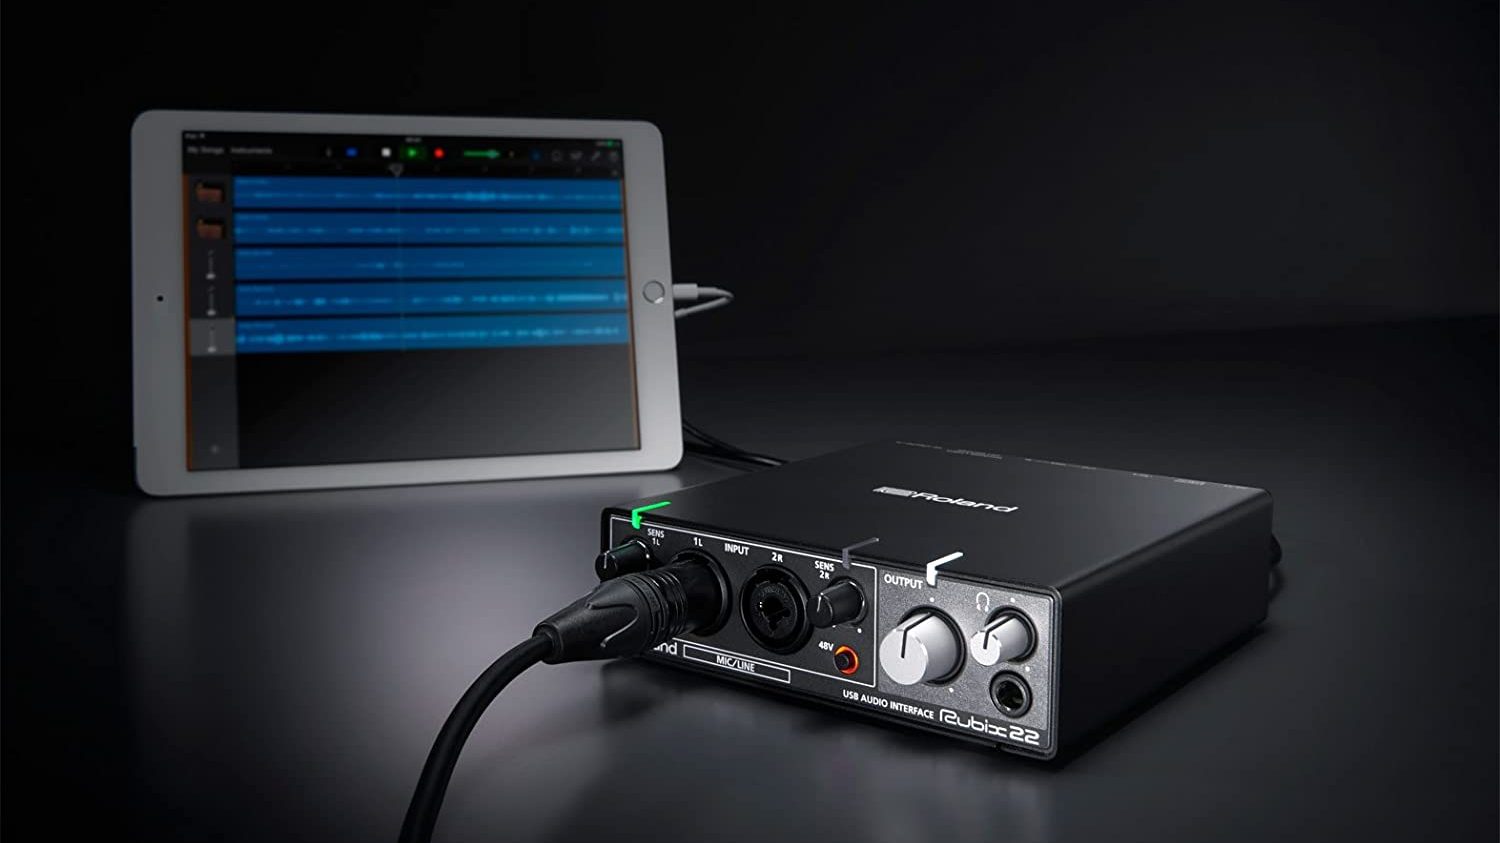
Option 3: Using a Digital Multi-Effects Processor with USB Recording Capability
If you’re looking for a dedicated hardware solution to record electric guitar without an audio interface, using a digital multi-effects processor with USB recording capability is a great choice. These devices offer a wide range of guitar effects and amp simulations, combined with the convenience of USB connectivity.
A digital multi-effects processor is a hardware unit that allows you to apply various effects and amp models to your guitar signal. Many of these devices are equipped with USB ports that enable direct connection to your computer for recording purposes.
To use this method, start by connecting your electric guitar to the input of the multi-effects processor. From there, connect the USB port on the processor to an available USB port on your computer. Make sure to install any necessary drivers for the device if prompted.
Once the connection is established, you can use the software provided with the digital multi-effects processor or any compatible recording software to capture your guitar performance. Set up the input and output settings to recognize the multi-effects processor as the audio source and configure the desired recording settings.
The advantage of using a digital multi-effects processor with USB recording capability is that you have access to a wide range of effects, amp models, and presets specifically designed for guitar. These units often provide a more tactile and intuitive interface compared to software-based solutions, allowing for quick and easy adjustment of parameters.
Furthermore, using a dedicated hardware unit minimizes any potential latency issues that may occur when using software simulations. With a digital multi-effects processor, you can enjoy a near real-time playing experience without any noticeable delay.
Overall, using a digital multi-effects processor with USB recording capability gives you the convenience of hardware-based effects and amp simulations combined with the ease of direct USB connectivity. It’s an excellent option for guitarists who want a dedicated device for their recordings and prefer a hands-on approach to tone shaping and effects customization.
Consider your budget and desired features when choosing a digital multi-effects processor, as various options are available on the market to suit different needs and preferences. With this solution, you can capture your electric guitar performances with ease and flexibility, without the need for an audio interface.
Option 4: Using a Portable Guitar Recorder with Built-in Microphones
For those looking for a straightforward and portable solution to record electric guitar without an audio interface, using a portable guitar recorder with built-in microphones is an excellent choice. These compact devices are specifically designed for capturing high-quality audio recordings on the go.
Portable guitar recorders, such as the Zoom H4n or Tascam DR-40, typically feature built-in condenser microphones that are designed to capture instruments and vocals with remarkable clarity. These microphones are positioned strategically to capture the sound of your electric guitar without the need for any additional equipment.
To use this method, simply place the portable guitar recorder in a suitable position near your amplifier or directly in front of your guitar’s speaker. Ensure that the recorder is set to capture the instrument input or has a guitar-specific recording mode enabled.
Once the recorder is set up, you can begin playing your electric guitar. The built-in microphones will pick up the sound and record it directly to the device’s memory or an external memory card.
Portable guitar recorders often offer various recording modes and features, such as adjustable gain, built-in effects, and the ability to record in different file formats. Explore the different options available on your specific device to optimize the recording settings for your desired sound.
The advantage of using a portable guitar recorder is its simplicity and convenience. These devices are designed to be user-friendly and require minimal setup. They are also battery-powered, making them ideal for recording sessions in remote locations or without access to power outlets.
It’s worth noting that while portable guitar recorders are great for capturing the natural sound of your guitar, they may not provide the same level of customization and post-processing options as software-based solutions. However, they excel at recording live performances, rehearsals, and capturing the authentic sound of your guitar in any setting.
So, if you’re looking for a portable and hassle-free method to record electric guitar without an audio interface, a portable guitar recorder with built-in microphones is an excellent option to consider. Whether you’re a singer-songwriter, a guitarist on the go, or simply want a reliable recording device, this solution provides a convenient way to capture your electric guitar performances with ease and professional-quality sound.
Option 5: Using a Smartphone or Tablet with Guitar Recording Apps
In this digitally connected world, smartphones and tablets have become incredibly versatile tools for various purposes, including recording music. With the availability of numerous guitar recording apps, using a smartphone or tablet as a recording device is a convenient and cost-effective option for recording electric guitar without an audio interface.
To use this method, start by downloading a guitar recording app on your smartphone or tablet. There are many popular options available, such as GarageBand for iOS devices or FL Studio Mobile for both iOS and Android devices. These apps offer a range of features, including amp simulations, effects, and recording capabilities.
Next, connect your electric guitar to your device using a guitar audio interface adapter or a dedicated guitar-to-USB cable. These accessories allow you to connect your guitar to the audio input of your device, ensuring a clean and high-quality signal.
Once your guitar is connected, launch the guitar recording app and configure the audio settings. Select the appropriate input source and adjust the recording settings to your desired specifications.
The guitar recording app will provide you with various amp simulations, effects pedals, and even virtual pedalboards to craft your desired guitar tone. Experiment with different settings until you achieve the sound you’re after.
When you’re ready to record, hit the record button in the app and start playing your guitar. The app will capture your performance and save it as audio files on your device.
Using a smartphone or tablet with guitar recording apps offers several advantages. Firstly, it’s an affordable option since you likely already own a smartphone or tablet. Additionally, these apps provide a wide range of amp simulations and effects, allowing you to explore different sounds and styles. The portability of your smartphone or tablet also means you can record your guitar anywhere, anytime.
However, keep in mind that using a smartphone or tablet as a recording device may have limitations. The audio quality may not match that of high-end audio interfaces, and the processing power of your device may restrict the number of tracks or effects you can use simultaneously.
Nevertheless, this method is perfect for musicians on the go, beginners, or those who want a portable recording solution without the need for additional hardware. With the right guitar recording app and a compatible interface, you can capture and share your electric guitar performances easily and efficiently.
Conclusion
Recording electric guitar without an audio interface is not only possible but also offers a range of options to suit different needs and preferences. Whether you’re a guitarist on the go, a beginner looking to experiment, or simply don’t have access to an audio interface, these alternative methods can help you capture your electric guitar riffs and solos with ease.
From using a direct guitar-to-computer connection to leveraging a digital audio workstation (DAW) with built-in guitar amp simulations, using a digital multi-effects processor with USB recording capability, utilizing a portable guitar recorder with built-in microphones, or even using a smartphone or tablet with guitar recording apps, there’s a solution out there for everyone.
Each option has its own advantages and limitations. If you’re looking for convenience and affordability, using a direct guitar-to-computer connection or a smartphone/tablet with recording apps may be your best choice. On the other hand, if you require more versatility and control over your tone, utilizing a DAW or a digital multi-effects processor could provide you with a more professional sound.
It’s important to consider your specific requirements, budget, and desired outcomes when choosing the right method for you. Additionally, experimenting with different techniques and settings can help you find the perfect setup for your recordings.
While recording electric guitar without an audio interface may not offer the same level of audio quality and features as using dedicated equipment, it presents a viable option for home recordings, demos, practice sessions, and even live performances. The convenience, affordability, and flexibility of these methods make them accessible to musicians of all levels.
So, whether you’re jamming in your bedroom, recording a song on the road, or simply want to explore new creative possibilities, don’t let the absence of an audio interface hold you back. Embrace these alternative methods and unleash your creativity with your electric guitar recordings.
Remember, the key is to experiment, practice, and push the boundaries of your guitar playing, regardless of the tools you have at your disposal. Happy recording!