Home>Production & Technology>Audio Interface>How To Record Drums With Audio Interface
Audio Interface
How To Record Drums With Audio Interface
Modified: February 17, 2024
Learn how to record drums using an audio interface. Capture professional-quality drum tracks with ease and enhance your sound with the help of an audio interface.
(Many of the links in this article redirect to a specific reviewed product. Your purchase of these products through affiliate links helps to generate commission for AudioLover.com, at no extra cost. Learn more)
Table of Contents
- Introduction
- Selecting the Right Audio Interface
- Preparing the Recording Space
- Setting Up the Microphones
- Proper Microphone Placement for Different Drum Parts
- Connecting the Microphones to the Audio Interface
- Adjusting Input Levels and Gain Staging
- Monitoring and Playback
- Troubleshooting Common Recording Issues
- Conclusion
Introduction
Welcome to the world of professional drum recording! If you’re looking to capture the thunderous sound and energy of your drum kit, using an audio interface is an essential tool in your arsenal. An audio interface allows you to connect your microphones to your computer and record high-quality drum tracks.
Recording drums can be a complex process, involving multiple microphones and careful placement to capture each element of the kit accurately. With the right audio interface and proper techniques, you can achieve studio-quality recordings right in the comfort of your own home or project studio.
In this article, we’ll guide you through the process of recording drums with an audio interface. We’ll cover everything from selecting the right interface for your needs to properly setting up microphones and troubleshooting common issues. So, whether you’re a seasoned drummer looking to capture your performance or a producer wanting to achieve professional drum tracks, this guide is here to help you get the best results.
Before we dive into the specifics, it’s important to note that while an audio interface is crucial in capturing high-quality drum recordings, it’s just one piece of the puzzle. Other factors such as the acoustics of your recording space, the quality of your microphones, and your production skills also play a significant role in achieving the desired outcome. So, be sure to pay attention to these aspects as well.
Now, let’s get ready to elevate your drum recordings to the next level with the power of an audio interface!
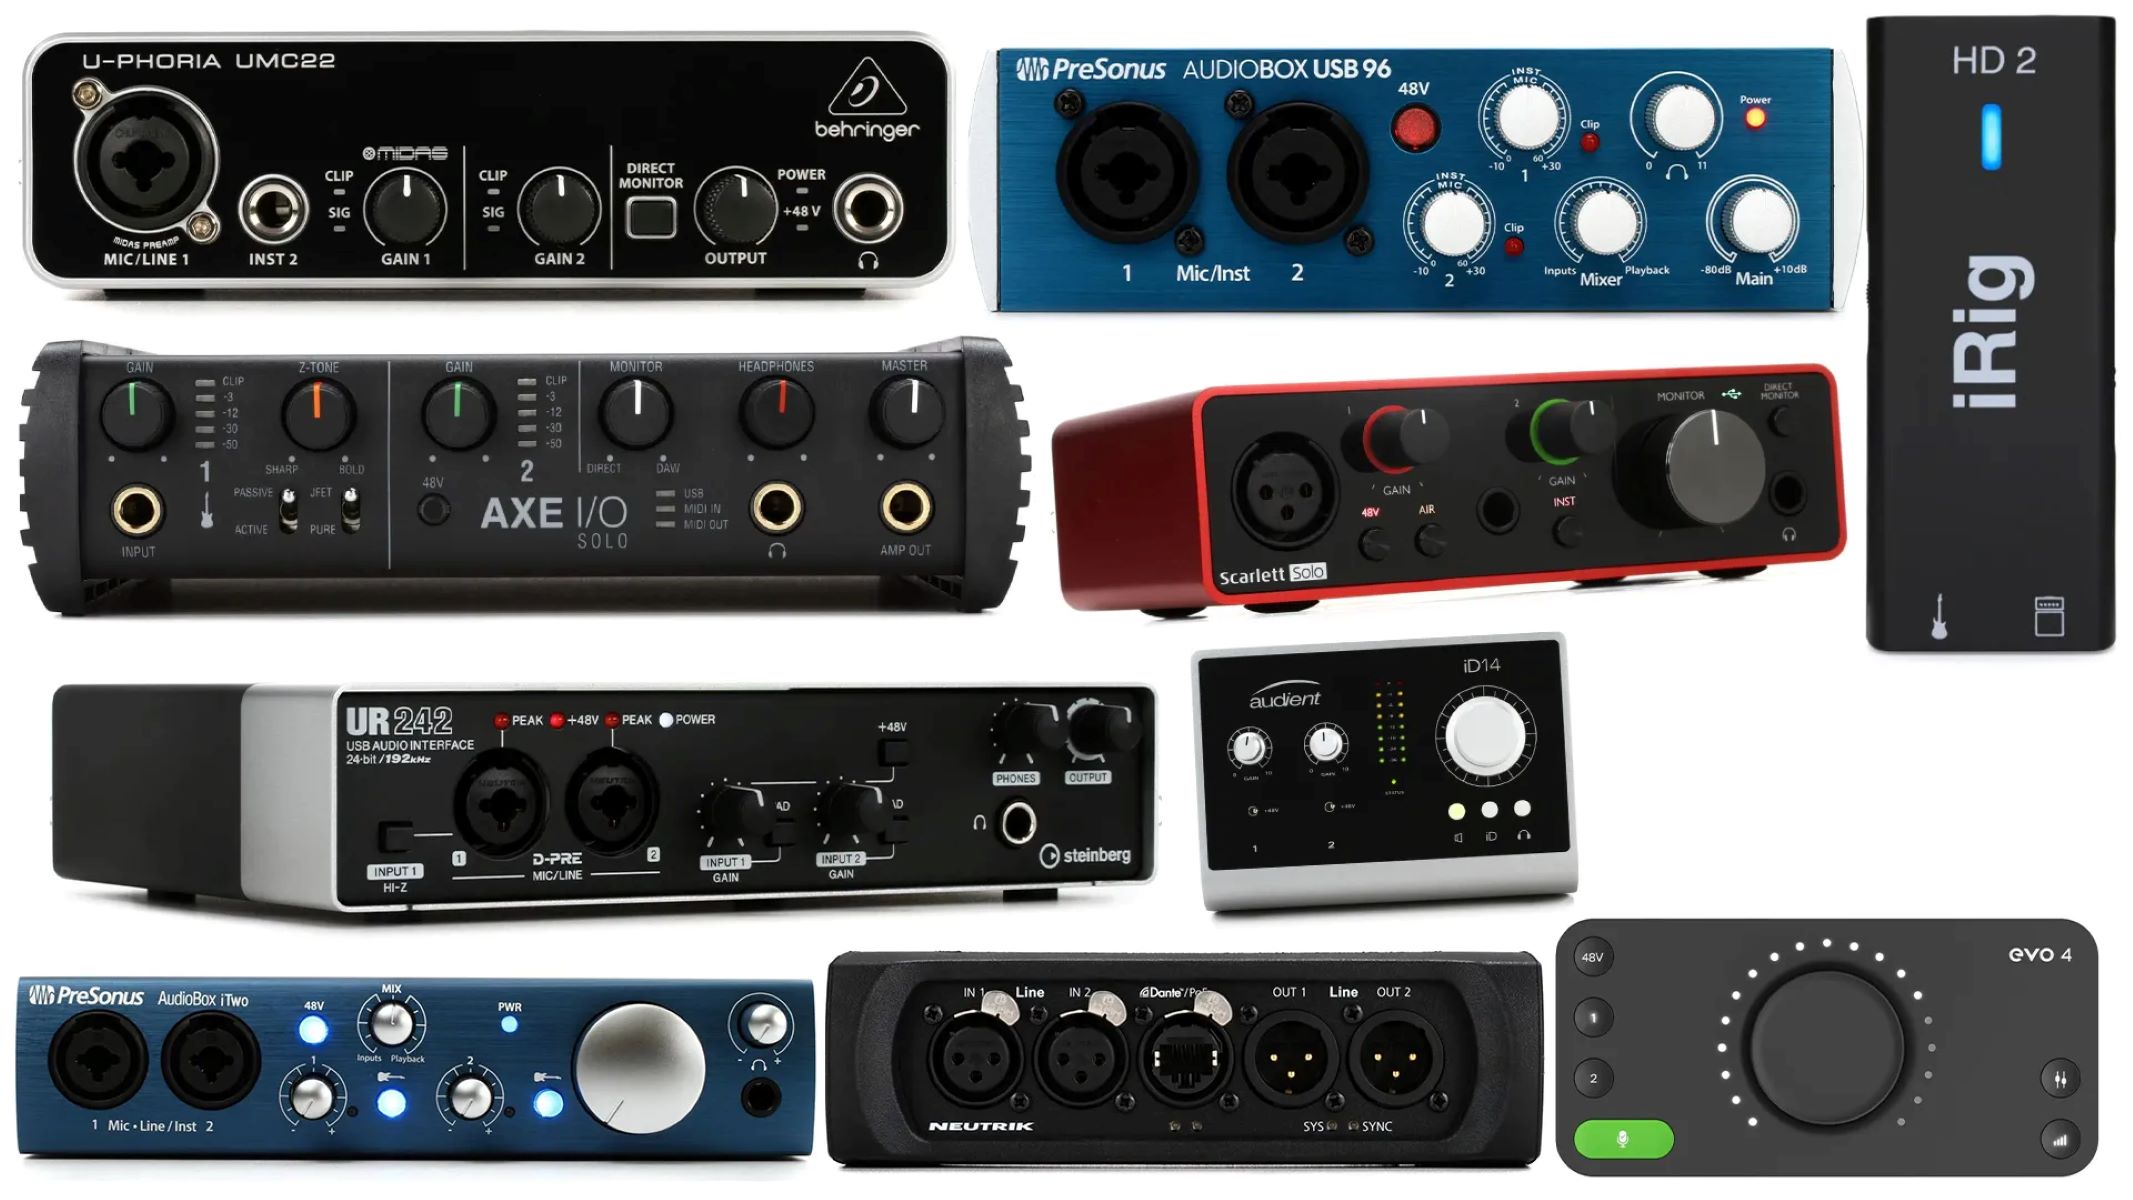
Selecting the Right Audio Interface
When it comes to selecting the right audio interface for your drum recording setup, there are a few key factors to consider. The first is the number of inputs and outputs you require. Since recording drums typically involves using multiple microphones, you’ll want an audio interface with enough inputs to accommodate your setup. A common recommendation is to have at least four inputs, but if you plan on miking each element of your drum kit individually, you may need more.
Another important consideration is the quality of the preamps in the audio interface. Preamps play a crucial role in capturing the audio signal and can significantly impact the overall sound quality. Look for audio interfaces with high-quality preamps that provide clean, transparent amplification, ensuring a faithful representation of the drums’ natural tone.
Additionally, make sure the audio interface offers a suitable sample rate and bit depth. Higher sample rates and bit depths can result in more detailed and accurate recordings. A standard sample rate of 44.1 kHz with a 24-bit depth is a good starting point, but if you’re aiming for professional-quality recordings, consider interfaces that support higher sample rates such as 96 kHz or even 192 kHz.
Connectivity options are also worth considering. USB interfaces are the most common and widely supported, but if you have a Thunderbolt or PCIe connection on your computer, you may want to explore interfaces that utilize these faster connections for lower latency and higher data transfer rates.
Lastly, consider your budget. There are audio interfaces available at various price points, so it’s essential to find a balance between your budget and the features and quality you need. Remember that investing in a reliable and high-quality audio interface is a wise investment that will pay off in the long run.
Once you’ve considered these factors and narrowed down your options, read reviews, and listen to audio samples to get a sense of the sound quality and reliability of the interfaces you’re considering. It’s also a good idea to consult with other drummers or recording engineers who have experience with different audio interfaces to get their recommendations.
By taking the time to choose the right audio interface for your drum recording setup, you’ll be well-equipped to capture the full range and dynamics of your drum kit with clarity and precision.
Preparing the Recording Space
Creating an optimal recording space is crucial for capturing clean and professional drum recordings. The right environment will minimize unwanted acoustics and background noise, allowing your drums to shine with clarity and impact. Here are some steps to prepare your recording space:
- Clean and declutter: Start by clearing out any unnecessary items from the room. Remove objects that may cause reflections or vibrations, and tidy up cables and equipment to avoid tripping hazards.
- Consider the acoustics: Take note of the room’s natural acoustics. Large, open rooms can lead to excessive reverberation, while small, confined spaces may create a boxy sound. If possible, choose a room with moderate size and acoustic treatment options to control reflections and dampen unwanted frequencies.
- Acoustic treatment: Apply acoustic treatment to the recording space to minimize reflections and create a more controlled environment. Consider using bass traps in the corners to tackle low-frequency buildup, diffusers to scatter sound waves, and acoustic panels on walls and ceilings to absorb reflections. This will help achieve a more balanced and natural sound.
- Isolate external noise: Ensure that the room is as quiet as possible during recording. Close windows and doors to block out street noise, turn off fans or any noisy appliances, and communicate with others in the vicinity to avoid interruptions. Using a microphone isolation shield or portable vocal booth can also help reduce external noise.
- Monitor placement: Position your studio monitors or headphones carefully to create an accurate listening environment. Place monitors at ear level and in an equilateral triangle with your listening position to achieve a balanced stereo image. Use monitor isolation pads to reduce vibrations and improve clarity.
Remember, the goal of preparing your recording space is to create a controlled and neutral environment that allows your drum recordings to be captured accurately without interference from room acoustics or external noise sources. Taking the time to set up your recording space properly will make a significant difference in the quality of your drum recordings.
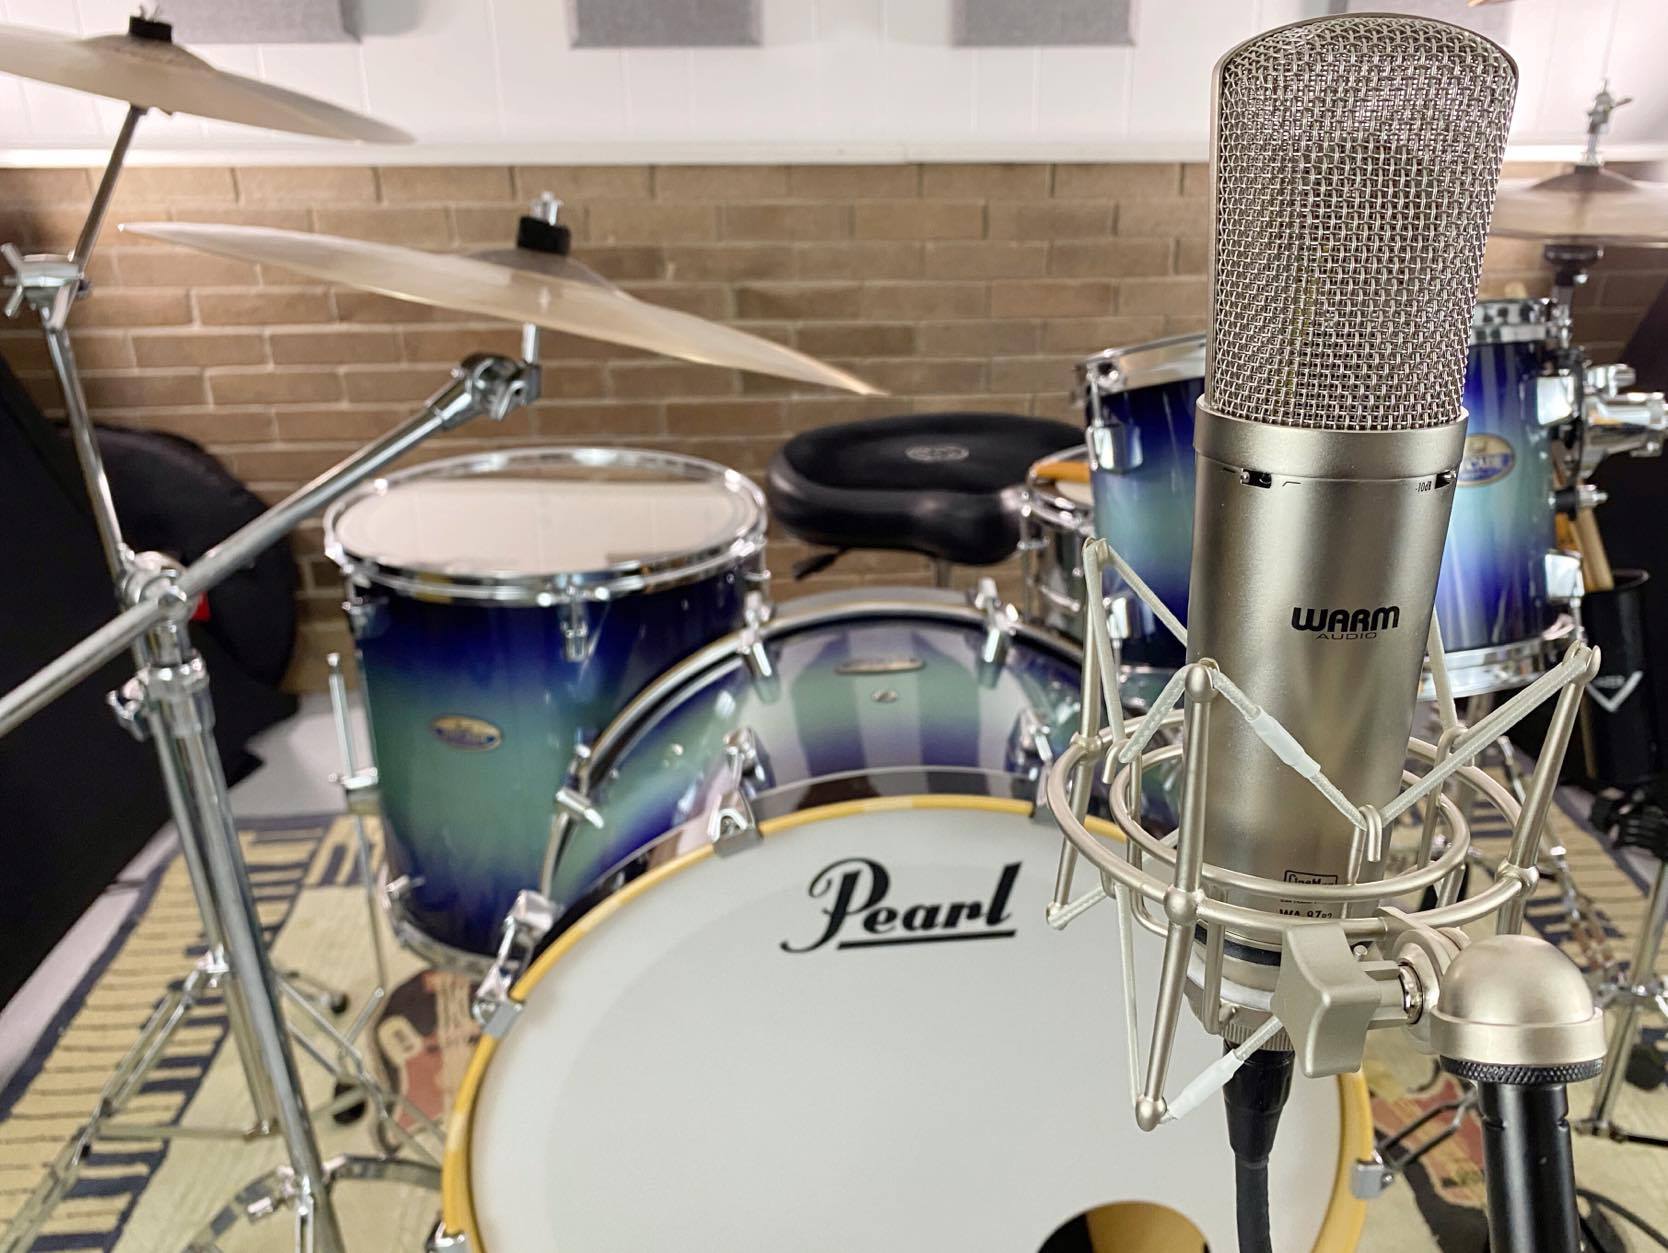
Setting Up the Microphones
Properly setting up your microphones is essential for capturing the individual elements of your drum kit and achieving a well-balanced sound. Here’s a step-by-step guide to help you set up your microphones for recording drums:
- Kick drum microphone: Start by placing a dynamic microphone inside the kick drum, near the beater area. Position it a few inches away from the drumhead to capture the low-end punch and attack. Experiment with different microphone angles and distances to find the sweet spot that best captures the desired sound.
- Snare drum microphone: Place a dynamic microphone above the snare drum, angled downwards towards the center of the drumhead. Position it at a height that captures both the snare wire response and the stick attack on the drumhead. Adjust and experiment with the microphone placement until you achieve a balanced and full snare sound.
- Tom microphones: Use dynamic or condenser microphones to individually mic each tom. Position the microphones above each tom, angled towards the center of the drumhead. Place them a few inches above the drumhead, ensuring they capture the full resonance and attack of each tom. Experiment with different microphone placements to achieve the desired balance and tone for each tom.
- Overhead microphones: Use a pair of condenser microphones in an X/Y or spaced stereo configuration to capture the overall sound and ambience of the drum kit. Position them above the drum kit, slightly angled downwards. The overhead microphones should capture a balanced representation of the entire kit, including the cymbals, snare, toms, and kick drum. Adjust their placement and distance to achieve the desired stereo image and room sound.
- Room microphones (optional): If you have an acoustically pleasing room, consider placing a pair of condenser microphones to capture the natural ambience and depth of the drum sound. Experiment with different room microphone placements to find the sweet spot that enhances the overall drum sound without overpowering the mix.
- Additional microphones: Depending on your drum setup and desired sound, you may also want to experiment with additional microphones, such as a hi-hat microphone, overhead spot microphones for specific cymbals, or a bottom snare microphone. These additional microphones can help capture the nuances and details of your drum kit and give you more options during the mixing stage.
Remember to use proper microphone mounts or stands and take care to position the microphones securely to minimize vibrations and unwanted movement during recording. Additionally, always use pop filters or windscreens to reduce plosive sounds and protect the microphones.
By carefully setting up your microphones, you’ll be able to capture the unique characteristics of each drum and cymbal, resulting in a well-balanced and dynamic drum sound for your recordings.
Proper Microphone Placement for Different Drum Parts
When recording drums, proper microphone placement is crucial to capture the distinctive sound and nuances of each drum part. Here’s a detailed guide on how to place microphones for different drum parts:
- Kick drum: To capture the powerful low-end thump and attack of the kick drum, position a dynamic microphone just inside the drum’s soundhole, a few inches away from the beater. Experiment with different distances and angles to find the desired balance between the punch of the beater and the resonance of the drum.
- Snare drum: Aim a dynamic microphone at the center of the snare drum, slightly above the drumhead. This placement ensures you capture the crispness of the snare wires and the impact of the drumstick. Experiment with angling the microphone to emphasize more of the drumhead or the snare wires, depending on the desired sound.
- Toms: Place dynamic or condenser microphones above each tom, a few inches above the drumhead. Aim the microphones towards the center of each drum to capture the full resonance and attack. Adjust the positioning to achieve a consistent volume level and tonal balance between the toms.
- Hi-hat: Position a small-diaphragm condenser microphone just above and slightly to the side of the hi-hat, angled towards the bell or bow of the cymbals. This placement captures the crispness and shimmer of the hi-hat sound without picking up excessive bleed from other drums.
- Overheads: Use a pair of condenser microphones in an overhead position to capture the overall sound of the drum kit. Place the microphones above the kit, angled slightly downward, and spaced apart to create a stereo field. This placement captures the cymbals, snare, toms, and overhead depth of the kit. Adjust the positioning and distance to achieve the desired stereo image and balance between the different elements.
- Cymbals: For specific cymbals such as ride and crash, consider using spot microphones. Position small-diaphragm condenser or dynamic microphones close to the cymbals to capture their unique tonal characteristics and nuances. Experiment with different distances and angles to find the sweet spot that emphasizes the desired qualities of each cymbal.
- Room microphones: If you want to capture the natural ambience and depth of the drum sound in the room, place a pair of condenser microphones at a distance from the kit. Experiment with different room microphone positions, such as the corners of the room or a few meters away from the drums, to find the right balance between the kit’s direct sound and the room’s natural reverberation.
Remember, microphone placement is subjective, and every drum kit and room may require slight adjustments to achieve the desired sound. Take the time to experiment and find the placements that result in a balanced, full, and dynamic drum sound for your recordings.
Connecting the Microphones to the Audio Interface
After properly positioning your microphones, it’s time to connect them to your audio interface to start capturing your drum sound. Here’s a step-by-step guide on connecting the microphones to the audio interface:
- Identify the microphone outputs: Each microphone will have an XLR or TRS output connector. XLR connectors are the most common and provide balanced audio signal transmission, while TRS connectors are typically used for line-level signals.
- Check your audio interface inputs: Identify the inputs on your audio interface that correspond to the number and type of microphones you’re using. XLR inputs are usually labeled with corresponding numbers or names.
- Use proper cables: Connect each microphone to the audio interface using appropriate cables. XLR cables are necessary for microphones with XLR outputs, while TRS cables may be required for certain microphones with TRS outputs.
- Insert the cables: Plug one end of the microphone cable into the output of the microphone and the other end into the corresponding input of the audio interface. Ensure the connections are snug, but be careful not to overtighten.
- Use microphone preamps: If your audio interface has built-in microphone preamps, ensure they’re engaged and turned on for the respective input channels. If you’re using an external microphone preamp, connect the preamp output to the corresponding input on the audio interface.
- Set input levels: Check the input gain knobs on your audio interface and adjust them accordingly for each microphone. Aim to achieve a strong signal without clipping. Consult your audio interface’s manual for guidance on proper gain staging.
- Phantom power: If you’re using condenser microphones that require phantom power, ensure the phantom power switch on your audio interface is activated for the corresponding input channels. Be cautious as some microphones may not require phantom power and could be damaged if it’s unintentionally applied.
Once all the microphones are connected to the audio interface and the input levels and settings are adjusted, you’re ready to start recording! Keep an eye on the input meters on your audio interface to monitor the signal levels and make any necessary adjustments during the recording process. If you encounter any issues, double-check the connections and settings to ensure everything is properly connected and configured.
By properly connecting your microphones to the audio interface, you’ll be able to capture the full sonic potential of your drum kit and unleash its power in your recordings.
Adjusting Input Levels and Gain Staging
Setting the input levels and managing gain staging is crucial for achieving clean and professional drum recordings. Properly adjusting the input levels ensures that your drum signals are captured accurately without any unwanted distortion or noise. Here’s a step-by-step guide on adjusting input levels and optimizing gain staging:
- Start with low gain settings: Begin by setting the input gain knobs or controls on your audio interface to their lowest positions. This allows you to start with a clean slate and avoid accidentally clipping or distorting the signal.
- Play the drums: Have the drummer play the drum kit at the intended intensity while monitoring the input meters on the audio interface. This will give you an idea of the signal strength and dynamics that the microphones are capturing.
- Aim for optimal levels: Adjust the input gain knobs one by one, starting with the kick drum microphone, and gradually increase the gain until the signal level reaches an optimal range. Aim for a healthy signal that is strong but not clipping (hitting the maximum level). Pay close attention to the input meters and avoid letting the signal exceed the recommended range.
- Balance the levels: Once you have set the input level for each microphone, listen to the overall drum sound and make any necessary adjustments to achieve a balanced mix. If one microphone’s level is significantly higher or lower than the others, use the gain knob or trim control on the respective channel to fine-tune its level and achieve a more cohesive sound.
- Monitor consistently: Throughout the recording process, continue to monitor the input meters to ensure that the signal levels remain in the optimal range. Keep an eye out for any sudden spikes or drops in level, which may require further adjustment.
- Consider headroom: It’s advisable to leave some headroom (a safe buffer of space) in your recordings. If possible, aim for peaks that reach around -6 dB on your input meters. This gives you room to accommodate any unexpected spikes in the performance without risking distortion.
- Monitor with headphones or studio monitors: Use high-quality monitoring headphones or studio monitors to accurately hear the sound and ensure that the levels are well-balanced. This will help you make more informed decisions during the recording and achieve a better overall mix.
Gaining proper control over input levels and ensuring a well-balanced mix is crucial for capturing clean and dynamic drum recordings. By following these steps and monitoring the input levels throughout the recording process, you’ll be on your way to achieving professional-quality drum tracks.
Monitoring and Playback
Monitoring and playback are essential steps in the drum recording process. Proper monitoring allows you to hear the nuances and details of your recorded drum tracks accurately, while playback enables you to assess the quality of the recordings and make any necessary adjustments. Here’s a guide to effectively monitor and playback your drum recordings:
- Use high-quality monitoring equipment: Invest in a reliable pair of studio monitors or high-quality headphones to accurately hear the subtleties in your drum recordings. These monitoring options should provide a flat frequency response, allowing you to make informed decisions during the mixing and editing stages.
- Set up your monitoring environment: Ensure that your listening environment is optimized for accurate playback. Position your studio monitors at ear level, in an equilateral triangle with your listening position. Use acoustic treatment and monitor isolation pads to minimize reflections and vibrations that can affect the sound. If using headphones, choose a quiet space and make sure they fit comfortably and provide accurate sound reproduction.
- Check for sonic issues: Listen carefully to your drum recordings and focus on any potential sonic issues. Pay attention to elements such as clarity, balance, dynamics, and overall tonal quality. Note any areas that may require further adjustments during mixing, such as EQ, compression, or editing.
- Compare with reference tracks: A useful technique is to compare your drum recordings with professionally mixed and mastered tracks in the same genre. This allows you to gauge the overall quality of your recordings and identify any areas that may need improvement. Listen for differences in tonal balance, dynamic range, and overall mix presence.
- Make notes for future adjustments: As you listen to your drum recordings, make notes on any specific areas that may need attention. This could include tightening or loosening the kick drum, adjusting the balance between the snare and toms, or refining the cymbal mix. These notes will serve as a guide for future editing, mixing, or re-recording sessions.
- Consider multiple playback devices: It’s worth checking how your drum recordings translate to different listening systems. Test your mixes on different speakers, headphones, or car stereo systems to ensure they sound consistent and balanced across various playback devices.
- Take breaks for fresh ears: Monitoring fatigue can affect your ability to accurately assess your drum recordings. Take regular breaks and give your ears some rest to avoid listener fatigue. This will help you make more objective decisions during the mixing process.
Remember, monitoring and playback are critical steps in evaluating and refining your drum recordings. By utilizing high-quality monitoring equipment, analyzing the recordings critically, and making necessary notes for future adjustments, you’ll be able to achieve the desired sonic result for your drum tracks.
Troubleshooting Common Recording Issues
While recording drums with an audio interface, you may encounter common issues that can affect the quality and integrity of your recordings. Understanding how to troubleshoot these issues can save you time and frustration. Here are some common recording problems and their possible solutions:
- Noise and interference: If you’re experiencing unwanted noise or interference in your recordings, check for potential sources of electromagnetic interference (EMI) such as power cables, cell phones, or Wi-Fi routers. Move these sources away from the recording setup, use shielded cables, and ensure proper grounding to minimize noise.
- Clipping and distortion: Clipping occurs when the recorded signal exceeds the maximum level, resulting in distortion. To avoid clipping, monitor the input levels on your audio interface and set them so that the peaks reach around -6 dB. If clips occur, reduce the input gain or use a pad to attenuate the signal.
- Phase cancellation: Phase cancellation can occur when multiple microphones are picking up the same sound source at slightly different distances or angles. This can result in a thinner or weaker sound. To minimize phase cancellation, ensure that the microphones capturing the same sound source are equidistant and aim for consistent angles. Adjust the timing (phase) using your audio interface or software if needed.
- Drum bleed: Drum bleed refers to the sound of one drum bleeding into another drum’s microphone. This can make it challenging to isolate individual drum sounds during mixing. To reduce drum bleed, experiment with microphone placement, use isolating barriers, or consider using close-miking techniques with additional spot microphones to capture specific drum parts.
- Inconsistent levels: Inconsistent volume levels between different drum parts can make it difficult to achieve a balanced mix. Adjust the microphone positions and gain settings to achieve a more uniform level across the kit. Additionally, utilize compression during mixing to control dynamic range and ensure a consistent volume level.
- Poor room acoustics: If your recording space has poor acoustics, you may end up with excessive room reflections or a boxy sound. Consider using acoustic treatment, such as bass traps, diffusers, and absorbers, to improve the room’s sound. If possible, record in a different space or utilize digital room emulation plugins during mixing to enhance the room ambience.
- Muffled or boomy sound: If your recordings sound muffled or overly boomy, check the microphone placement and experiment with different angles and distances. Adjust the position of the microphones to capture the desired balance between attack and resonance. Additionally, use equalization during mixing to shape the drum sound and reduce any unwanted frequencies.
- Latency: Latency refers to the slight delay between when you hit a drum and when you hear the sound through your monitoring system. This can be distracting and affect your performance. To minimize latency, use a low-latency audio interface, optimize your computer’s performance, and utilize direct monitoring to hear the drums in real-time.
By being aware of these common recording issues and utilizing the appropriate solutions, you can troubleshoot and overcome challenges to achieve clean, professional drum recordings with your audio interface.
Conclusion
Recording drums with an audio interface opens up a world of possibilities, allowing you to capture the power and intricacies of your drum kit with precision and clarity. By selecting the right audio interface, preparing your recording space, setting up microphones correctly, and troubleshooting common issues, you can achieve professional-quality drum recordings right in your own studio.
Remember, the process starts with choosing an audio interface that meets your needs in terms of inputs, preamp quality, and sample rate. Creating an optimal recording space involves decluttering, considering acoustics, and applying acoustic treatment to control reflections and noise. Proper microphone placement for different drum parts is crucial for capturing the unique characteristics of each element, while adjusting input levels and optimizing gain staging ensures clean and balanced recordings.
Monitoring and playback allow you to critically evaluate your drum recordings, compare them with reference tracks, and make necessary adjustments. Troubleshooting common recording issues such as noise, clipping, phase cancellation, drum bleed, and room acoustics ensures that you overcome challenges and achieve the best possible results.
By following the steps outlined in this guide and honing your recording skills, you’ll be well on your way to capturing impressive drum recordings that capture the energy and essence of your playing. With dedication, experimentation, and a good ear, you’ll be able to produce professional-quality drum tracks that enhance your music and leave a lasting impact.
Now, armed with your audio interface knowledge and the practical tips provided, it’s time to grab your drumsticks, set up your recording space, and unleash your creativity through the power of drum recording with an audio interface. Happy recording!