Home>Production & Technology>Audio Interface>How To Record Guitar Through Audio Interface
Audio Interface
How To Record Guitar Through Audio Interface
Modified: February 15, 2024
Learn how to record your guitar using an audio interface. Discover the versatility and high-quality sound an audio interface can provide for your recordings.
(Many of the links in this article redirect to a specific reviewed product. Your purchase of these products through affiliate links helps to generate commission for AudioLover.com, at no extra cost. Learn more)
Table of Contents
- Introduction
- Understanding the Audio Interface
- Setting Up Your Audio Interface
- Choosing the Right Cables and Connections
- Configuring Your Recording Software
- Preparing Your Guitar for Recording
- Adjusting the Levels and Gain
- Monitoring Your Sound
- Recording the Guitar
- Troubleshooting Common Issues
- Tips for a Great Guitar Recording
- Conclusion
Introduction
An audio interface is an essential tool for any musician or producer looking to record their guitar and capture the highest quality sound. Whether you’re a beginner or a professional, understanding how to properly use an audio interface can greatly enhance your recordings.
Simply put, an audio interface is a device used to connect your guitar and other audio equipment to your computer or recording device. It acts as the intermediary between your analog gear and the digital world, converting the analog signal from your guitar into a digital signal that can be processed and recorded on your computer.
By using an audio interface, you can achieve much higher audio quality compared to simply plugging your guitar directly into your computer’s sound card. Audio interfaces offer better resolution, lower latency, and more input/output options, allowing you to have full control over your recording process.
In this article, we will guide you through the process of setting up and using an audio interface to record your guitar. You will learn about the different types of audio interfaces, the necessary cables and connections, how to configure your recording software, and various tips and techniques for achieving a great guitar recording.
Whether you’re a guitarist looking to create professional recordings or a producer wanting to capture the best guitar performances, understanding how to properly use an audio interface is crucial. So let’s dive in and learn all about recording guitar through an audio interface!
Understanding the Audio Interface
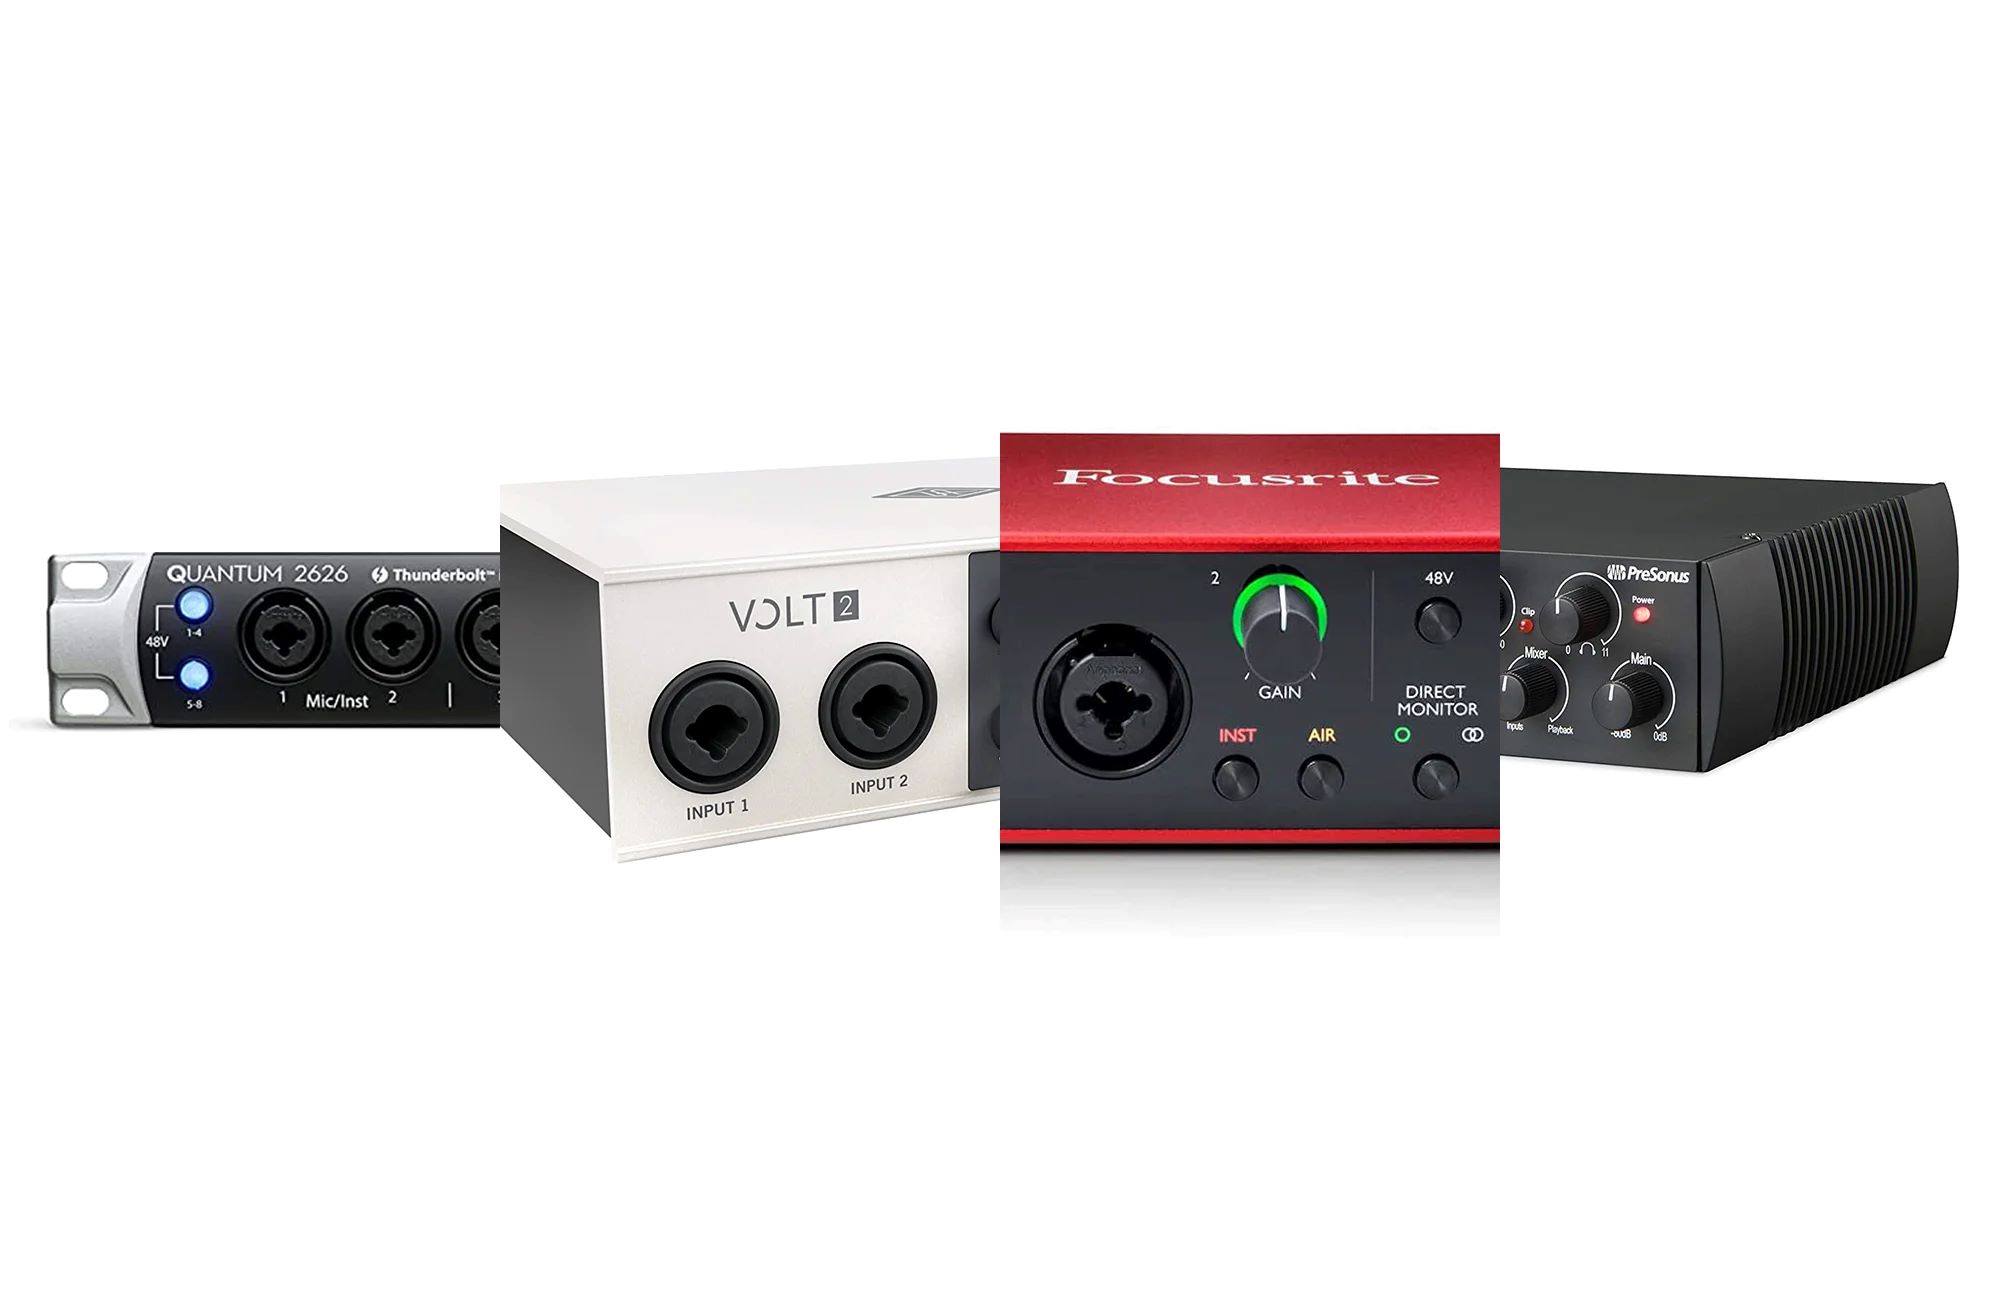
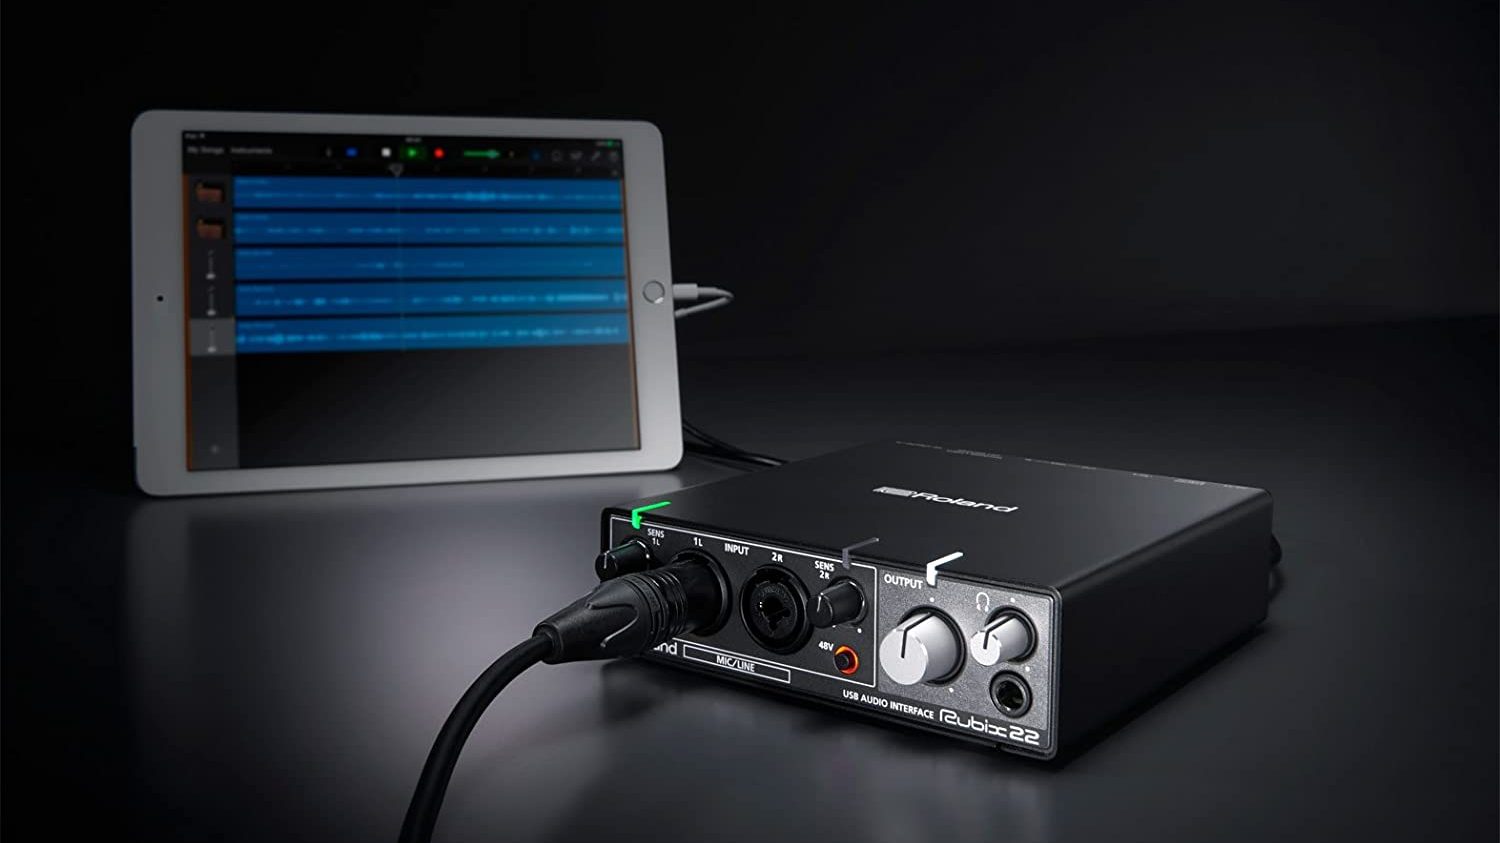
Before we begin setting up your audio interface, it’s important to understand its components and how they work. An audio interface typically consists of input and output connections, preamps, converters, and controls.
The input connections on an audio interface allow you to connect your guitar or other audio sources. These can include XLR inputs for microphones, 1/4″ instrument inputs for guitars, and line inputs for other audio devices. It’s important to have a clear understanding of the different types of inputs your audio interface offers and how to properly connect your guitar.
The preamps in an audio interface amplify and condition the incoming audio signal from your guitar or microphone. They play a crucial role in maintaining the integrity and clarity of the sound. Good quality preamps can make a significant difference in the overall sound of your recordings.
The converters in an audio interface convert the analog audio signal from your guitar into a digital signal that your computer can process. Higher quality converters ensure accurate and high-fidelity recording.
Most audio interfaces also feature output connections, such as 1/4″ outputs or headphone jacks, which allow you to listen to your recorded audio in real-time. These outputs are essential for monitoring and ensuring that you’re getting the desired sound.
Finally, the controls on the audio interface give you the ability to adjust various settings, such as input gain, output volume, and headphone levels. These controls provide you with the flexibility to optimize your recording levels and make real-time adjustments.
Understanding the components and functionality of your audio interface is crucial for achieving professional-quality guitar recordings. In the next sections, we will cover the setup process and all the necessary steps to ensure a successful recording experience.
Setting Up Your Audio Interface
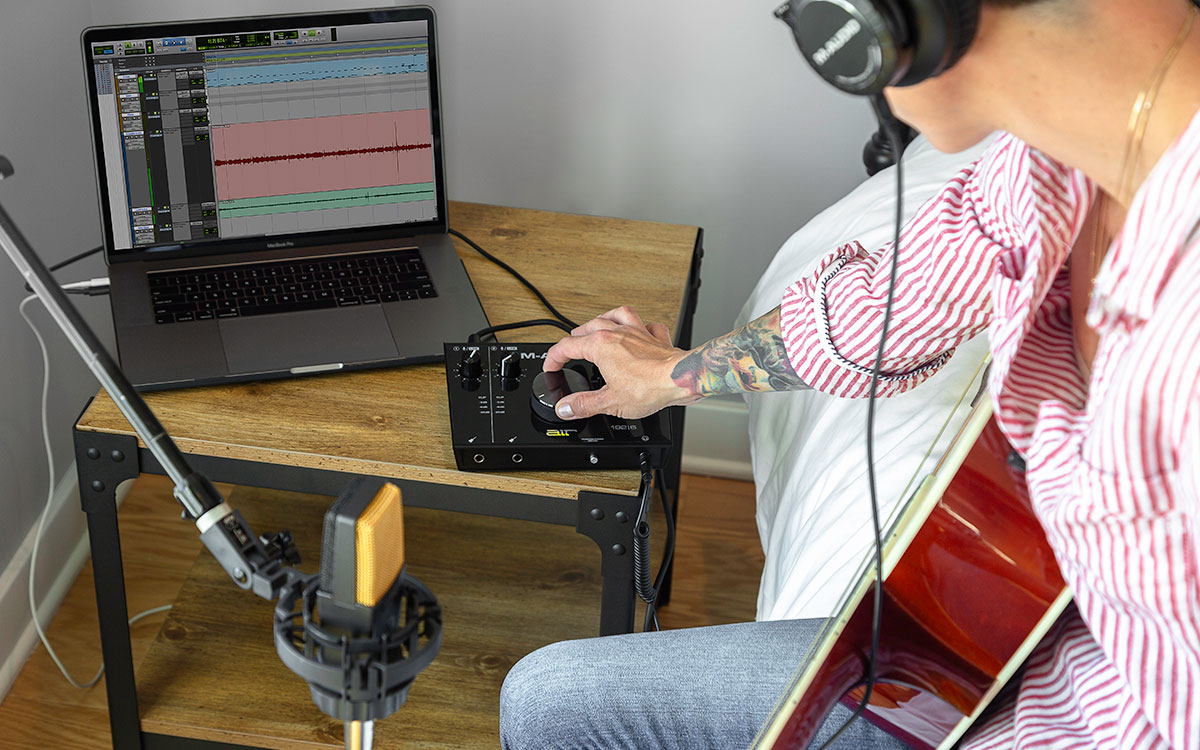
Once you have a good understanding of your audio interface, it’s time to set it up for recording your guitar. Follow these steps to get started:
- Connect your audio interface to your computer using a USB or Thunderbolt cable. Make sure to use the appropriate ports on both devices.
- Install any necessary drivers or software that come with your audio interface. Check the manufacturer’s website for the latest drivers and updates.
- Power on your audio interface and make sure it’s properly recognized by your computer.
- Connect your guitar to the appropriate input on your audio interface. If you have an electric guitar, use the 1/4″ instrument input. If you have an acoustic guitar with a pickup, you can connect it through a DI box or a preamp.
- Ensure that your audio interface is set as the default input and output device in your computer’s sound settings. This will ensure that your recording software recognizes it as the primary audio input.
Once your audio interface is properly set up, you’re ready to move on to configuring your recording software. Keep in mind that the specific steps may vary depending on the software you’re using, so refer to the software’s documentation for detailed instructions.
Setting up your audio interface is a crucial step in the recording process. Take your time to ensure all the connections are secure and that the device is properly recognized by your computer. This will help avoid any technical issues and allow you to focus on capturing the best guitar sound.
Choosing the Right Cables and Connections
When it comes to recording your guitar through an audio interface, selecting the right cables and connections is essential for a clean and noise-free signal. Here are some factors to consider:
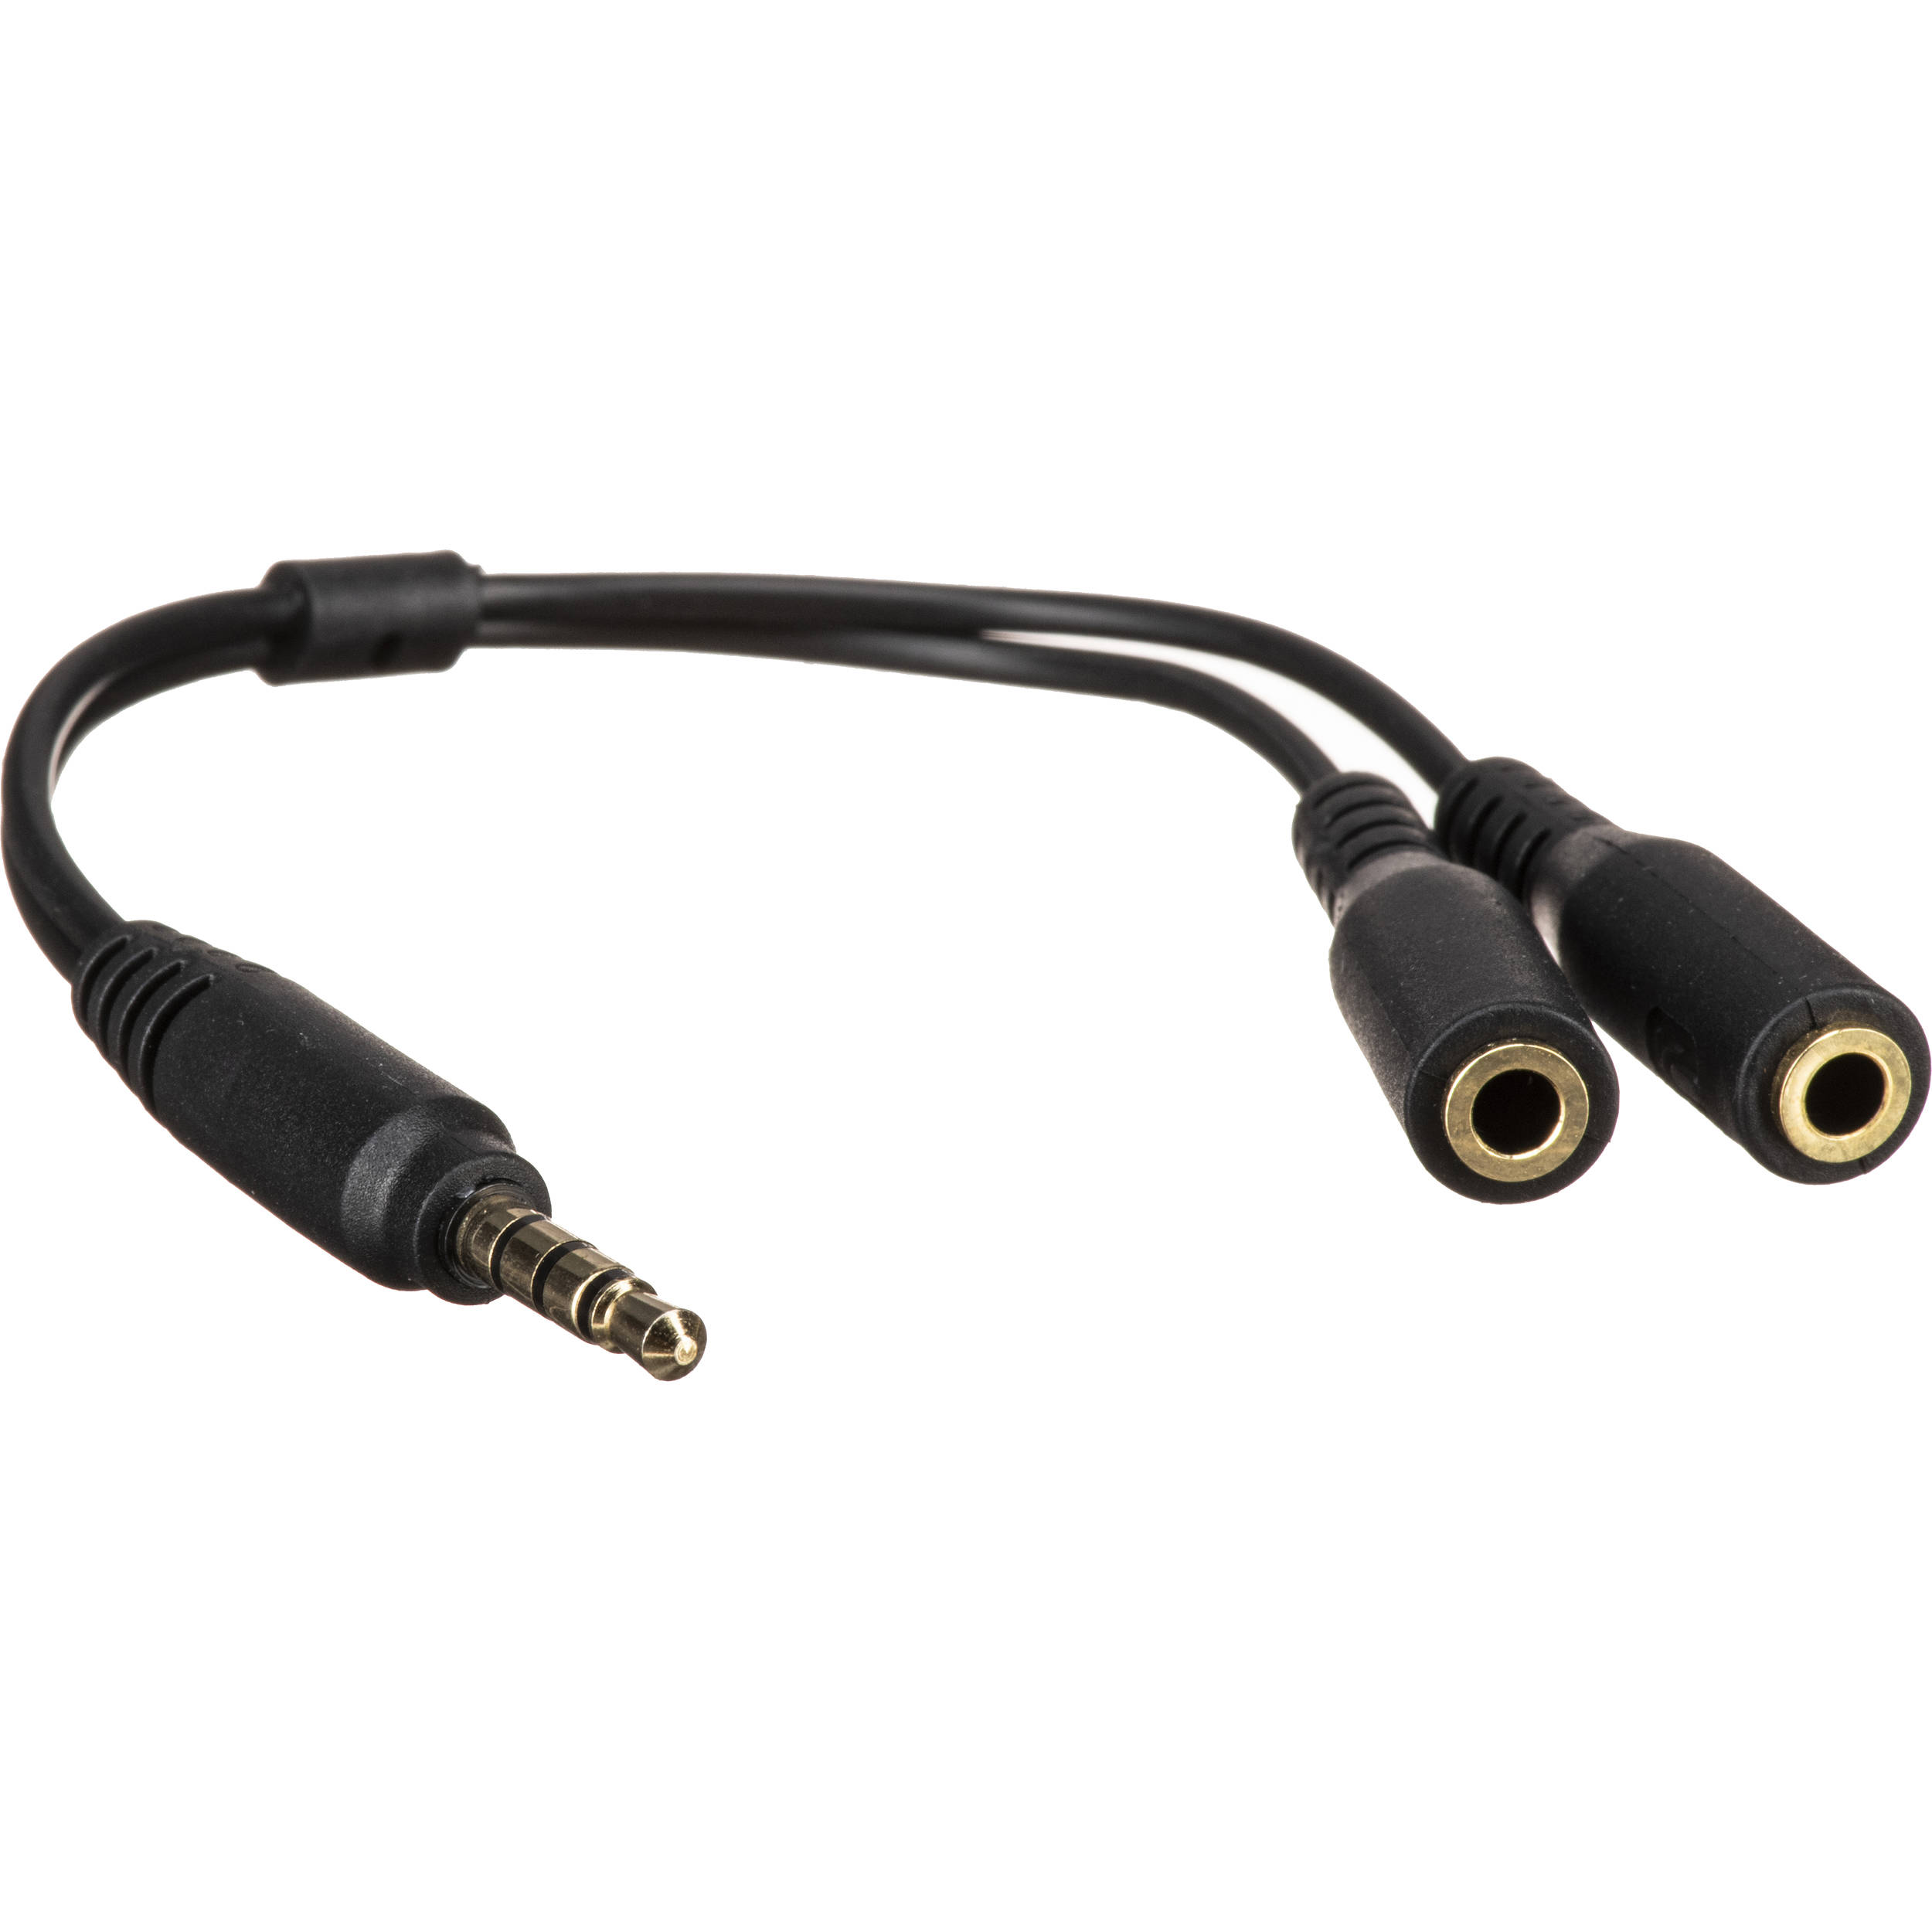
- Guitar Cable: Use a high-quality instrument cable to connect your guitar to the audio interface’s input. Look for cables with good shielding to minimize interference and ensure optimal signal transfer.
- XLR or TRS Cable: If you’re using a microphone or an acoustic guitar with a pickup, you’ll need an XLR or TRS cable to connect to the audio interface. Make sure to choose a cable with appropriate connectors and high-quality shielding.
- DI Box: If you’re recording an acoustic guitar with a piezo pickup, using a DI (Direct Injection) box can help balance the signal and eliminate any impedance issues. Connect the DI box to the audio interface using an XLR cable.
- USB or Thunderbolt Cable: To connect your audio interface to your computer, use either a USB or Thunderbolt cable, depending on the interface’s connectivity options. Make sure to choose a cable of sufficient length for your setup.
- Monitor Speakers or Headphones: If you’re using your audio interface’s output for real-time monitoring, connect your monitor speakers or headphones to the appropriate output jacks on the interface.
It’s worth investing in high-quality cables to maintain the integrity of your guitar’s sound. Poor-quality cables can introduce noise, signal loss, and other issues that can negatively impact your recording quality. Additionally, be mindful of the length of your cables – longer cables can result in higher signal loss, so choose the appropriate length for your setup.
By selecting the right cables and connections, you’ll be ensuring a clean and reliable signal flow from your guitar to the audio interface, setting the foundation for high-quality recordings.
Configuring Your Recording Software
Once your audio interface is set up and all the necessary cables and connections are in place, it’s time to configure your recording software. The specific steps may vary depending on the software you’re using, but here are some general guidelines:
- Selecting the Audio Interface: Open your recording software and navigate to the settings or preferences menu. Look for the audio settings section and choose your audio interface as the input and output device.
- Setting the Sample Rate and Bit Depth: Sample rate refers to the number of audio samples taken per second, while bit depth refers to the number of bits used to represent each sample. Choose a sample rate and bit depth that matches your desired recording quality (higher values generally offer better quality).
- Configuring Input Channels: If your audio interface has multiple inputs, configure the software to recognize the input channel you’re using for your guitar. This will ensure that the software is receiving the audio signal from the correct channel.
- Adjusting Buffer Size: The buffer size determines the amount of audio data that your computer processes at a given time. Lower buffer sizes result in lower latency but require more processing power. Adjust the buffer size to find the optimal balance between latency and performance.
- Testing and Calibrating: Before recording, it’s important to test the signal flow and calibrate the input levels. Play your guitar and monitor the input levels in your recording software. Adjust the input gain on your audio interface to ensure the signal is strong but not clipping or distorting.
Remember to consult the documentation or help resources of your specific recording software for detailed instructions on configuring the settings. Each software may have unique features and options that can enhance your recording experience.
By taking the time to properly configure your recording software, you’ll ensure that it’s optimized for recording your guitar through the audio interface, resulting in accurate and high-quality recordings.
Preparing Your Guitar for Recording
Before you hit record, it’s important to properly prepare your guitar for recording to ensure the best sound quality. Here are some tips to consider:
- Tuning: Start by tuning your guitar using a reliable tuner. Proper tuning is essential to achieve accurate and pleasing recordings.
- String Maintenance: Clean your guitar strings and replace any worn-out or dead strings. Fresh strings will produce a brighter and more vibrant tone.
- Truss Rod Adjustment: Check the neck of your guitar and make any necessary adjustments to the truss rod to achieve optimal neck relief. This can help prevent issues with intonation and buzzing.
- Action and Intonation: Ensure that your guitar’s action (string height) and intonation are properly set. This ensures that your guitar plays consistently and stays in tune across the fretboard.
- Eliminating Equipment Noise: Pay attention to any potential sources of noise, such as loose hardware, rattling parts, or interference from nearby electronics. Addressing these issues will help eliminate unwanted noise during recording.
- Experiment with Pickup Height: If you have an electric guitar with adjustable pickups, try experimenting with different pickup heights to find the sweet spot that provides the desired balance and tone.
Preparing your guitar for recording helps optimize the sound and ensures that you’re capturing the best performance. Taking the time to fine-tune your instrument will greatly enhance the quality of your guitar recordings.
Adjusting the Levels and Gain
Properly adjusting the levels and gain on your audio interface is crucial for achieving balanced and distortion-free guitar recordings. Here are some steps to follow:
- Set a suitable recording level: Start by setting the input gain on your audio interface. Aim for a strong enough signal without clipping or distorting. Watch the level meters in your recording software and adjust the input gain accordingly.
- Pay attention to signal-to-noise ratio: Find the sweet spot where your guitar’s signal is strong enough to avoid unwanted noise but not too hot that it distorts the clarity of the sound. Adjust the gain levels until you achieve a good signal-to-noise ratio.
- Consider using compression: If your audio interface or recording software has compressor settings, experiment with applying gentle compression to even out the dynamics of your guitar. This can help control peaks and make your recording sound more polished.
- Use the volume controls on your guitar: If your guitar has volume controls, use them to adjust the level going into the audio interface. This can help fine-tune the sound before it reaches the recording software.
It’s worth noting that the ideal levels and gain settings may vary depending on the specific audio interface, guitar, and musical style. It’s always a good idea to listen critically and make adjustments as needed to achieve the desired tone and dynamics.
By carefully adjusting the levels and gain on your audio interface, you’ll ensure that your guitar recordings have the right balance and clarity, allowing your performance to shine through without any unwanted distortion or noise.
Monitoring Your Sound
Monitoring your sound is a crucial step in the recording process to ensure that you’re capturing the best guitar tones. Here are some tips for effective monitoring:
- Wear headphones or use monitor speakers: Use a good pair of studio headphones or monitor speakers to accurately listen to your recorded sound. These will provide a balanced representation of your guitar’s tone and allow you to make informed decisions during the recording process.
- Pay attention to the mix: When monitoring, listen to the mix of your recorded guitar with other instruments or backing tracks if applicable. Ensure that the guitar sits well within the mix and that all elements can be heard clearly.
- Check for unwanted noise or interference: Listen for any unwanted noise, hum, or interference in your recordings. This could be an indication of grounding issues or other technical problems. Make necessary adjustments to eliminate or minimize these issues.
- Monitor the dynamics: Pay attention to the dynamics of your guitar performance. Ensure that the softer and louder parts are well balanced, and nothing is getting lost or distorted in the recording.
- Take breaks and listen with fresh ears: It’s easy to get too accustomed to the sound while recording. Take regular breaks and return to your recordings with fresh ears to make more objective judgments on the sound quality.
Monitoring your sound accurately allows you to make informed decisions during the recording process. By paying attention to the mix, dynamics, and any unwanted noise or interference, you can capture the best guitar tones and ensure a professional-quality recording.
Recording the Guitar
Now that you have your audio interface set up, cables connected, levels adjusted, and sound monitored, it’s time to start recording your guitar. Follow these steps to capture your performance:
- Select your recording software: Open your recording software and create a new project or session.
- Create a new track: Add a new track in your recording software specifically for your guitar.
- Arm the track for recording: In your recording software, arm the guitar track for recording. This means the track is ready to capture the signal from your guitar.
- Set your recording preferences: Choose the desired recording settings such as the file format (WAV, MP3, etc.), sample rate, and bit depth.
- Press record and start playing: Click the record button in your recording software and begin playing your guitar. Be mindful of the timing and dynamics throughout your performance.
- Take multiple takes if needed: If you’re not satisfied with a particular take, don’t hesitate to try again. Recording multiple takes gives you more options when it comes to editing and selecting the best performance.
- Monitor your recording levels: Keep an eye on the recording levels in your software to ensure that the signal doesn’t clip or distort.
- Save and name your recordings: After you’ve finished recording, save your files and give them appropriate names to easily identify them later on.
Remember to relax and enjoy the recording process. Let your creativity and passion flow into your guitar performance, and don’t be afraid to experiment with different techniques and playing styles.
Once you’ve recorded your guitar, you can move on to the next steps of editing, mixing, and adding effects to further enhance your recordings.
Troubleshooting Common Issues
Despite your best efforts, you may encounter some common issues while recording your guitar through an audio interface. Here are some troubleshooting tips to help you overcome these challenges:
- No Sound: If you’re not getting any sound, double-check your connections and ensure that all cables are securely plugged in. Also, make sure your audio interface is selected as the input device in your recording software.
- Latency Issues: Latency refers to the delay between when you play a note and when you hear it through your headphones or speakers. Adjusting the buffer size in your recording software can help to minimize latency issues.
- Crackling or Popping Sounds: If you hear crackling or popping sounds, it could be due to buffer underruns or issues with your computer’s processing power. Try increasing the buffer size or closing unnecessary programs to free up resources.
- Distortion or Clipping: Distortion or clipping occurs when the input signal is too hot or exceeds the input capacity of the audio interface. Adjust the input gain on your interface to avoid clipping while maintaining a strong signal.
- Noise and Interference: External noise and interference can affect your recordings. Ensure that your guitar is properly shielded, and reduce any sources of electromagnetic interference, such as keeping away from electronic devices or power cables.
- Mismatched Sample Rates: Incompatibility between the sample rate of your audio interface and your recording software can lead to issues. Ensure that both your interface and software are set to the same sample rate to avoid any discrepancies.
Remember to consult the documentation for your specific audio interface and recording software for further troubleshooting guidance. Additionally, reaching out to online forums and communities can provide valuable insights and solutions to common recording problems.
By addressing these common issues, you can ensure a smoother recording process and focus on capturing the best guitar performances without technical distractions.
Tips for a Great Guitar Recording
Recording your guitar can be a creative and fulfilling experience. To help you achieve the best results, here are some tips to consider:
- Experiment with microphone placement: If you’re recording an acoustic guitar or using a guitar amp, try different microphone positions to capture different tonal characteristics. Move the microphone closer or farther from the source, tilt it, or change the angle to find the sweet spot.
- Use a DI box for electric guitars: If you have an electric guitar, consider using a DI box in addition to miking your guitar amp. This will give you the flexibility to blend the direct signal with the mic’d signal during mixing, allowing for more tonal options.
- Consider room acoustics: If you’re recording in a room with natural reverb or unique acoustics, experiment with microphone placement to capture the room’s characteristics. This can add depth and dimension to your recordings.
- Layer multiple guitar tracks: To add richness and depth to your recordings, consider layering multiple guitar tracks. Experiment with different double-tracking or harmonization techniques to create a fuller sound.
- Record multiple takes: Don’t be afraid to record multiple takes of your guitar performance. This gives you more options during the mixing stage and allows you to choose the best parts from each take to create the perfect composite track.
- Experiment with effects and processing: Explore different guitar effects and plugins to enhance your recordings. From reverb and delay to modulation and distortion, effects can add character and shape the tone of your guitar.
- Pay attention to dynamics: Vary your playing dynamics to add expressiveness to your guitar recordings. Experiment with playing softer and louder, and use techniques like palm muting and fingerpicking to add texture and nuance.
- Take breaks and listen critically: During the recording process, take breaks to rest your ears and come back with fresh ears to listen critically to your recordings. This will help you make better decisions during the editing and mixing stages.
Remember, the ultimate goal is to capture your unique sound and musical expression. Don’t be afraid to experiment and explore different techniques to achieve the desired tone and performance. With practice and patience, you’ll be able to create exceptional guitar recordings that truly showcase your talent.
Conclusion
Recording your guitar through an audio interface opens up a world of possibilities for creating high-quality and professional-sounding recordings. By understanding the components of an audio interface, setting it up correctly, and following the recommended techniques, you can capture the true essence of your guitar playing.
Remember to choose the right cables and connections, configure your recording software, and properly prepare your guitar for recording. Adjusting the levels and gain, monitoring your sound, and troubleshooting common issues will help you achieve optimal results.
Additionally, don’t forget to leverage tips such as experimenting with microphone placement, layering multiple guitar tracks, and using effects to add depth and creativity to your recordings. And always trust your ears and take the time to listen critically to ensure that you’re capturing the best possible performance.
Recording your guitar through an audio interface can be a fun and rewarding process. So dive in, explore different techniques, and let your creativity flourish. With practice and persistence, you’ll be able to create outstanding guitar recordings that showcase your talent and passion for music.