Home>Production & Technology>Audio Interface>How To Use Audio Interface With Guitar

Audio Interface
How To Use Audio Interface With Guitar
Modified: March 5, 2024
Learn how to connect and use an audio interface with your guitar for high-quality recording and performance. Enhance your sound with an audio interface.
(Many of the links in this article redirect to a specific reviewed product. Your purchase of these products through affiliate links helps to generate commission for AudioLover.com, at no extra cost. Learn more)
Table of Contents
- Introduction
- What is an Audio Interface?
- Why Use an Audio Interface with a Guitar?
- Choosing the Right Audio Interface
- Setting Up Your Guitar with the Audio Interface
- Adjusting Input Levels and Settings
- Selecting the Right Audio Software
- Recording and Monitoring Your Guitar with the Audio Interface
- Tips and Troubleshooting
- Conclusion
Introduction
Welcome to the world of audio interfaces and their integration with guitars. If you’re a musician, producer, or audio enthusiast looking to enhance your guitar recording and performance capabilities, an audio interface is a must-have tool in your arsenal.
An audio interface serves as the link between your guitar and your computer or recording device. It allows you to capture the purest sound of your guitar, with high-quality audio conversion and low latency performance. Whether you’re a beginner or a seasoned professional, using an audio interface will take your guitar playing and recording to a whole new level.
In this article, we will explore the ins and outs of using an audio interface with a guitar. We’ll discuss the benefits of using an audio interface, how to choose the right one for your needs, and guide you through the setup and recording process. Whether you’re a solo guitarist, part of a band, or a music producer, this article will provide you with valuable insights to unlock the true potential of your guitar.
So, let’s dive in and discover the wonderful world of audio interfaces and guitars!
What is an Audio Interface?
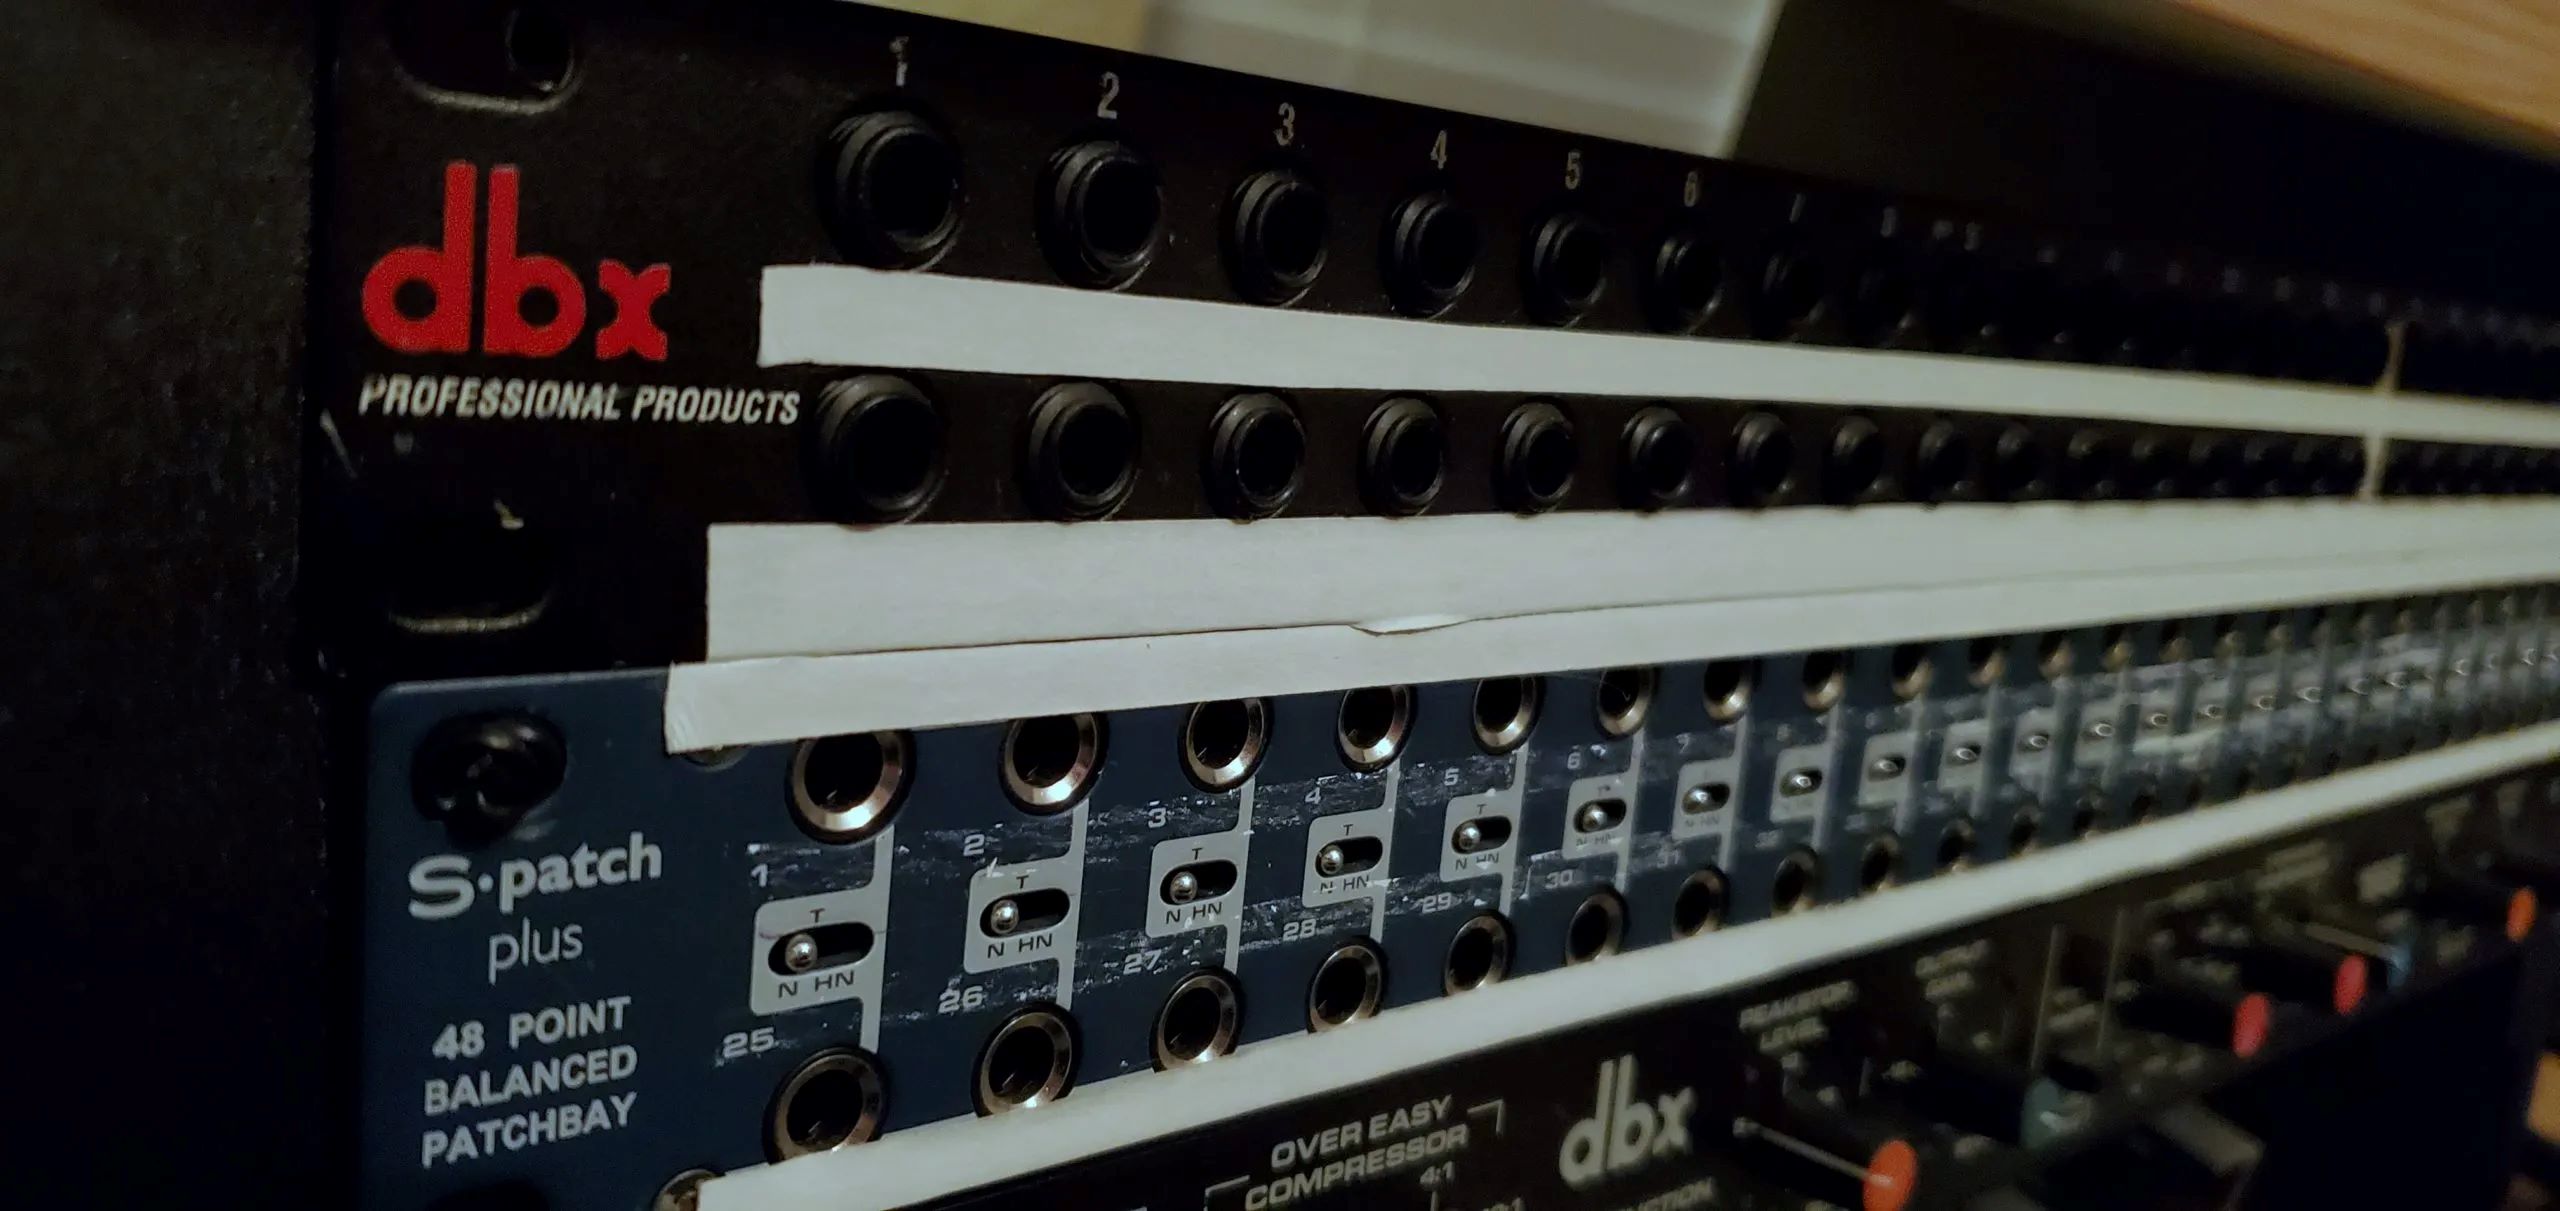
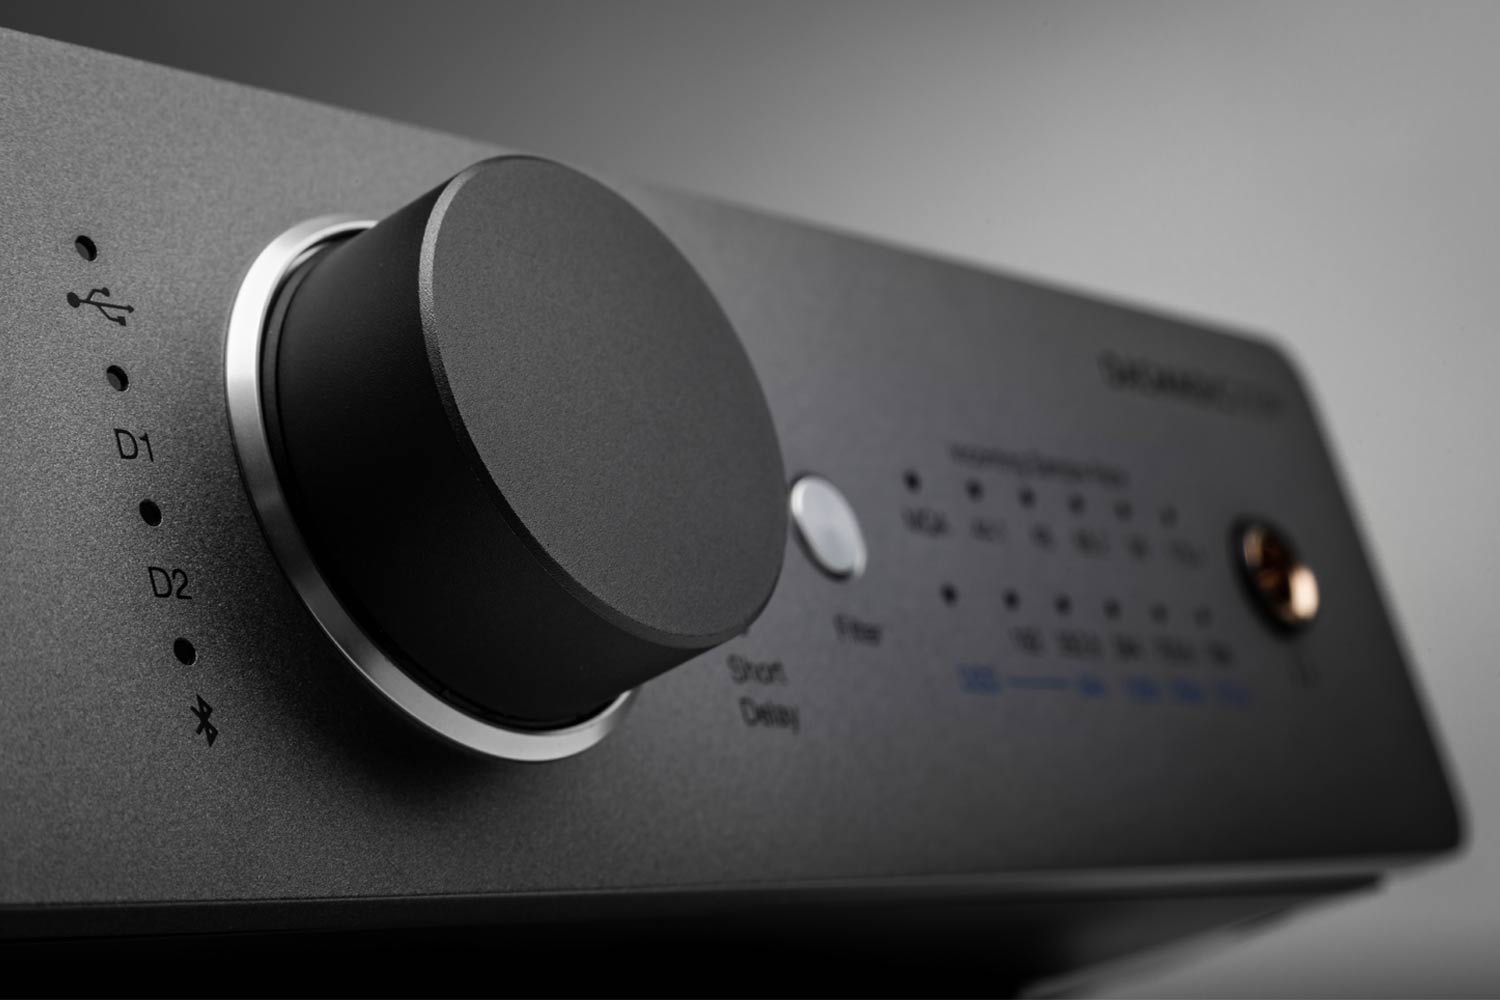
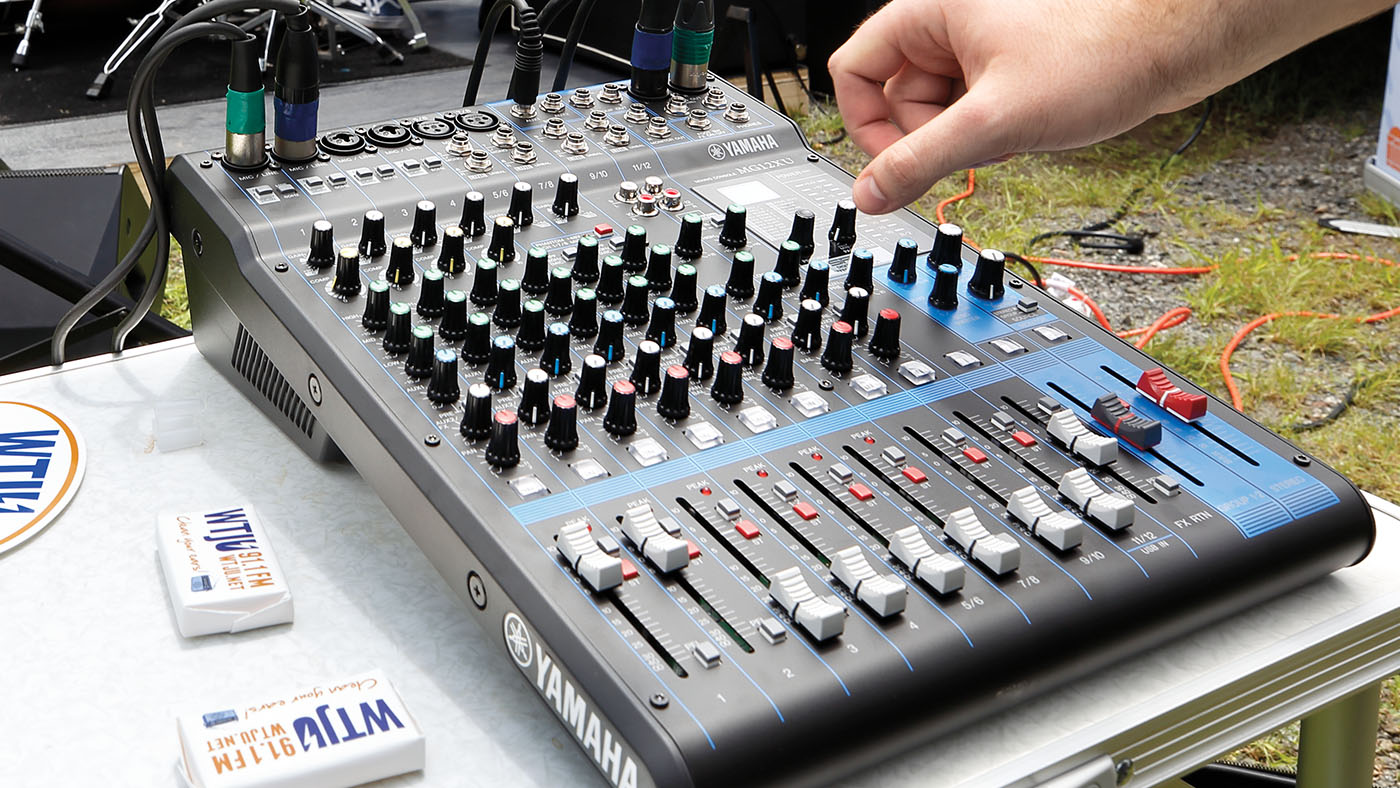
An audio interface is a piece of hardware that connects your guitar or other audio sources to your computer or recording device. It acts as a bridge between the analog signals from your guitar and the digital signals that your computer can process. The primary function of an audio interface is to convert the analog audio signals from your guitar into a digital format that can be recorded, processed, and edited.
Audio interfaces come in various shapes and sizes, with different input and output options to cater to different needs. They typically have one or more inputs where you can connect your guitar, as well as outputs for connecting headphones, studio monitors, or external speakers.
One of the main advantages of using an audio interface is its ability to provide high-quality audio conversion. Most audio interfaces are designed with high-quality preamps and converters, which ensures that the sound of your guitar is accurately captured with minimal noise and distortion.
In addition to converting analog signals to digital, audio interfaces also offer features like adjustable gain levels, phantom power for condenser microphones, MIDI connectivity, and monitoring capabilities. These features allow you to control the input levels, power external devices, and monitor your guitar playing in real-time.
Overall, an audio interface is an essential tool for any guitarist or music producer who wants to achieve professional-quality recordings and performances. It provides the necessary hardware and features to optimize the sound of your guitar and unlock a world of creative possibilities.
Why Use an Audio Interface with a Guitar?
Using an audio interface with a guitar offers a wide range of benefits for musicians and audio enthusiasts. Here are some compelling reasons why you should consider incorporating an audio interface into your guitar setup:
- Improved Sound Quality: An audio interface with high-quality converters and preamps ensures that the true essence of your guitar’s sound is captured with clarity and fidelity. It eliminates noise and distortion, resulting in professional-grade recordings and performances.
- Low Latency Performance: Audio interfaces are designed to minimize latency, which is the delay between playing a note on your guitar and hearing the sound through your computer or recording device. This low latency performance enables real-time monitoring, allowing you to play and record without any noticeable delay.
- Flexibility and Versatility: Audio interfaces provide a range of input and output options, allowing you to connect multiple instruments, microphones, and other audio sources to your computer. This flexibility allows you to experiment with different recording techniques and create layered compositions.
- Integration with Digital Audio Workstations (DAWs): Audio interfaces are compatible with popular DAW software like Ableton Live, Pro Tools, or Logic Pro. This integration allows you to record, edit, and process your guitar tracks with a wide range of plugins, effects, and virtual instruments.
- Real-Time Monitoring: With an audio interface, you can monitor your guitar playing in real-time using headphones or studio monitors. This allows for better control over your performance and enables you to make immediate adjustments to your playing technique or sound settings.
- Professional-Grade Recording: If you’re serious about recording your guitar and creating high-quality productions, an audio interface is essential. It provides the necessary hardware and features to capture the finest details of your guitar’s sound, giving your recordings a polished and professional edge.
Ultimately, using an audio interface with a guitar elevates your playing and recording experience. It enhances the sound quality, reduces latency, and opens up a world of possibilities for creativity and experimentation. Whether you’re a bedroom guitarist or a professional musician, an audio interface is a powerful tool that will revolutionize your guitar playing and take your recordings to new heights.
Choosing the Right Audio Interface
When it comes to selecting the right audio interface for your guitar, there are several factors to consider. Here are some key considerations to help you make an informed decision:
- Input and Output Options: Determine how many inputs and outputs you need for your setup. If you’re a solo guitarist, a single-input interface might suffice. However, if you plan on recording multiple instruments or collaborating with others, you may need an interface with multiple inputs and outputs.
- Connection Type: Most audio interfaces use USB, Thunderbolt, or FireWire connections to connect to your computer. Make sure the interface you choose is compatible with the ports on your computer. USB interfaces are the most common and offer a wide range of options for different budgets.
- Preamp Quality: The preamps in an audio interface are responsible for amplifying the signal from your guitar. Look for interfaces with high-quality preamps that deliver clean and transparent amplification. Good preamps ensure accurate sound reproduction and minimize noise and distortion.
- Sampling Rate and Bit Depth: The sampling rate determines the frequency at which audio is captured, while the bit depth determines the resolution or dynamic range. Higher sampling rates (e.g., 96kHz) and bit depths (e.g., 24-bit) allow for better audio quality and more detailed recordings.
- Compatibility with Your Operating System and DAW: Ensure that the audio interface you choose is compatible with your operating system (Windows, macOS) and the digital audio workstation (DAW) software you plan to use. Check for any compatibility requirements or driver updates before making a purchase.
- Budget: Set a budget that aligns with your needs and preferences. Audio interfaces come in a wide price range, so it’s important to find a balance between features and cost. Consider whether you need advanced features like MIDI connectivity or additional bundled software.
Once you have considered these factors, it’s a good idea to read reviews, compare specifications, and even try out different models if possible. This will help you find the audio interface that best suits your requirements and provides the best value for your money.
Remember, choosing the right audio interface is crucial for achieving optimal sound quality, low latency performance, and seamless integration with your recording setup. Take your time, do your research, and make an informed decision to ensure that you have a reliable and versatile tool for enhancing your guitar playing and recording experience.
Setting Up Your Guitar with the Audio Interface
Once you’ve chosen and acquired the right audio interface for your guitar setup, it’s time to set it up and connect your guitar. Here are the steps to get you started:
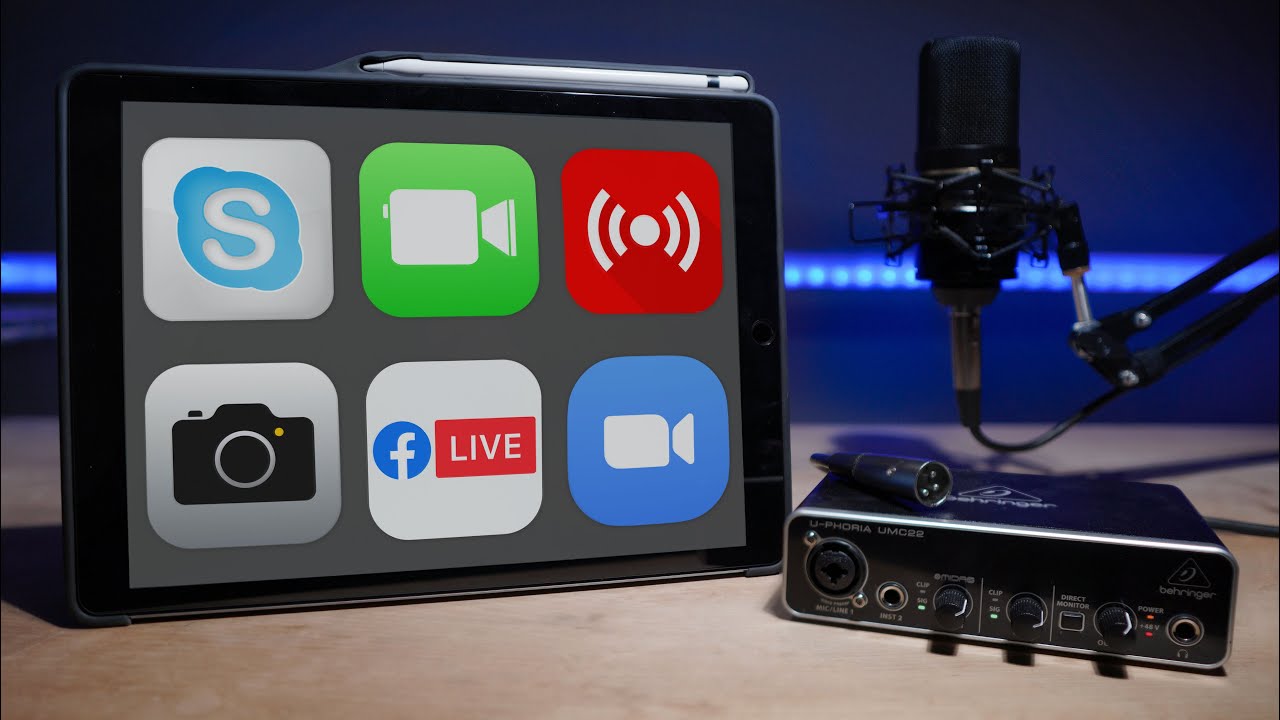
- Connect the Audio Interface: Plug your audio interface into a power source (if required) and connect it to your computer using the appropriate cable (such as USB or Thunderbolt). Ensure that your computer recognizes the interface and installs any necessary drivers.
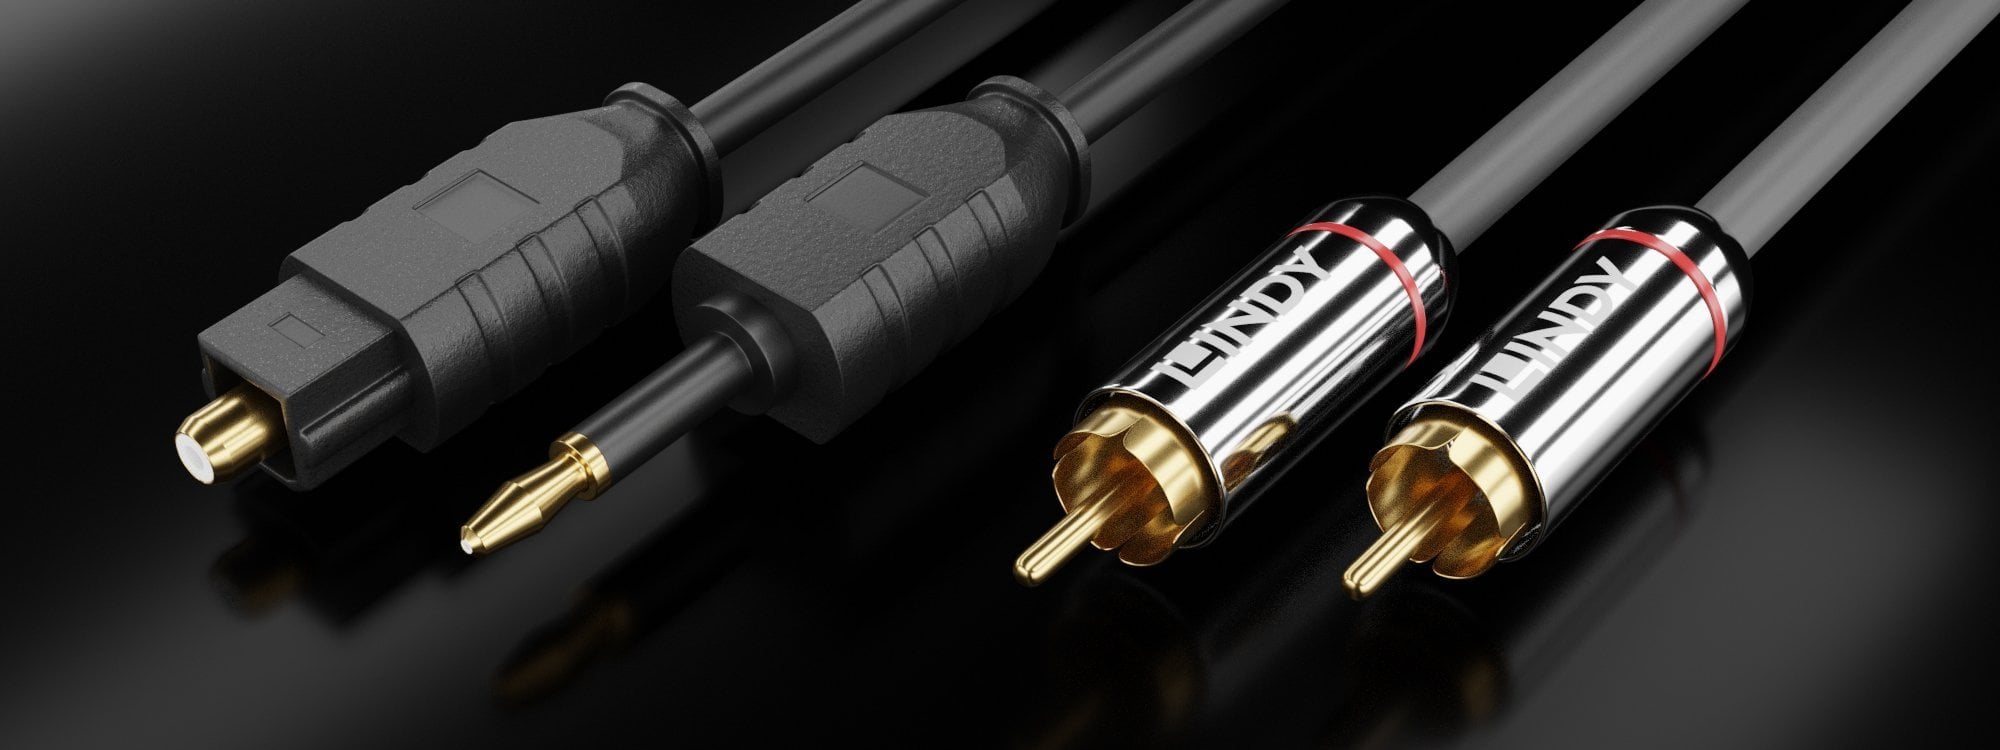
- Connect your Guitar: Take your guitar cable and plug one end into the input jack on your audio interface. Ensure that the connection is secure to avoid any crackling or interference.
- Adjust Input Levels: Most audio interfaces have gain or input level knobs. Start by setting the input level to a moderate level and make adjustments as needed. Avoid setting the level too high, as it may result in distortion or clipping.
- Enable Phantom Power (if required): If you’re using a condenser microphone or an active DI box with your guitar, check if your audio interface has phantom power. Phantom power is usually required to power such devices, so enable it if necessary.
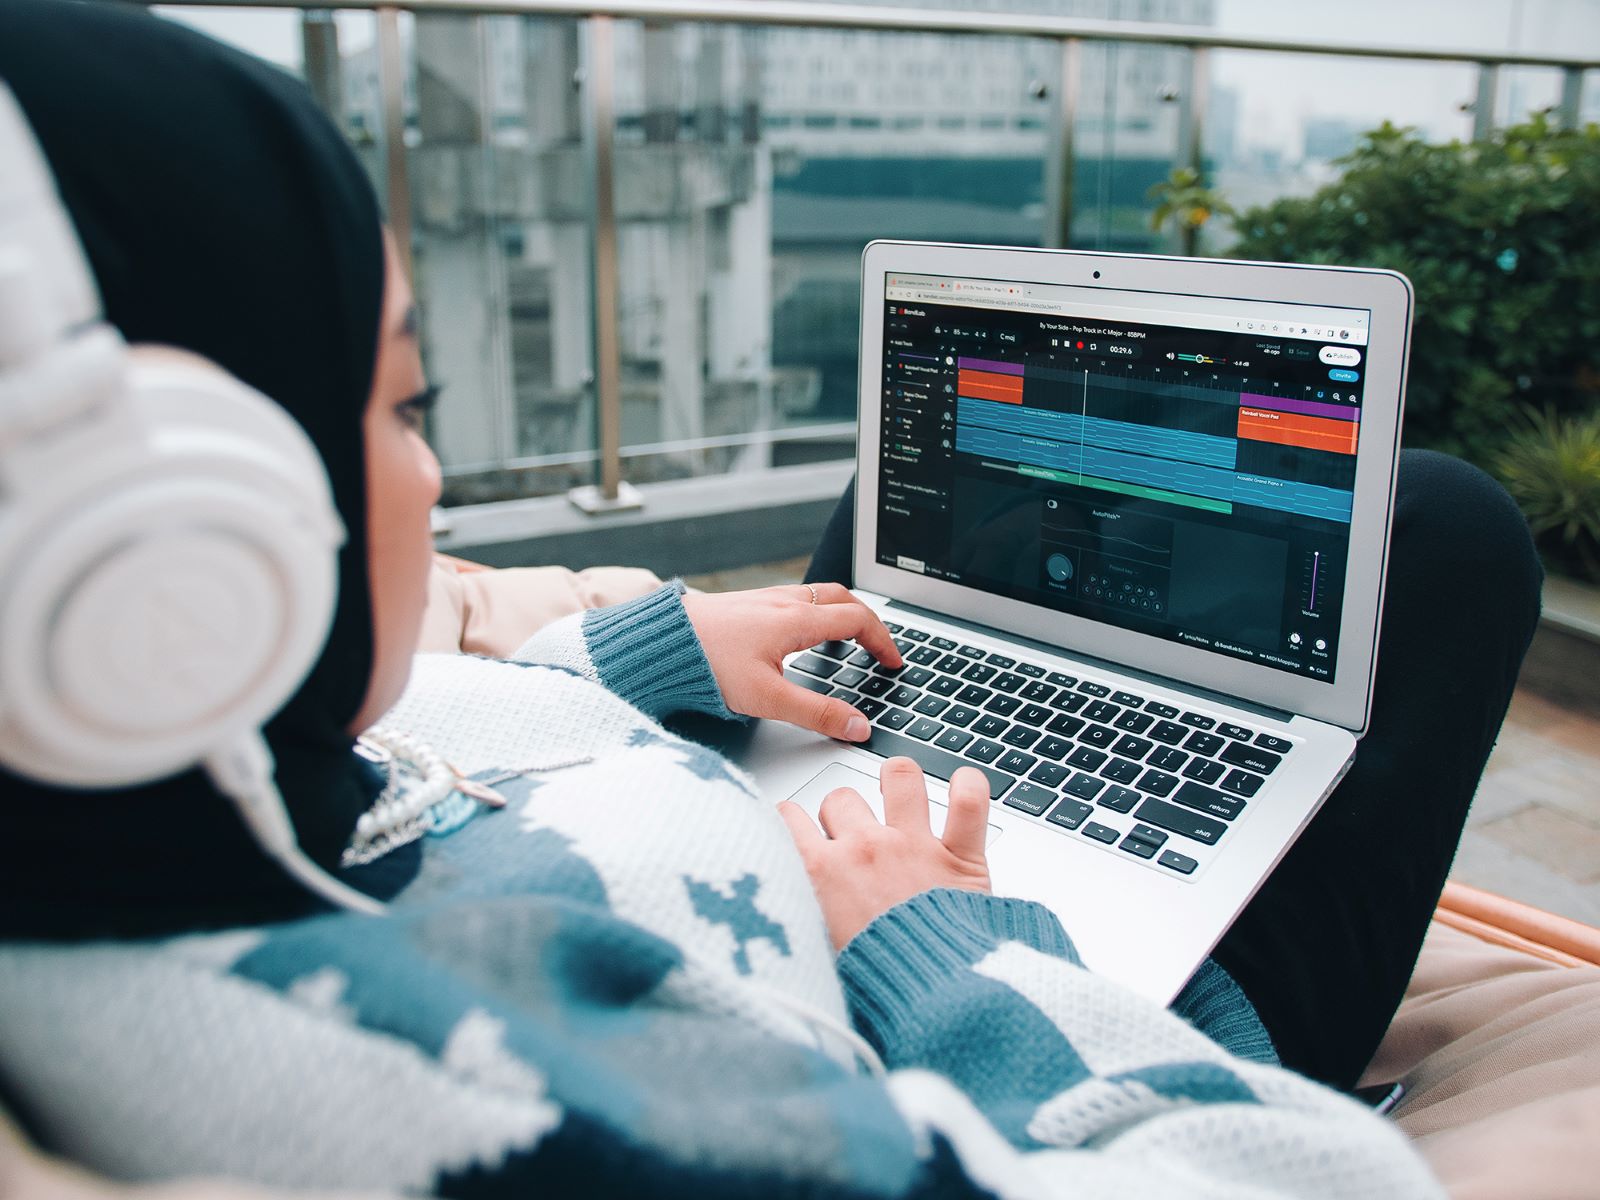
- Monitor Your Guitar: Connect your headphones or studio monitors to the audio interface’s headphone or output jacks. This allows you to hear your guitar in real-time as you play. Adjust the volume to a comfortable level.
- Software Setup: Launch your preferred digital audio workstation (DAW) software and select the audio interface as the input and output device. Configure the recording settings, such as sample rate and buffer size, according to your needs.
- Test the Connection: Strum your guitar and monitor the sound through your headphones or monitors. Make sure you’re getting a clean and clear signal without any unwanted noise or distortion. Adjust the input levels on your interface or in your DAW if necessary.
Remember, it’s essential to follow the instructions provided with your audio interface and consult the user manual if you encounter any difficulties during the setup process. Every audio interface may have slightly different features and requirements, so familiarize yourself with the specific details of your chosen interface.
With your guitar successfully connected to the audio interface, you’re now ready to embark on a sonic journey of recording, playing, and experimenting with your guitar in the digital realm.
Adjusting Input Levels and Settings
One crucial aspect of using an audio interface with a guitar is adjusting the input levels and settings to ensure optimal sound quality and recording performance. Here are some key considerations and steps to follow when adjusting input levels and settings:
- Start with a moderate input level: Begin by setting the input level of your audio interface to a moderate level. This prevents any potential distortion or clipping that could occur if the level is set too high. You can always make further adjustments based on the specific needs of your recording.
- Use visual indicators: Many audio interfaces have LED indicators or meters to display the input signal level. Monitor these indicators as you play your guitar to ensure that the signal level stays within an acceptable range. Avoid letting the signal go into the red, which indicates excessive volume.
- Utilize the gain control: The gain control on your audio interface allows you to adjust the input sensitivity. If your guitar’s signal is too weak, increase the gain to boost the input level. If the signal is too strong and clipping occurs, decrease the gain to attenuate the input signal.
- Consider using a pad: Some audio interfaces have a pad feature that attenuates the input signal further, allowing you to accommodate high-output instruments or signals. Enable the pad if you notice excessive signal levels or distortion when playing your guitar.
- Use headphone monitoring: If your audio interface has headphone monitoring capabilities, utilize it to listen to your guitar’s sound in real-time. This allows you to make immediate adjustments to your playing technique, sound settings, or input levels to achieve the desired tone and avoid any unwanted artifacts or distortion.
- Adjust buffer size: Buffer size refers to the amount of audio data that the computer processes at once. A smaller buffer size allows for lower latency but may put a strain on the CPU, potentially resulting in audio dropouts. Experiment with different buffer sizes to find the balance between low latency and stable performance.
- Explore additional settings: Depending on your audio interface and software, you may have access to additional settings such as sample rate, bit depth, or input routing options. Familiarize yourself with these settings and adjust them as needed to meet your recording requirements and preferences.
Remember that finding the optimal input levels and settings may require some trial and error. Take your time to listen and adjust accordingly, and don’t hesitate to refer to the user manual or seek guidance from online resources or forums if you encounter any specific issues or questions.
By carefully adjusting the input levels and settings of your audio interface, you can capture clean, balanced, and high-quality recordings of your guitar, ensuring that your musical performances are accurately captured and preserved in the digital realm.
Selecting the Right Audio Software
Once you have your audio interface set up and your guitar connected, the next step is to choose the right audio software, also known as a digital audio workstation (DAW), to record, edit, and process your guitar tracks. There are several options available, so consider the following factors when selecting the software that best suits your needs:
- Compatibility: Ensure that the software you choose is compatible with your operating system (Windows, macOS, etc.) and your audio interface. Some audio interfaces may come bundled with specific software, so check if any compatibility advantages or discounts exist.
- User Interface: Consider the user interface of the software and how comfortable and intuitive it feels to you. Look for a layout and design that you find visually appealing and easy to navigate. Some DAWs offer customizable workflows and layouts to suit different user preferences.
- Features and Tools: Evaluate the range of features and tools provided by the software. Look for essential features like recording, editing, mixing, and effects processing. Additional features like virtual instruments, MIDI capabilities, and plugin support can enhance your creative possibilities.
- Workflow and Efficiency: Consider how the software fits into your workflow and how efficiently you can accomplish tasks with it. Some software offers advanced automation features, batch processing, or keyboard shortcuts, which can speed up your production process and improve your efficiency.
- Support and Updates: Check the reputation of the software developer and the frequency of software updates. Regular software updates ensure bug fixes, introduce new features, and maintain compatibility with the latest operating systems and audio technologies.
- Community and Resources: Look for a software with an active user community and ample online resources, tutorials, and forums. Having access to a supportive community can be beneficial when seeking help or expanding your knowledge of the software.
- Budget: Consider your budget when selecting audio software. Some DAWs offer different pricing tiers, including free versions or trial periods. Determine the features that are most important to you and find a software that offers a balance between affordability and functionality.
Popular audio software options include Ableton Live, Pro Tools, Logic Pro, FL Studio, and Reaper, among others. Each has its own strengths and unique features, so take the time to research and experiment with different software to find the one that best matches your preferences and workflow.
Remember, the software you choose ultimately serves as your creative playground, so it’s important to select one that empowers and inspires you to unleash your musical potential with your guitar.
Recording and Monitoring Your Guitar with the Audio Interface
Now that you have your audio interface set up and your chosen audio software ready, it’s time to dive into recording and monitoring your guitar. Here’s a step-by-step guide on how to effectively capture and monitor your guitar performance:
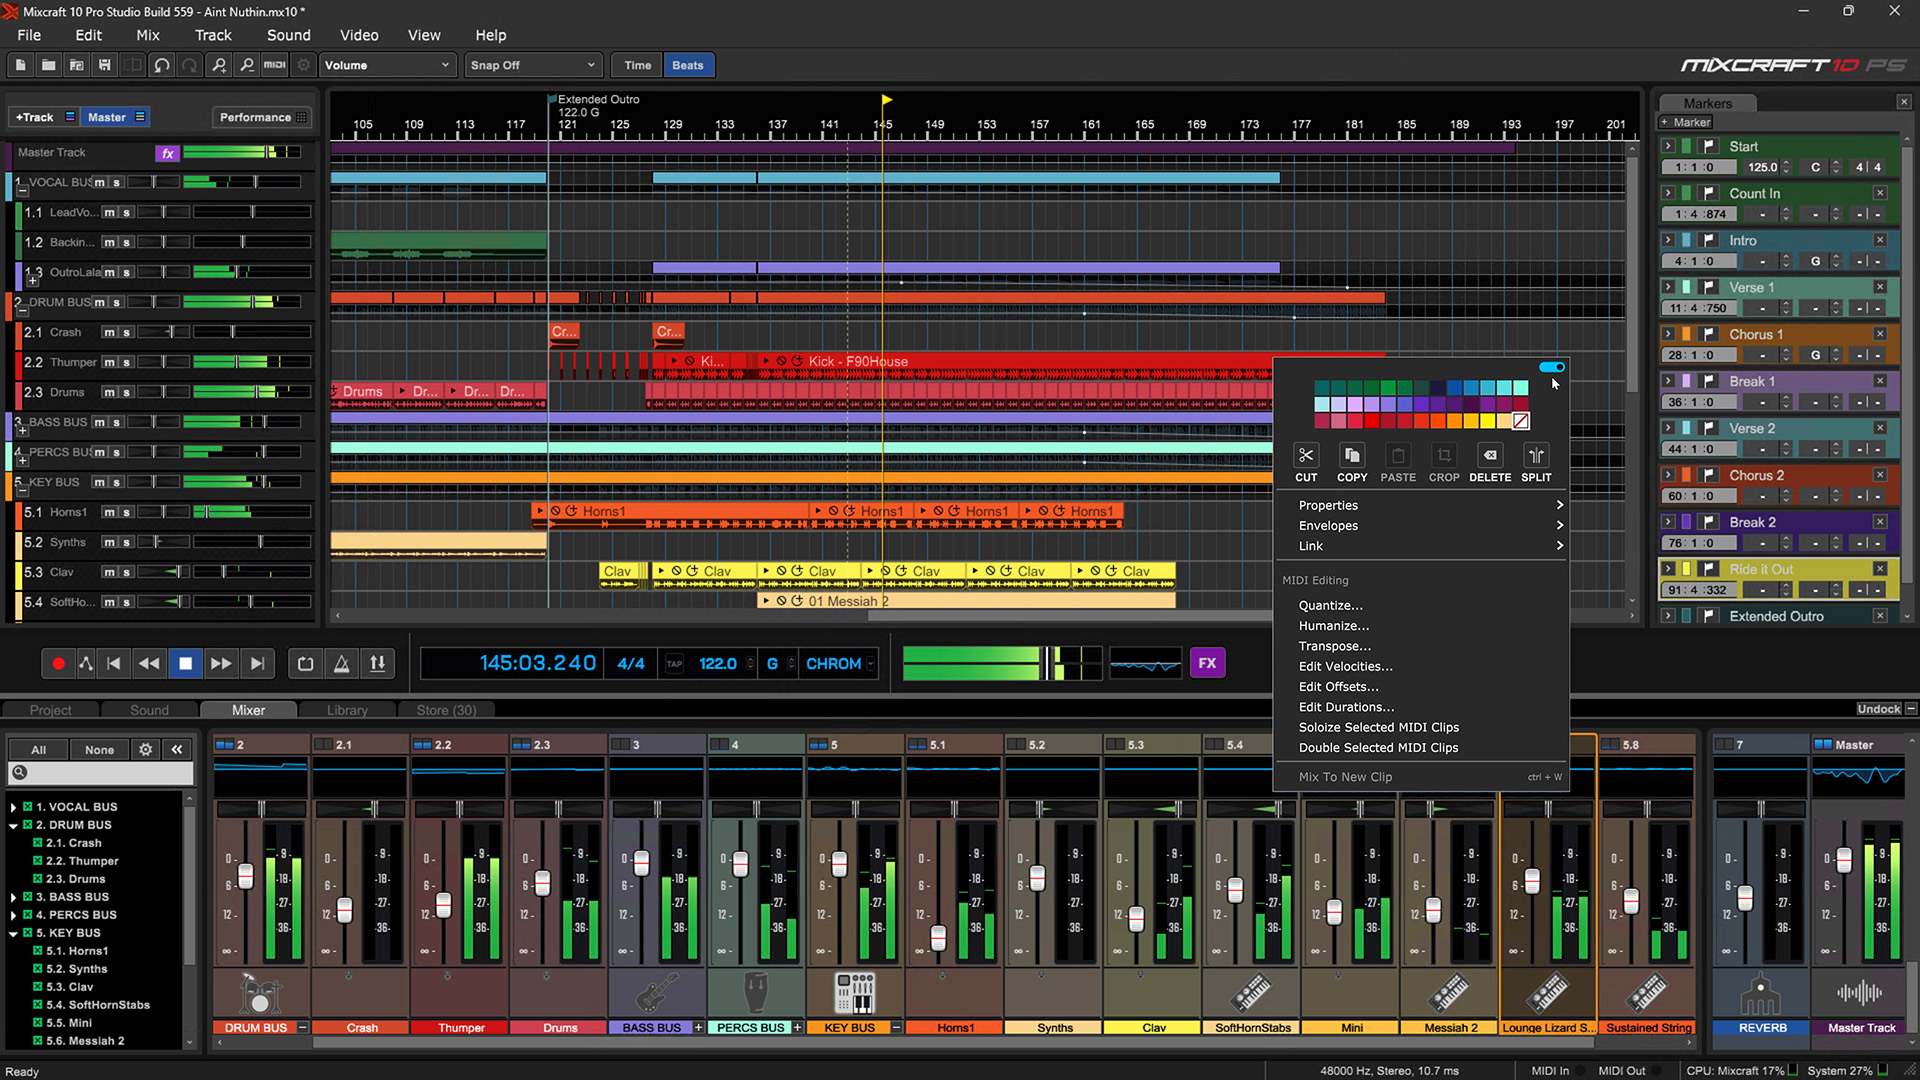
- Create a New Project: Open your audio software and create a new project or session. Set the desired settings for sample rate, bit depth, and session format according to your preferences and project requirements.
- Arm the Track: Create a new track dedicated to recording your guitar. Arm the track by clicking on the arm/record button. This ensures that the track is ready to receive the input signal from your guitar.
- Set the Input Source: In your software’s mixer or track settings, assign the input source to the corresponding input on your audio interface that’s connected to your guitar. This tells the software where to receive the guitar’s audio signal.
- Adjust the Recording Levels: Play your guitar at the desired intensity and monitor the input levels on your software’s mixer or track meter. Make necessary adjustments to ensure the signal isn’t too low (resulting in a weak recording) or too high (causing distortion).
- Enable Monitoring: Enable monitoring on the track or in the software preferences to hear the sound of your guitar in real-time while recording. This allows you to monitor your playing and adjust your performance and tone as necessary.
- Record Your Performance: When you’re ready, press the record button and start playing your guitar. Your software will begin recording the guitar signal onto the track. Perform your piece or recording as intended, capturing multiple takes if necessary.
- Review and Edit: Once you’ve finished recording, listen back to your takes and review them for any mistakes or sections that need improvement. Trim, edit, or delete unwanted parts using your software’s editing tools to refine your performance.
- Mix and Enhance: Once you have your guitar performance recorded and edited to your satisfaction, you can utilize your software’s mixing tools to balance the levels, apply EQ and effects, and enhance the overall sound of your guitar.
- Master and Export: In the final stages, apply mastering techniques to your guitar track, ensuring it sounds polished and cohesive with the rest of your mix. Once satisfied, export the final recording in your desired file format to share or distribute as needed.
Throughout the recording and monitoring process, continuously listen for any unwanted noise, clipping, or interference. Adjust the input levels, gain, or other settings on your audio interface or software as necessary to achieve the best possible sound quality.
Remember to save your project files regularly to avoid any potential loss of work, and take breaks when needed to maintain focus and prevent ear fatigue. Experiment with different recording techniques, microphone placements, and settings to find the approach that best suits your guitar and musical intentions.
With practice and experience, you’ll become adept at using your audio interface to capture the essence of your guitar performance, enabling you to create expressive and captivating recordings with ease.
Tips and Troubleshooting
While using an audio interface with a guitar can be a rewarding experience, it’s always helpful to have some tips and troubleshooting strategies in your toolkit. Here are some valuable insights to enhance your workflow and address common issues:
- Keep Your Equipment in Good Condition: Regularly clean and maintain your guitar, cables, and audio interface to ensure optimal performance. Check for loose connections, clean any dirt or debris, and store your gear in a safe and suitable environment.
- Experiment with Placement: If you’re using a microphone to record your guitar, try different placements to find the sweet spot that captures the best sound. Move the microphone closer to the soundhole for a boomy tone or towards the fretboard for a brighter sound.
- Watch for Latency: If you experience noticeable latency while monitoring your guitar, adjust the buffer size in your audio software settings. Increasing the buffer size may reduce latency but can increase CPU load, so find the right balance for your system.
- Use Headphone Mixes: If you’re recording with other instruments or playing along to pre-recorded tracks, create separate headphone mixes in your audio software to ensure that each musician can hear themselves and the desired blend of the other instruments.
- Experiment with Effects: Explore the variety of effects and plugins available in your audio software to enhance your guitar’s tone and add depth to your recordings. Experiment with amp simulations, virtual pedals, reverb, delay, and other effects to create unique sounds.
- Take Advantage of Automation: Utilize automation features in your audio software to add dynamics and subtle variations to your guitar parts. Automate volume, panning, or effects parameters to create movement and interest within your recordings.
- Backup Your Projects: Regularly back up your audio project files to prevent data loss. Use external storage devices or cloud-based services to keep copies of your work. This ensures that your recordings are protected and accessible in case of any accidents or hardware failures.
When faced with troubleshooting issues, such as audio dropouts, distortion, or malfunctioning hardware, consider the following steps:
- Check Connections: Ensure that all connections between your guitar, cables, and audio interface are secure and properly inserted.
- Update Drivers: Check for any driver updates for your audio interface and install them to ensure software compatibility and stability.
- Restart Your System: Sometimes, a simple system restart can resolve minor software or hardware issues, so give it a try before diving into more complex troubleshooting.
- Consult User Manuals and Online Resources: Refer to the user manuals of your audio interface, guitar, and software for troubleshooting guides. Additionally, explore online forums and communities where users share their experiences and potential solutions.
- Seek Professional Assistance: If you’re unable to resolve the issue on your own, reach out to technical support or consult a professional audio technician who can provide specialized assistance.
Remember, troubleshooting is a normal part of working with audio interfaces and recording equipment. With patience, resourcefulness, and the right knowledge, you can overcome any challenges and continue to create outstanding guitar recordings.
Conclusion
Using an audio interface with a guitar opens up a world of possibilities for musicians, producers, and audio enthusiasts. It allows for high-quality recordings, low-latency performance, and seamless integration with digital audio workstations. Throughout this article, we’ve explored the various aspects of using an audio interface with a guitar, from understanding what an audio interface is to selecting the right one for your needs.
We discussed the benefits of using an audio interface, including improved sound quality, low latency performance, and flexibility in your recording setup. We also provided tips on setting up your guitar with the audio interface, adjusting input levels and settings, and selecting the right audio software.
Recording and monitoring your guitar with an audio interface involves a step-by-step process that includes creating a new project, setting input sources, adjusting levels, and utilizing monitoring features. We also offered troubleshooting tips to address common issues that may arise during the recording process.
By following these guidelines and putting them into practice, you’ll have the tools and knowledge to maximize the potential of your guitar and create professional-grade recordings. Remember to experiment, explore different techniques, and let your creativity flourish.
So, whether you’re a seasoned guitarist or just starting out, an audio interface is an essential tool that will significantly enhance your guitar playing and recording experience. Embrace the possibilities, push the boundaries of your creativity, and enjoy the journey of capturing your guitar’s unique voice with the help of an audio interface!