Home>Production & Technology>Audio Interface>How To Connect Guitar Pedals To Audio Interface

Audio Interface
How To Connect Guitar Pedals To Audio Interface
Modified: February 15, 2024
Learn how to connect guitar pedals to your audio interface for seamless recording and sound processing. Enhance your audio quality with the right setup and maximize the potential of your audio interface.
(Many of the links in this article redirect to a specific reviewed product. Your purchase of these products through affiliate links helps to generate commission for AudioLover.com, at no extra cost. Learn more)
Table of Contents
Introduction
Welcome to the world of guitar pedals and audio interfaces! If you’re a guitarist or a musician looking to expand your sonic possibilities, connecting your guitar pedals to an audio interface can open up a whole new realm of creativity. Whether you’re a seasoned professional or just starting out, understanding how to effectively connect and utilize your guitar pedals with an audio interface is crucial for achieving the best sound quality.
So, what exactly are guitar pedals and audio interfaces? Guitar pedals, also known as stompboxes, are external effects units that alter the sound of your guitar signal. They come in various shapes and sizes, each offering a unique set of audio effects, such as distortion, delay, reverb, modulation, and more. On the other hand, an audio interface serves as the gateway between your instruments and your computer, allowing you to record and manipulate your guitar signal digitally.
By connecting your guitar pedals to an audio interface, you can harness the power of digital audio processing and recording software, giving you greater control over your tone and the ability to experiment with countless combinations of effects. Additionally, connecting your guitar pedals to an audio interface eliminates the need for an amp, making it a convenient setup for home recording, studio work, or live performances.
In this comprehensive guide, we will walk you through the process of connecting your guitar pedals to an audio interface, step by step. We will also cover the necessary equipment you’ll need, troubleshooting tips, and recommendations to optimize the sound quality. Whether you want to record professional-quality tracks or simply experiment with different effects, this guide has got you covered.
So, let’s dive in and unlock the full potential of your guitar pedals with an audio interface!
Understanding Guitar Pedals and Audio Interfaces
Before we delve into the nitty-gritty of connecting guitar pedals to an audio interface, it’s essential to have a clear understanding of what each component does and how they work together.
Guitar pedals, as mentioned earlier, are external effects units that shape and modify the sound of your guitar signal. They typically come in the form of compact stompboxes that can be easily activated or deactivated with a footswitch. Each pedal offers a specific effect, such as distortion, overdrive, delay, reverb, chorus, or phaser, and can be used individually or in combination with other pedals to create unique sounds and textures.
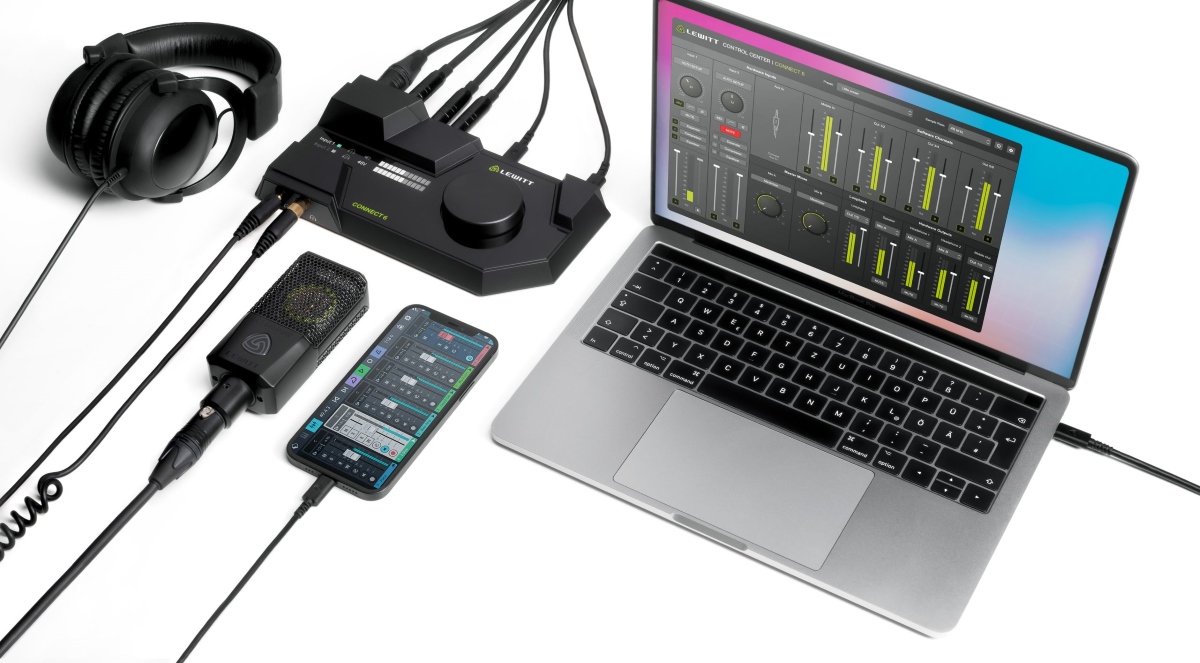
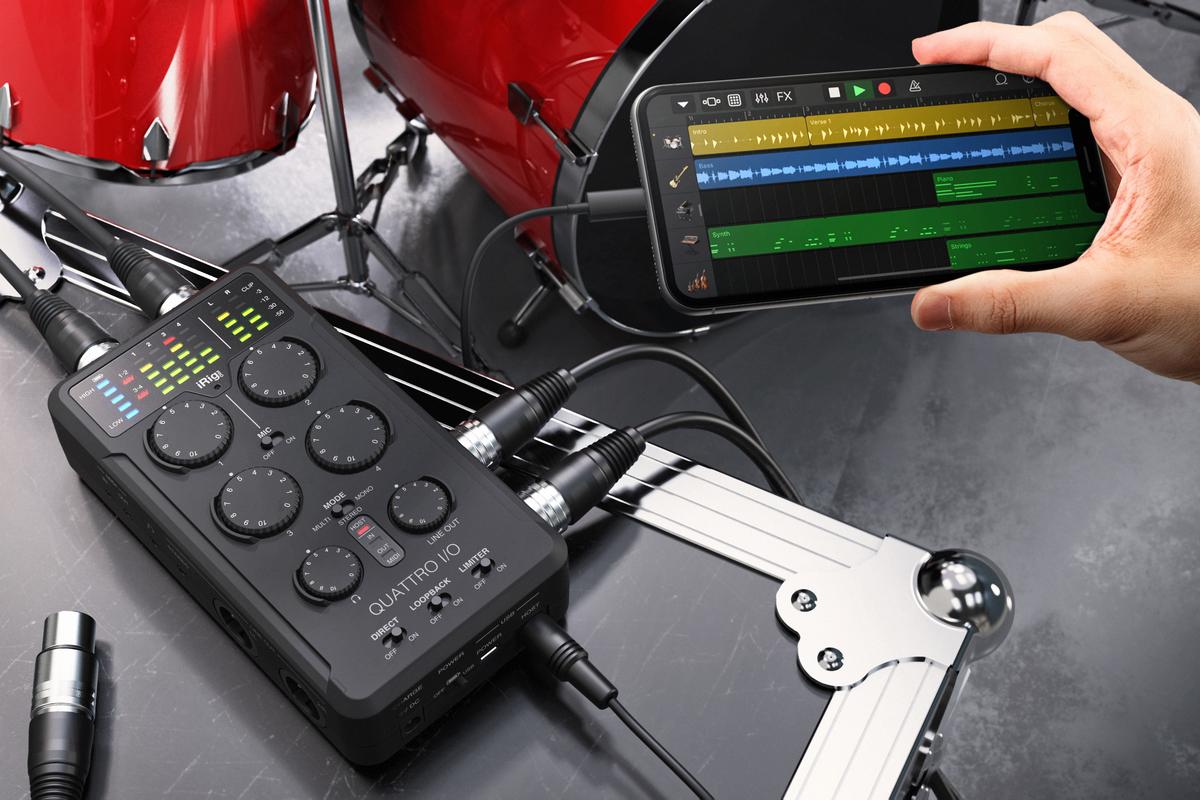
On the other hand, an audio interface is a crucial piece of hardware that bridges the gap between your instruments and your computer. It acts as an external sound card, converting analog audio signals into digital data that can be manipulated and recorded using software on your computer.
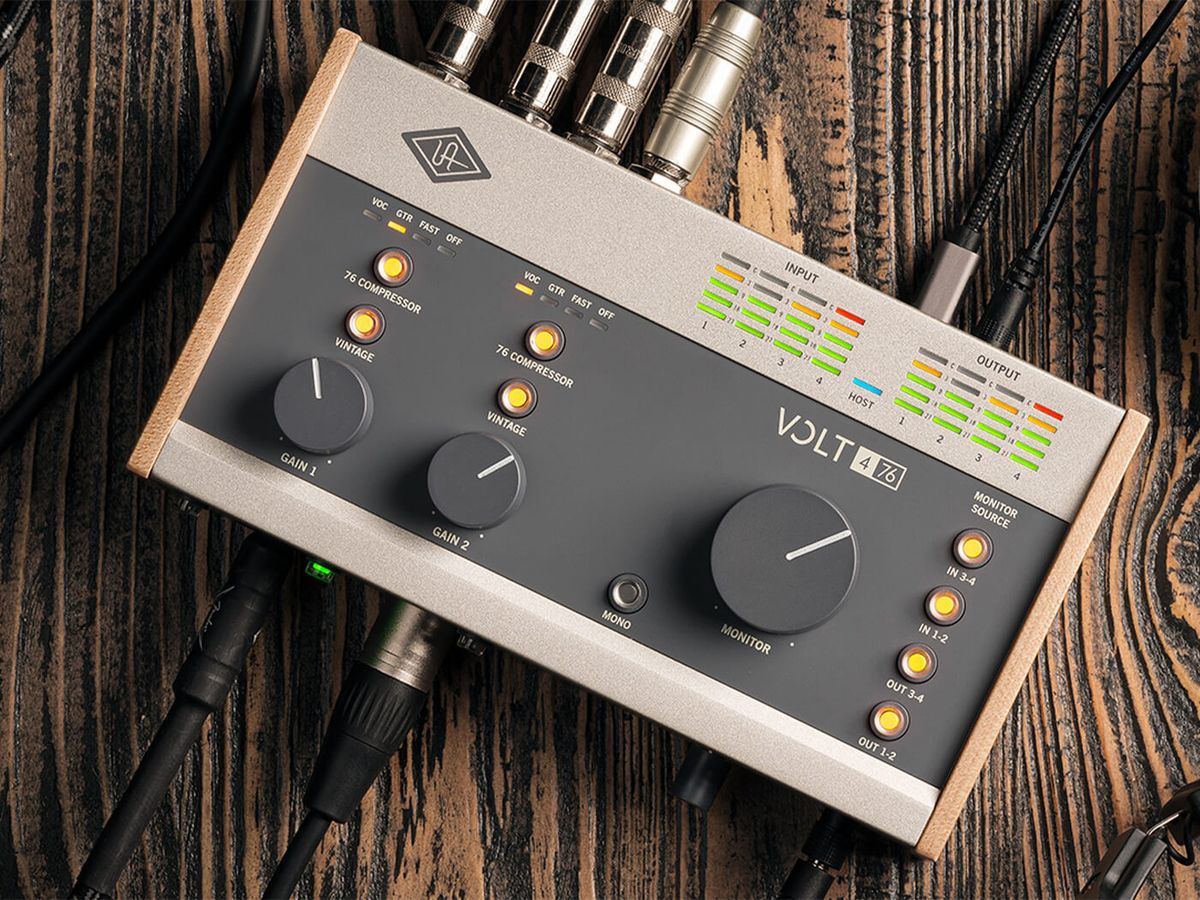
Audio interfaces come with various inputs and outputs, allowing you to connect microphones, instruments, and other audio devices to your computer. They also provide features like preamps, phantom power, and headphone outputs, ensuring high-quality recordings and monitoring capabilities.
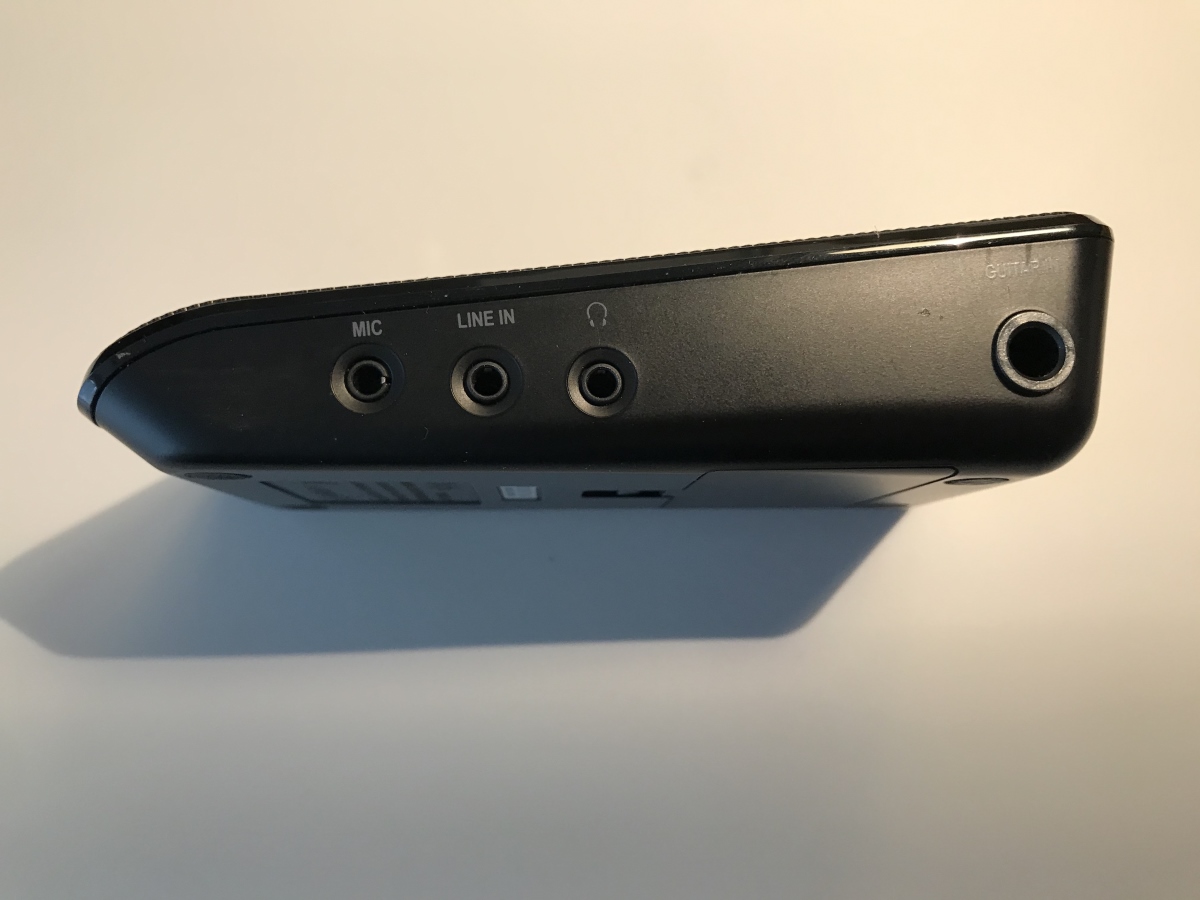
When it comes to connecting guitar pedals to an audio interface, there are a few important factors to consider. Firstly, you need to ensure that your audio interface has the necessary inputs and outputs to accommodate the pedals. Generally, audio interfaces come with 1/4″ instrument inputs, which are compatible with guitar pedals that have standard 1/4″ output jacks.
Another consideration is the signal flow. In most cases, you’ll want to connect your guitar to the input of the first pedal in your signal chain, and then connect the output of the last pedal to the input of the audio interface. This allows the guitar signal to pass through all the pedals and be captured by the audio interface for recording or processing.
Understanding the basics of guitar pedals and audio interfaces will set you up for success when it comes to connecting and utilizing them effectively. So, now that we have a good foundation, let’s move on to the necessary equipment needed for connecting guitar pedals to an audio interface.
Necessary Equipment for Connecting Guitar Pedals to an Audio Interface
Before you can start connecting your guitar pedals to an audio interface, there are a few essential pieces of equipment that you’ll need to ensure a seamless integration.
- Guitar Pedals: Of course, you’ll need your desired guitar pedals to create the effects you want. Whether you already have a collection of pedals or plan to purchase new ones, make sure they are in good working condition with standard 1/4″ output jacks.
- Audio Interface: Your audio interface is the pivotal component in this setup. Make sure your interface has enough inputs to accommodate the number of pedals you want to connect. Additionally, ensure that it has a high-quality analog-to-digital converter for optimal sound quality.
- Instrument Cables: To connect your guitar pedals, you’ll need a sufficient number of instrument cables. These cables should have 1/4″ plugs on both ends for compatibility with the pedals and the audio interface.
- Power Supply/Splitter: Most guitar pedals require power to operate. You can use individual power supplies for each pedal or invest in a power supply splitter to distribute power to multiple pedals simultaneously. Make sure to choose a reliable and clean power supply to avoid unwanted noise and interference.
- Patch Cables: Patch cables are short cables used to connect the input and output jacks of your pedals. These cables come in various lengths, so choose the appropriate size for your setup. It’s important to use high-quality patch cables to maintain signal integrity and minimize signal loss.
- Velcro or Pedalboard: To keep your pedals organized and secure, consider using either Velcro strips or a dedicated pedalboard. Velcro allows you to attach your pedals to a flat surface, while a pedalboard provides a structured platform with built-in cable management.
By having these necessary equipment items on hand, you’ll be well-prepared to connect your guitar pedals to an audio interface. Now that you have everything ready, let’s move on to the step-by-step guide on connecting guitar pedals to an audio interface.
Step-by-Step Guide to Connecting Guitar Pedals to an Audio Interface
Now that you have gathered all the necessary equipment, it’s time to connect your guitar pedals to an audio interface. Follow these steps to ensure a smooth and efficient setup:
- Position your pedals: Determine the order in which you want to place your pedals in the signal chain. This order affects the overall sound, so experiment with different arrangements to achieve your desired tone.
- Connect the guitar: Using an instrument cable, plug your guitar into the input of the first pedal in your signal chain.
- Connect the pedals: Use patch cables to connect the output of each pedal to the input of the next pedal in your signal chain. Continue this process until you reach the last pedal in the chain.
- Connect to the audio interface: Take another instrument cable and connect the output of the last pedal to one of the input ports on your audio interface. Make sure to use the appropriate input for your setup.
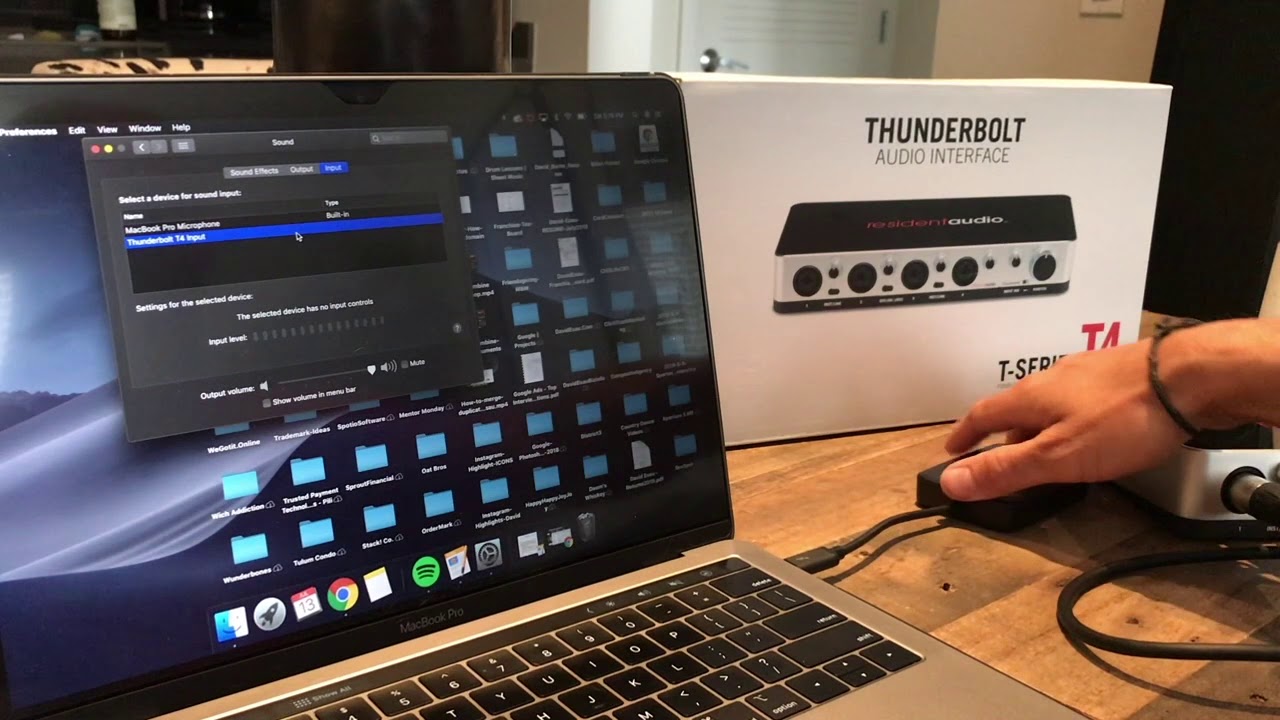
- Configure the audio interface: Open your recording software or digital audio workstation (DAW) and configure the input settings. Select the input corresponding to the port you connected your guitar pedals to on the audio interface.
- Set levels and monitor: Adjust the input levels on your audio interface to ensure your guitar signal is not clipping or distorting. Use the headphone output on the audio interface to monitor your signal and hear the effects of your guitar pedals.
- Record or process: Once everything is connected and your levels are set, you’re ready to start recording! Arm the track in your recording software and hit record to capture your guitar signal with the added effects from your pedals.
Remember, this guide provides a basic framework for connecting your guitar pedals to an audio interface. Feel free to experiment with different pedal combinations, signal chain orders, and recording techniques to find the sound that suits your style and preferences.
Now that you have successfully connected your guitar pedals to an audio interface, let’s move on to the next section where we discuss troubleshooting common issues you might encounter during the process.
Troubleshooting and Common Issues
When setting up your guitar pedals with an audio interface, you may encounter a few common issues. Here are some troubleshooting tips to help you address and overcome these challenges:
- No sound: If you’re not getting any sound when playing through your pedals, check the connections first. Make sure all cables are plugged in securely and that the input and output settings on your audio interface are correct. Also, check if your pedals are receiving power and if the batteries or power supply are functioning properly.
- Excessive noise or hum: If you’re experiencing unwanted noise or hum, there may be a few culprits. Check if your audio interface and power supply are grounded properly. Try using shielded cables to minimize interference. Also, consider isolating any noisy pedals or using noise gate pedals to reduce unwanted background noise.
- Signal distortion or clipping: If your guitar signal sounds distorted or is clipping, it could be due to input levels being too high. Adjust the input gain on your audio interface to prevent clipping. Additionally, check if any of your pedals’ gain or volume settings are too high and causing distortion.
- Chaining too many pedals: Connecting too many pedals together can potentially degrade your overall signal quality. If you notice a loss of high frequencies or volume, or if your signal becomes muddy, it might be due to having too many pedals in your signal chain. Consider using a buffered bypass pedal or a dedicated buffer pedal to maintain a clean and strong signal.
- Software compatibility issues: Ensure that your audio interface is compatible with your recording software or DAW. Check for driver updates and ensure that your software is set to recognize the audio interface as the input device. If you’re experiencing issues, visit the manufacturer’s website for troubleshooting guides or contact their customer support.
Remember, troubleshooting is a normal part of setting up any audio system. It may take some trial and error to find the optimal settings and configurations for your specific setup. Patience and persistence will help you overcome any issues you encounter along the way.
With these troubleshooting tips in mind, let’s explore some additional tips and recommendations for optimizing sound quality when connecting guitar pedals to an audio interface.
Tips and Recommendations for Optimizing Sound Quality
When connecting your guitar pedals to an audio interface, there are several tips and recommendations you can follow to ensure the best possible sound quality:
- Use high-quality cables: Invest in good-quality instrument cables and patch cables to minimize signal loss and interference. Look for cables with durable connectors and shielding to prevent noise and maintain signal integrity.
- Experiment with signal chain order: The order in which you connect your pedals can significantly impact your overall tone. Experiment with different signal chain orders to find the most pleasing and effective combination of effects.
- Consider using a DI box: If you’re experiencing impedance issues or signal degradation, consider using a direct input (DI) box between your guitar pedals and the audio interface. A DI box can help maintain a clean and balanced signal, particularly for long cable runs.
- Adjust input gain levels: Pay attention to your input gain levels on the audio interface. Adjusting the input gain properly can prevent distortion and clipping, ensuring a clean and balanced guitar signal.
- Use EQ and compression: Experiment with EQ and compression plugins in your recording software to further shape and enhance your guitar signal. These tools can help you achieve a more polished and professional sound.
- Monitor your signal: Use headphones or studio monitors to carefully monitor your guitar signal as you record and apply effects. This will allow you to make real-time adjustments and ensure that you’re capturing your desired sound accurately.
- Back up your recordings: It’s always a good idea to make regular backups of your recordings. Store your files in multiple locations, such as an external hard drive or cloud storage, to avoid losing your hard work in case of any technical issues or accidents.
Remember, optimizing sound quality is a continuous process that involves experimentation and personal preference. Don’t be afraid to try different settings, combinations, and techniques until you achieve the desired results.
Now that you have a grasp of the tips and recommendations for optimizing sound quality, let’s conclude this guide with a brief summary.
Conclusion
Connecting guitar pedals to an audio interface opens up a world of creative possibilities for guitarists and musicians. By understanding the basics of guitar pedals and audio interfaces, gathering the necessary equipment, and following a step-by-step guide, you can seamlessly integrate your pedals into your digital recording or processing setup.
Throughout this guide, we’ve covered important concepts such as signal flow, equipment requirements, troubleshooting common issues, and optimizing sound quality. By following the tips and recommendations outlined, you can ensure a smooth and high-quality experience when connecting your guitar pedals to an audio interface.
Remember to familiarize yourself with the functions and features of your pedals and audio interface. Experiment with different signal chain orders to find your desired tone, pay attention to input gain levels to prevent distortion, and utilize software tools for further shaping and enhancing your guitar signal.
Whether you’re a guitarist looking to expand your sonic palette, a home recording enthusiast, or a professional studio engineer, connecting guitar pedals to an audio interface allows you to explore endless sonic possibilities. Embrace this creative journey, continue to learn and refine your techniques, and let your musical ideas flourish.
Now that you have the knowledge and guidance to connect your guitar pedals to an audio interface, it’s time to unleash your creativity and make music like never before!

