Home>Production & Technology>Audio Cable>How Do I Hook Up Optical Digital Audio Cable To 2017 Macbook Pro
Audio Cable
How Do I Hook Up Optical Digital Audio Cable To 2017 Macbook Pro
Modified: January 22, 2024
Learn how to easily hook up an optical digital audio cable to your 2017 MacBook Pro and enjoy high-quality audio. Upgrade your audio experience with this step-by-step guide.
(Many of the links in this article redirect to a specific reviewed product. Your purchase of these products through affiliate links helps to generate commission for AudioLover.com, at no extra cost. Learn more)
Table of Contents
- Introduction
- Step 1: Gather the necessary equipment
- Step 2: Locate the optical audio port on the 2017 MacBook Pro
- Step 3: Connect the optical digital audio cable to the MacBook Pro
- Step 4: Connect the other end of the cable to the audio device
- Step 5: Adjust the audio settings on the MacBook Pro
- Step 6: Test the audio connection
- Conclusion
Introduction
Welcome to the world of digital audio! If you have recently purchased a 2017 MacBook Pro and want to connect it to an audio device using an optical digital audio cable, you’re in the right place. In this guide, we will walk you through the step-by-step process of hooking up an optical digital audio cable to your MacBook Pro.
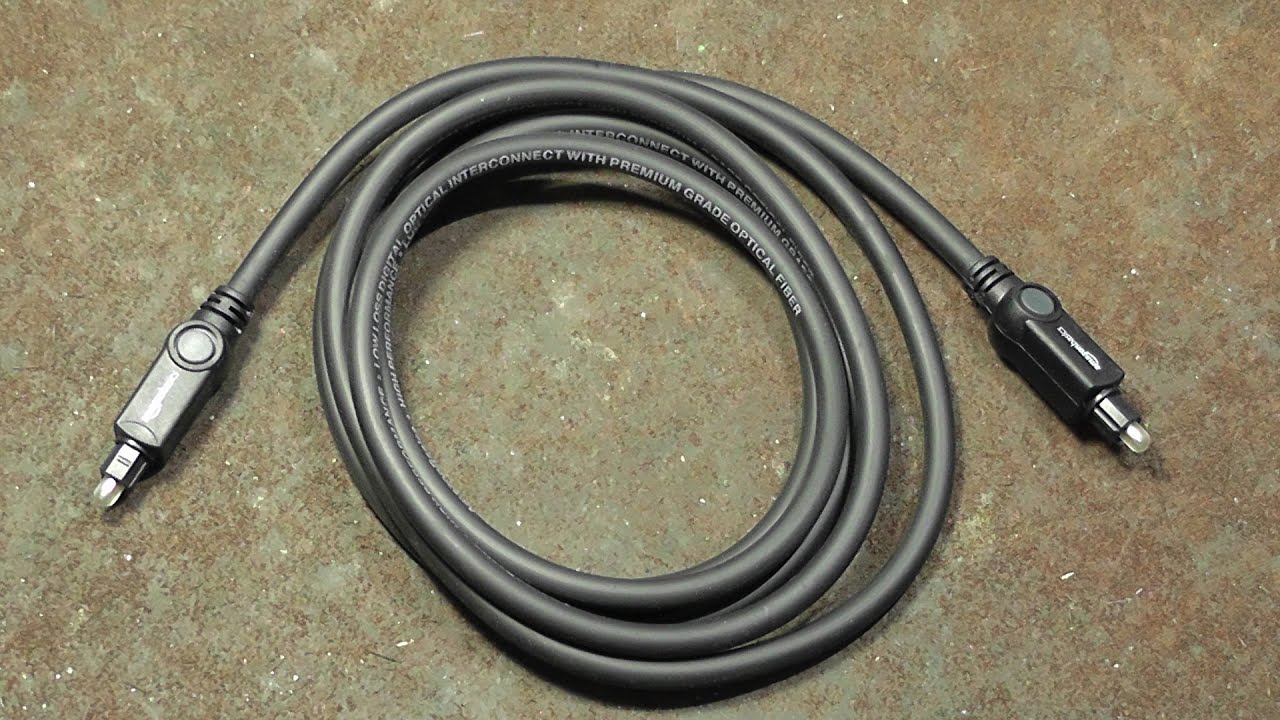
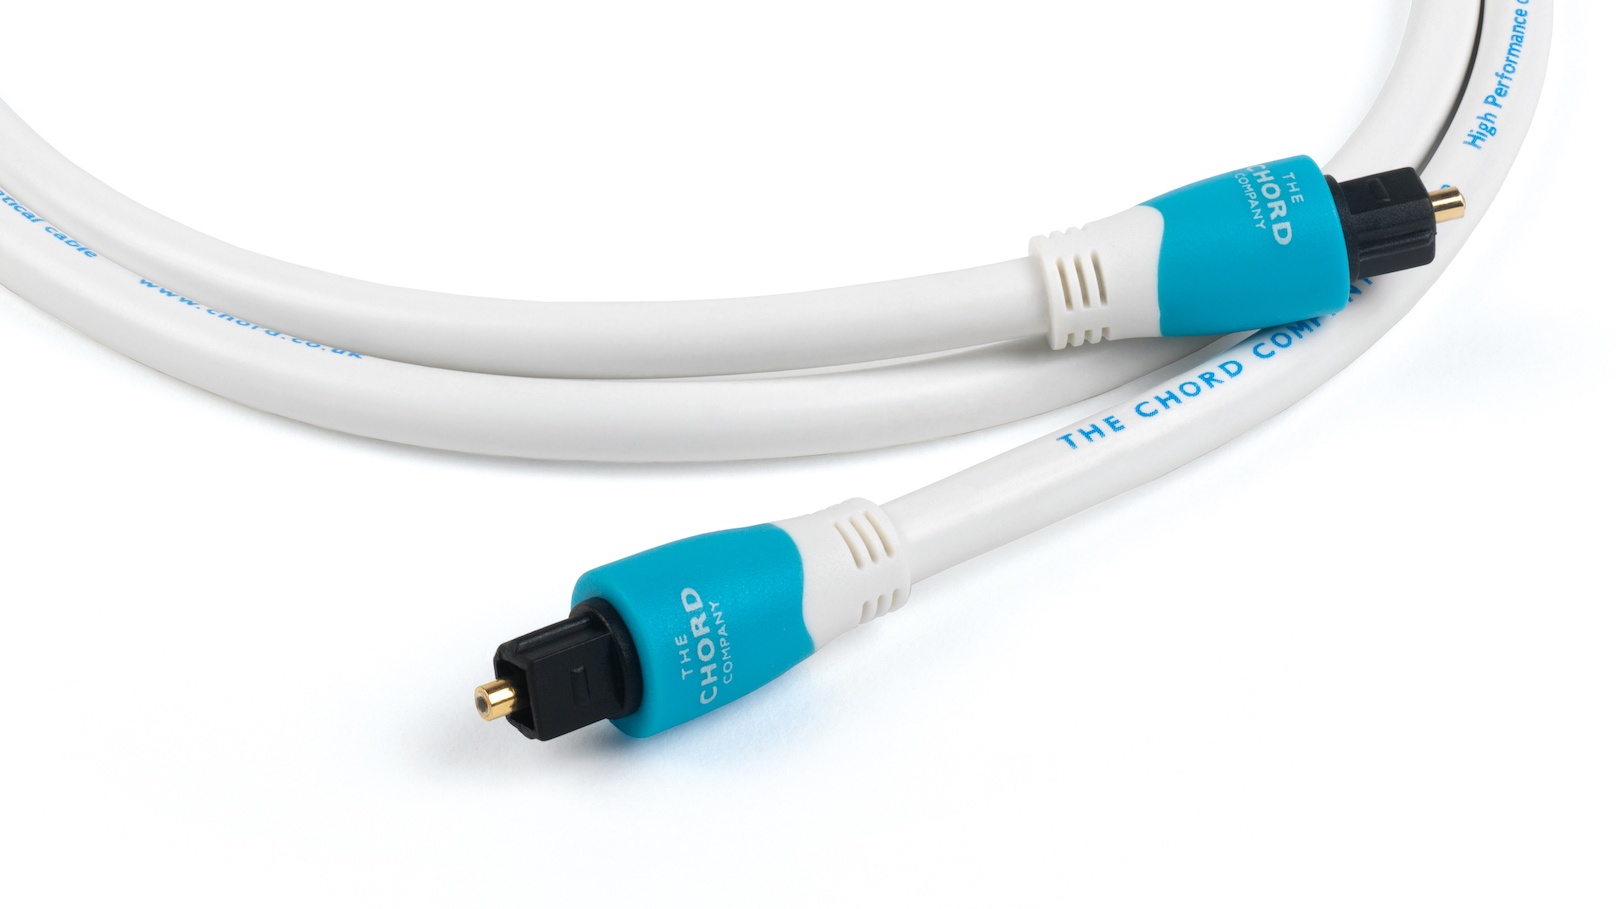
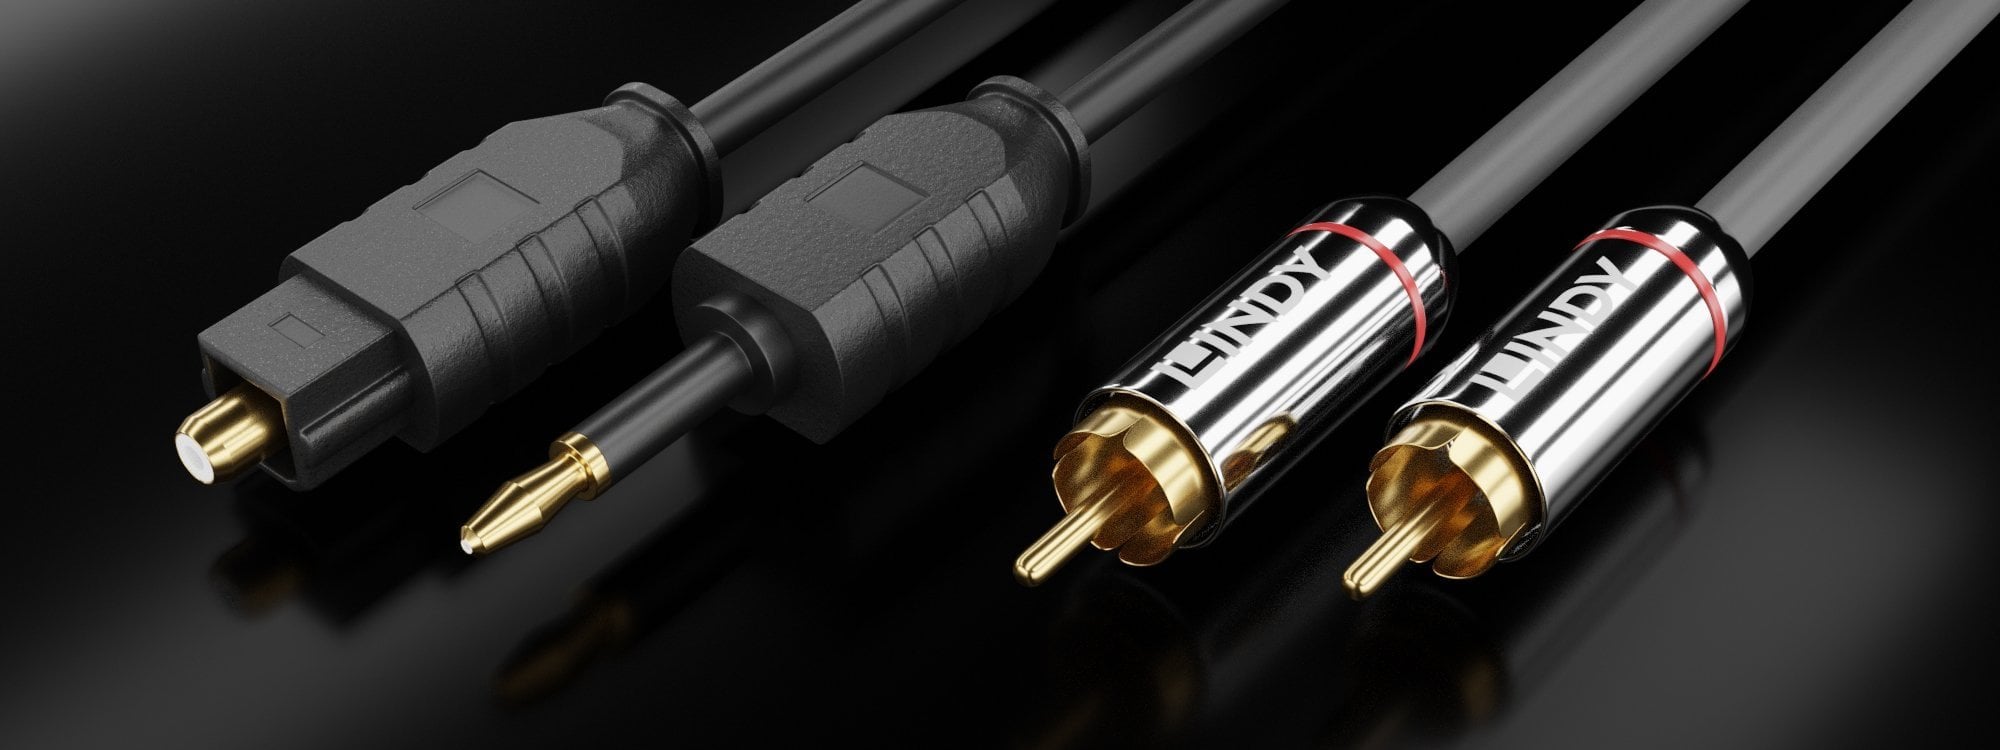
Optical digital audio cables, also known as TOSLINK cables, are a popular choice for transmitting high-quality digital audio signals. They are commonly used to connect audio devices, such as soundbars, receivers, or home theater systems, to audio sources like computers, gaming consoles, or televisions.
The 2017 MacBook Pro comes equipped with a versatile set of ports, including an optical audio output port. This port allows you to connect your MacBook Pro to an audio device that supports optical input, enabling you to enjoy crisp, high-fidelity sound.
Whether you want to enhance your gaming experience, listen to music with superior audio quality, or watch movies with immersive sound, connecting your MacBook Pro to an audio device using an optical digital audio cable is a straightforward process that can significantly enhance your audio setup.
In the following sections, we will guide you through the necessary steps to successfully connect your MacBook Pro to an audio device using an optical digital audio cable. So, gather your equipment, and let’s get started!
Step 1: Gather the necessary equipment
Before you begin the process of connecting an optical digital audio cable to your 2017 MacBook Pro, make sure you have the following equipment:
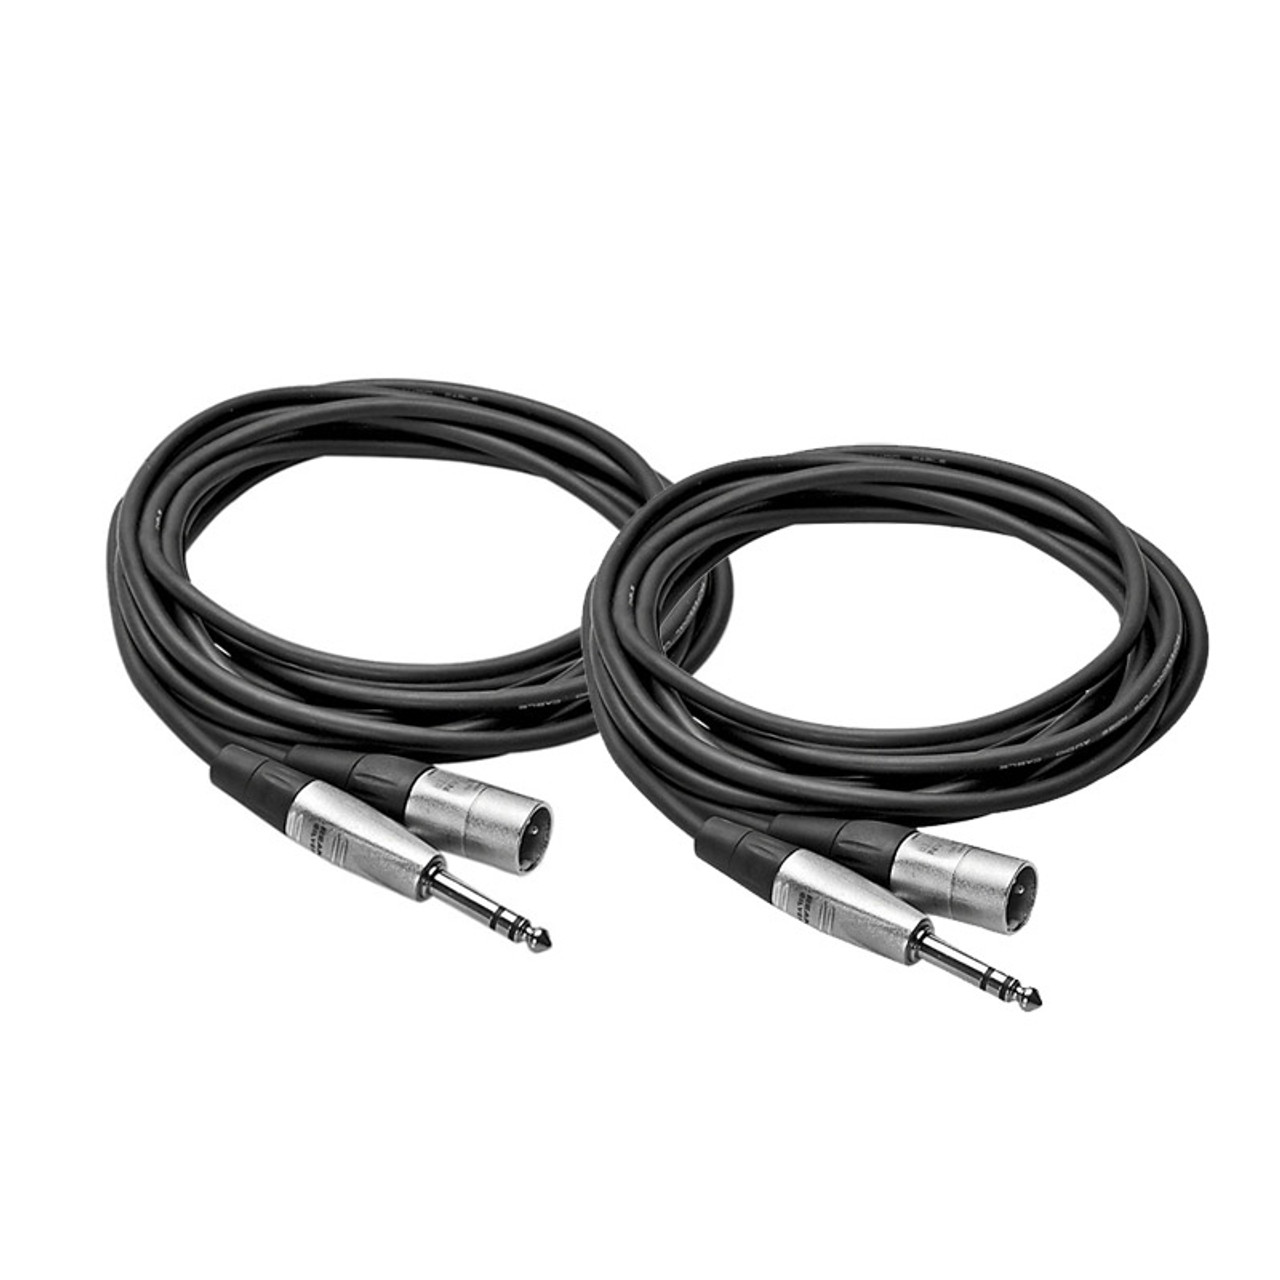
- Optical digital audio cable: You will need a TOSLINK optical digital audio cable to establish the connection between your MacBook Pro and the audio device. These cables are readily available at most electronics stores or online retailers. Make sure the cable length is sufficient to bridge the distance between your laptop and the audio device.
- 2017 MacBook Pro: Ensure that you have your MacBook Pro ready for the setup process. Locate the audio output port on your laptop, which will be used to connect the optical digital audio cable.
- Audio device: You will need an audio device that supports an optical audio input. This can be a soundbar, home theater system, receiver, or any other audio equipment that has an optical audio input port.
- Power cables and connections: If required, ensure you have the necessary power cables and connections for your audio device. This will vary depending on the specific device you are using.
Once you have gathered all the necessary equipment, you are ready to proceed to the next step and locate the optical audio port on your MacBook Pro.
Step 2: Locate the optical audio port on the 2017 MacBook Pro
Locating the optical audio port on your 2017 MacBook Pro is the first step in establishing the connection with the audio device. Follow these instructions to find the port:
- Turn on your MacBook Pro and ensure it is powered up.
- Open the lid of your MacBook Pro to access the screen and keyboard.
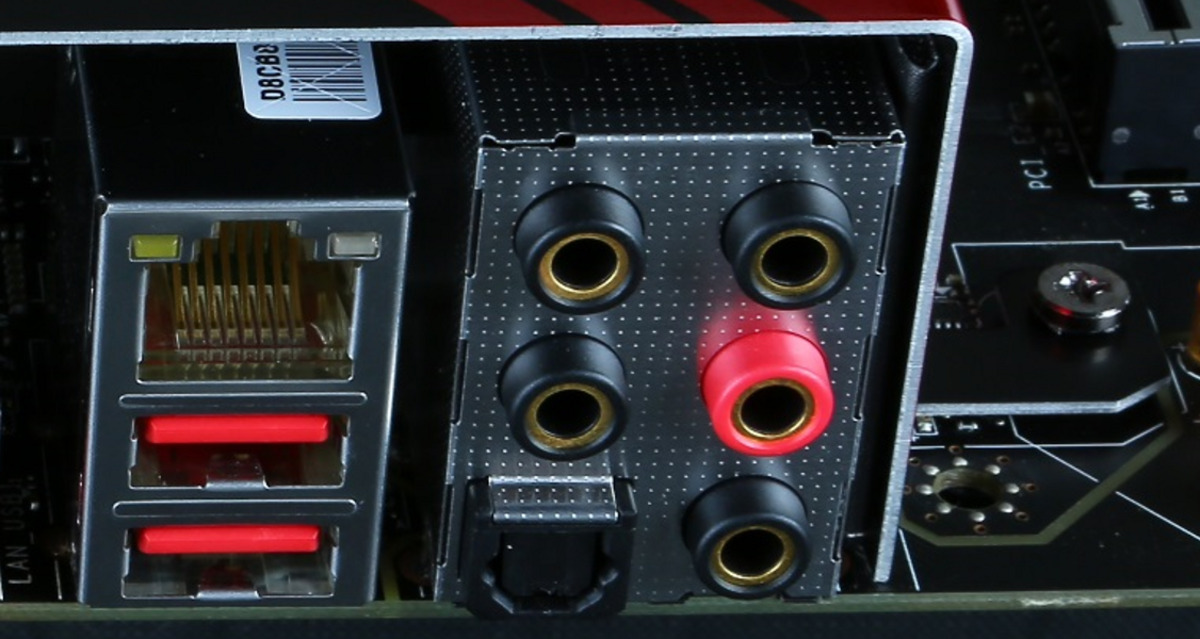
- Look on the sides of your laptop for a small, rectangular port. This is the optical audio output port.
- Inspect the port carefully. It should be labeled with a headphone icon or the term “optical audio.”
- Note that the optical audio port on the 2017 MacBook Pro is a 3.5mm mini-jack port that supports both optical audio output and analog headphone output.
Once you have identified the optical audio port on your MacBook Pro, proceed to the next step to connect the optical digital audio cable.
Step 3: Connect the optical digital audio cable to the MacBook Pro
Now that you have located the optical audio port on your 2017 MacBook Pro, it’s time to connect the optical digital audio cable. Follow these steps:
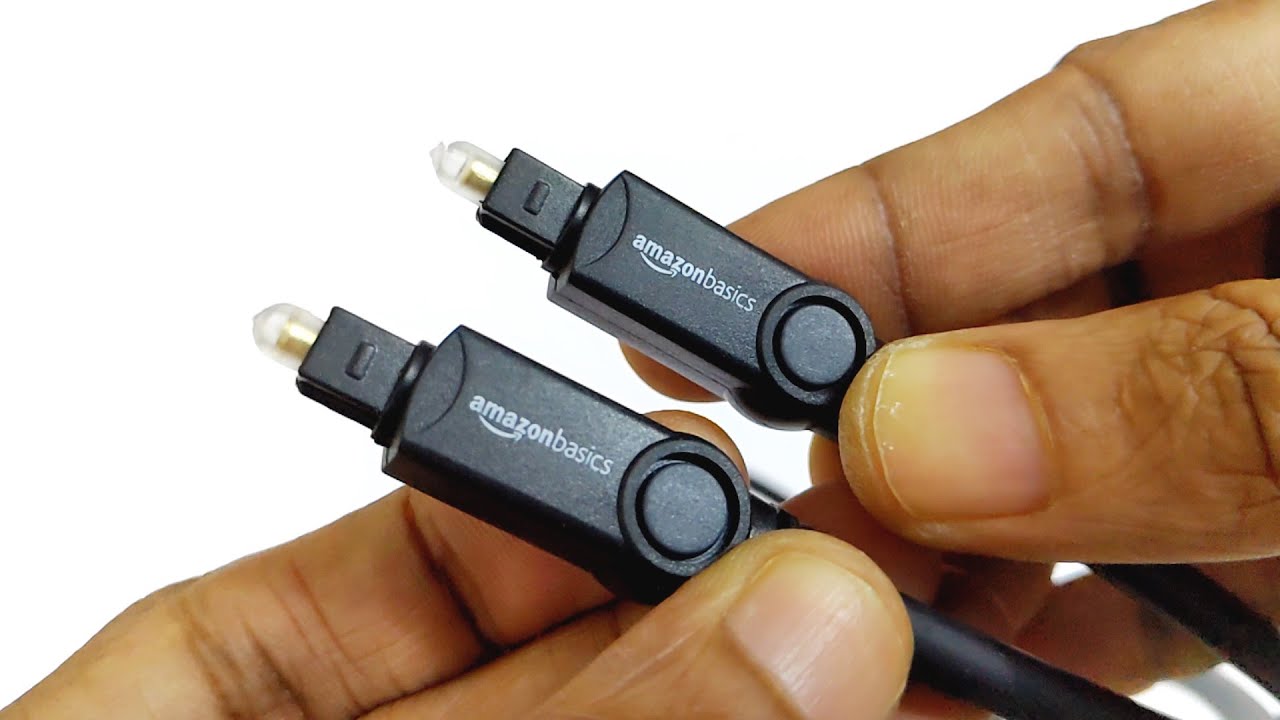
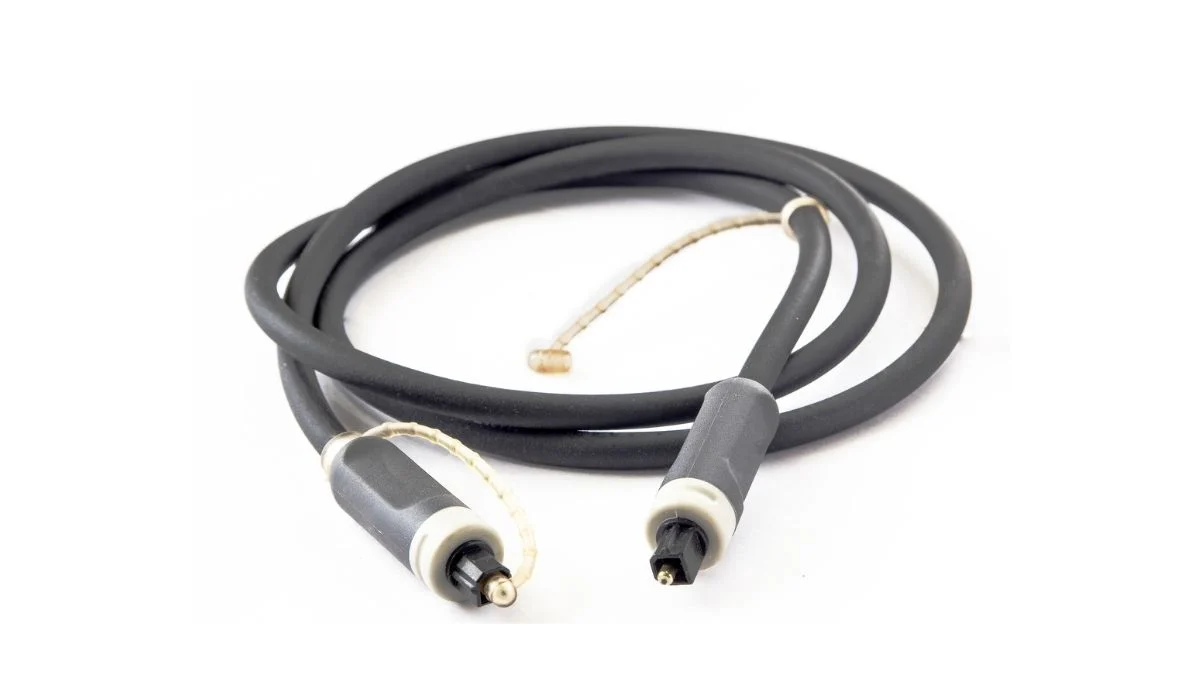
- Take one end of the optical digital audio cable, ensuring it has a TOSLINK connector.
- Insert the TOSLINK connector into the optical audio port on your MacBook Pro.
- Make sure the connector is securely inserted into the port to ensure a stable connection.
- If you encounter resistance or difficulty inserting the cable, check the orientation of the connector and the port. Ensure that they are aligned correctly.
- Once the cable is connected to the optical audio port, gently tug on it to confirm that it is firmly in place.
With the optical digital audio cable connected to your MacBook Pro, you are now ready to move on to the next step and connect the other end of the cable to the audio device.
Step 4: Connect the other end of the cable to the audio device
Now that you have connected one end of the optical digital audio cable to your MacBook Pro, it’s time to connect the other end to your audio device. Follow these steps:
- Take the other end of the optical digital audio cable with the TOSLINK connector.
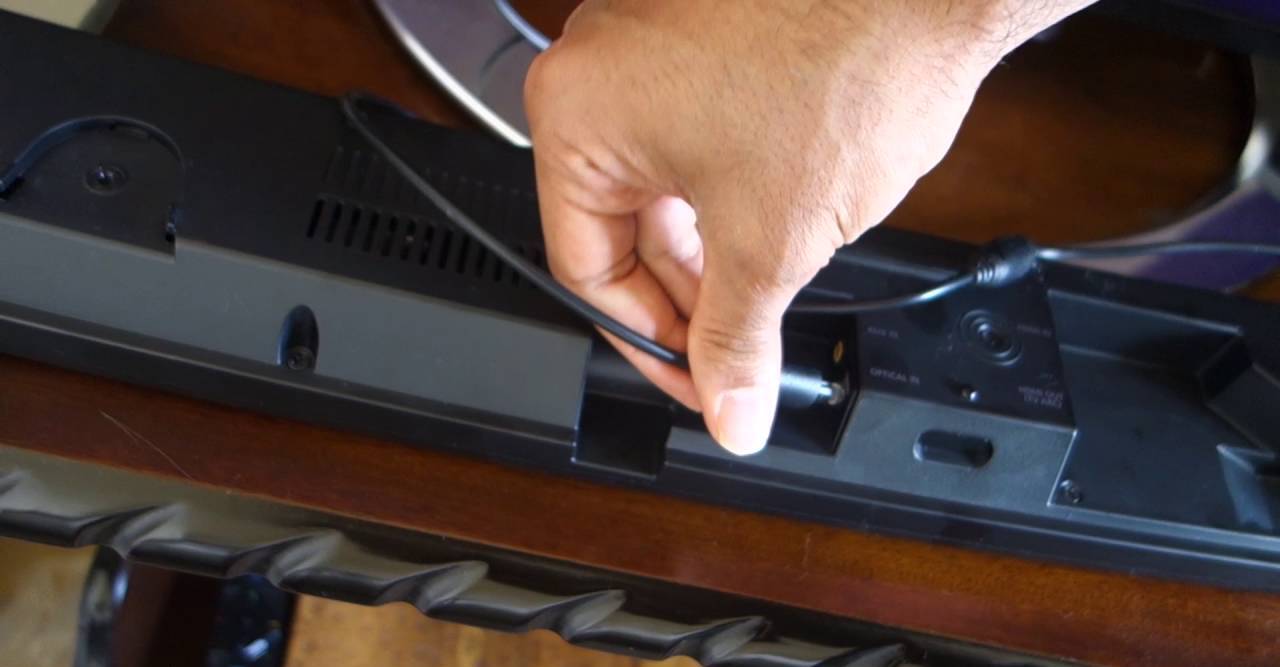
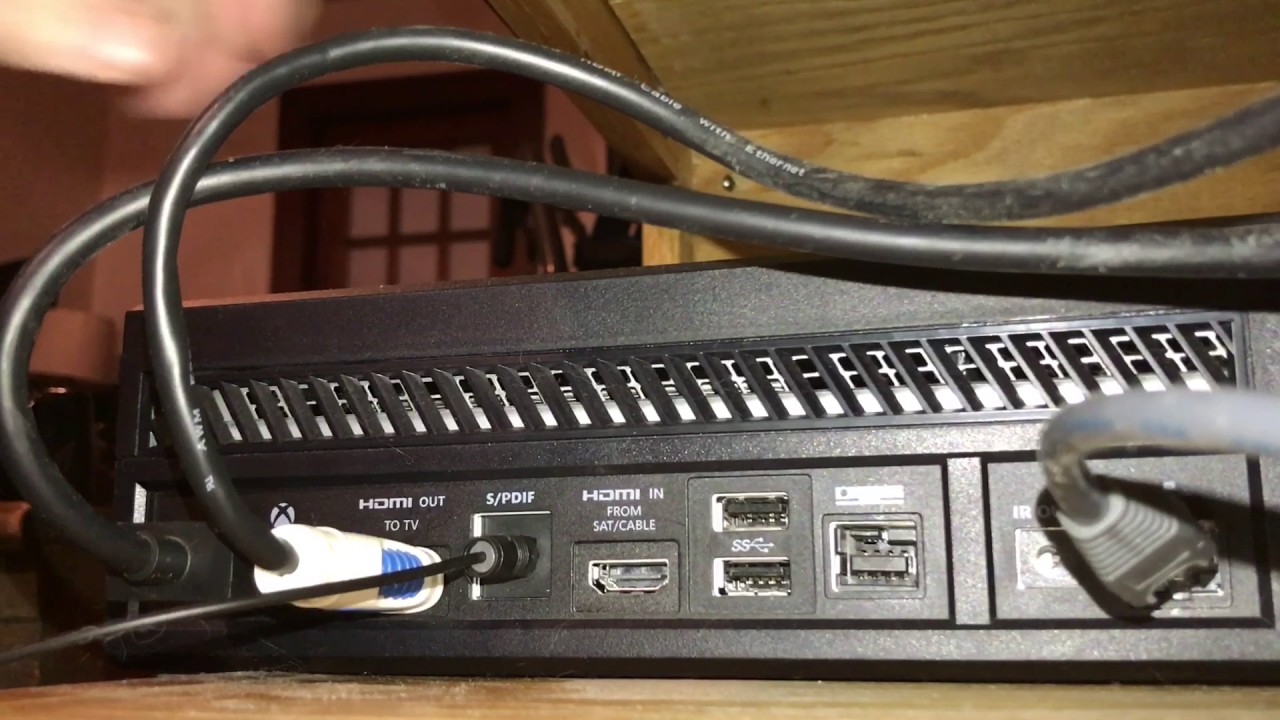
- Locate the optical audio input port on your audio device.
- Insert the TOSLINK connector into the optical audio input port on your audio device.
- Ensure that the connector is securely inserted into the port to establish a stable connection.
- Similar to the previous step, if you encounter any resistance or difficulty, double-check the orientation of the connector and the port, and align them correctly.
- Gently tug on the cable to ensure it is firmly connected to the audio device without any wiggling or looseness.
Once you have successfully connected the other end of the optical digital audio cable to your audio device, proceed to the next step to adjust the audio settings on your MacBook Pro.
Step 5: Adjust the audio settings on the MacBook Pro
After successfully connecting the optical digital audio cable to your MacBook Pro and the audio device, the next step is to adjust the audio settings on your MacBook Pro to ensure proper audio output. Follow these steps:
- Click on the Apple menu in the top-left corner of your MacBook Pro’s screen.
- Select “System Preferences” from the dropdown menu.
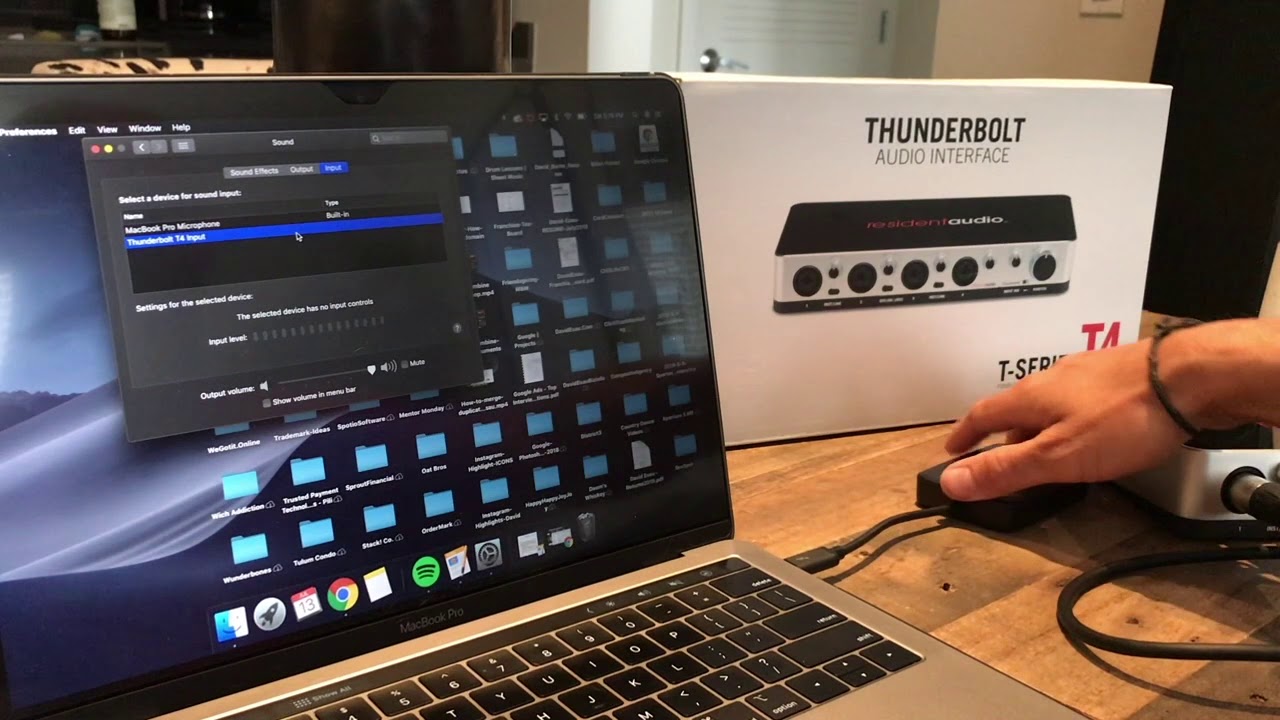
- In the System Preferences window, click on the “Sound” icon.
- Click on the “Output” tab in the Sound window.
- From the list of available output devices, select the option that corresponds to the optical audio connection.
- Once you have selected the optical audio output device, adjust the volume level by using the volume slider.
- You can also choose to enable or disable other audio options, such as balance and ambient noise reduction, according to your preferences.
By adjusting the audio settings on your MacBook Pro, you ensure that the audio is routed through the optical digital audio cable and delivered to your audio device.
Now that you have adjusted the audio settings on your MacBook Pro, it’s time to test the audio connection and ensure everything is working correctly.
Step 6: Test the audio connection
After completing the previous steps, it’s essential to test the audio connection between your MacBook Pro and the audio device to ensure everything is working correctly. Follow these steps:
- Play a piece of audio or video on your MacBook Pro.
- Ensure that the audio output is set to the optical audio device you selected in the previous step.
- Listen for sound coming from your audio device. If you have connected a set of speakers, ensure that sound is being produced through them.
- If you don’t hear any sound or encounter issues, double-check the connections on both ends of the optical digital audio cable.
- Ensure that the volume on both your MacBook Pro and the audio device is turned up and not muted.
- If necessary, refer to the user manual or online resources for your specific audio device for troubleshooting tips.
- If the audio connection is successful, congratulations! You have successfully hooked up an optical digital audio cable to your 2017 MacBook Pro.
Enjoy the enhanced audio experience that the optical digital audio connection brings, whether it’s watching movies, playing games, or listening to music.
In case you encounter any issues or have further questions, don’t hesitate to seek assistance from the manufacturer’s support or consult online forums dedicated to audio setups.
Now that you have tested the audio connection and confirmed it is working, you can sit back, relax, and enjoy an immersive audio experience with your MacBook Pro and the connected audio device.
Conclusion
Connecting an optical digital audio cable to your 2017 MacBook Pro can significantly enhance your audio experience. With just a few simple steps, you can enjoy high-quality, immersive sound by connecting your MacBook Pro to an audio device.
We started by gathering the necessary equipment, including the optical digital audio cable, your MacBook Pro, and an audio device with an optical audio input. Then, we located the optical audio port on the MacBook Pro and connected one end of the cable to it. After that, we connected the other end of the cable to the audio device.
Next, we adjusted the audio settings on the MacBook Pro to ensure that the audio is routed through the optical digital audio connection. Finally, we tested the audio connection by playing audio or video and confirming that sound was being produced through the audio device.
By following these steps, you can achieve a seamless and high-quality audio setup with your MacBook Pro and an audio device. Whether you’re enjoying movies, gaming, or listening to music, the optical digital audio connection will provide you with an enhanced audio experience.
If you encounter any issues during the setup process or experience audio problems, it’s always a good idea to consult the user manual or reach out to the manufacturer’s support for assistance. Additionally, online forums and communities dedicated to audio setups can provide valuable insights and troubleshooting tips.
Now that you are equipped with the knowledge to connect an optical digital audio cable to your 2017 MacBook Pro, go ahead and elevate your audio experience to new heights!