Home>Production & Technology>Audio Interface>How To Hook Up Audio Interface To HDMI Computer
Audio Interface
How To Hook Up Audio Interface To HDMI Computer
Published: February 4, 2024
Learn how to easily hook up an audio interface to your HDMI computer and enjoy enhanced audio quality and functionality. Find step-by-step instructions and troubleshooting tips.
(Many of the links in this article redirect to a specific reviewed product. Your purchase of these products through affiliate links helps to generate commission for AudioLover.com, at no extra cost. Learn more)
Table of Contents
Introduction
Welcome to the world of audio interfaces! If you’re a music enthusiast or a professional musician looking to record or produce your own music, an audio interface is an essential piece of equipment you need to have in your arsenal.
An audio interface acts as a bridge between your computer and your audio devices, allowing you to capture and process high-quality audio. Whether you want to record vocals, instruments, or mix and master your tracks, a reliable audio interface is crucial for achieving professional-sounding results.
In this article, we will guide you through the process of hooking up an audio interface to an HDMI computer. HDMI (High-Definition Multimedia Interface) is a commonly used connection found on many computers and audio devices today. By connecting your audio interface to your HDMI computer, you can take advantage of its advanced audio processing capabilities and enjoy a seamless recording and playback experience.
We will cover everything from understanding audio interfaces to choosing the right one for your needs, setting it up, connecting it to your HDMI computer, and configuring the audio settings. We will also provide troubleshooting tips to help you overcome any potential issues that may arise.
So, whether you’re a beginner just starting out or a seasoned musician looking to upgrade your audio setup, this article will serve as your comprehensive guide to hooking up an audio interface to an HDMI computer. Let’s dive in!
Understanding Audio Interfaces
Before we delve into the process of hooking up an audio interface to your HDMI computer, it’s important to have a solid understanding of what an audio interface actually is and how it works.
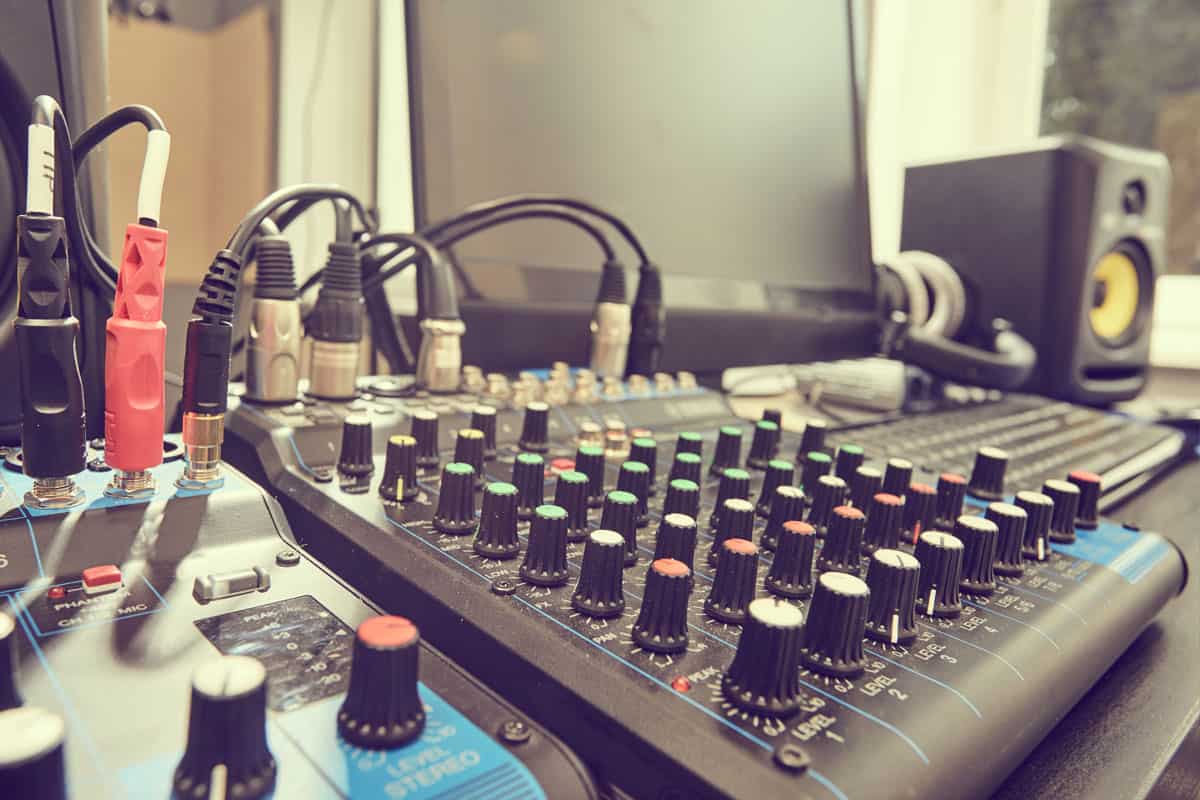
An audio interface is a hardware device that allows you to connect audio equipment, such as microphones, instruments, and speakers, to your computer. It serves as a bridge between the analog audio signals produced by these devices and the digital format that your computer understands.
Audio interfaces come in various shapes and sizes, ranging from small portable units to large multi-channel interfaces. They typically offer a variety of input and output options, such as XLR, TRS, and MIDI, to accommodate different types of audio equipment.
One of the key features of an audio interface is its ability to provide high-quality audio conversion and processing. It uses analog-to-digital converters (ADCs) to convert analog audio signals into digital data that your computer can process, and digital-to-analog converters (DACs) to convert digital audio back into analog signals for playback.
Audio interfaces also offer additional features and functionalities, such as preamps, phantom power, and headphone outputs. Preamps amplify the weak signals from microphones or instruments, while phantom power is required for certain types of microphones, such as condenser microphones, to operate properly.
Moreover, audio interfaces often come bundled with software drivers and control panels that allow you to adjust settings, monitor audio levels, and configure various parameters. These software tools are essential for optimizing the performance of your audio interface and achieving the best possible audio recording and playback.
When choosing an audio interface, it’s important to consider factors such as the number and type of inputs and outputs you require, the audio quality, compatibility with your computer and software, and your budget. It’s also worth noting that higher-end audio interfaces offer advanced features, such as low latency, which is crucial for real-time monitoring during recording sessions.
Now that we have a solid understanding of audio interfaces, let’s move on to the next section and explore how to choose the right audio interface for your needs.
Choosing the Right Audio Interface
When it comes to choosing the right audio interface, there are several factors you need to consider in order to find the perfect match for your needs and preferences. Here are some key points to keep in mind:
- Number and type of inputs and outputs: Determine how many audio sources you plan to connect to your interface. If you’re primarily recording vocals or single instruments, a two-input interface may be sufficient. However, if you require more versatility and want to record multiple instruments or a full band, consider an interface with more inputs. Also, check the types of connections available, such as XLR, TRS, or MIDI, to ensure compatibility with your audio equipment.
- Audio quality: Pay attention to the audio specifications of the interface, such as the bit-depth and sample rate. Higher bit-depth and sample rates generally result in better sound quality, but keep in mind that they also require more processing power from your computer.
- Compatibility: Ensure that the interface you choose is compatible with your computer’s operating system. Most interfaces are compatible with both Mac and Windows systems, but it’s always a good idea to double-check the requirements.
- Budget: Set a budget for your audio interface and consider the features and quality you can afford within that range. Keep in mind that higher-priced interfaces often offer better audio quality and additional features, but there are also many affordable options available that can still deliver excellent performance.
- Software compatibility: If you have specific recording software or plugins that you plan to use, ensure that they are compatible with the interface you’re considering. Some interfaces come bundled with recording software, which can be a bonus if you’re just starting out.
- Reviews and recommendations: Read reviews and seek recommendations from other musicians or professionals in the industry. This can provide valuable insights into the reliability, performance, and user experience of different audio interfaces.
By carefully considering these factors, you can narrow down your options and find the audio interface that best suits your needs and budget. Remember, the right audio interface will greatly impact the quality and flexibility of your audio recordings, so take the time to research and choose wisely.
In the next section, we will guide you through the process of setting up your audio interface, ensuring a smooth and hassle-free experience. Let’s get started!
Setting Up the Audio Interface
Setting up your audio interface properly is crucial for achieving optimal audio performance. Here’s a step-by-step guide to help you get started:
- Install the drivers: Before connecting your audio interface to your computer, make sure to install the necessary drivers. These drivers are often provided on a CD or can be downloaded from the manufacturer’s website. Follow the instructions provided to ensure a successful driver installation.
- Connect the audio interface: Once the drivers are installed, connect your audio interface to your computer using the USB, Thunderbolt, or Firewire cable provided. Ensure that the connection is secure on both ends.
- Power on the audio interface: Depending on the interface, it may be powered via USB or have its own power supply. Make sure to turn on the power to the interface using the appropriate method.
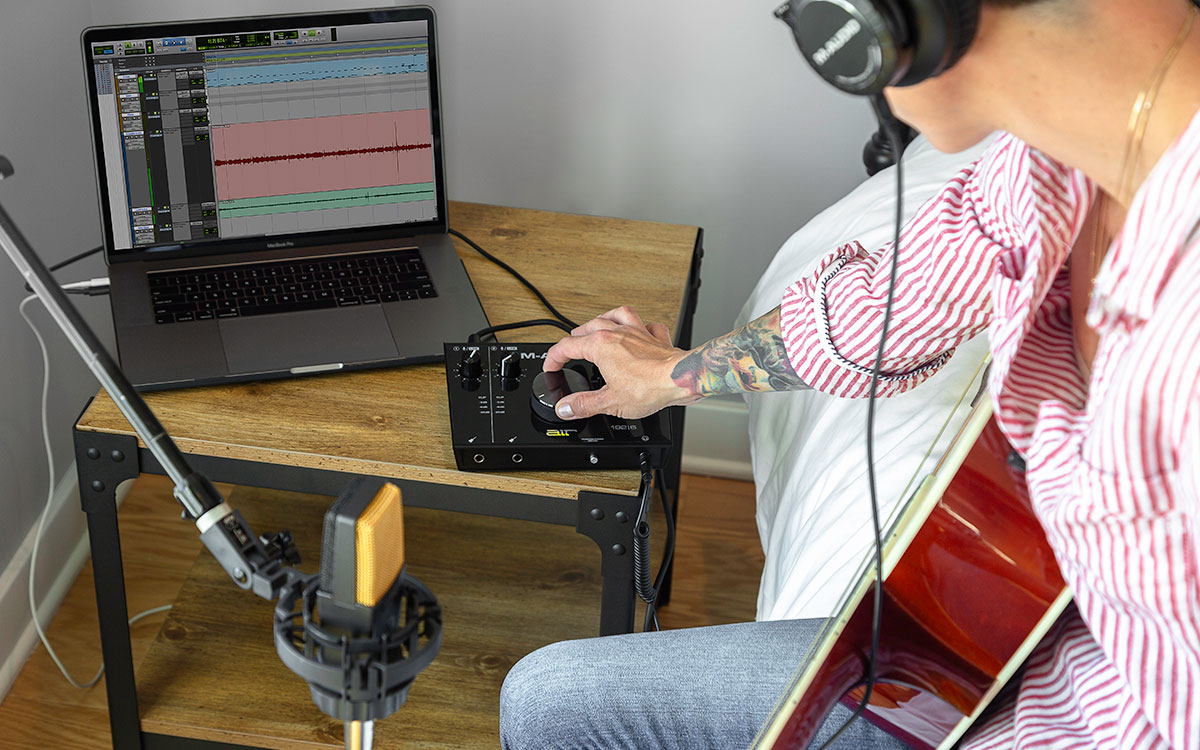
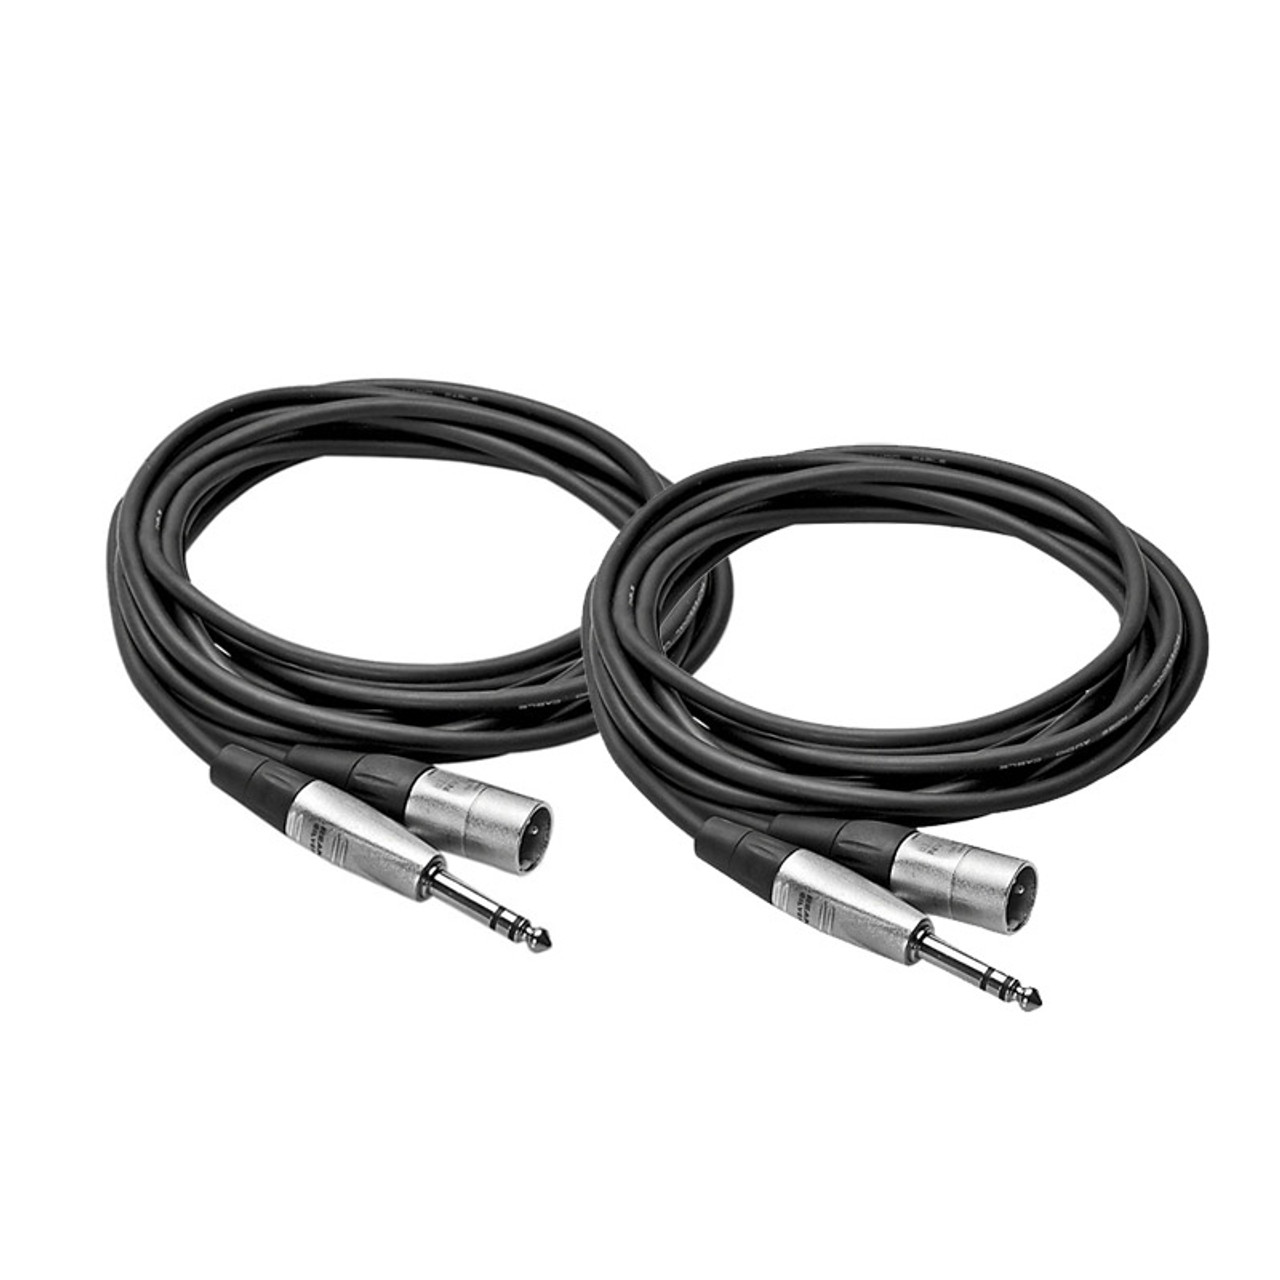
- Connect audio equipment: Connect your microphones, instruments, or any other audio equipment to the appropriate inputs on the interface. Use XLR or TRS cables depending on the inputs available. If you’re using condenser microphones, remember to engage phantom power if needed (often labeled as “+48V”).
- Connect headphones or speakers: If you’re monitoring your audio through headphones, connect them to the headphone output on the interface. Alternatively, if you’re using speakers or studio monitors, connect them to the line outputs on the interface.
- Adjust levels and settings: Open the control panel or software for your audio interface and configure the input and output levels. Set the input levels for your microphones or instruments, making sure they’re not clipping. Adjust the output levels to a comfortable listening volume.
- Test your audio interface: Once everything is connected and the settings are adjusted, it’s a good idea to test your audio interface. Open your recording software or media player and play some audio to confirm that the interface is working properly and that you’re hearing sound through your headphones or speakers.
It’s important to note that the specific steps may vary depending on the make and model of your audio interface. Always refer to the user manual provided by the manufacturer for detailed instructions on setting up your specific interface.
With your audio interface set up correctly, you’re now ready to connect it to your HDMI computer. In the next section, we will guide you through the process of making the connection and configuring the audio settings. Stay tuned!
Connecting the Audio Interface to the HDMI Computer
Connecting your audio interface to your HDMI computer involves a few simple steps. Here’s how to do it:
- Locate the HDMI port: Identify the HDMI port on your computer. It is usually rectangular in shape and labeled as “HDMI”.
- Connect the HDMI cable: Take one end of the HDMI cable and insert it into the HDMI port on your computer. Make sure the connection is secure.
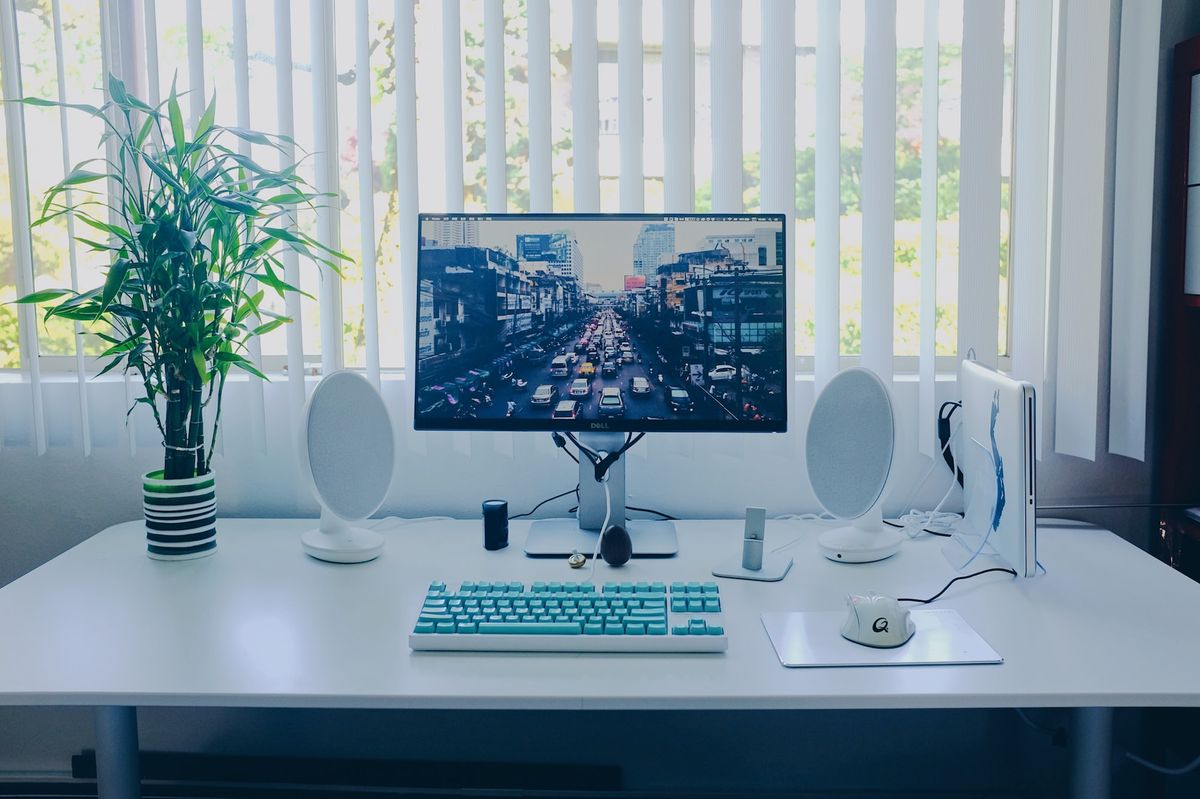
- Connect the audio outputs: Locate the audio outputs on your audio interface. These are typically labeled as “line out” or “main out”. Use an appropriate cable (such as TRS or RCA) to connect the audio outputs of your audio interface to the speakers or headphones you will be using for audio playback. Ensure that the connections are secure on both ends.
- Set the audio preferences: On your computer, go to the audio settings/preferences. This can usually be accessed through the Control Panel or System Preferences. Select the audio interface as the default audio playback device. This ensures that the audio signal is routed through the audio interface rather than the computer’s built-in speakers.
- Test the audio: Play an audio file or a piece of music to ensure that the audio is coming out through the speakers or headphones connected to your audio interface. Adjust the volume levels on both the computer and the audio interface, if necessary.
It’s important to note that not all audio interfaces have HDMI connections. If your audio interface doesn’t have an HDMI output, you can still connect it to your computer using the USB, Thunderbolt, or Firewire ports. In such cases, you’ll need a separate HDMI cable to connect your computer to a display or TV for video output.
With the audio interface successfully connected to your HDMI computer, you’re now ready to configure the audio settings for optimal recording and playback. In the next section, we will guide you through the process of configuring the audio settings on your computer. Let’s continue!
Configuring Audio Settings on the Computer
Configuring the audio settings on your computer is crucial to ensure that your audio interface is working correctly and that you can achieve the best possible sound quality. Here are the steps to configure the audio settings:
- Open the audio settings: Access the audio settings on your computer by going to the Control Panel or System Preferences, depending on your operating system.
- Select the audio interface: In the audio settings, look for the option to select the default audio playback and recording device. Choose your audio interface from the available options.
- Set the sample rate and bit depth: Set the sample rate and bit depth to match the capabilities of your audio interface. Higher sample rates and bit depths generally result in better audio quality, but keep in mind that they may require more processing power from your computer.
- Check the input and output levels: Ensure that the input and output levels are properly set. In the audio settings, you may find options to adjust the input gain and output volume. Test the levels by speaking into a microphone or playing audio and monitor the levels to ensure they are not clipping or too low.
- Enable low latency mode: If your audio interface supports low latency mode, enable it in the audio settings. This reduces the delay between input and output, allowing for real-time monitoring during recording sessions.
- Configure routing and mixing: Some audio interfaces allow you to configure routing and mixing options. This can include options to route specific audio inputs or outputs to different channels or to mix multiple audio sources together. Explore the settings of your audio interface’s control panel or software to determine the available options.
- Test the audio: Once you have configured the audio settings, test the audio by playing back some music or recording audio. Make sure that the sound is coming through the speakers or headphones connected to your audio interface and that the recording quality is satisfactory.
It’s worth noting that the specific steps and options may vary depending on your operating system and audio interface. Refer to the user manual provided by the manufacturer for detailed instructions on configuring the audio settings for your specific setup.
With the audio settings properly configured, you’re now ready to embark on your recording or mixing journey. However, it’s worth mentioning that troubleshooting issues can sometimes arise when working with audio interfaces. In the next section, we will provide some troubleshooting tips to help you overcome any potential challenges you may encounter. Let’s dive in!
Troubleshooting Tips
While working with audio interfaces, you may come across certain challenges or issues. Here are some troubleshooting tips to help you overcome common problems:
- No sound: If you’re not hearing any sound from your speakers or headphones connected to the audio interface, check the following:
- Ensure that the audio interface is selected as the default playback device in your computer’s audio settings.
- Verify that the volume levels on both the audio interface and your computer are turned up.
- Confirm that the audio cables are properly connected and that the speakers or headphones are functioning correctly.
- Audio latency: Latency refers to the delay between input and output when recording or monitoring audio. If you’re experiencing unacceptable latency, try the following:
- Enable low latency mode, if available, in your audio interface’s control panel or software.
- Reduce the buffer size in your computer’s audio settings. This can help decrease the latency but may require more processing power.
- Close any unnecessary software or applications running in the background to free up system resources.
- Crackling or distorted sound: If you’re experiencing crackling or distorted sound in your recordings or audio playback, consider the following solutions:
- Check that the cables connecting your audio interface to your speakers or headphones are in good condition. Faulty cables can cause noise or distortion.
- Make sure that the input and output levels on your audio interface and computer are properly set and not peaking or clipping.
- Update the drivers for your audio interface to the latest version. Outdated drivers can sometimes cause audio issues.
- Compatibility issues: If your audio interface is not working properly or is not recognized by your computer, consider these troubleshooting steps:
- Ensure that you have installed the correct drivers for your audio interface. Visit the manufacturer’s website to download the latest drivers if needed.
- Check for any firmware updates for your audio interface. Updating the firmware can sometimes resolve compatibility issues.
- Try connecting the audio interface to a different USB, Thunderbolt, or Firewire port on your computer. Sometimes, a different port can establish a better connection.
- Consult the user manual and support resources: If you’re encountering persistent issues or need further assistance, consult the user manual or visit the manufacturer’s website for troubleshooting guides, FAQs, or support forums. They may have specific solutions or recommendations based on your audio interface model.
Remember, troubleshooting can be a process of trial and error. Patience and persistence are key. If you’re still unable to resolve the issue, reaching out to technical support from the manufacturer or seeking assistance from audio professionals can be a valuable next step.
With these troubleshooting tips in mind, you’ll be equipped to address common issues that may arise while using your audio interface. In the next section, we’ll wrap up our comprehensive guide. Let’s continue!
Conclusion
Congratulations! You have successfully learned how to hook up an audio interface to your HDMI computer. By understanding the basics of audio interfaces, selecting the right one for your needs, and properly setting it up and configuring the audio settings, you are now ready to embark on your music recording and production journey with confidence.
An audio interface is a vital tool for capturing high-quality audio, whether you’re a musician, podcaster, or content creator. It allows you to connect your microphones, instruments, and speakers to your computer, ensuring optimal audio conversion and processing.
Throughout this guide, we explored the various steps involved in setting up an audio interface, including choosing the right one based on your requirements, connecting it to your HDMI computer, and configuring the audio settings. Additionally, we provided troubleshooting tips to help you overcome common issues that may arise during the setup process.
Remember that every audio interface is unique, and it’s important to refer to the user manual provided by the manufacturer for specific instructions and recommendations based on your model.
Now that you have the knowledge and tools to use your audio interface effectively, it’s time to bring your musical ideas to life, record your podcasts with pristine audio quality, or create captivating content with professional sound. Let your creativity soar, and enjoy the outstanding audio capabilities that your audio interface brings to your setup.
Happy recording!