Home>Production & Technology>Audio Interface>Static On My Audio Interface When Videos Play
Audio Interface
Static On My Audio Interface When Videos Play
Published: February 5, 2024
Troubleshooting static issues on your audio interface when videos play. Get solutions and tips to fix your audio interface problems.
(Many of the links in this article redirect to a specific reviewed product. Your purchase of these products through affiliate links helps to generate commission for AudioLover.com, at no extra cost. Learn more)
Table of Contents
Introduction
Audio interfaces are essential tools for musicians, podcasters, and content creators who need to capture high-quality audio recordings. They serve as a bridge between your musical instruments, microphones, or other audio sources, and your computer. However, at times, static or noise issues can arise, compromising the audio quality.
This article aims to delve into the common causes of static on audio interfaces and provide troubleshooting steps to resolve this issue. By understanding the potential culprits behind the static and following the suggested solutions, you can enjoy crystal-clear sound whenever you use your audio interface.
Static on audio interfaces can be caused by a variety of factors, including inadequate cable connections, outdated audio interface drivers, improper sample rate and buffer size settings, background applications hogging system resources, ground loops, or even faulty USB ports. By identifying the specific cause, you can take the appropriate steps to eliminate or reduce static interference.
It’s important to note that while static can be an annoying issue, it is relatively common and can usually be resolved with a few simple troubleshooting steps. So, let’s dive into the common causes of static on audio interfaces and explore how to resolve them.
Common Causes of Static on Audio Interfaces
Static on audio interfaces can be attributed to a variety of factors. Understanding these common causes will help you diagnose and resolve the issue effectively. Here are some of the main culprits:
- Inadequate cable connections: One of the most common causes of static is loose or faulty cable connections. Make sure all cables are securely plugged into their respective ports on both the audio interface and your computer. Additionally, check for any frayed or damaged cables that may be causing interference.
- Outdated audio interface drivers: Just like any other hardware, audio interfaces rely on drivers to communicate with your computer’s operating system. Outdated or incompatible drivers can lead to static or crackling sounds. Ensure that you have the latest drivers installed for your audio interface by visiting the manufacturer’s website or using their dedicated driver software.
- Improper sample rate and buffer size settings: Sample rate and buffer size settings affect the audio input and output latency of your audio interface. If these settings are not optimized for your system, it can result in static or audio artifacts. Experiment with different sample rates and buffer sizes to find the optimal configuration that works best for your setup.
- Background applications hogging system resources: Running resource-intensive applications or processes in the background can strain your computer’s resources and cause audio issues, including static. Close any unnecessary programs or processes that are not essential for your recording or playback session. This will free up system resources and reduce the likelihood of static interference.
- Ground loops: Ground loops occur when there are multiple grounding points in your audio setup, leading to electrical interference. This interference can manifest as static or humming noises. You can mitigate ground loop issues by using ground loop isolators or ensuring that all your audio equipment is connected to the same power source or power conditioner.
- Faulty USB port: Sometimes, the USB port you are using to connect your audio interface may be defective or incompatible. Try using a different USB port on your computer to see if the static issue persists. If the problem disappears on a different port, it indicates that the previous port was the culprit.
By identifying the common causes of static on audio interfaces, you can narrow down the potential source of the problem. In the next section, we’ll explore some troubleshooting steps to help eliminate or reduce static interference.
Troubleshooting Steps for Static on Audio Interfaces
Experiencing static on your audio interface can be frustrating, but the good news is that there are several troubleshooting steps you can take to address the issue. By following these steps, you can eliminate or reduce static interference and restore the clarity of your audio recordings. Here are some recommended troubleshooting steps:
- Check cable connections: Ensure that all cable connections between your audio interface and your computer are secure. Disconnect and reconnect them if necessary, making sure to check for any frayed or damaged cables that may need to be replaced.
- Update audio interface drivers: Visit the manufacturer’s website or use their dedicated driver software to check for any available updates for your audio interface drivers. Installing the latest drivers can resolve compatibility issues and address static problems.
- Adjust sample rate and buffer size: Experiment with different sample rate and buffer size settings in your audio interface software or control panel. Find the optimal configuration that offers the best performance while minimizing static or audio artifacts.
- Close background applications: Before recording or playing back audio, close any unnecessary programs or processes that may be using up system resources. By reducing the strain on your computer, you can minimize the likelihood of static interference.
- Isolate ground loops: Use ground loop isolators to address ground loop issues. These devices help break the electrical connection causing interference and can greatly reduce static and humming noises. Alternatively, ensure that all your audio equipment is connected to the same power source or power conditioner to minimize ground loop problems.
- Try a different USB port: If you suspect a faulty USB port, try connecting your audio interface to a different port on your computer. This will help determine if the static issue is related to the port or if it is caused by another factor.
By following these troubleshooting steps, you can effectively diagnose and resolve static issues on your audio interface. Remember to test your setup after each step to identify which solution works best for your situation. In the next sections, we will explore some specific troubleshooting techniques in more detail.
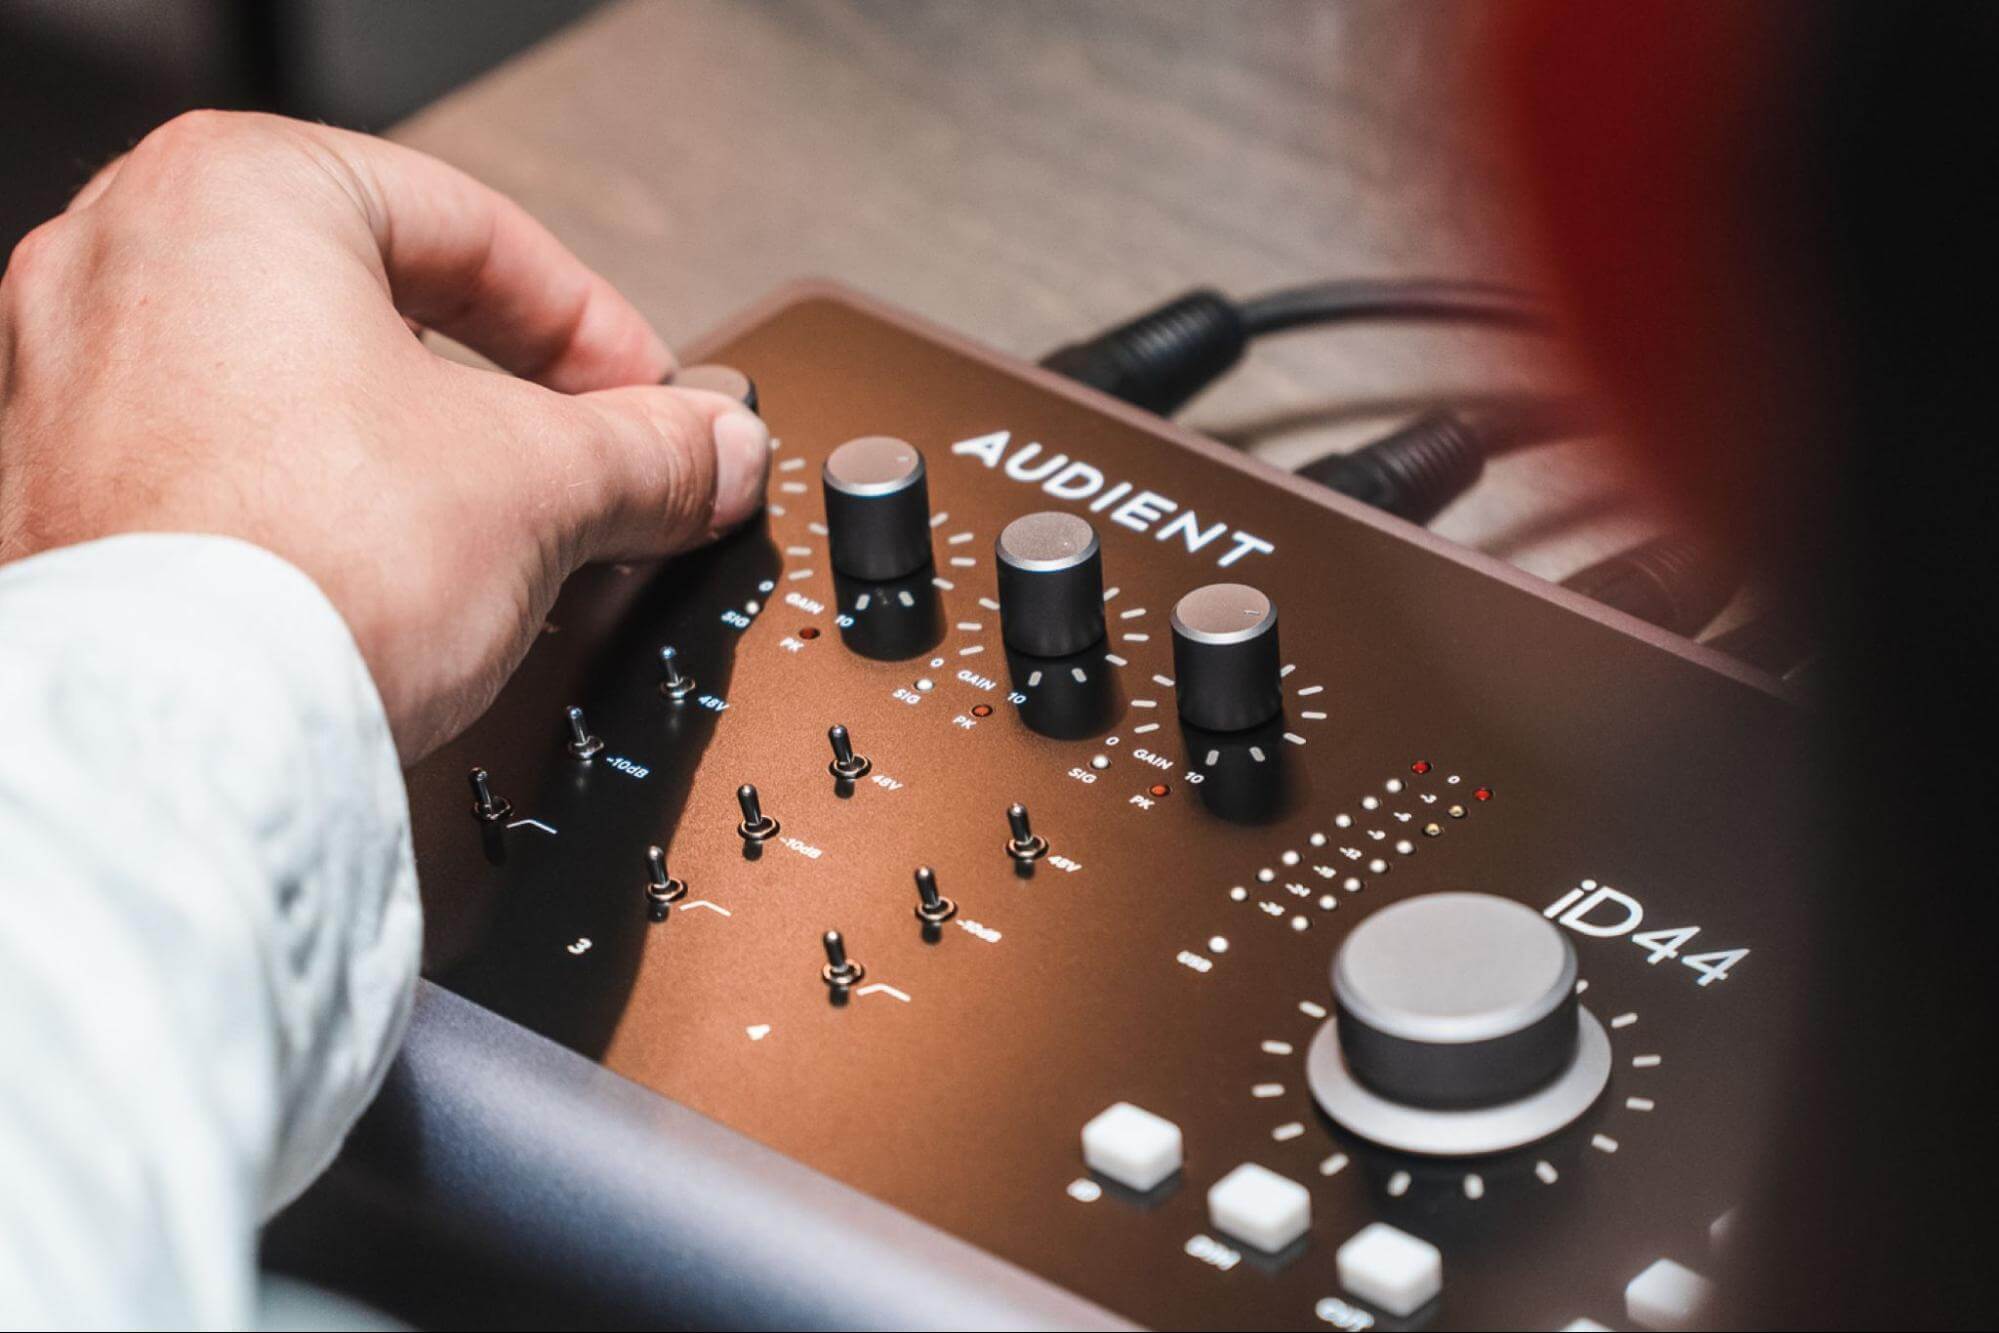
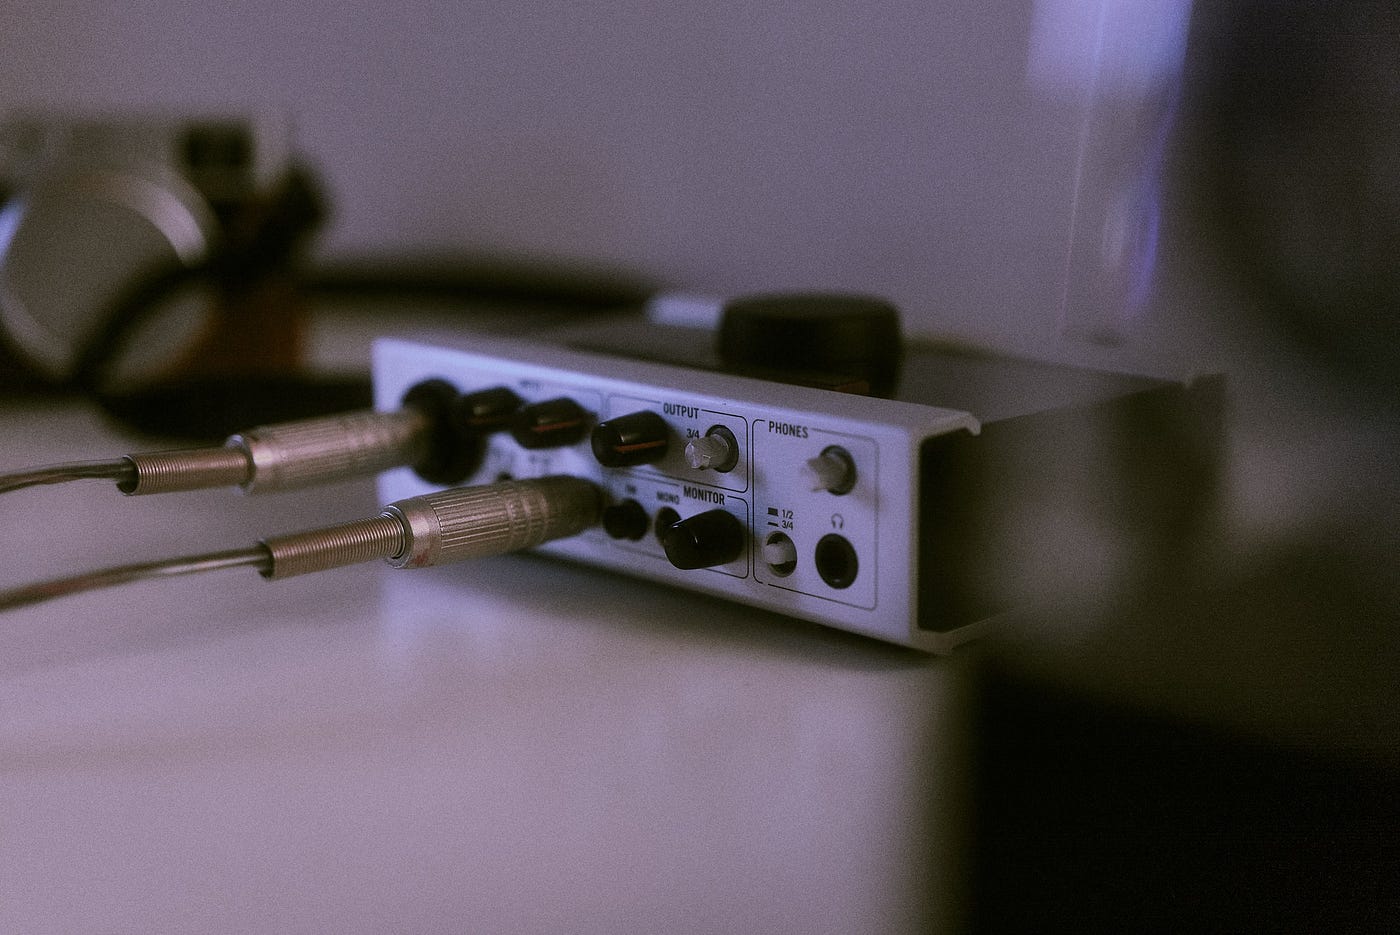
Checking Cable Connections
One of the most common causes of static on audio interfaces is inadequate cable connections. Loose or faulty cables can introduce unwanted static or interference into your audio signal. By ensuring that all cable connections are secure and in good condition, you can eliminate this potential source of static. Here are some steps to check and improve your cable connections:
- Inspect the cables: Examine all the cables connected to your audio interface, including USB, XLR, and TRS cables. Look for any signs of damage such as frayed wires or bent connectors. If you notice any issues, replace the faulty cables with new ones.
- Secure the connections: Make sure that all cables are firmly plugged into their respective ports on both your audio interface and your computer. Ensure that they are fully seated and that there is no wiggle or play in the connection. A loose connection can cause intermittent static or signal loss.
- Use quality cables: Invest in high-quality cables that are designed for audio applications. Cheap or low-quality cables can introduce unwanted noise or interference. Consider using well-shielded cables with gold-plated connectors for optimal signal transfer and to minimize the chances of static.
- Position cables properly: Avoid running audio cables parallel to power cables or near sources of electromagnetic interference (EMI) such as Wi-Fi routers, fluorescent lights, or power adapters. Cross cables at right angles to minimize interference. Proper cable management can help reduce the chances of static and improve overall audio quality.
- Test different cables: If you suspect that a specific cable is causing static issues, try swapping it out with a different one to see if the problem persists. This will help identify if the cable itself is the source of the problem.
Checking and improving your cable connections is a straightforward yet essential step in troubleshooting static on audio interfaces. By ensuring that your cables are in good condition, securely connected, and positioned correctly, you can greatly reduce the chances of static interference and enjoy clean, high-quality audio recordings.
Updating Audio Interface Drivers
Outdated or incompatible audio interface drivers can often be the culprit behind static issues. Keeping your drivers up to date is crucial to ensure that your audio interface functions properly and that you maintain optimal audio quality. Here are some steps to update your audio interface drivers:
- Identify the manufacturer and model: Determine the manufacturer and model of your audio interface. This information is usually printed on the device itself or can be found in the product documentation.
- Visit the manufacturer’s website: Go to the official website of the manufacturer and navigate to the support or downloads section. Look for drivers specifically designed for your audio interface model.
- Download the latest drivers: Locate the driver files for your audio interface and download the most up-to-date version. Ensure that you choose the correct driver compatible with your operating system.
- Install the drivers: Once the driver files are downloaded, run the installer and follow the on-screen instructions to install the updated drivers. It is recommended to close all other applications during the installation process.
- Restart your computer: After installing the updated drivers, restart your computer to ensure that the changes take effect. This will also help refresh system processes and ensure proper driver integration.
Updating your audio interface drivers can resolve compatibility issues and provide bug fixes that may be causing static problems. It is advisable to periodically check for driver updates to ensure that you have the latest software for optimal performance.
Alternatively, some audio interfaces have dedicated software or control panels that allow you to update the drivers directly from the application. Consult the documentation for your audio interface to determine if this option is available.
By staying proactive and keeping your audio interface drivers up to date, you can address any potential static issues caused by driver compatibility or outdated software. This will help ensure a smooth and uninterrupted audio recording or playback experience.
Adjusting Sample Rate and Buffer Size
The sample rate and buffer size settings of your audio interface play a crucial role in determining the audio quality and latency of your recordings. Incorrect configurations can lead to static or audio artifacts. Adjusting these settings can help optimize your audio interface for better performance. Here’s how:
- Understand sample rate: Sample rate refers to the number of samples captured per second during audio recording. Common sample rates include 44.1kHz, 48kHz, and 96kHz. Higher sample rates generally result in higher audio fidelity but require more system resources. Experiment with different sample rates to find a balance between audio quality and performance.
- Adjust buffer size: The buffer size, measured in samples, determines the amount of audio data that is processed at a time. A smaller buffer size reduces latency but can strain your system and potentially lead to static or audio interruptions. Increasing the buffer size can help alleviate this issue, but it may introduce additional latency. Finding the right buffer size is a matter of trial and error.
- Access the audio interface control panel: Open the control panel or software application specific to your audio interface. This can usually be done by clicking on the audio interface icon in your system tray or by accessing it through the audio settings of your computer’s operating system.
- Navigate to sample rate and buffer settings: Once in the control panel, locate the sample rate and buffer size settings. These may be found under a specific tab or menu within the interface software. Consult the documentation or support resources provided by the manufacturer if you’re having trouble finding these settings.
- Experiment with different settings: Start by adjusting the sample rate to different values and observe the outcome. Listen for any noticeable improvements or changes in audio quality. Afterward, try adjusting the buffer size to find the right balance between low latency and stable performance. Test your setup with different combinations of sample rates and buffer sizes until you find the configuration that works best for your specific requirements.
Optimizing the sample rate and buffer size settings of your audio interface can significantly impact the audio quality and performance. By finding the right balance that suits your needs, you can minimize static interference and achieve optimal audio recording and playback results.
Remember to test different settings in different scenarios, as settings that work well for recording vocals may not necessarily work for instruments or live performances. Take the time to experiment and adjust these parameters to find the optimal configuration for your specific audio needs.
Clearing Background Applications
Running resource-intensive applications or processes in the background can hog system resources, potentially causing static or audio disruptions on your audio interface. To ensure optimal performance and minimize the chances of static interference, it’s important to close any unnecessary background applications. Here are some steps to clear background applications:
- Identify resource-intensive applications: Open the task manager on your computer (Ctrl+Shift+Esc on Windows or Activity Monitor on Mac) to see which applications are using the most system resources. Look for applications that consume a significant amount of CPU, memory, or disk usage.
- Close unnecessary applications: Determine which applications can be closed without affecting your audio recording or playback sessions. These may include web browsers with multiple tabs, video streaming or gaming applications, or other non-essential programs. Right-click on the application in the task manager and select “End Task” (Windows) or click the “X” button in the Activity Monitor (Mac).
- Disable background processes: Some applications may run background processes even when closed. To prevent these from consuming system resources, disable any unnecessary startup processes or services. This can typically be done through the settings or preferences menu of the respective applications.
- Optimize system performance: Regularly perform maintenance tasks such as disk cleanup, defragmentation (Windows), or optimizing storage (Mac) to ensure your computer is running efficiently. This can help free up valuable resources and reduce the likelihood of static or audio interruptions.
- Consider using a dedicated recording computer: If you frequently experience static issues due to resource-intensive applications, it may be worth considering using a separate computer solely for audio recording and production. This allows you to dedicate the system resources specifically for your audio tasks, minimizing potential conflicts with other applications.
Clearing background applications is an effective way to maximize system resources and reduce the chances of static interference on your audio interface. By keeping only essential applications running during your recording or playback sessions, you can ensure that your computer is optimized to deliver the best possible audio quality.
Remember to close unnecessary applications and processes before starting your audio work, and regularly perform maintenance tasks to keep your computer running smoothly.
Isolating Ground Loops
Ground loops can be a common cause of static or humming noises on audio interfaces. A ground loop occurs when there are multiple grounding points in your audio setup, resulting in electrical interference. This interference can manifest as static or unwanted noise in your recordings or playback. Isolating ground loops can help alleviate these issues. Here are some steps to effectively isolate ground loops:
- Identify the source of the ground loop: Start by determining which devices are contributing to the ground loop. This can be done by systematically removing or disconnecting various audio equipment from the signal chain and observing if the static interference disappears.
- Use ground loop isolators: Ground loop isolators are devices designed to break the electrical connection between audio equipment that may be causing the ground loop. These devices typically have input and output connectors and can be inserted between the audio devices or cables in question.
- Connect all audio equipment to the same power source: Often, ground loops can be eliminated by ensuring that all the audio equipment in your setup is connected to the same power source or power conditioner. This helps maintain a common ground reference and reduces the chances of electrical interference.
- Separate audio and power cables: Whenever possible, keep audio cables and power cables separated to minimize the chance of electromagnetic interference. Cross audio and power cables at right angles rather than running them parallel to each other.
- Use balanced cables: Balanced cables, such as XLR or TRS cables, are designed to reject common-mode interference and can help reduce the impact of ground loops. If possible, use balanced connections between your audio devices and audio interface.
- Consider a ground lift: In some cases, a ground lift may be a viable option. However, it should only be used as a last resort and with caution, as it may introduce safety hazards. Consult an electrician or audio professional before attempting a ground lift.
By systematically identifying the source of the ground loop and implementing the appropriate solutions, you can effectively isolate and minimize the effects of ground loops on your audio interface. This will help eliminate static interference and deliver clean, high-quality audio recordings.
If you are unsure or uncomfortable with troubleshooting ground loop issues yourself, it’s advisable to seek the assistance of an experienced audio technician or professional to ensure the proper and safe resolution of the problem.
Using a Different USB Port
If you’re experiencing static issues on your audio interface, it’s worth considering the possibility of a faulty or incompatible USB port. Sometimes, certain ports on your computer may not provide the necessary power or data transfer capabilities, resulting in static or interference. Switching to a different USB port can help determine if the static issue is related to a specific port. Here’s what you can do:
- Identify available USB ports: Take note of all the available USB ports on your computer. These ports are typically located on the front, back, or sides of your desktop computer, or on the sides of your laptop.
- Disconnect and reconnect your audio interface: Safely disconnect your audio interface from the current USB port and then reconnect it to a different one. Make sure the connection is secure and the USB plug is inserted fully into the port.
- Test the new USB port: In your audio interface software or digital audio workstation (DAW), check for any changes in the audio quality or the presence of static. If the static issue disappears or improves significantly, it indicates that the previous USB port was the source of the problem.
- If necessary, troubleshoot the original USB port: If the static issue persists on the new USB port, it may imply that the problem lies elsewhere. You can try troubleshooting the original USB port by checking for any driver updates or ensuring it is not experiencing any physical damage or connectivity issues.
- Consider using a powered USB hub: If you have limited or unreliable USB ports on your computer, you can solve power-related issues by using a powered USB hub. A powered USB hub provides additional power to your audio interface and can help stabilize the connection, reducing the chance of static or other audio disruptions.
Using a different USB port can often resolve static issues on your audio interface, especially if the original port is defective or incompatible. By testing various USB ports and ensuring a stable connection, you can improve the overall audio quality and reduce interference caused by faulty ports.
If you continue to experience static issues after trying different USB ports, it’s advisable to consult the manufacturer’s support or seek assistance from an audio professional to further diagnose and address the problem.
Conclusion
Static on audio interfaces can disrupt the quality of your recordings and impede your creative process. Understanding the common causes and troubleshooting steps can help you resolve static issues and enjoy clean, high-quality audio. In this article, we explored several potential sources of static and provided practical solutions to address them.
First, we discussed the importance of checking cable connections and ensuring they are secure and free from damage. Then, we emphasized the significance of updating audio interface drivers to avoid compatibility issues. We also explored the impact of adjusting sample rate and buffer size settings, as well as the importance of closing resource-intensive background applications.
We highlighted the troublesome ground loops that can introduce static and explained how to isolate them through careful cable management and the use of ground loop isolators. Finally, we explored the option of using a different USB port when experiencing static issues, as well as the use of powered USB hubs to ensure stable power supply.
Remember, troubleshooting static on audio interfaces may require a combination of these solutions, depending on the specific issue you are facing. By applying the troubleshooting steps outlined in this article, you can significantly reduce or eliminate static interference, allowing you to focus on creating outstanding audio recordings.
If you encounter persistent static problems or if you are unsure about any troubleshooting steps, it’s recommended to consult the manufacturer’s support documentation or seek assistance from an audio professional. With the right approach and troubleshooting techniques, you can optimize your audio interface setup and enjoy a seamless and high-quality audio recording experience.