Home>Production & Technology>Audio Interface>How To Use An Audio Interface With Skype
Audio Interface
How To Use An Audio Interface With Skype
Published: February 5, 2024
Learn how to seamlessly integrate your audio interface with Skype for optimal sound quality and clear communication. Enhance your virtual meetings and ensure professional audio performance.
(Many of the links in this article redirect to a specific reviewed product. Your purchase of these products through affiliate links helps to generate commission for AudioLover.com, at no extra cost. Learn more)
Table of Contents
Introduction
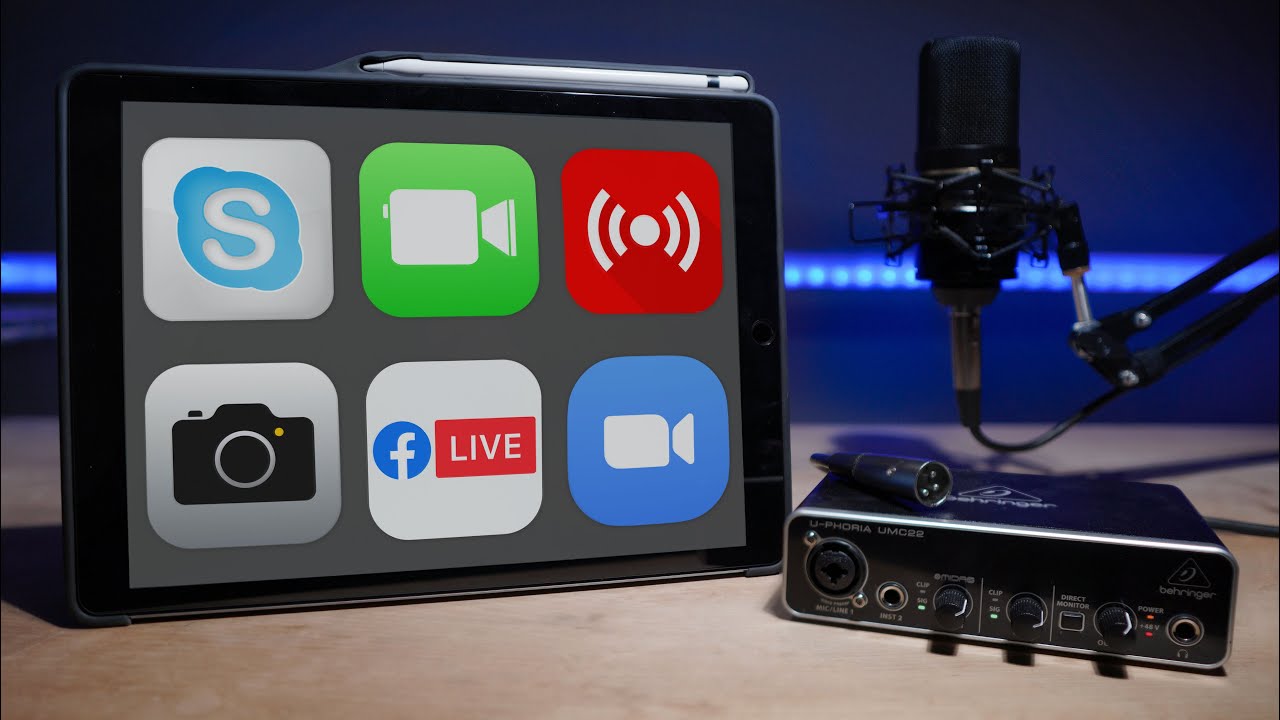
Are you tired of poor audio quality during your Skype calls? Do you want to take your audio experience to the next level? Look no further than an audio interface. An audio interface is a device that connects your computer to professional-grade microphones, instruments, and speakers, providing high-quality audio for your Skype calls, podcasts, music recordings, and more.
In this article, we will explore the world of audio interfaces and discover how they can revolutionize your Skype conversations. Whether you’re a professional musician, a podcaster, or simply someone who values crystal-clear audio, understanding and utilizing an audio interface can greatly improve your online communication.
But what exactly is an audio interface? Put simply, it’s an external sound card that allows you to input and output audio signals to and from your computer. While most computers come with built-in sound cards, they are often limited in terms of audio quality and connectivity options. An audio interface, on the other hand, offers superior audio processing, increased input/output options, and higher resolution audio.
One of the key benefits of using an audio interface with Skype is the ability to connect professional microphones and instruments directly to your computer. Built-in computer microphones can be subpar when it comes to capturing clear and accurate audio. By connecting a high-quality microphone to your audio interface, you ensure that your voice is crisp and every nuance is captured with precision.
Another advantage of using an audio interface is the ability to record multitrack audio. With a traditional sound card, you are limited to recording a single audio source at a time. However, audio interfaces often feature multiple inputs, allowing you to record multiple sources simultaneously. This is especially useful for podcasting or remote interviews, where you may want to record both your voice and the voice of your guest separately.
So, if you’re ready to take your Skype calls, podcast recordings, and music productions to a whole new level, continue reading to learn how to set up and use an audio interface with Skype. You’ll be amazed at the difference it can make in your audio quality and overall communication experience.
Understanding Audio Interfaces
Before diving into the world of audio interfaces, it’s important to have a basic understanding of how they work and the key components involved. At their core, audio interfaces are devices that convert analog audio signals into digital signals that can be processed by your computer, and vice versa.
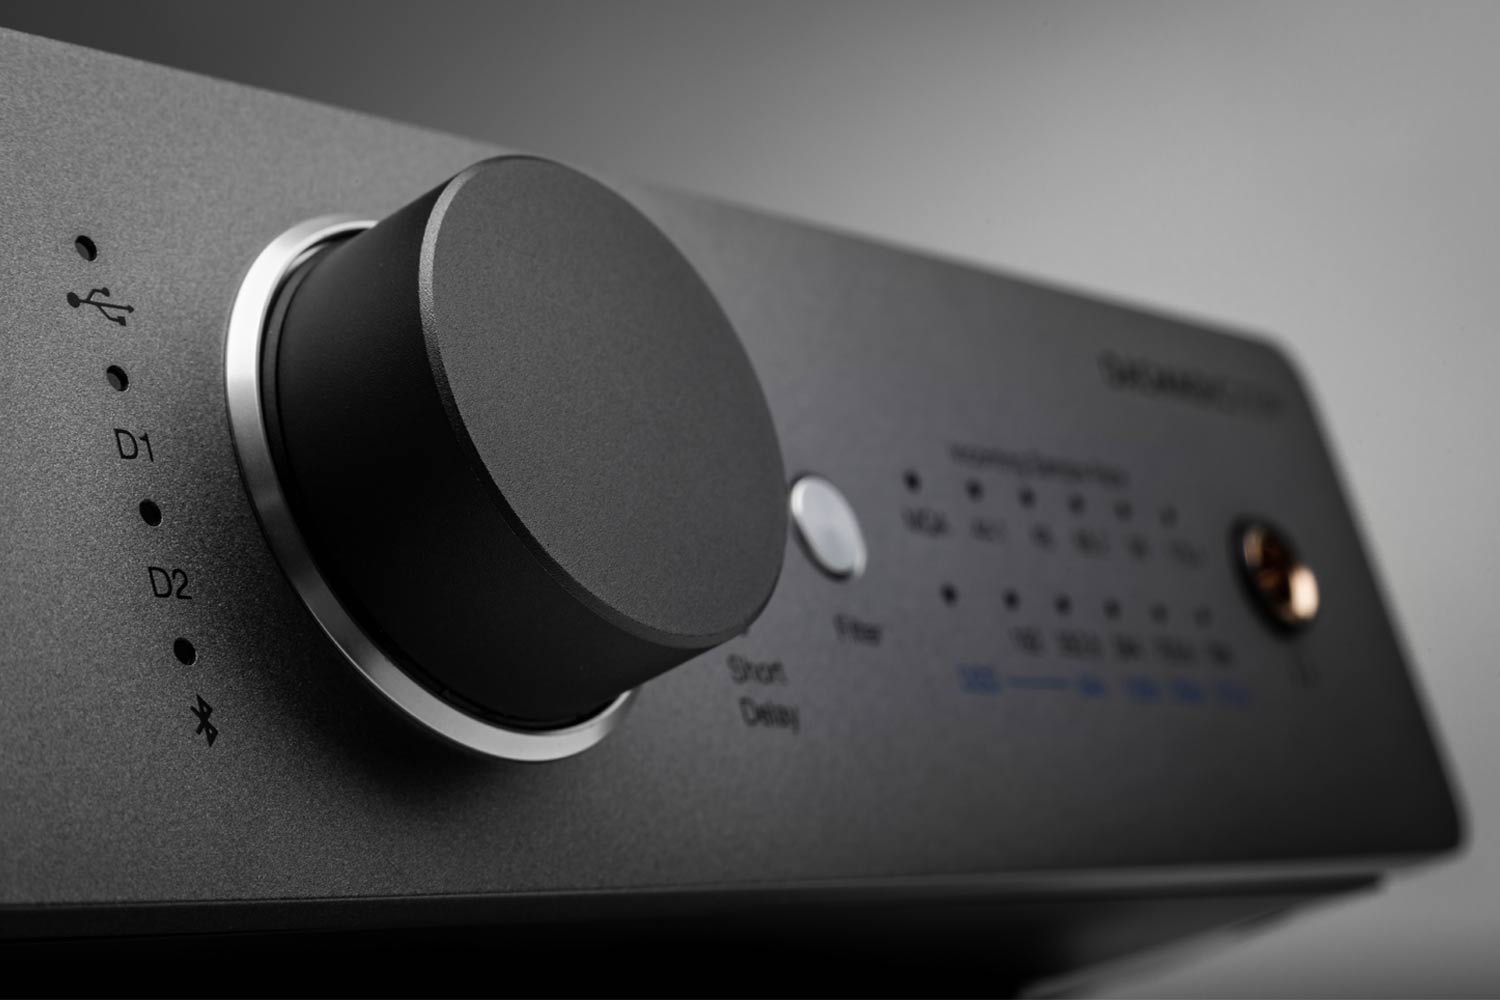
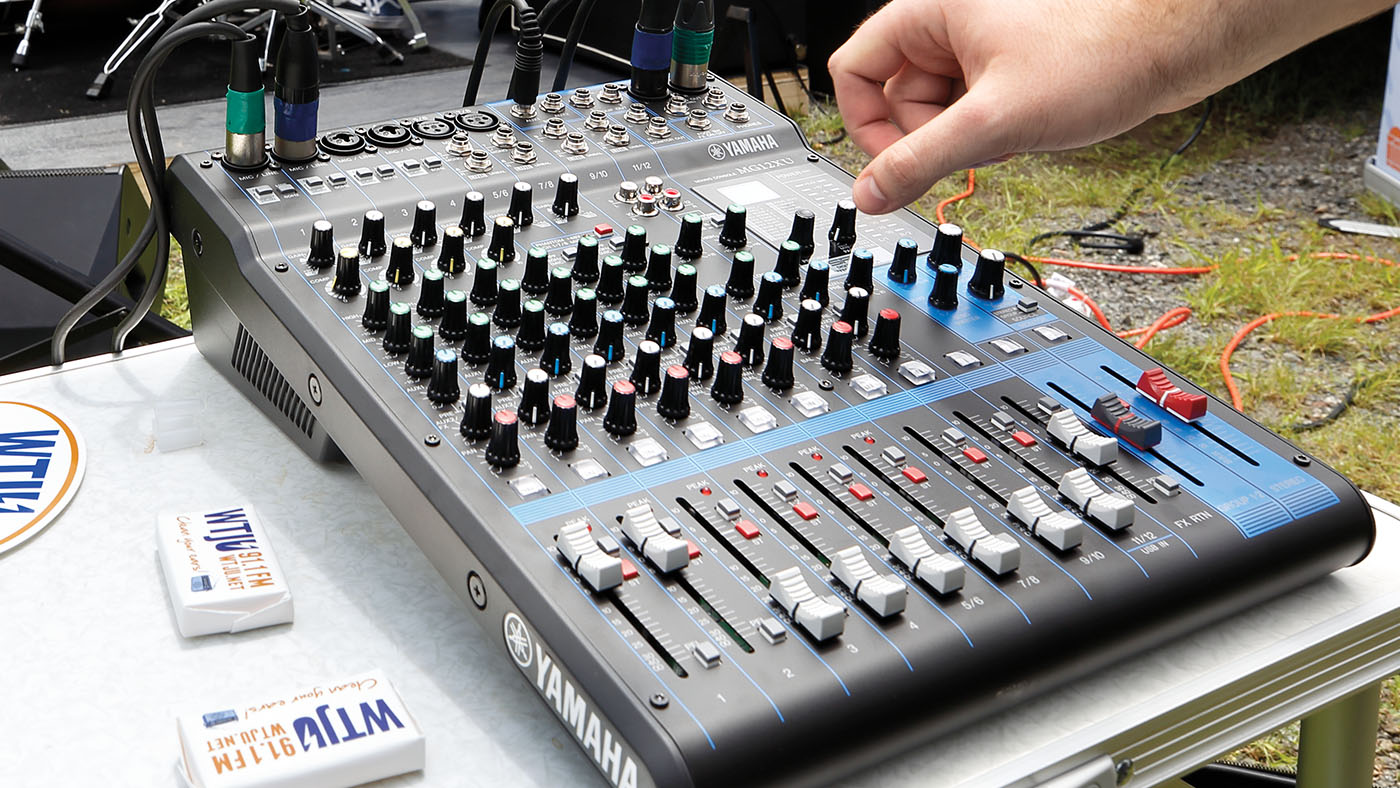
Let’s start with the inputs and outputs. An audio interface typically has multiple inputs, which allow you to connect microphones, instruments, or other audio sources. These inputs may come in the form of XLR, 1/4″ TRS, or even digital connections like ADAT or SPDIF. On the output side, audio interfaces provide outputs for connecting speakers or headphones, allowing you to monitor and hear the audio being processed.
Another important consideration when choosing an audio interface is the number of channels it supports. Channels refer to the number of individual audio sources that can be recorded or played back simultaneously. For example, a 2-channel audio interface can handle two audio sources at once, while an 8-channel interface can handle eight. The number of channels you need will depend on your specific recording or playback needs.
Audio interfaces also come with preamps, which are responsible for amplifying weak microphone signals to a level that can be properly recorded or processed. These preamps can greatly affect the sound quality of your recordings, so it’s important to choose an audio interface with high-quality preamps if you want professional-grade audio.
Furthermore, audio interfaces often offer additional features such as MIDI connectivity for controlling synthesizers and other MIDI-enabled devices, built-in digital signal processing for applying effects and EQ to your audio, and even onboard mixing capabilities for blending multiple audio sources together.
Lastly, it’s important to consider the connection method of the audio interface. USB is the most common connection type, offering compatibility with most computers. However, there are also audio interfaces that connect via Thunderbolt or PCIe for even faster data transfer rates and lower latency.
Now that you have a basic understanding of what audio interfaces are and what they offer, it’s time to dive into the practical side of things. In the next section, we will explore how to set up your audio interface and make it work seamlessly with Skype.
Setting up your Audio Interface
Setting up your audio interface for use with Skype is a straightforward process that can greatly enhance your audio quality during calls. Follow the steps below to get started:
- Choose the right audio interface: Ensure that your audio interface is compatible with your computer’s operating system. Check the manufacturer’s website for driver updates if needed.
- Connect your audio interface: Plug one end of a USB cable or any other compatible cable into the audio interface and the other end into an available USB port on your computer. If your audio interface requires external power, make sure to connect it to a power source.
- Install necessary drivers: Depending on your operating system, your computer may automatically install the drivers needed for your audio interface. If not, visit the manufacturer’s website and download the appropriate drivers for your specific model.
- Configure audio settings: Go to your computer’s audio settings and set your audio interface as the default input and output device. This ensures that Skype will use your audio interface for both recording and playback. Adjust the sample rate and buffer size settings according to your preferences and system capabilities for optimal performance.
- Test your audio: Open Skype and go to the audio settings. Make a test call or use the Skype echo sound test service to ensure that your audio interface is working correctly. Adjust the input gain and output volume levels on your audio interface if necessary.
- Optimize latency: If you notice any latency or delay between your audio input and output, adjust the buffer size settings on your audio interface or in the Skype audio settings. Lower buffer sizes reduce latency but require more processing power.
- Experiment with additional features: Depending on the capabilities of your audio interface, you may have access to features such as onboard mixing or digital signal processing. Explore these features to further enhance your audio quality during Skype calls.
By following the steps above, you can easily set up your audio interface and start enjoying high-quality audio during Skype calls. Remember to periodically check for driver updates and adjust your settings as needed to optimize performance.
Next, we will delve into the specific settings you need to adjust within Skype to ensure seamless integration with your audio interface.
Adjusting the Audio Interface settings in Skype
Once you have set up your audio interface, it’s important to adjust the settings within Skype to ensure that it recognizes and uses your audio interface for optimal audio quality. Follow the steps below to adjust the audio settings in Skype:
- Open Skype: Launch the Skype application on your computer and sign in to your account.
- Go to Audio settings: Click on the “Settings” icon, usually represented by a gear or three dots, and select “Audio & Video” from the menu. This will take you to the audio settings page.
- Select your audio interface: In the “Microphone” and “Speakers” sections, choose your audio interface from the respective drop-down menus. This will ensure that Skype uses your audio interface for both input and output.
- Test the audio: Click on the “Make a free test call” or “Test audio” button to check if your audio interface is working correctly. Follow the prompts and listen for your voice during the test call or sound playback.
- Adjust the input and output levels: Use the volume sliders or input gain knobs on your audio interface to adjust the input and output levels in Skype. Test the audio again to find the suitable balance for clear and crisp sound.
- Enable echo cancellation: Skype offers an echo cancellation feature to eliminate any echo or feedback caused by audio looping back into your microphone. Enable this feature in the audio settings to ensure a smooth and echo-free conversation.
- Apply noise suppression: If you’re faced with background noise during your Skype calls, Skype’s noise suppression feature can help reduce or eliminate unwanted noise. Enable this feature if needed to enhance the clarity of your audio.
- Test the settings: Make a few test calls to friends or family members and ask for feedback on your audio quality. Adjust the settings as needed to further optimize the audio experience for both yourself and the people you are calling.
By adjusting the audio settings within Skype, you ensure that it recognizes and utilizes your audio interface to deliver the best possible audio quality during your calls. Take the time to test and fine-tune the settings until you achieve the desired audio clarity and performance.
In the next section, we will discuss some common issues that may arise when using an audio interface with Skype and provide troubleshooting tips to resolve them.
Troubleshooting common issues
While setting up and using an audio interface with Skype can greatly improve your audio quality, it’s important to be aware of common issues that may arise and know how to troubleshoot them. Below are some common issues you may encounter and solutions to help resolve them:
1. No audio input or output: If your audio interface is not recognized by Skype or you don’t hear any audio, check the connection between your audio interface and computer. Ensure that the correct driver is installed and that your audio interface is selected as the default input and output device in both your computer’s audio settings and Skype settings.
2. High latency or delay: If you experience a noticeable delay between speaking and hearing the audio during Skype calls, try adjusting the buffer size settings in both your audio interface and Skype audio settings. Lowering the buffer size can reduce latency, but it may require more processing power from your computer.
3. Audio distortion or noise: If you hear distortion, crackling, or background noise in your audio, check the input and output levels on your audio interface. Ensure that the levels are properly adjusted and not set too high, as this can cause distortion. Additionally, enable Skype’s noise suppression feature to reduce background noise during calls.
4. Compatibility issues: If you recently updated Skype or your computer’s operating system and now experience compatibility issues with your audio interface, visit the manufacturer’s website for driver updates. Install the latest drivers and ensure compatibility with the updated software.
5. Recording issues: If you’re having trouble recording with your audio interface in Skype, check the channel settings and ensure that the correct channels are selected. Also, make sure that the input source, whether it’s a microphone or instrument, is properly connected and functioning correctly.
6. Echo or feedback: If you or the person you’re calling experiences echo or feedback in the audio, enable Skype’s echo cancellation feature. This feature helps prevent audio looping back into the microphone, reducing or eliminating echo issues.
7. Insufficient power supply: If your audio interface requires external power, ensure that it is properly connected to a power source. Insufficient power can cause audio dropouts or other functionality issues with your audio interface.
If you encounter any of these issues or other unforeseen problems, refer to the user manual of your audio interface or reach out to the manufacturer’s support for specific troubleshooting guidance. They will be able to provide you with personalized assistance to resolve any technical difficulties.
By being aware of common issues and knowing how to troubleshoot them, you can quickly resolve any problems that may arise when using an audio interface with Skype, ensuring a seamless and high-quality audio experience.
Finally, let’s wrap up this article with a summary of the key points discussed.
Conclusion
In conclusion, using an audio interface with Skype can significantly enhance your online communication experience by providing high-quality audio and a range of advanced features. By connecting professional microphones and instruments to your audio interface, you can ensure crystal-clear sound and capture every detail of your voice during Skype calls.
Throughout this article, we have explored the world of audio interfaces, understanding their functionality and the benefits they offer. We’ve discussed the importance of setting up your audio interface correctly, including connecting it to your computer, installing necessary drivers, and configuring the audio settings within Skype.
We’ve also covered troubleshooting common issues that you may encounter when using an audio interface with Skype, such as audio distortion, latency, and compatibility problems. By following the provided solutions, you can overcome these challenges and enjoy a seamless and high-quality audio experience during your Skype calls.
Remember, selecting the right audio interface for your specific needs and ensuring proper setup and configuration are essential for maximizing the audio quality and functionality of your Skype calls. Take the time to explore the features and capabilities of your audio interface, experiment with different settings, and fine-tune them to suit your preferences.
Using an audio interface with Skype can elevate your online communication, whether you’re a professional musician, podcaster, or simply someone who values clear and crisp audio during calls. Embrace the power of an audio interface and take your Skype conversations to a whole new level.
So, what are you waiting for? Connect your audio interface, adjust the settings, and enjoy the remarkable difference it can make in your Skype audio quality.