Home>Production & Technology>Audio Interface>How Should I Connect Rosetta To My Audio Interface

Audio Interface
How Should I Connect Rosetta To My Audio Interface
Published: February 4, 2024
Looking for the best way to connect Rosetta to your audio interface? Discover expert tips and tricks to optimize your audio setup with Rosetta and enjoy high-quality sound.
(Many of the links in this article redirect to a specific reviewed product. Your purchase of these products through affiliate links helps to generate commission for AudioLover.com, at no extra cost. Learn more)
Table of Contents
Introduction
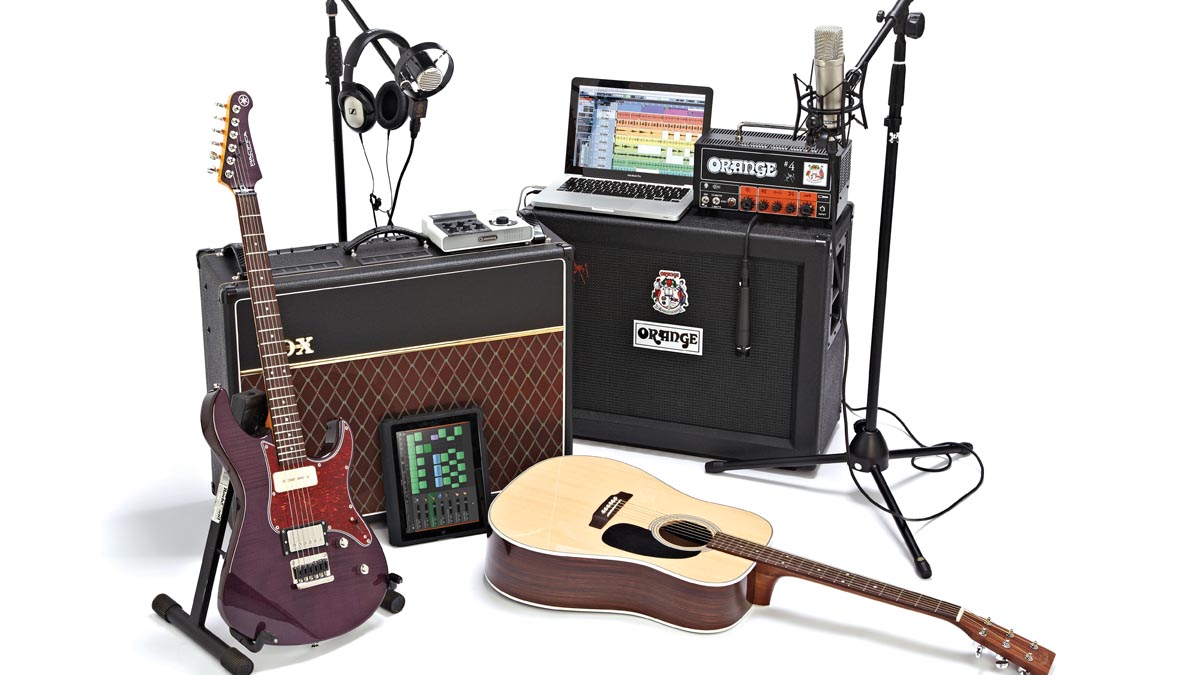
When it comes to recording or producing music, having a reliable audio interface is crucial. It serves as the bridge between your musical instruments, microphones, and your computer, allowing you to capture and manipulate sound with precision and clarity. In the world of audio interfaces, one name that stands out is Rosetta. Rosetta offers professional-grade audio interfaces that are renowned for their exceptional sound quality and versatility.
In this article, we will explore the different aspects of connecting your Rosetta audio interface to your recording setup. Whether you’re a seasoned producer or an aspiring musician, understanding how to properly connect Rosetta to your audio interface is essential for achieving optimal performance and audio quality.
We will discuss the factors to consider when choosing an audio interface that complements your Rosetta, the steps involved in connecting Rosetta to your audio interface, and how to configure Rosetta with your Digital Audio Workstation (DAW). Additionally, we’ll provide troubleshooting tips to help you overcome common issues you may encounter during the setup process.
So, if you’re ready to take your music production to the next level with your Rosetta audio interface, let’s dive in and explore the world of seamless connectivity and phenomenal sound!
Understanding Rosetta
Rosetta is a renowned brand in the world of audio interfaces, known for delivering top-notch sound quality and a wide range of connectivity options. Developed by a team of audio professionals, Rosetta interfaces are designed to meet the needs of recording studios, home studios, and live sound applications.
One of the key features that sets Rosetta apart is its high-resolution audio conversion capabilities. These interfaces are equipped with advanced analog-to-digital and digital-to-analog converters that ensure pristine audio capture and playback. The result is highly detailed, transparent, and accurate sound reproduction.
Rosetta interfaces also offer a vast selection of input and output options, catering to different recording needs. Whether you’re looking to connect microphones, instruments, line-level devices, or external processors, there is a Rosetta interface that can accommodate your requirements.
Another notable aspect of Rosetta interfaces is their robust build quality. These interfaces are built to withstand the rigors of professional use, making them reliable and durable. Additionally, Rosetta interfaces often feature intuitive controls and indicators that provide easy access to essential functions and monitoring options.
When using a Rosetta interface, it’s important to note that compatibility with your computer system and software is crucial. Rosetta interfaces are designed to work seamlessly with popular audio recording software, ensuring smooth integration and efficient workflow. Be sure to verify that your chosen Rosetta interface is compatible with your operating system and DAW software to avoid any compatibility issues.
Now that we have a basic understanding of Rosetta interfaces, let’s explore how to select the right audio interface to pair with your Rosetta in the next section.
Choosing an Audio Interface
When it comes to choosing an audio interface to pair with your Rosetta, there are several factors to consider. The right interface will depend on your specific needs, budget, and desired functionality. Here are some key points to keep in mind:
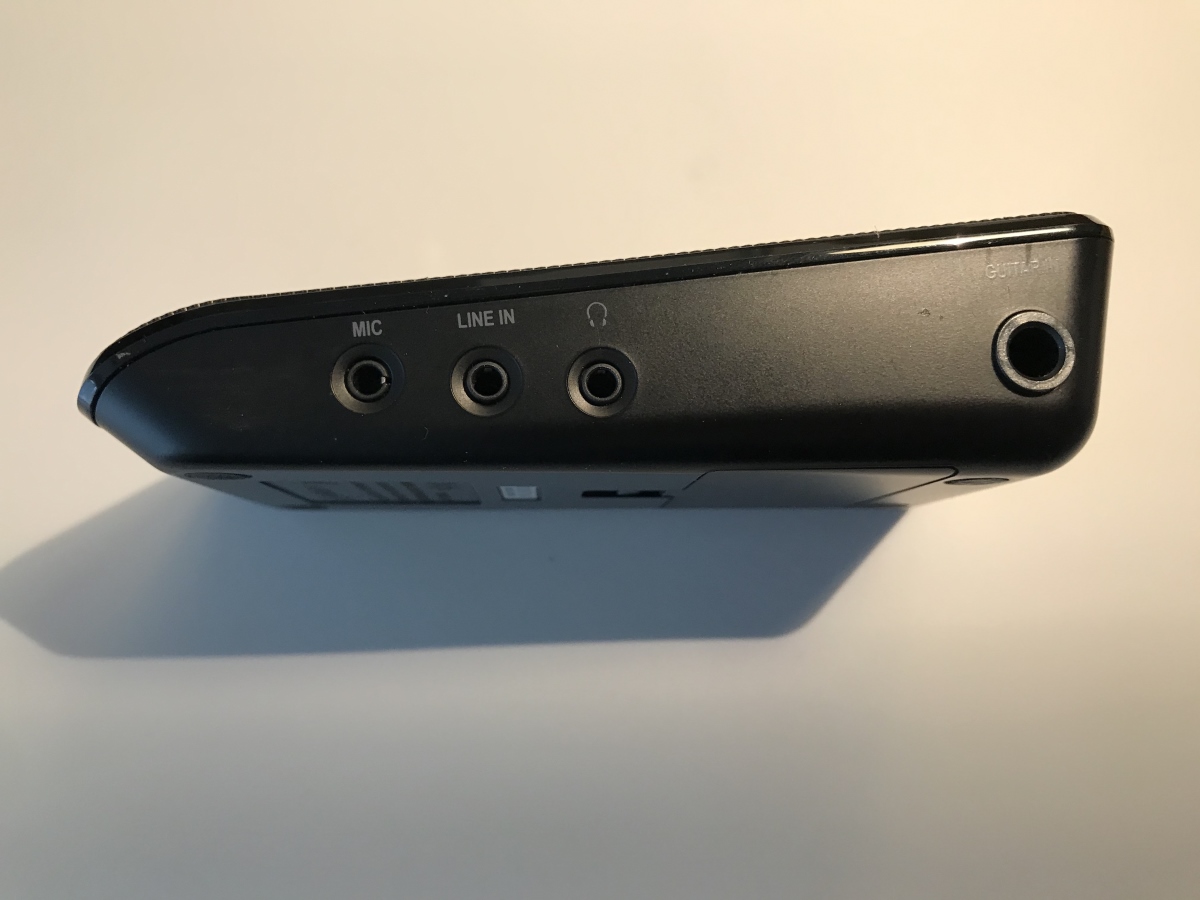
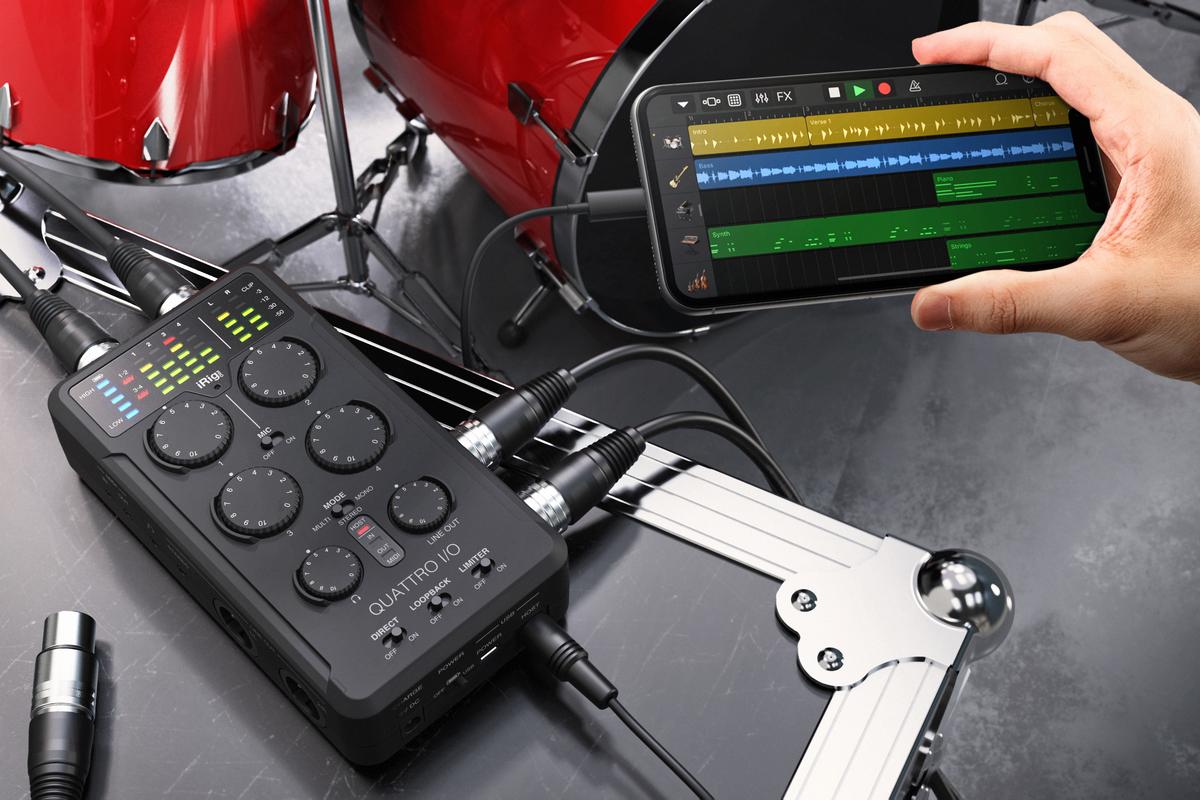
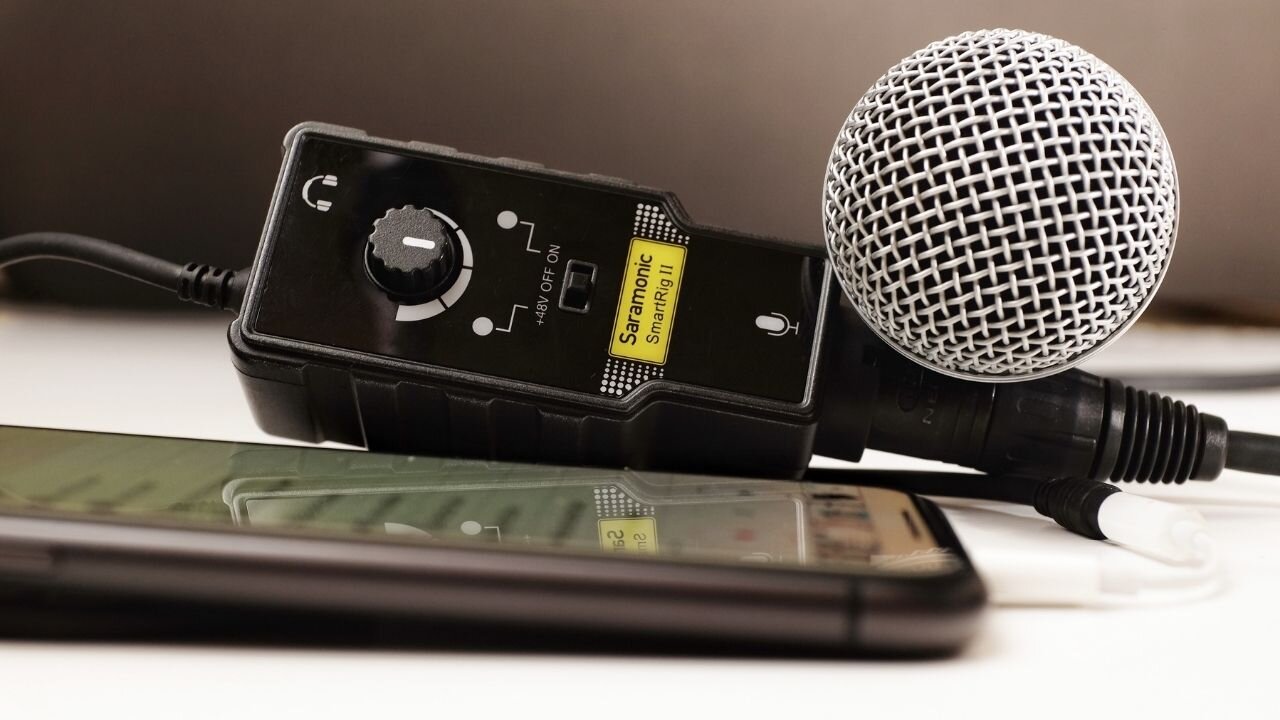
- Input and Output Options: Consider the number and type of inputs and outputs you require. If you primarily work with microphones and instruments, look for an interface with XLR and ¼-inch inputs. If you need to connect external processors or monitors, ensure the interface has appropriate line outputs.
- Audio Quality: Look for an interface that offers high-resolution audio conversion and a low signal-to-noise ratio. This will ensure that your recordings are clean, transparent, and free from unwanted noise.
- Connectivity: Consider the connectivity options available. USB and Thunderbolt interfaces are popular choices, offering fast and stable connections to your computer. If you need more advanced features and expandability, consider interfaces with ADAT, S/PDIF, or AES/EBU connections.
- Preamps: If you require microphone recording, pay attention to the quality of the preamps in the interface. Good preamps will provide clean and transparent amplification of your microphone signals.
- Budget: Set a budget for your audio interface and look for options within your price range. Remember to balance cost with the features and quality that are important to your recording needs.
It’s also worth considering the future scalability of your setup. If you anticipate expanding your recording capabilities in the future, look for an interface that allows for additional inputs and outputs, or one that can be easily integrated into a larger audio interface system.
By carefully considering these factors, you can choose an audio interface that complements your Rosetta and meets your specific recording needs. Once you’ve selected your interface, it’s time to connect it to your Rosetta, which we will discuss in the next section.
Connecting Rosetta to Your Audio Interface
Connecting your Rosetta audio interface to your chosen audio interface is a straightforward process. Follow these steps to ensure a proper and reliable connection:
- Power Down: Before making any connections, ensure that both your Rosetta interface and audio interface are powered off.
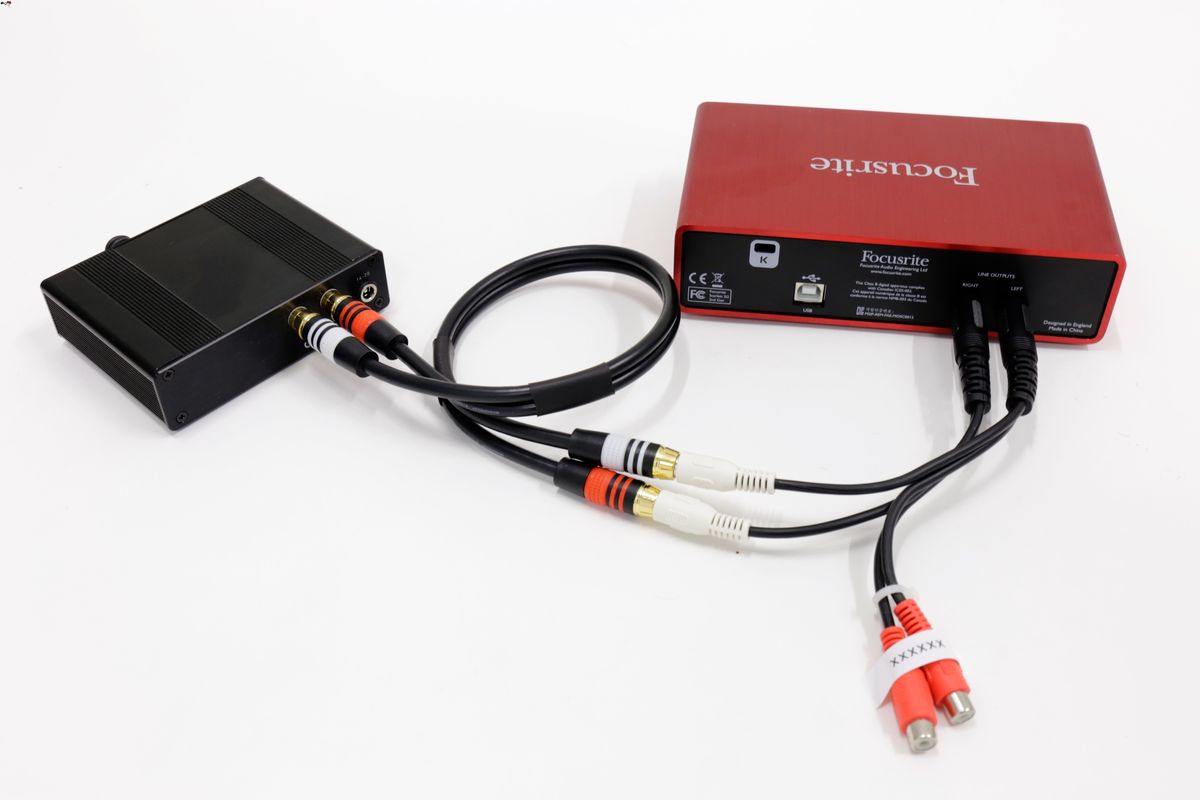
- Cables and Ports: Identify the necessary cables and ports required for the connection. Depending on the interface models, you may need XLR, ¼-inch, or other types of audio cables.
- Inputs and Outputs: Locate the inputs and outputs on both the Rosetta and the audio interface. Typically, the outputs of the Rosetta will connect to the inputs of the audio interface, and the outputs of the audio interface will connect to the inputs of the Rosetta. This enables audio to flow between the two devices.
- Connect the Cables: Connect the appropriate cables from the outputs of the Rosetta to the inputs of the audio interface, and vice versa. Ensure that the cables are securely inserted into the respective ports to avoid any loose connections.
- Power On: Once the cables are connected, power on both the Rosetta and the audio interface.
After completing these steps, your Rosetta audio interface should be successfully connected to your audio interface. However, it’s important to note that depending on the specific models and features of your devices, there may be additional settings or configurations required to ensure optimal performance.
Refer to the user manuals of your Rosetta and audio interface for specific instructions on any additional steps or settings. It’s always recommended to follow the manufacturer’s guidelines to ensure proper connectivity and functionality.
Next, let’s look at how to set up the inputs and outputs of your Rosetta interface to prepare for recording or playback.
Setting Up Rosetta’s Inputs and Outputs
Once you have connected your Rosetta audio interface to your audio interface, it’s time to set up the inputs and outputs on the Rosetta. This step is crucial for routing and managing audio signals during recording or playback. Follow these steps to configure Rosetta’s inputs and outputs:
- Launch the Control Software: Most audio interfaces, including Rosetta, come with control software that allows you to customize settings and manage inputs and outputs. Launch the control software for your Rosetta interface on your computer.
- Select Input Sources: In the control software, select the input sources you will be using for your recording. These could be microphones, instruments, or any other audio sources connected to your audio interface. Assign each input to the corresponding input channel on the Rosetta.
- Configure Output Routing: Next, configure the output routing to determine where the audio signals will be sent. You can route the audio to your DAW software, speakers, headphones, or any other connected devices. Assign each output to the desired output channel on the Rosetta.
- Adjust Gain Levels: Use the control software to adjust the gain levels of each input channel. This ensures that the audio signals are properly amplified without introducing distortion or clipping.
- Monitor and Test: Before you start recording or playing back audio, monitor and test the input and output signals. Make sure you can hear audio through your speakers or headphones and that the levels are balanced and clear. If necessary, make further adjustments to the gain levels or routing settings.
Once you have completed the setup of Rosetta’s inputs and outputs, you are ready to start recording or playback using your chosen DAW software.
Remember to consult the user manual of your Rosetta interface for specific instructions on using the control software and configuring input and output settings. Every interface may have slightly different software and processes, so it’s important to familiarize yourself with the specific features of your Rosetta model.
In the next section, we will discuss how to configure Rosetta with your Digital Audio Workstation (DAW) software to maximize its performance.
Configuring Rosetta with Your DAW
Configuring your Rosetta audio interface with your Digital Audio Workstation (DAW) software is essential for seamless integration and optimal performance. Here are the steps to guide you through the process:
- Open your DAW: Launch your DAW software and ensure that your Rosetta audio interface is connected and powered on.
- Access Audio Preferences: Navigate to the audio settings/preferences menu in your DAW. This is typically located in the preferences/options section of the software.
- Select Rosetta as the Audio Device: In the audio settings menu, choose your Rosetta audio interface as the default audio device for both input and output. This ensures that your DAW recognizes and communicates with the interface.
- Configure Sample Rate and Buffer Size: Set the sample rate and buffer size in the DAW’s audio settings. The sample rate determines the number of samples captured per second and affects the audio quality, while the buffer size determines the amount of audio data processed at a time and affects the latency. Choose the appropriate settings based on your preferences and the capabilities of your computer system.
- Assign Input and Output Channels: In the DAW’s audio settings, assign the input and output channels of your Rosetta that correspond to the input sources and output destinations you configured earlier. This ensures proper routing and monitoring within your DAW software.
- Test and Monitor: Before you start recording or playback, test and monitor the audio signals within your DAW. Check that input signals are being detected and recorded correctly, and that playback signals are being sent to the appropriate output channels. Adjust levels, panning, and other settings as needed.
It’s important to note that the specific steps and options in your DAW may vary. Consult the user manual or online documentation for your DAW software for detailed instructions on configuring audio settings and interfacing with external audio devices.
By properly configuring your Rosetta interface with your DAW, you ensure that audio signals flow seamlessly between the two, allowing for efficient recording, editing, and mixing processes.
In the next section, we will provide some troubleshooting tips to help you address any potential issues that may arise during the setup and configuration process.
Troubleshooting Tips
During the setup and configuration of your Rosetta audio interface, you may encounter certain issues or challenges. Here are some troubleshooting tips to help you overcome common problems:
- Check Connections: Ensure that all cables are securely connected to the appropriate ports on both the Rosetta interface and your audio interface. Loose connections can result in audio dropouts or no sound at all.
- Update Drivers: Make sure that you have the latest drivers installed for both your Rosetta interface and your audio interface. Check the manufacturer’s website for driver updates and follow the installation instructions carefully.
- Restart your Computer: If you’re experiencing any software or connectivity issues, try restarting your computer. This can help refresh system settings and resolve temporary glitches.
- Check Power Supply: Ensure that both your Rosetta interface and your audio interface are receiving power. Check cables, power outlets, and power switches to verify that there’s no issue with the power supply.
- Adjust Sample Rate and Buffer Size: If you’re experiencing audio latency or distortion, try adjusting the sample rate and buffer size settings in your DAW’s audio preferences. Experiment with different settings to find the optimal balance between audio quality and system performance.
- Test Different USB/Thunderbolt Ports: If you’re using a USB or Thunderbolt connection, try plugging your interface into different ports on your computer. Sometimes, certain ports may not provide enough power or have compatibility issues.
- Check System Requirements: Verify that your computer meets the system requirements for both your Rosetta interface and your DAW software. Inadequate processing power or memory can lead to performance issues and compatibility problems.
- Consult Support: If you’ve exhausted all troubleshooting options and are still experiencing issues, reach out to the customer support of both your Rosetta interface and your audio interface. They can provide specific guidance and assistance based on your setup and configuration.
Remember, patience and persistence are key when troubleshooting audio setup issues. Sometimes, it may take a bit of trial and error to identify and resolve the problem. Keep a systematic approach, follow the manufacturer’s guidelines, and seek support if needed.
Now that you’re equipped with troubleshooting tips, you’re ready to set up your Rosetta interface and start creating music with confidence.
Conclusion
Connecting your Rosetta audio interface to your chosen audio interface is a crucial step in establishing a reliable and high-quality recording or production setup. By understanding the capabilities of your Rosetta interface, choosing the right audio interface, and properly configuring and troubleshooting the setup, you can unlock the full potential of your audio recording and production workflow.
In this article, we explored the importance of understanding Rosetta’s features, selecting an appropriate audio interface, connecting Rosetta to your audio interface, setting up inputs and outputs, configuring Rosetta with your DAW, and troubleshooting any issues that may arise during the process.
Remember to always refer to the user manuals and documentation provided by the manufacturers for specific instructions and information related to your Rosetta interface and audio interface. Following their guidelines will ensure a smooth and successful setup.
With the right combination of Rosetta and your chosen audio interface, you have the capability to capture, manipulate, and reproduce high-quality audio that will elevate your creative projects to new heights. So, don’t hesitate to experiment, explore, and create with confidence!
Now, armed with this knowledge, go forth and take your music production to the next level with your Rosetta audio interface and audio interface of choice.