Home>Production & Technology>Background Music>How To Change Background Music From Blueprint Ue4
Background Music
How To Change Background Music From Blueprint Ue4
Modified: January 22, 2024
Learn how to change background music in Blueprint with UE4. Step-by-step guide to modify and replace background music in your game.
(Many of the links in this article redirect to a specific reviewed product. Your purchase of these products through affiliate links helps to generate commission for AudioLover.com, at no extra cost. Learn more)
Table of Contents
- Introduction
- Step 1: Launching UE4 Blueprint
- Step 2: Navigating to the Level Blueprint
- Step 3: Opening the Level Blueprint
- Step 4: Finding the Background Music Track
- Step 5: Adding a New Sound Cue
- Step 6: Configuring the Sound Cue
- Step 7: Setting the Background Music Track
- Step 8: Testing the Background Music
- Conclusion
Introduction
In the world of digital media, background music plays a crucial role in enhancing the overall user experience. Whether it’s in movies, commercials, video games, or websites, the right choice of background music can greatly impact how we perceive and engage with the content.
In this article, we will delve into the realm of changing background music in Blueprint UE4. Unreal Engine 4 (UE4) is a popular game development platform used by professionals and enthusiasts alike. Blueprints, a visual scripting language in UE4, allow developers to create interactive and dynamic elements in their games.
Understanding how to change background music using Blueprint UE4 can provide game developers with the ability to create immersive and captivating experiences for their players. Whether you want to replace the existing background track or add a new one altogether, Blueprint UE4 provides the necessary tools and functionality to achieve this.
Throughout this article, we will guide you through the process of changing the background music in Blueprint UE4, step by step. Even if you’re not familiar with Blueprint scripting or game development, don’t worry! We will explain each step in a simple and easy-to-understand manner.
So, get ready to dive into the world of audio manipulation in UE4 and discover how you can take your game’s atmosphere and gameplay to the next level by changing the background music using Blueprint.
Step 1: Launching UE4 Blueprint
The first step to changing the background music in Blueprint UE4 is to launch Unreal Engine 4 and open your desired project. If you don’t have the software installed, you can download it from the official Epic Games website.
Once you have the software installed, launch Unreal Engine 4 and select the project you want to work on from the Project Browser. If you don’t have a project yet, you can create a new one by choosing the appropriate option from the New Project tab.
After selecting or creating your project, the Unreal Engine 4 Editor will open with a blank level or a level that you previously created. This is where you will be making the necessary changes to the Blueprint to change the background music.
Before proceeding, it’s important to note that changing background music using Blueprint UE4 requires some familiarity with the Blueprint scripting system. If you’re new to Blueprint scripting, it might be helpful to familiarize yourself with the basics before diving into this tutorial.
Blueprints in Unreal Engine 4 allow developers to create interactive and dynamic elements using a visual scripting system. This means that you don’t need to have coding knowledge to make changes to your game’s functionality, including the background music.
Now that you have launched Unreal Engine 4 and have your project open, you’re ready to move on to the next step: navigating to the Level Blueprint.
Step 2: Navigating to the Level Blueprint
After launching Unreal Engine 4 and opening your project, the next step is to navigate to the Level Blueprint. The Level Blueprint is where you can make global changes that affect the entire level, including the background music.
To access the Level Blueprint, click on the “Blueprints” button in the top toolbar of the Unreal Engine 4 Editor. From the dropdown menu, select “Open Level Blueprint.” This action will open a new window where you can make changes specifically to the Level Blueprint.
It’s worth mentioning that in Unreal Engine 4, there are different types of blueprints, each serving a specific purpose. The Level Blueprint is unique because it allows you to define actions and events that occur throughout the entire level.
By navigating to the Level Blueprint, you gain access to the tools and functions necessary to change the background music of your game. This is where you will be adding and configuring the sound cue that will ultimately be responsible for playing the new background music track.
Now that you’re in the Level Blueprint window, let’s move on to the next step: opening the Level Blueprint.
Step 3: Opening the Level Blueprint
Now that you have navigated to the Level Blueprint, the next step is to open it and start making changes to the background music. Opening the Level Blueprint allows you to access the blueprint graph, where you can add and configure the necessary nodes for changing the background music.
To open the Level Blueprint, double-click on the Level Blueprint icon in the Content Browser. Alternatively, you can right-click on the Level Blueprint icon and select “Open” from the context menu.
Once you open the Level Blueprint, a graph editor window will appear, displaying an empty canvas where you can add nodes and create the logic for changing the background music. This is where the magic happens!
At this point, it’s important to understand the basics of how Blueprint scripting works. If you’re new to Blueprint scripting, take some time to familiarize yourself with the concept of nodes, execution pins, and variables. This knowledge will help you navigate the Level Blueprint more effectively.
Now that you have the Level Blueprint open, you’re ready to move on to the next step: finding the background music track.
Step 4: Finding the Background Music Track
Before we can change the background music, we need to locate the existing background music track in our project. This will allow us to remove or replace it with the new music track.
To find the background music track, we need to navigate to the appropriate folder in the Content Browser. This is where all the assets for our project are stored.
In the Content Browser, navigate to the folder where the background music is located. This could be a folder specifically dedicated to audio assets or a more general folder where all the game’s assets are stored.
Once you have located the folder, look for the audio file that represents the background music. The file may have a recognizable name or a specific format such as .mp3 or .wav.
If you’re having trouble finding the background music track, you can use the search functionality in the Content Browser. Simply enter keywords related to the music track in the search bar, and Unreal Engine 4 will filter the results to show you relevant files.
Once you have found the background music track, you’re ready to proceed to the next step: adding a new sound cue.
Step 5: Adding a New Sound Cue
In order to change the background music, we need to create a new sound cue. A sound cue is a blueprint that defines how a sound is played and manipulated in Unreal Engine 4. By creating a new sound cue, we can customize the playback settings for our new background music track.
To add a new sound cue, right-click in the Content Browser and select “Sound Cue” from the context menu. Alternatively, you can use the “Create” button in the toolbar and choose “Sound Cue” from the dropdown menu.
After adding the new sound cue, you can give it a descriptive name that reflects its purpose, like “BackgroundMusicCue.” This will help you easily identify and reference it in the Blueprint graph later on.
Once you have created the sound cue, you will be taken to the Sound Cue Editor. This is where you can define the audio properties and manipulate how the background music will be played in your game.
Within the Sound Cue Editor, you can add and connect various nodes to create a flow of audio. You can adjust volume levels, add effects, and even trigger different events based on certain conditions.
Now that you have created a new sound cue for the background music, we can move on to the next step: configuring the sound cue to match our desired settings.
Step 6: Configuring the Sound Cue
Now that you have added a new sound cue for the background music, it’s time to configure it to match your desired settings. The Sound Cue Editor provides an intuitive interface where you can adjust various parameters to achieve the desired sound and behavior.
First, select the sound cue that you created for the background music in the Content Browser. This will open the Sound Cue Editor, where you can see the nodes and connections representing the sound cue’s flow.
In the Sound Cue Editor, you can add audio components, such as sound waves, to your sound cue. To do this, right-click on the canvas and navigate to the “Sound” section. From there, you can choose different types of sound components to add to your sound cue, such as a sound wave or a sound class.
Once you have added the sound component, you can configure its properties, such as volume, pitch, and other audio effects. You can also connect the sound component to other nodes to create a flow of audio and define how it will be played in your game.
Within the Sound Cue Editor, you have access to a variety of nodes that can be used to modify and manipulate the audio. These nodes include volume modifiers, pitch shifters, and even more advanced effects like reverb and spatialization.
Take your time to experiment with different nodes and settings to achieve the desired background music effect. You can play around with the volume levels, fade-in and fade-out effects, and any other parameters that suit your game’s atmosphere.
Once you are satisfied with the configuration of the sound cue, you can move on to the next step: setting the background music track in the Blueprint graph.
Step 7: Setting the Background Music Track
With the sound cue configured in the Sound Cue Editor, it’s now time to set the background music track in the Blueprint graph. This step involves connecting the sound cue to the appropriate nodes and functions that control when and how the background music should play.
First, go back to the Level Blueprint by navigating to the Blueprint editor window and double-clicking on the Level Blueprint icon in the Content Browser.
Within the Level Blueprint, you can see the graph editor window where you will make the necessary connections and changes. This is where you can add nodes and define the logic for playing the background music.
Find the node that represents the event or trigger that will initiate the background music. This could be an “Event Begin Play” node, which is executed when the level starts, or any other custom event that you have created.
Next, right-click in the graph editor window, and in the context menu, search for and select the “Play Sound Cue” node. This node allows you to play the sound cue that you created for the background music.
Connect the output of the event or trigger node to the input of the “Play Sound Cue” node. This establishes the flow of execution and ensures that the background music is played when the specified event occurs.
Finally, select the “Play Sound Cue” node, and in the Details panel on the right side of the Blueprint editor, assign the sound cue you created for the background music track.
Now, when the event or trigger is triggered during gameplay, the background music track specified in the sound cue will start playing automatically.
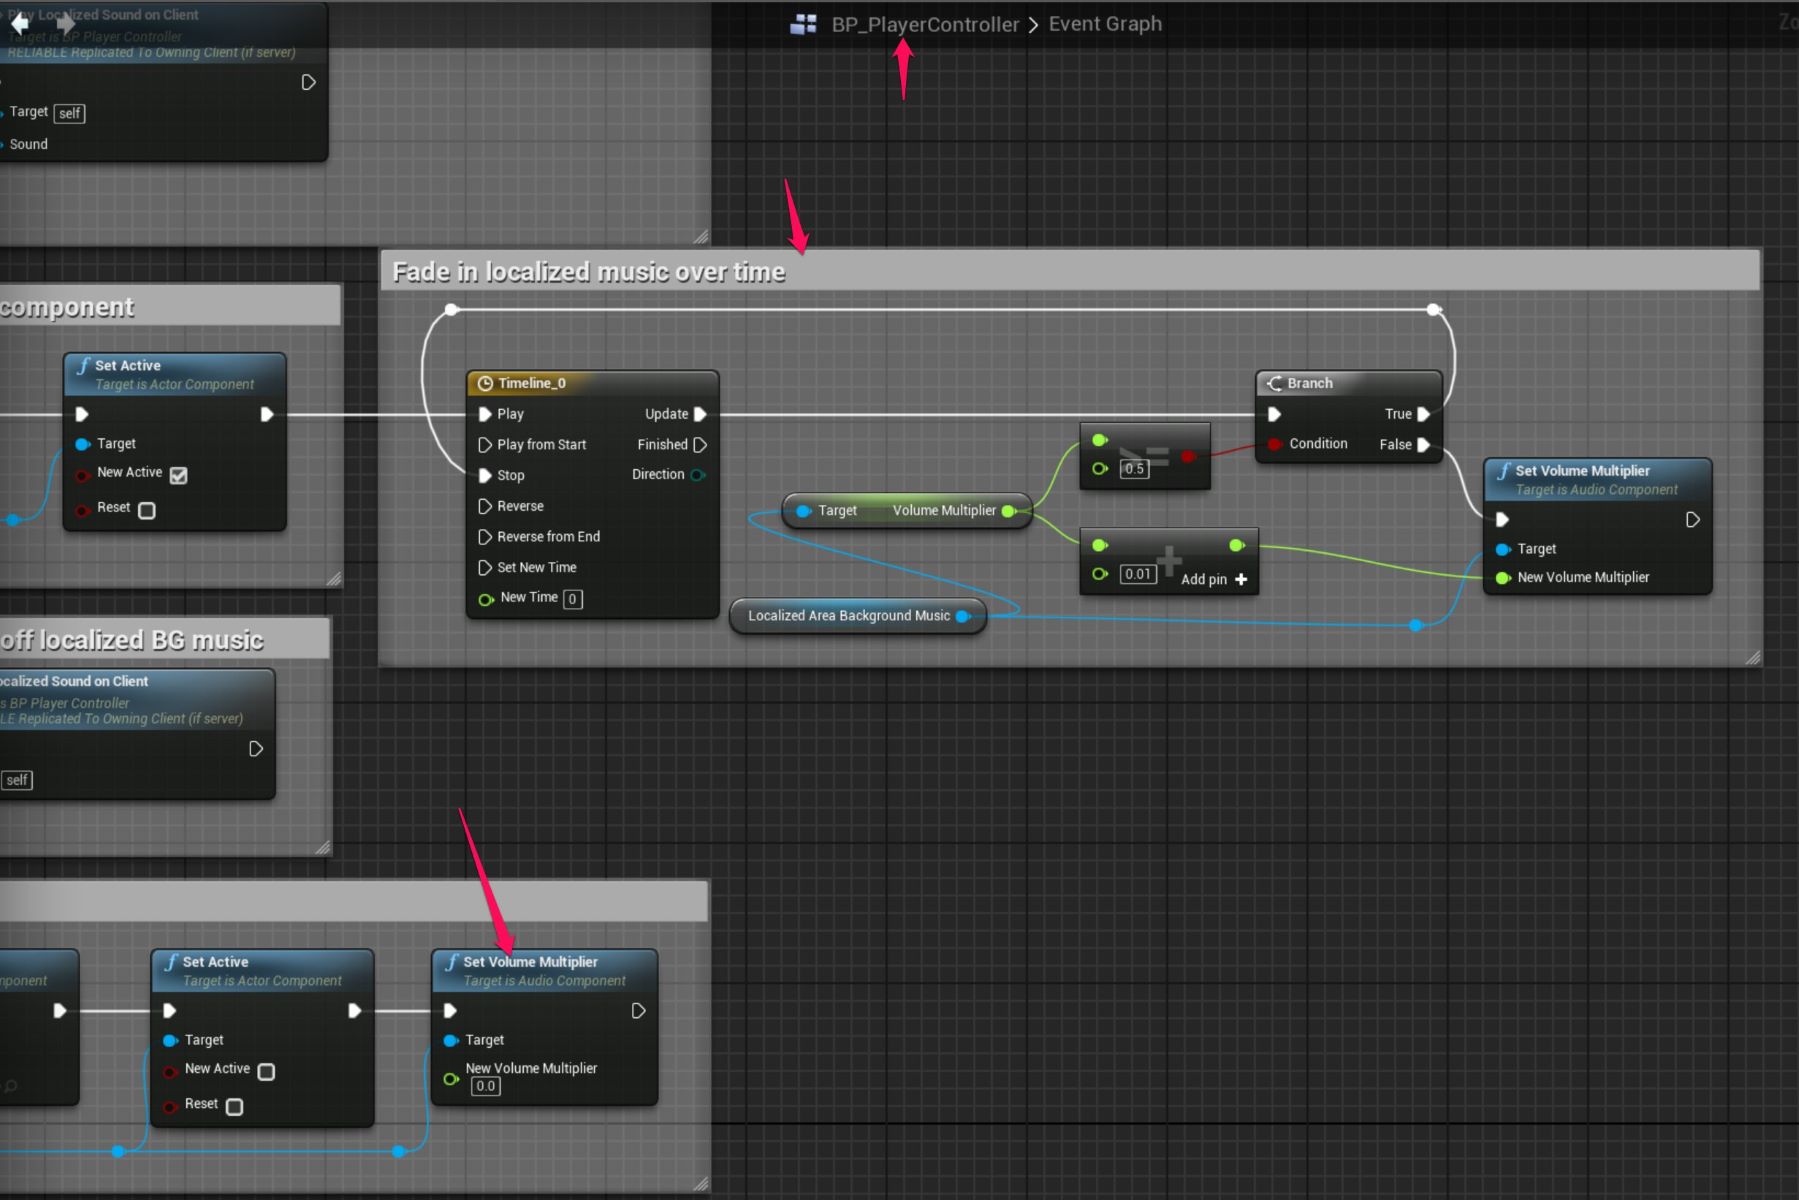
You can further customize the behavior of the background music by adding additional nodes and logic to the Blueprint graph. For example, you could create a condition to fade the music in or out based on certain gameplay events.
With the background music track set in the Blueprint graph, you’re ready to move on to the next step: testing the background music in your game.
Step 8: Testing the Background Music
After setting the background music track in the Blueprint graph, it’s important to test it to ensure that everything is working as intended. Testing the background music allows you to hear how it sounds in the context of your game and make any necessary adjustments before finalizing your project.
To test the background music, you can simply play your game within the Unreal Engine 4 Editor. Load the level or sequence where the background music is supposed to play and start the gameplay.
As you play your game, pay close attention to the timing and volume of the background music. Make sure it starts playing at the desired moment and that the volume levels are balanced with the other audio elements in the game.
If the background music doesn’t play or if it’s not behaving as expected, you may need to revisit the Blueprint graph and check for any potential issues. Double-check that the sound cue is properly connected to the event or trigger and that the sound cue’s settings are configured correctly.
Additionally, if you encounter any issues with the background music, Unreal Engine 4 provides robust debugging tools that can help you identify and resolve the problem. These tools include the ability to add breakpoints, watch variables, and step through the Blueprint graph for detailed troubleshooting.
Once you are satisfied with how the background music sounds and behaves during testing, you can consider it successfully integrated into your game.
Remember that testing and iterating on your game’s audio, including the background music, is an ongoing process. You may receive feedback from playtesters or notice areas for improvement as you continue to develop your game.
By regularly testing and refining your background music, you can ensure that it enhances the overall gameplay experience and contributes to the immersive atmosphere you desire.
Congratulations! You have successfully followed the steps to change the background music in Blueprint UE4. The knowledge you have gained will empower you to create dynamic and captivating audio experiences in your games. Now, go forth and unleash your creativity by crafting the perfect background music for your virtual worlds!
Conclusion
Changing the background music in Blueprint UE4 gives game developers the ability to create immersive and captivating experiences for players. By following the step-by-step process outlined in this article, you can easily replace or add background music to your game using Unreal Engine 4’s powerful Blueprint scripting system.
We began by launching UE4 and navigating to the Level Blueprint, where we opened the blueprint graph to make changes. Then, we found the background music track in the Content Browser and added a new sound cue to customize its playback settings. With the sound cue configured, we set the background music track in the Blueprint graph, connecting it to the appropriate nodes for playing the music. Finally, we tested the background music to ensure it worked as intended, making any necessary adjustments along the way.
Remember, the background music sets the tone and enhances the overall atmosphere of your game. Take the time to experiment with different audio effects, volume levels, and timing to create the desired emotional impact for your players.
As you continue to develop and refine your game, don’t be afraid to iterate on your background music. Adjustments and improvements based on player feedback and testing can make a significant difference in the overall player experience.
Unreal Engine 4 provides a wide range of audio tools and features, allowing you to dive deeper into audio manipulation and create truly unique and immersive soundscapes. Take advantage of these tools to craft an unforgettable audio experience that complements your game’s visuals and gameplay.
In conclusion, by leveraging the power of Blueprint UE4 and understanding the process of changing background music, you have the ability to create captivating and engaging audio experiences in your games. So, experiment, be creative, and let the background music transport your players into a world of excitement and emotion.