Home>Production & Technology>MP3>How To Change A M4A File To MP3

MP3
How To Change A M4A File To MP3
Modified: January 22, 2024
Learn how to easily convert your M4A files to MP3 format with this step-by-step guide. Enjoy your favorite music on any device hassle-free!
(Many of the links in this article redirect to a specific reviewed product. Your purchase of these products through affiliate links helps to generate commission for AudioLover.com, at no extra cost. Learn more)
Table of Contents
Introduction
In today’s digital age, music plays an essential role in our lives, allowing us to relax, unwind, and enjoy our favorite tunes. However, with different file formats available, it can sometimes be challenging to find the right format that is compatible with our devices or preferred media players.
One such file format is M4A, a widely used format for audio files that is popularized by Apple. Although M4A provides excellent audio quality and compression, it may not be compatible with all devices or media players. That’s where converting M4A files to the universally accepted MP3 format becomes essential.
Converting M4A files to MP3 allows for greater flexibility, as MP3 is recognized by a wide range of devices and media players, including smartphones, tablets, and PCs. Whether you’re looking to play your music on a different device or simply prefer the MP3 format, converting M4A files is a straightforward process that can be done in various ways.
In this article, we will explore different methods to convert M4A files to MP3. We will dive into online conversion tools, media player software, audio conversion software, and online audio converters, providing you with step-by-step guidance and essential tips along the way.
Understanding M4A and MP3 file formats
Before diving into the methods of converting M4A files to MP3, it’s essential to understand the differences between these two file formats.
M4A, which stands for MPEG-4 Audio Layer, is an audio file format developed by Apple. It offers high-quality audio compression, allowing for smaller file sizes while maintaining excellent audio clarity. M4A files are often associated with Apple’s iTunes and are commonly used for music purchased and downloaded from the iTunes Store.
On the other hand, MP3, short for MPEG-1 Audio Layer 3, is a widely supported audio format known for its high compatibility across devices and media players. MP3 files use lossy compression, which means that some audio quality is sacrificed to achieve smaller file sizes. Despite the slight loss in audio quality, MP3 files are preferred by many due to their versatility and wide compatibility.
Both M4A and MP3 formats have their advantages and disadvantages. M4A offers superior audio quality and smaller file sizes, but it may not be compatible with all devices or media players. MP3, on the other hand, sacrifices some audio quality for greater compatibility. Therefore, converting M4A files to MP3 becomes essential when you need your audio files to be playable on various devices and media players.
It’s important to note that converting M4A to MP3 is a lossy process, meaning that there will be a slight degradation in audio quality. However, the difference is often negligible to the average listener, making the trade-off worth it for the increased compatibility.
Now that we have a clear understanding of M4A and MP3 file formats, let’s explore the different methods you can use to convert your M4A files to MP3.
Reasons for converting M4A to MP3
Converting M4A files to MP3 offers several benefits, making it a common practice for many music enthusiasts. Here are some of the main reasons why you might consider converting your M4A files to MP3:
- Compatibility: As mentioned earlier, MP3 is widely supported by various devices, operating systems, and media players. By converting your M4A files to MP3, you ensure that your music can be played seamlessly on different platforms without any compatibility issues.
- Device compatibility: Some devices, particularly older ones or those from non-Apple manufacturers, may have limited support for M4A files. By converting your M4A files to MP3, you can ensure that your music can be enjoyed on a wider range of devices, including smartphones, tablets, MP3 players, and even car audio systems.
- Portability: MP3 files have smaller file sizes compared to M4A files while maintaining a decent audio quality. This makes MP3 a more portable format, allowing you to store more songs on your devices or external storage without taking up too much space.
- Broad media player support: MP3 files can be easily played on popular media player software such as Windows Media Player, VLC Media Player, iTunes, and many others. Converting your M4A files to MP3 ensures that you can enjoy your music on your preferred media player without any hassle.
- Reduced data usage: If you frequently listen to music via streaming services or upload your music to the cloud, converting your M4A files to MP3 can help reduce your data usage. MP3 files have smaller sizes, meaning less data is consumed when streaming or transferring your music files.
By converting M4A to MP3, you can overcome compatibility limitations, enjoy your music on a wider range of devices, save storage space, and reduce data usage. Now that we understand the benefits of converting, let’s explore the different methods you can use to convert your M4A files to MP3.
Method 1: Using online conversion tools
If you’re looking for a quick and convenient way to convert your M4A files to MP3 without installing any additional software, online conversion tools are a great option. These tools allow you to upload your M4A files and convert them to MP3 format directly from your web browser. Here’s how you can use online conversion tools:
- Select a reliable online conversion tool: There are several online conversion tools available, so it’s important to choose a reputable and trustworthy one. Look for tools that have positive user reviews and support both M4A to MP3 conversion.
- Upload your M4A file: Once you’ve chosen an online conversion tool, navigate to the website. You’ll typically find an option to upload your M4A file. Click on the “Upload” or “Choose File” button and select the M4A file you want to convert.
- Select MP3 as the output format: After uploading your M4A file, the online tool will provide options for selecting the output format. Choose MP3 as the desired format for conversion.
- Convert and download: Once you’ve selected MP3 as the output format, click on the “Convert” or “Start” button to initiate the conversion process. The online tool will convert your M4A file to MP3 format. Once the conversion is complete, you’ll be provided with a download link for the converted MP3 file.
- Save the MP3 file: Click on the download link to save the converted MP3 file to your computer. You can choose a destination folder where you’d like to save the file for easier access later.
Using online conversion tools is a convenient option, especially if you don’t want to install additional software on your computer. However, it’s important to keep in mind that the speed and quality of conversion may vary depending on the online tool and your internet connection stability. Additionally, ensure that you are cautious when using online tools and only choose reputable websites to protect your files and personal information.
Now that you know how to convert your M4A files to MP3 using online conversion tools, let’s explore another method using media player software.
Method 2: Converting with media player software
If you have media player software installed on your computer, such as iTunes or Windows Media Player, you can use these programs to convert your M4A files to MP3. Here’s how you can convert M4A to MP3 using media player software:
- Open your media player: Launch your preferred media player software on your computer. For instance, if you’re using iTunes, open the application.
- Import your M4A files: Navigate to the “File” or “Library” menu and select “Add File to Library” or a similar option. Browse for the M4A files you want to convert and select them.
- Choose the output format: Once you’ve imported your M4A files, go to the “Preferences” or “Settings” menu. Look for an option related to the import settings or audio format. Within this menu, select MP3 as the output format for your conversions.
- Convert your files: After selecting the output format, you can proceed to convert your M4A files to MP3. Depending on the software, you may find a “Convert” or “Burn” option. Click on it to start the conversion process. The media player software will convert your M4A files to MP3 format.
- Locate the converted files: Once the conversion is complete, the converted MP3 files will be saved in a designated folder, as specified in the media player software’s settings. You can navigate to this folder to access and use your newly converted MP3 files.
Converting M4A files to MP3 using media player software is a straightforward process. However, please note that the specific steps may vary slightly depending on the software you’re using. It’s always a good practice to consult the software’s user manual or help documentation if you’re unsure about any features or settings.
Now that you’re familiar with converting with media player software, let’s explore another method using dedicated audio conversion software.
Method 3: Converting with audio conversion software
If you prefer more advanced control and customization options, using dedicated audio conversion software is ideal for converting your M4A files to MP3. These software programs offer a wide range of features and settings to tailor the conversion process to your specific needs. Here’s how you can convert M4A to MP3 using audio conversion software:
- Choose audio conversion software: Research and select an audio conversion software that suits your requirements. Some popular options include Freemake Audio Converter, dBpoweramp, and Format Factory.
- Install and launch the software: After downloading the audio conversion software, install it on your computer and launch the program.
- Import your M4A files: Locate the option to import files within the software. This is usually labeled as “Add Files” or a similar term. Browse for the M4A files you want to convert and select them.
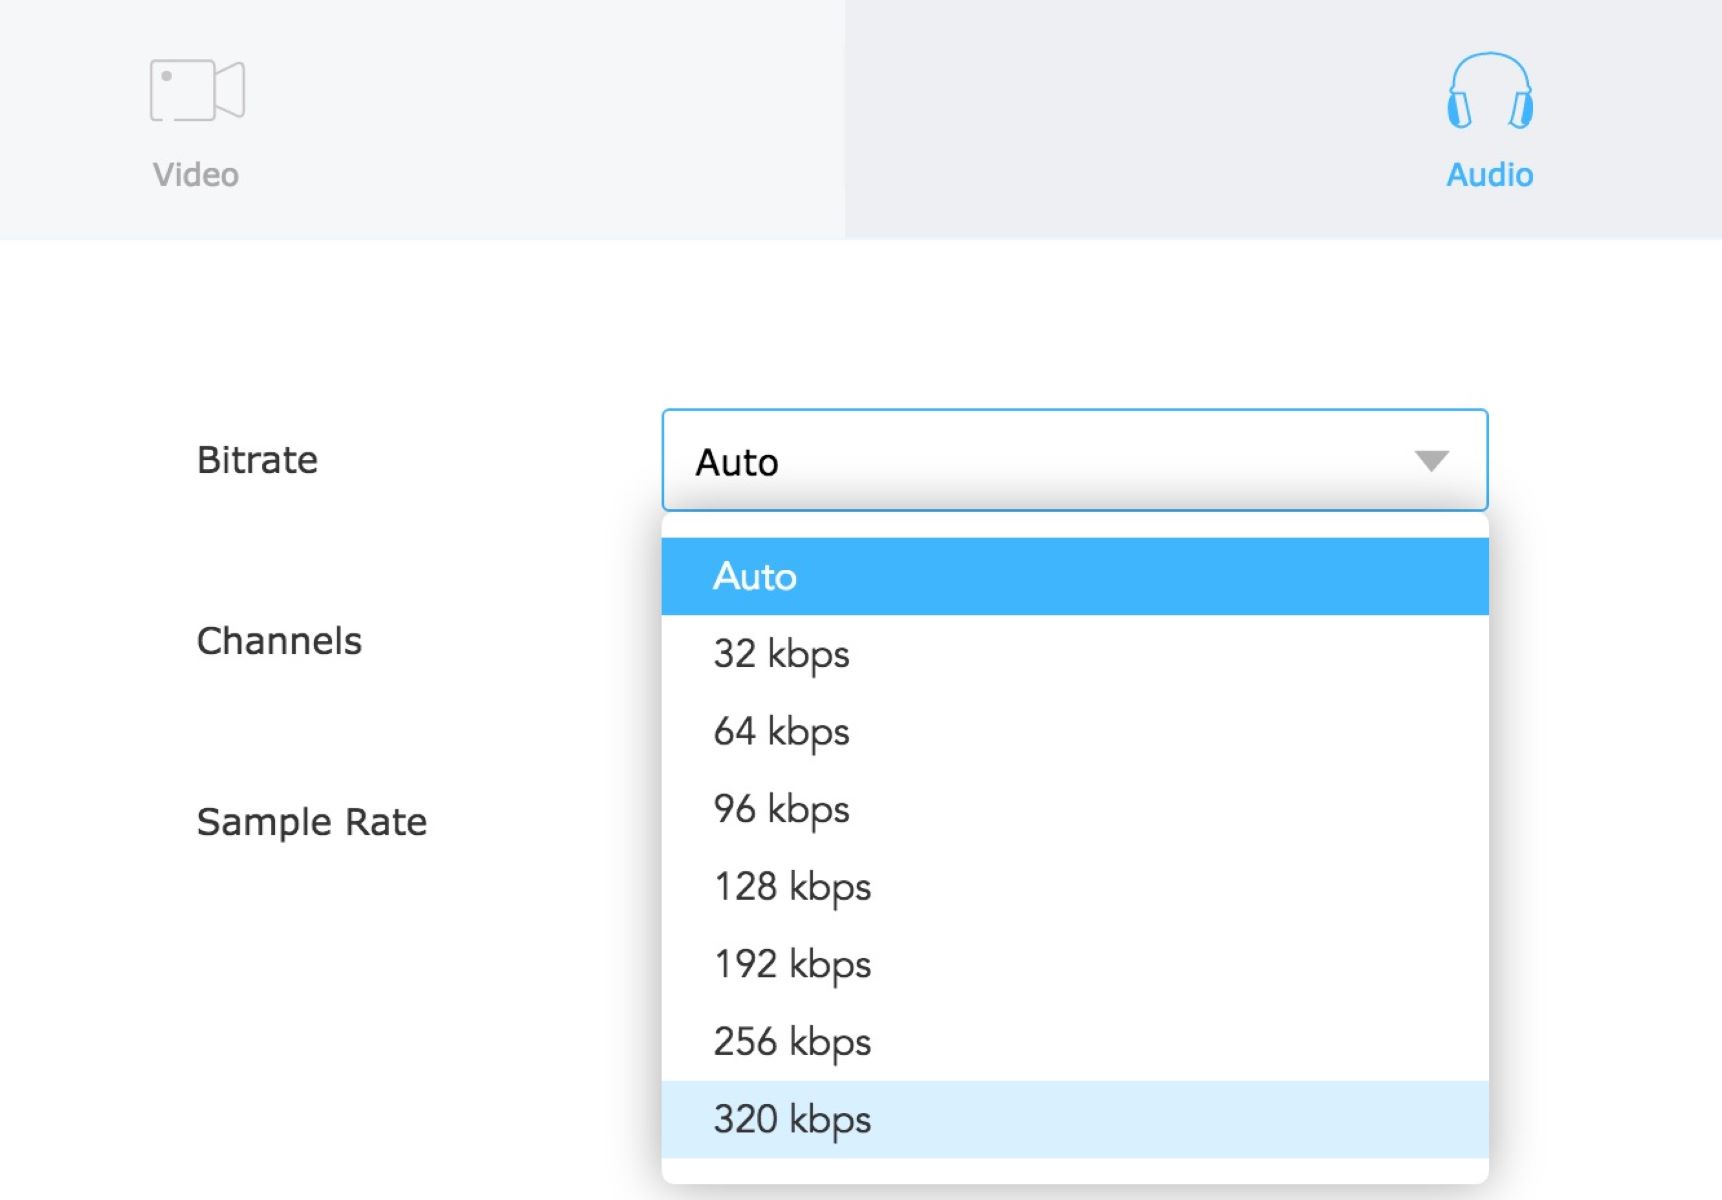
- Choose the output format and settings: Look for the output format or conversion settings within the software. Select MP3 as the desired output format. Additionally, you may have the option to customize various settings such as bitrate, sample rate, and more for the converted files.
- Start the conversion: Once you have chosen the output format and adjusted any desired settings, you can proceed to start the conversion process. Look for a “Convert” or “Start” button to initiate the conversion. The audio conversion software will begin converting your M4A files to MP3.
- Save the converted files: Once the conversion is complete, the software will provide options for saving the converted MP3 files. Choose a destination folder where you want to save the files for easy access.
Using dedicated audio conversion software gives you more control over the conversion process and allows for customization based on your preferences. You can adjust various settings to enhance the audio quality or adjust the file size as per your requirements.
Remember to explore the features and settings of the audio conversion software you choose, as they may offer additional options to optimize the conversion process. Additionally, consider the system requirements of the software to ensure compatibility with your computer.
Now that you’re familiar with converting with audio conversion software, let’s move on to the next method using online audio converters.
Method 4: Using online audio converters
If you prefer the convenience of online tools but want more control over the conversion process than generic online conversion tools, using online audio converters is a great option. These platforms are specifically designed for audio conversion and offer a range of advanced features. Here’s how you can convert M4A to MP3 using online audio converters:
- Select a reputable online audio converter: Look for online audio converters that specialize in converting M4A files to MP3. Ensure that the platform is trustworthy, has positive user reviews, and provides the features and options you require for your conversion needs.
- Upload your M4A files: Once you’ve chosen an online audio converter, visit the website and locate the option to upload or import your M4A files. Click on the “Upload” or “Choose File/S” button and select the M4A files you want to convert.
- Customize conversion settings: Many online audio converters allow you to customize various settings for the conversion process. This can include selecting the output format (MP3), adjusting bitrate, bitrate mode, sample rate, and more. Explore the options available and configure the settings according to your preferences.
- Start the conversion: Once you’ve uploaded your M4A files and customized the settings, you can initiate the conversion process. Look for a “Convert” or “Start” button on the website. Click on it to begin the conversion process.
- Download the converted MP3 files: After the conversion is complete, the online audio converter will provide a download link for the converted MP3 files. Click on the link to save the files to your computer. Choose a location for the files that is easily accessible for future use.
Online audio converters offer the convenience of online tools with added features and customization options specifically for audio conversion. However, keep in mind that the performance and capabilities of online audio converters may vary depending on the platform and your internet connection stability.
Please exercise caution when using online tools and ensure that you select reputable and secure websites to protect your files and personal information.
Now that you know the different methods to convert M4A to MP3 using online audio converters, it’s time to summarize and conclude.
Conclusion
Converting M4A files to MP3 is a necessary step for ensuring compatibility and flexibility with different devices and media players. Whether you choose to use online conversion tools, media player software, dedicated audio conversion software, or online audio converters, the process is relatively straightforward and accessible.
Online conversion tools provide a quick and convenient solution without the need for additional software installations. Media player software, such as iTunes or Windows Media Player, offers a simple method for converting M4A files to MP3 directly within the program. Dedicated audio conversion software gives you advanced control and customization options, allowing you to tailor the conversion process to your specific needs. Online audio converters combine the convenience of online tools with specific features for audio conversion.
Consider factors such as your level of control, customization requirements, and convenience when choosing the method that best suits your preferences.
Remember, converting M4A to MP3 is a lossy process, meaning there may be a slight degradation in audio quality. However, for most listeners, the difference is barely noticeable, making the trade-off worthwhile for improved compatibility.
By converting your M4A files to MP3 format, you gain compatibility across a wide range of devices, media players, and streaming platforms. You can enjoy your favorite music wherever you go with reduced data usage and increased portability.
Whether you use online conversion tools for quick conversions or opt for dedicated software for more customization options, converting M4A to MP3 opens up a world of possibilities for enjoying your music collection.
Now that you have a better understanding of the different methods available, it’s time to choose the one that best fits your needs and get started on converting your M4A files to MP3 format.