Home>Production & Technology>Background Music>How To Add Background Music To A Muse Website
Background Music
How To Add Background Music To A Muse Website
Modified: January 22, 2024
Learn how to add background music to your Muse website effortlessly with our step-by-step guide. Enhance the overall user experience and make your site more engaging.
(Many of the links in this article redirect to a specific reviewed product. Your purchase of these products through affiliate links helps to generate commission for AudioLover.com, at no extra cost. Learn more)
Table of Contents
Introduction
In today’s digital world, incorporating background music into a website has become a popular way to enhance user experience and create a memorable ambiance. Whether you have a personal blog, an online portfolio, or a business website, adding background music can help engage visitors and set the desired mood.
However, knowing how to add background music to a website can be a challenging task, especially if you are not familiar with web development. Fortunately, if you are using Adobe Muse to design your website, the process becomes much simpler. Muse offers easy-to-use and intuitive features that allow you to incorporate background music seamlessly.
In this article, we will guide you through the steps of adding background music to your Muse website. By the end, you will have a website that not only looks great but also sounds great.
Before we dive into the technical details, it’s important to consider a few factors when selecting the right background music for your website. The choice of music should align with the overall theme, purpose, and target audience of your website. It should complement the content and create a pleasant and immersive experience for visitors.
Additionally, it’s essential to ensure that the music you use is royalty-free or properly licensed to avoid any copyright infringements. There are numerous websites and libraries that offer a wide range of royalty-free music, allowing you to find the perfect sound that matches your website’s vibe.
Now that we have covered the basics, let’s dig into the step-by-step process of adding background music to your Muse website.
Step 1: Choose the Right Background Music
The first step in adding background music to your Muse website is selecting the perfect soundtrack that will enhance the overall user experience and complement your website’s theme. Here are a few tips to help you choose the right background music:
- Consider the Purpose: Think about the purpose of your website. Is it a portfolio showcasing your photography skills? A blog with informative articles? Or perhaps an e-commerce site selling handmade products? The purpose of your website will guide your choice of background music. For example, if your website is for a relaxing spa, soothing and calming music may be appropriate. For an energetic fitness website, upbeat and motivational tracks could be a better fit.
- Evoke the Right Emotions: Think about the emotions you want your visitors to feel while exploring your website. Do you want to create a sense of excitement, relaxation, or nostalgia? Choose music that can evoke those emotions in your audience. For instance, if your website is about travel, you may want to use uplifting and adventurous tunes that evoke a sense of wanderlust.
- Think About Your Target Audience: Consider the demographics and preferences of your target audience. Are they young and energetic? Do they appreciate classical music? Understanding your audience’s musical tastes will help you narrow down your selection and create a more personalized experience.
- Avoid Distracting Music: While background music can enhance a website, it should never overpower or distract from the main content. Choose music that is subtle and blends well with the overall design and purpose of your website. Avoid tracks that are too loud, repetitive, or have sudden changes in rhythm, as this may cause irritation or distraction.
- Use Royalty-Free Music: To avoid any legal issues, it is crucial to use royalty-free music or properly licensed tracks. There are various online platforms that offer a wide range of royalty-free music, allowing you to find the perfect soundtrack without worrying about copyright infringements.
By taking these factors into consideration, you can select background music that adds value to your website and creates a captivating atmosphere for your visitors.
Step 2: Prepare the Music Files
Once you have chosen the perfect background music for your Muse website, the next step is to prepare the music files for uploading. Here are the necessary steps to get your music files ready:
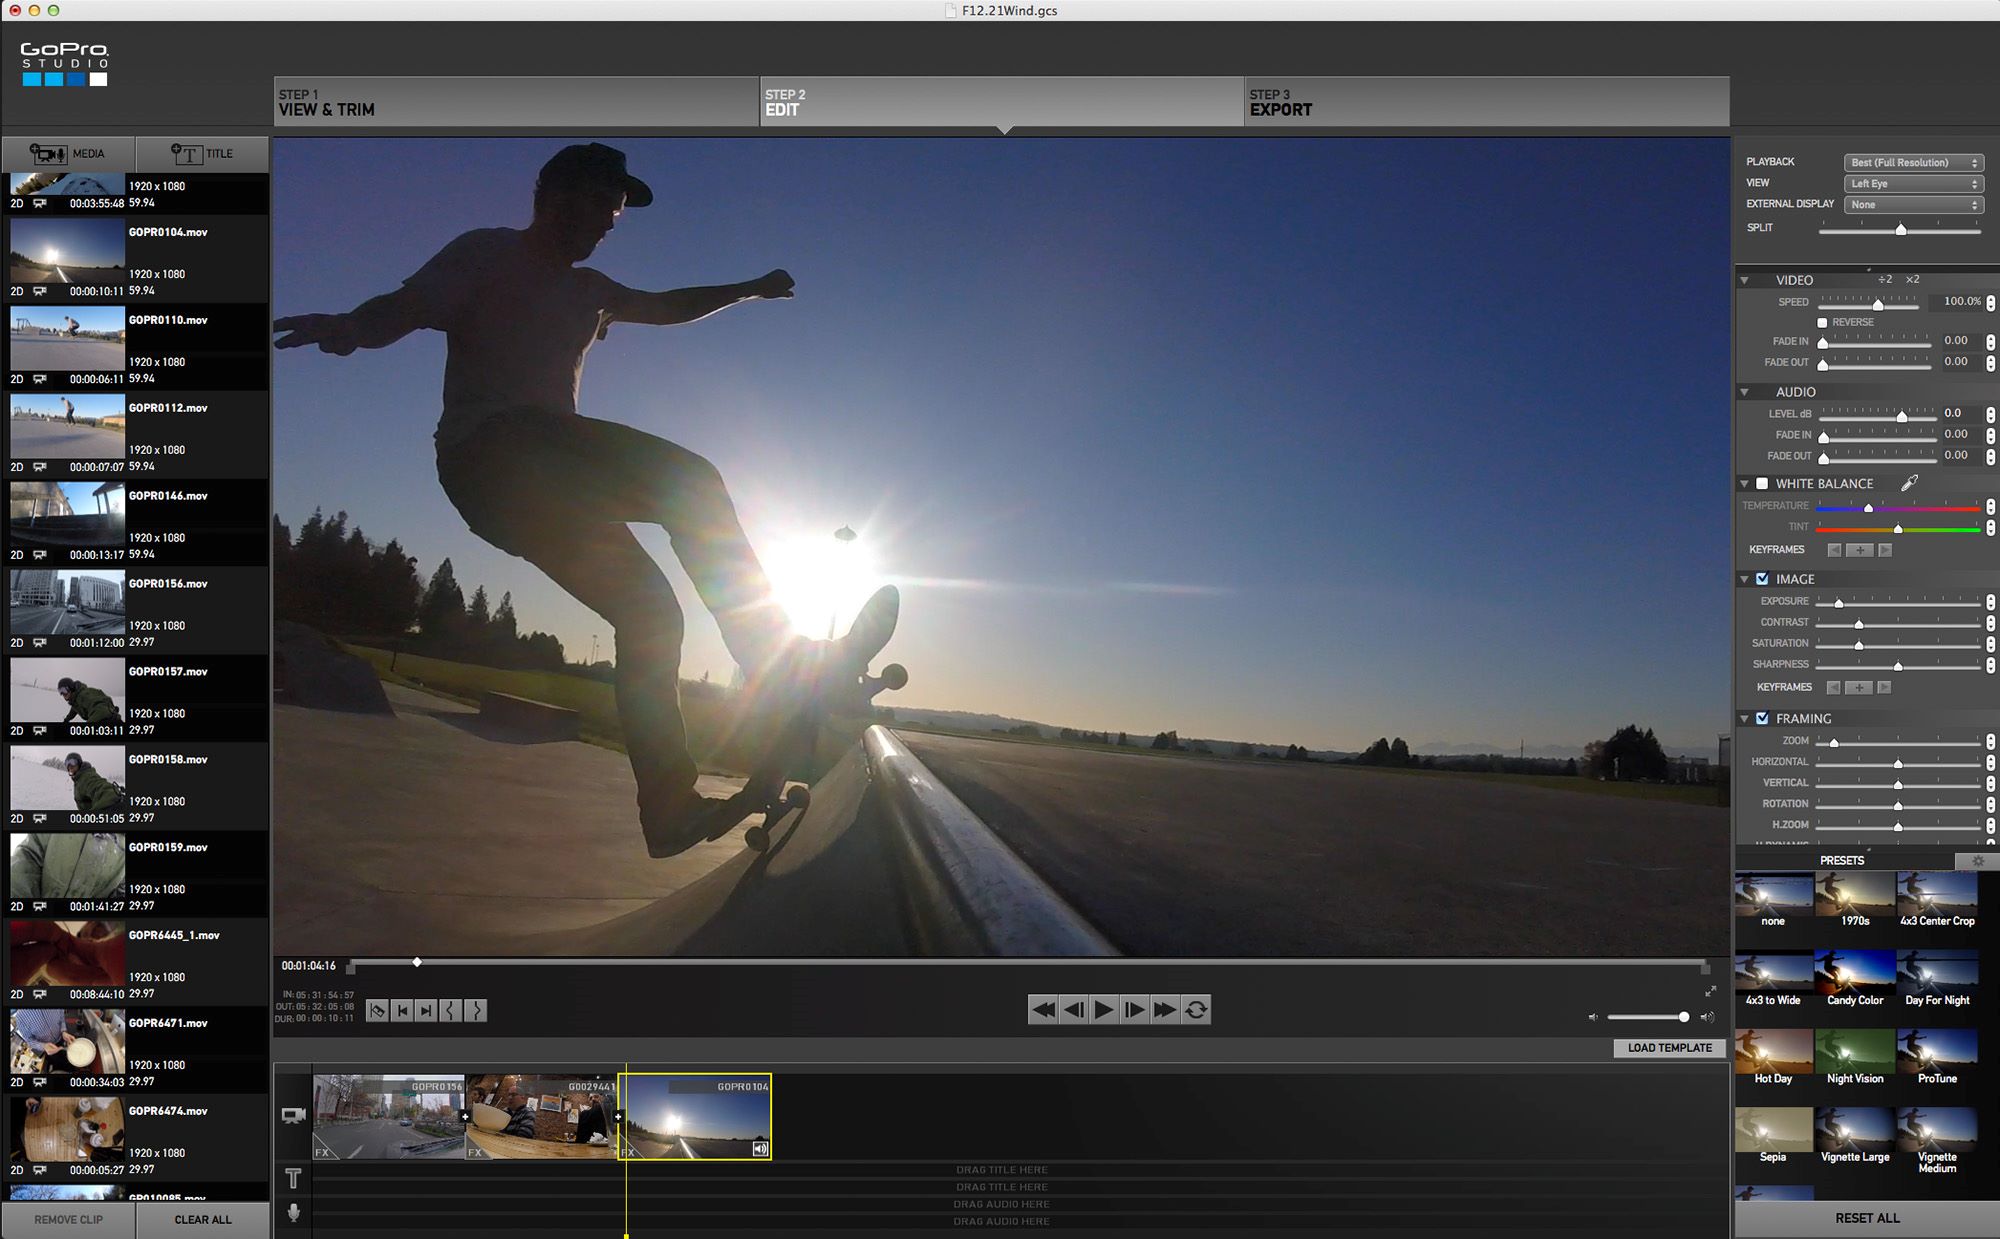
- Trim or Edit the Music: If necessary, you may want to trim or edit the music files to ensure they fit seamlessly into your website. You can use audio editing software like Audacity or GarageBand to make any necessary adjustments, such as shortening the duration or fading in and out the music smoothly.
- Convert to Web-Friendly Format: It’s important to convert your music files to a web-friendly format, such as MP3 or AAC. These formats are widely supported and ensure compatibility with different browsers and devices. There are various online tools and software programs available that can help you convert your music files if needed.
- Optimize File Size: To ensure faster loading times for your website, it’s important to optimize the file size of your music files. Use compression tools or settings to reduce the file size without compromising the audio quality. This will help improve the overall performance of your website.
- Organize Your Music Files: It’s a good idea to organize your music files in a separate folder on your computer. Create a dedicated folder for your background music and store all the converted files in this location. This will make it easier to upload and manage the files when integrating them into your Muse website.
By following these steps, you will have your background music files ready for the next stage of the process. Preparation is key to ensure a smooth and hassle-free integration of the music into your Muse website.
Step 3: Upload Music Files to Your Muse Website
Now that you have prepared your background music files, it’s time to upload them to your Muse website. Follow these steps to upload the music files:
- Open Your Muse Project: Launch Adobe Muse and open the project where you want to add the background music.
- Access the Assets Panel: In Adobe Muse, go to the “Assets” panel, usually located on the right-hand side of the interface. If the panel is not visible, you can enable it by going to “Window” > “Assets”.
- Upload the Music Files: Within the “Assets” panel, click on the “Upload” button to upload the music files. Locate the folder where you have stored the converted and optimized music files, select them, and click “Open” to start the uploading process.
- Verify Successful Upload: Once the upload is complete, you should see the music files listed in the “Assets” panel. They are now ready to be integrated into your website.
By following these steps, you have successfully uploaded your background music files to your Muse project. You can now proceed to the next step of embedding the music player into your website.
Step 4: Embed the Background Music Player
After uploading the music files to your Muse project, the next step is to embed a background music player on your website. Here’s how you can do it:
- Select a Music Player Widget: In Adobe Muse, navigate to the “Widgets” panel, typically located on the right-hand side of the interface. Look for a widget that supports background music playback. There are various options available, including dedicated audio player widgets or general HTML embed widgets that can be customized for this purpose.
- Drag and Drop the Widget: Once you have decided on a suitable music player widget, simply drag and drop it onto the desired page or location of your Muse website.
- Customize the Music Player: With the music player widget selected, you can now customize its appearance and behavior according to your preferences. This may include selecting a skin or template, adjusting the size, and choosing playback controls.
- Add the Music Files: Within the widget settings, you will find an option to specify the music files to be played. Choose the uploaded music files from the “Assets” panel and assign them to the music player widget.
Once you have completed these steps, the background music player will be embedded in your Muse website, ready to play the selected music files. You can further fine-tune the player settings to control aspects such as autoplay, loop, and volume.
It’s important to preview and test the music player functionality within Muse to ensure that it works as expected and seamlessly integrates with your website design. Make any necessary adjustments and refinements until you are satisfied with the overall experience.
Now that you have successfully embedded the background music player, let’s move on to the next step: customizing the music player to match the style and design of your Muse website.
Step 5: Customize the Music Player
Now that you have embedded a background music player on your Muse website, it’s time to customize its appearance and behavior to match your website’s style and design. Follow these steps to customize the music player:
- Select the Music Player Widget: In Adobe Muse, locate the music player widget that you have added to your website. Click on it to select it.
- Access the Widget Options: Look for the options or settings panel associated with the music player widget. This panel will allow you to customize various aspects of the player.
- Choose a Skin or Template: Many music player widgets come with pre-designed skins or templates that you can choose from. Select a skin that matches the overall design aesthetic of your website or customize it to create a unique look.
- Adjust the Size and Position: In the widget options, you will typically find settings to adjust the size and position of the music player on your website. Experiment with different sizes and positions to find the optimal placement that complements your website’s layout.
- Modify Playback Controls: Customize the playback controls to suit your needs. You may have options to include play, pause, next, previous, volume control, and other relevant buttons. Consider the user experience and choose the necessary controls accordingly.
- Apply Styling and Colors: Depending on the widget, you may have options to change the colors and styling of the music player. Match the colors to your website’s color scheme or brand identity to create a cohesive look.
Take the time to preview and test the customized music player within Muse to ensure that it blends seamlessly with your website. Make any necessary adjustments until you are satisfied with the visual and functional aspects of the player.
Remember, the goal is to create a music player that enhances the user experience and complements the overall design of your Muse website. By customizing the music player, you can add a personal touch and create a cohesive and immersive musical experience for your visitors.
Now that you have customized the music player, it’s time for the final step: testing and publishing your Muse website with the background music incorporated.
Step 6: Test and Publish Your Website
Once you have added background music and customized the music player on your Muse website, it’s crucial to thoroughly test its functionality and ensure a seamless user experience. Follow these steps to test and publish your website:
- Preview Your Website: Use the preview mode in Adobe Muse to view your website and test the background music player. Make sure that the music starts playing as expected, the controls work correctly, and the overall performance is smooth.
- Test on Different Devices and Browsers: It’s essential to test your website and music player on different devices and browsers to ensure compatibility and a consistent experience. Check how the music player behaves on desktops, laptops, tablets, and smartphones. Also, test it across various popular web browsers, including Chrome, Firefox, Safari, and Edge.
- Check Load Times: Assess the loading time of your website, particularly with the background music player. Optimize any elements that may impact loading speeds to ensure a fast and seamless user experience.
- Review User Experience: Put yourself in the shoes of your website visitors and navigate through your site. Consider factors such as the volume level of the background music, its impact on other website content, and the overall user experience. Make any necessary adjustments to optimize the user’s interaction with the music player.
- Publish Your Website: Once you are satisfied with the testing results, it’s time to publish your Muse website and make it live for the world to see. Explore the different publishing options available within Adobe Muse, such as exporting your site as HTML or uploading it directly to a hosting platform.
After publishing your website, take the time to periodically monitor user feedback and evaluate the performance of the background music player. If needed, make any tweaks or updates to ensure it continues to enhance the overall user experience.
Remember, the addition of background music should be a thoughtful and intentional choice that complements your website’s content and engages your visitors. By testing and fine-tuning the music player, you can provide an immersive and enjoyable experience for anyone who explores your Muse website.
Congratulations! You have successfully gone through the steps of adding background music to your Muse website. Now sit back and enjoy the harmonious blend of visuals and music on your beautifully designed website.
Conclusion
Adding background music to your Muse website can elevate the overall user experience and create a memorable ambiance. By following the steps outlined in this guide, you can seamlessly incorporate background music into your website design.
Remember, when choosing background music, consider the purpose of your website, evoke the right emotions, and think about your target audience. Additionally, ensure that the music is royalty-free or properly licensed to avoid any copyright issues.
Once you have selected the right music, prepare the files by trimming or editing them and converting them into a web-friendly format. Organize the files in a dedicated folder to simplify the uploading process.
To upload the music files, open your Muse project and use the Assets panel to upload the files. Verify the successful upload to proceed to the next step.
Embed a background music player widget to your website and customize its appearance and behavior. Choose a suitable skin or template, adjust the size and position, modify the playback controls, and apply styling and colors that match your website’s design.
After customizing the music player, thoroughly test its functionality and user experience. Preview your website, test it on different devices and browsers, check the load times, and review the overall user experience to ensure a seamless integration of the background music.
Once you are satisfied with the testing, publish your Muse website and make it live for the world to see. Continuously monitor and evaluate the performance of the background music player, making any necessary adjustments to maintain an optimal user experience.
By following these steps, you can create a website that not only looks visually stunning but also sounds incredible with the addition of background music. So, get creative, choose the perfect soundtrack, and take your Muse website to the next level!