Home>Instruments>Drums>How To Remove Drums From Songs Using Audacity
Drums
How To Remove Drums From Songs Using Audacity
Published: February 7, 2024
Learn how to remove drums from songs using Audacity with our step-by-step guide. Easily isolate vocals and other instruments to create custom mixes.
(Many of the links in this article redirect to a specific reviewed product. Your purchase of these products through affiliate links helps to generate commission for AudioLover.com, at no extra cost. Learn more)
Table of Contents
Introduction
Introduction
Audacity is a powerful and versatile audio editing software that allows users to manipulate and enhance sound recordings with ease. One of the most sought-after features of Audacity is its capability to remove specific elements from a song, such as vocals or drums. In this article, we will delve into the process of removing drums from songs using Audacity, providing a comprehensive guide for both beginners and experienced users.
Drums are a fundamental component of many songs, providing rhythm and energy to the music. However, there are occasions when you may want to extract or eliminate the drum track from a song. This could be for a variety of reasons, such as creating a karaoke version of a song, remixing the track, or simply analyzing the other elements of the music without the influence of the drums.
By utilizing Audacity's array of tools and functions, you can effectively isolate and remove the drum track from a song while maintaining the integrity of the other audio elements. Whether you are a musician, audio engineer, or simply an enthusiast looking to explore the capabilities of Audacity, the following guide will equip you with the knowledge and techniques to accomplish this task seamlessly.
Throughout this tutorial, we will explore the step-by-step process of importing a song into Audacity, isolating the drum track, removing the drum elements, and fine-tuning the edits to ensure a polished result. Additionally, we will discuss the various considerations and potential challenges that may arise during the process, offering solutions and tips to overcome them.
With the guidance provided in this article, you will gain a deeper understanding of how to harness the power of Audacity to manipulate audio recordings, ultimately enabling you to unleash your creativity and achieve professional-quality results in your music projects. Whether you are a musician, content creator, or audio enthusiast, the ability to remove drums from songs using Audacity opens up a world of possibilities for enhancing and customizing your audio content.
Understanding Audacity
Understanding Audacity
Before delving into the process of removing drums from songs using Audacity, it is essential to have a foundational understanding of the software itself. Audacity is a free, open-source audio editing platform that is renowned for its user-friendly interface and robust set of features. It is compatible with multiple operating systems, including Windows, macOS, and Linux, making it accessible to a wide range of users.
Upon launching Audacity, users are greeted with a clean and intuitive workspace, where they can import, record, and edit audio files with precision. The software supports various audio formats, allowing seamless integration with existing music libraries. Its comprehensive set of editing tools enables users to manipulate audio tracks, apply effects, and perform advanced tasks such as removing specific elements from a recording.
Key features of Audacity include the ability to visualize audio waveforms, apply precise cuts and edits, adjust volume levels, and remove background noise. Additionally, Audacity offers a range of effects and filters that can be applied to enhance the audio quality and achieve specific creative outcomes.
Understanding the layout and functionality of Audacity’s interface is crucial for successfully navigating the process of removing drums from songs. Familiarizing yourself with the various menus, toolbars, and editing options will streamline your workflow and empower you to achieve the desired results efficiently.
Furthermore, Audacity boasts a supportive community and extensive documentation, making it an ideal platform for both beginners and experienced audio editors. The availability of tutorials, forums, and user guides ensures that assistance is readily accessible, allowing users to expand their knowledge and proficiency in audio editing.
As we proceed with the guide, we will leverage Audacity’s capabilities to isolate and remove the drum track from a song, showcasing the software’s versatility and effectiveness in addressing specific audio editing requirements. By harnessing the potential of Audacity, users can exercise precise control over their audio projects and unlock a myriad of creative possibilities.
Importing the Song
Importing the Song
Before embarking on the process of removing drums from a song using Audacity, the initial step involves importing the desired audio track into the software. Audacity offers a straightforward and user-friendly method for importing songs, allowing users to seamlessly access and manipulate their audio files.
To import a song into Audacity, begin by launching the software and navigating to the “File” menu located at the top of the interface. From the dropdown menu, select the “Import” option, followed by “Audio.” This action prompts a file browser window to appear, enabling you to locate and select the desired song from your computer’s storage.
Once the song is selected, click “Open” to import it into Audacity. The software will then display the audio waveform of the imported song within the main editing window, providing a visual representation of the sound frequencies and amplitude over time. This waveform visualization serves as a valuable reference for identifying the drum track and making precise edits to the audio.
It is important to note that Audacity supports a wide range of audio formats, including MP3, WAV, AIFF, and FLAC, ensuring compatibility with various music files. This versatility allows users to work with their preferred file types and seamlessly integrate their existing music library into the editing process.
Upon successfully importing the song, users can proceed to the next phase of isolating and removing the drum track, leveraging Audacity’s array of tools and functions to achieve the desired outcome. The seamless import process sets the stage for efficient and focused editing, laying the groundwork for the subsequent steps in the drum removal process.
With the song now imported into Audacity, we are poised to explore the techniques for isolating the drum track and initiating the removal process, delving into the intricacies of audio editing to achieve a polished and professional result.
Isolating the Drum Track
Isolating the Drum Track
Once the song is imported into Audacity, the next crucial step in the process of removing drums from the audio track involves isolating the drum track itself. Audacity provides a range of tools and techniques that enable users to identify and extract specific elements from the song, facilitating precise editing and manipulation.
To begin isolating the drum track, it is essential to visually inspect the audio waveform displayed in Audacity. The drum track typically exhibits distinctive waveform patterns characterized by sharp transients and consistent rhythmic structures. By closely examining the waveform, users can identify the segments corresponding to the drum elements within the song.
One effective method for isolating the drum track involves utilizing Audacity’s “Equalization” tool to accentuate the frequency range associated with the drums. By applying a targeted EQ curve that enhances the frequencies typically present in drum sounds, users can emphasize and isolate the drum track, making it more discernible amidst the other audio elements.
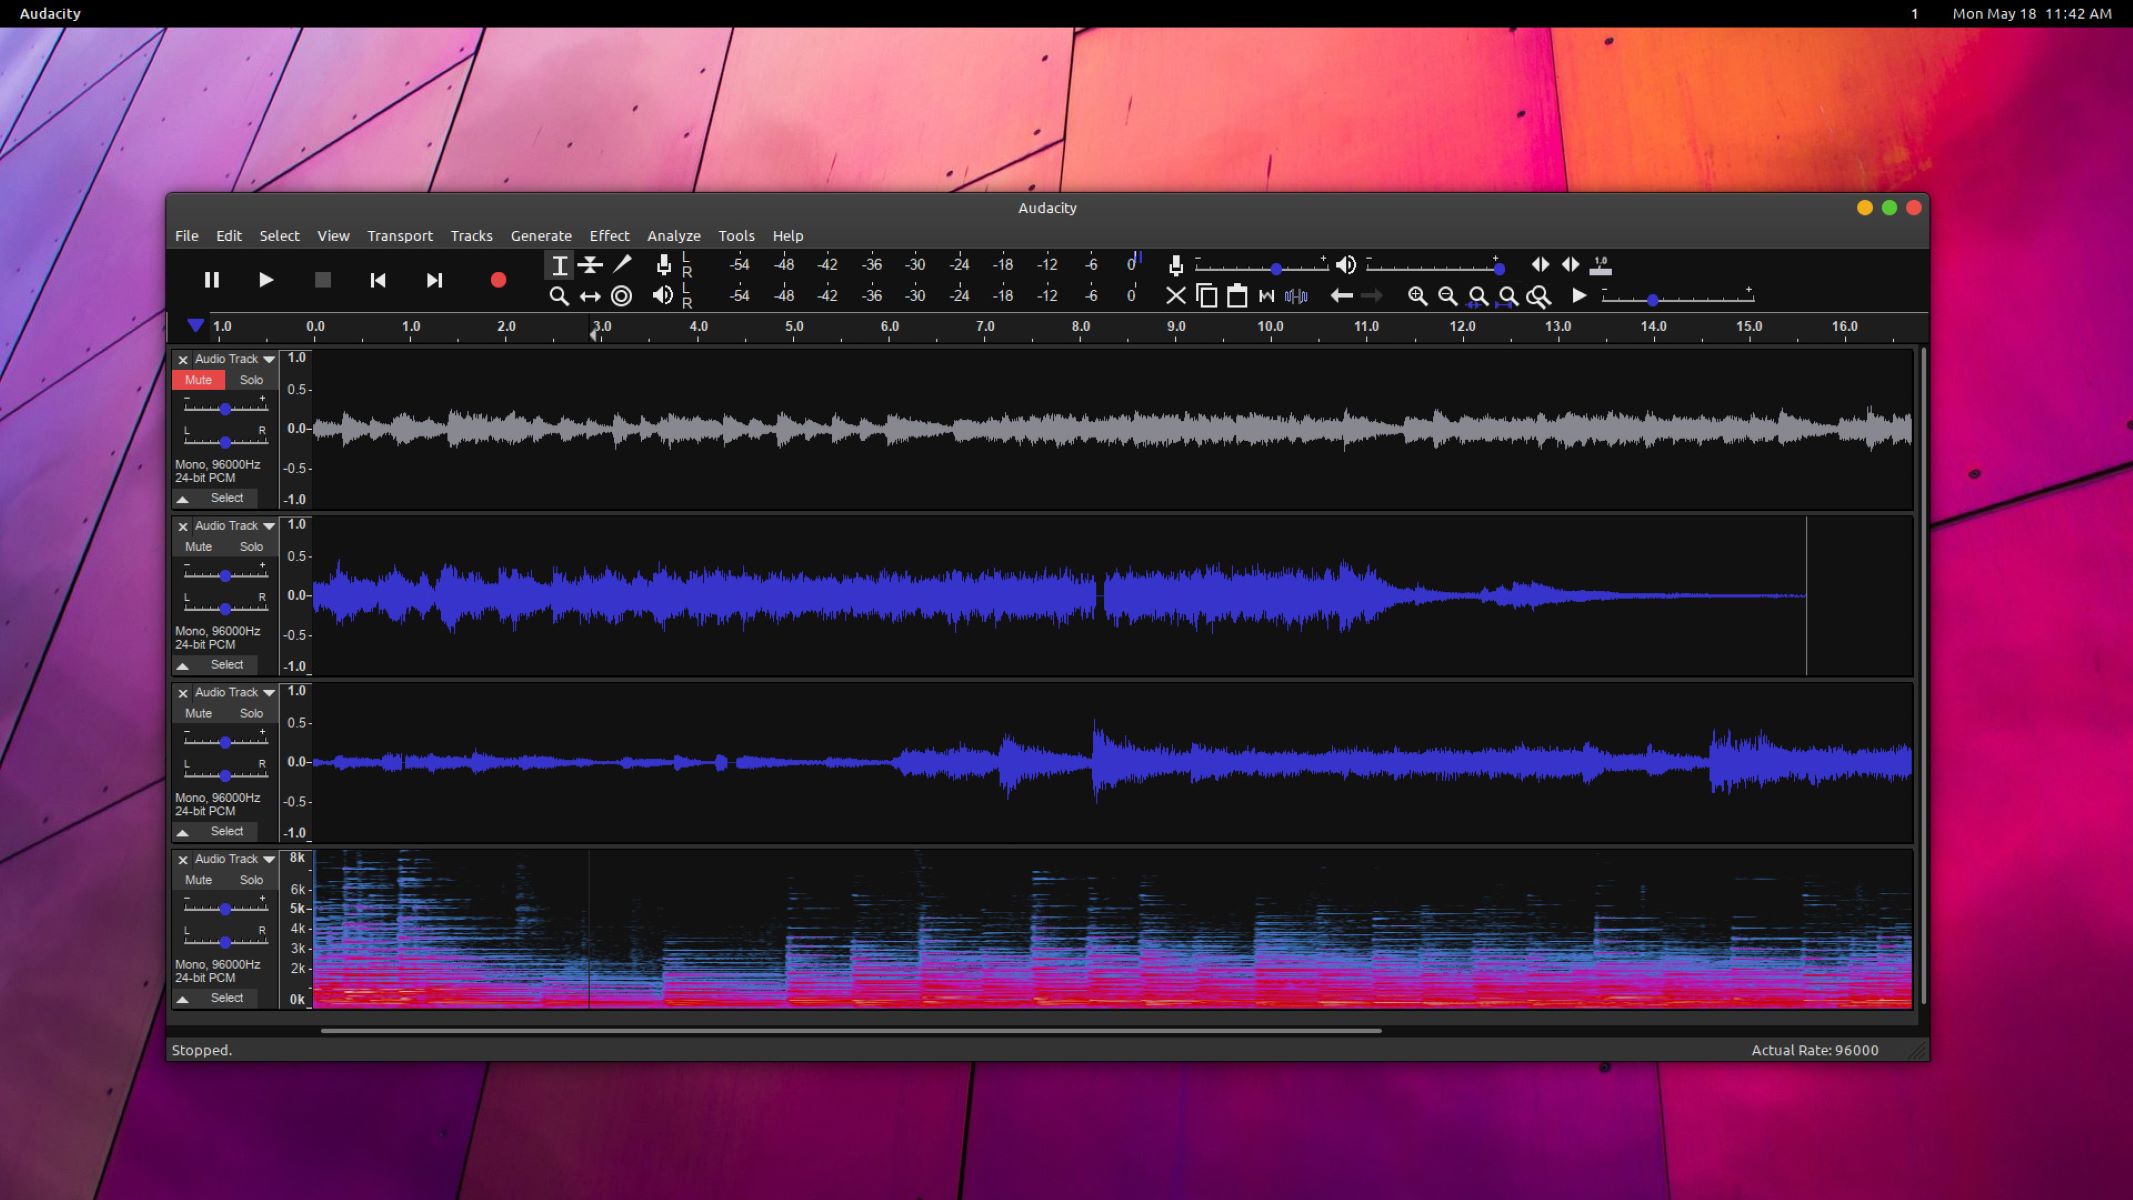
Furthermore, Audacity offers the “Spectrogram” view, which provides a detailed visual representation of the frequency content over time. This feature can be leveraged to pinpoint the specific frequency bands associated with the drum sounds, aiding in the precise isolation of the drum track for subsequent removal.
Another approach involves using the “Mute” tool to temporarily silence segments of the song that correspond to the drum track. By selectively muting these segments and auditioning the edited playback, users can verify the effectiveness of the isolation process and make necessary adjustments to ensure that the drum elements are accurately identified.
As users navigate through the process of isolating the drum track, it is important to exercise patience and attentiveness, as this phase lays the groundwork for the successful removal of the drums from the song. Careful observation of the waveform, strategic application of EQ settings, and meticulous muting of drum segments are integral to achieving a precise isolation of the drum track.
With the drum track effectively isolated, users can proceed to the subsequent stage of removing the drum elements from the song, employing targeted editing techniques to seamlessly eliminate the drums while preserving the integrity of the remaining audio components.
Removing the Drum Track
Removing the Drum Track
After successfully isolating the drum track within the imported song, the next pivotal phase involves the actual removal of the drum elements using Audacity’s precise editing capabilities. Removing the drum track requires a strategic approach to ensure that the other musical elements remain intact while effectively eliminating the rhythmic percussion from the audio.
One of the primary techniques for removing the drum track involves utilizing Audacity’s “Invert” effect in combination with the original song. By creating a duplicate of the song and applying the “Invert” effect to the duplicated track, users can effectively cancel out the segments that correspond to the drum elements when the inverted track is combined with the original. This process exploits the principle of phase cancellation to attenuate or eliminate the specific frequencies associated with the drums, resulting in their suppression from the overall audio mix.
Another method for removing the drum track entails employing precise cuts and edits to silence or attenuate the drum segments within the song. Audacity’s selection and cutting tools enable users to surgically remove the drum elements while maintaining the continuity and flow of the remaining musical components. By strategically identifying and muting the drum segments within the waveform, users can achieve a seamless removal of the drum track, effectively isolating the other instruments and vocals.
Furthermore, Audacity offers the “Noise Reduction” tool, which can be utilized to diminish residual drum sounds that may persist after the initial removal efforts. By capturing a sample of the drum sound in a quiet section of the song and applying the noise reduction algorithm, users can further refine the removal process, ensuring that any remnants of drum elements are minimized or eliminated from the audio.
Throughout the removal process, it is imperative to continuously audition the edited song to assess the impact of the removal techniques on the overall audio quality. By critically listening to the modified playback, users can identify any artifacts or anomalies resulting from the drum removal and make the necessary adjustments to maintain the cohesiveness and fidelity of the song.
As users navigate through the intricate process of removing the drum track, meticulous attention to detail and a methodical approach are essential for achieving a polished and professional outcome. The judicious application of Audacity’s editing tools and effects empowers users to seamlessly eliminate the drum elements while preserving the musical integrity of the song, unlocking a realm of creative possibilities for customized audio content.
Fine-Tuning the Edits
Fine-Tuning the Edits
Once the drum track has been removed from the song using Audacity’s powerful editing tools, the subsequent phase involves fine-tuning the edits to ensure a seamless and cohesive audio result. Fine-tuning is a critical aspect of the process, as it allows users to address any residual artifacts, optimize the overall audio quality, and refine the transitions within the song.
One essential aspect of fine-tuning the edits involves meticulously examining the edited waveform and listening to the playback to identify any remnants of drum elements or unintended audio alterations. By visually inspecting the waveform and critically listening to the song, users can pinpoint areas that may require further attention, such as subtle residual drum sounds or abrupt transitions resulting from the removal process.
Audacity provides a range of corrective tools and effects that can be leveraged to address these nuances. The “Fade In” and “Fade Out” effects, for example, enable users to smooth out the beginnings and endings of audio segments, mitigating any abrupt changes that may have arisen from the drum removal process. By applying gradual fades, users can ensure that the transitions within the song are seamless and natural, enhancing the overall listening experience.
Additionally, Audacity’s equalization and spectral editing capabilities offer opportunities to refine the frequency balance and tonal characteristics of the edited song. Users can fine-tune the EQ settings to optimize the clarity and balance of the remaining musical elements, compensating for any tonal adjustments that occurred during the drum removal process and ensuring a cohesive sonic profile.
Furthermore, the application of subtle reverb or spatial effects can contribute to the coherence and spatial depth of the edited song, enhancing the overall ambience and immersive qualities of the audio. By judiciously applying spatial effects, users can imbue the song with a sense of spaciousness and dimension, further refining the sonic landscape and compensating for any perceptual changes resulting from the drum removal.
Throughout the fine-tuning process, it is essential to maintain a balanced and discerning approach, carefully evaluating the impact of each adjustment on the overall audio presentation. By iteratively refining the edits and critically assessing the modified playback, users can achieve a meticulously crafted result that seamlessly integrates the removal of the drum track with the remaining musical components, culminating in a polished and professional audio rendition.
Exporting the Edited Song
Exporting the Edited Song
Upon completing the intricate process of removing the drum track and fine-tuning the edits within Audacity, the final step involves exporting the edited song to a format suitable for distribution, sharing, or further utilization in music projects. Audacity offers a seamless and intuitive method for exporting audio files, allowing users to preserve their meticulously edited compositions in high-quality formats.
To initiate the export process, users can navigate to the “File” menu in Audacity and select the “Export” option. This action prompts a dialog box to appear, enabling users to specify the file format, quality settings, and metadata for the exported audio file. Audacity supports a variety of common audio formats, including MP3, WAV, AIFF, and FLAC, providing flexibility in choosing the preferred format based on the intended use of the edited song.
When selecting the export format, users can consider the specific requirements of their intended playback or distribution platforms. For instance, if the edited song is intended for online streaming or sharing, the MP3 format offers a balance of high-quality audio and file size efficiency. Alternatively, for archival or professional applications, the WAV or FLAC formats may be preferred to retain the highest fidelity and resolution of the audio.
Furthermore, Audacity allows users to configure the quality settings during the export process, providing control over parameters such as bit rate, sample rate, and encoding options. These settings influence the audio quality and file size of the exported song, allowing users to tailor the output to their desired specifications based on the target platform or application.
It is also important to consider the inclusion of metadata, such as song title, artist name, album information, and genre tags, during the export process. Adding comprehensive metadata to the exported audio file enhances its organization, identification, and presentation within music libraries and media players, ensuring a professional and cohesive presentation of the edited song.
Once the export settings have been configured, users can specify the destination folder and file name for the exported audio, finalizing the process by clicking the “Save” or “Export” button. Audacity promptly generates the edited song in the selected format, preserving the meticulous drum removal and fine-tuned edits in a standalone audio file ready for distribution, playback, or further production endeavors.
With the edited song successfully exported from Audacity, users can confidently share their customized compositions, incorporate them into creative projects, or enjoy the fruits of their meticulous audio editing efforts. The seamless export process ensures that the meticulously crafted result of removing the drum track is preserved in a high-quality format, ready to captivate audiences and enrich musical endeavors.