Home>Events & Info>Acapella>How To Make An Acapella With Audacity
Acapella
How To Make An Acapella With Audacity
Modified: January 22, 2024
Learn how to create an acapella using Audacity software. This step-by-step guide will help you isolate vocals and remove instrumentals for a perfect acapella mix.
(Many of the links in this article redirect to a specific reviewed product. Your purchase of these products through affiliate links helps to generate commission for AudioLover.com, at no extra cost. Learn more)
Table of Contents
Introduction
Acapella music, with its pure vocal harmonies and absence of instrumental accompaniment, has captivated listeners for decades. Whether it’s in a church choir, a barbershop quartet, or a contemporary pop group, acapella singing showcases the power and beauty of the human voice.
If you’re a fan of acapella music and have ever wondered how to create your own acapella tracks, this article is for you. In this guide, we will explore how to make an acapella using Audacity, a popular audio editing software.
Audacity is a versatile tool that allows you to manipulate and edit audio files with ease. While creating a perfect acapella from any song is a challenging task, Audacity provides a range of tools and techniques to help achieve the desired results.
Before we dive into the step-by-step process, it’s important to note that making an acapella requires an instrumental version of the song. Ideally, you should have access to the original multitrack recordings of the song, which separate the vocals from the instruments. However, this is often not available for most songs, so we will be using a different approach.
In this tutorial, we will be using a stereo track of the song and applying a technique called phase cancellation to isolate and remove the instrumental elements, leaving only the vocals behind. While this method may not yield perfect results, it can significantly reduce the instrumentation and allow you to create a usable acapella track.
Now that we understand the approach and have set our expectations, let’s move on to the step-by-step process of making an acapella using Audacity.
Step 1: Importing the Music Track into Audacity
The first step in creating an acapella track using Audacity is to import the desired music track. Launch Audacity and click on “File” in the top menu, then select “Open” to browse and select the audio file you want to work with.
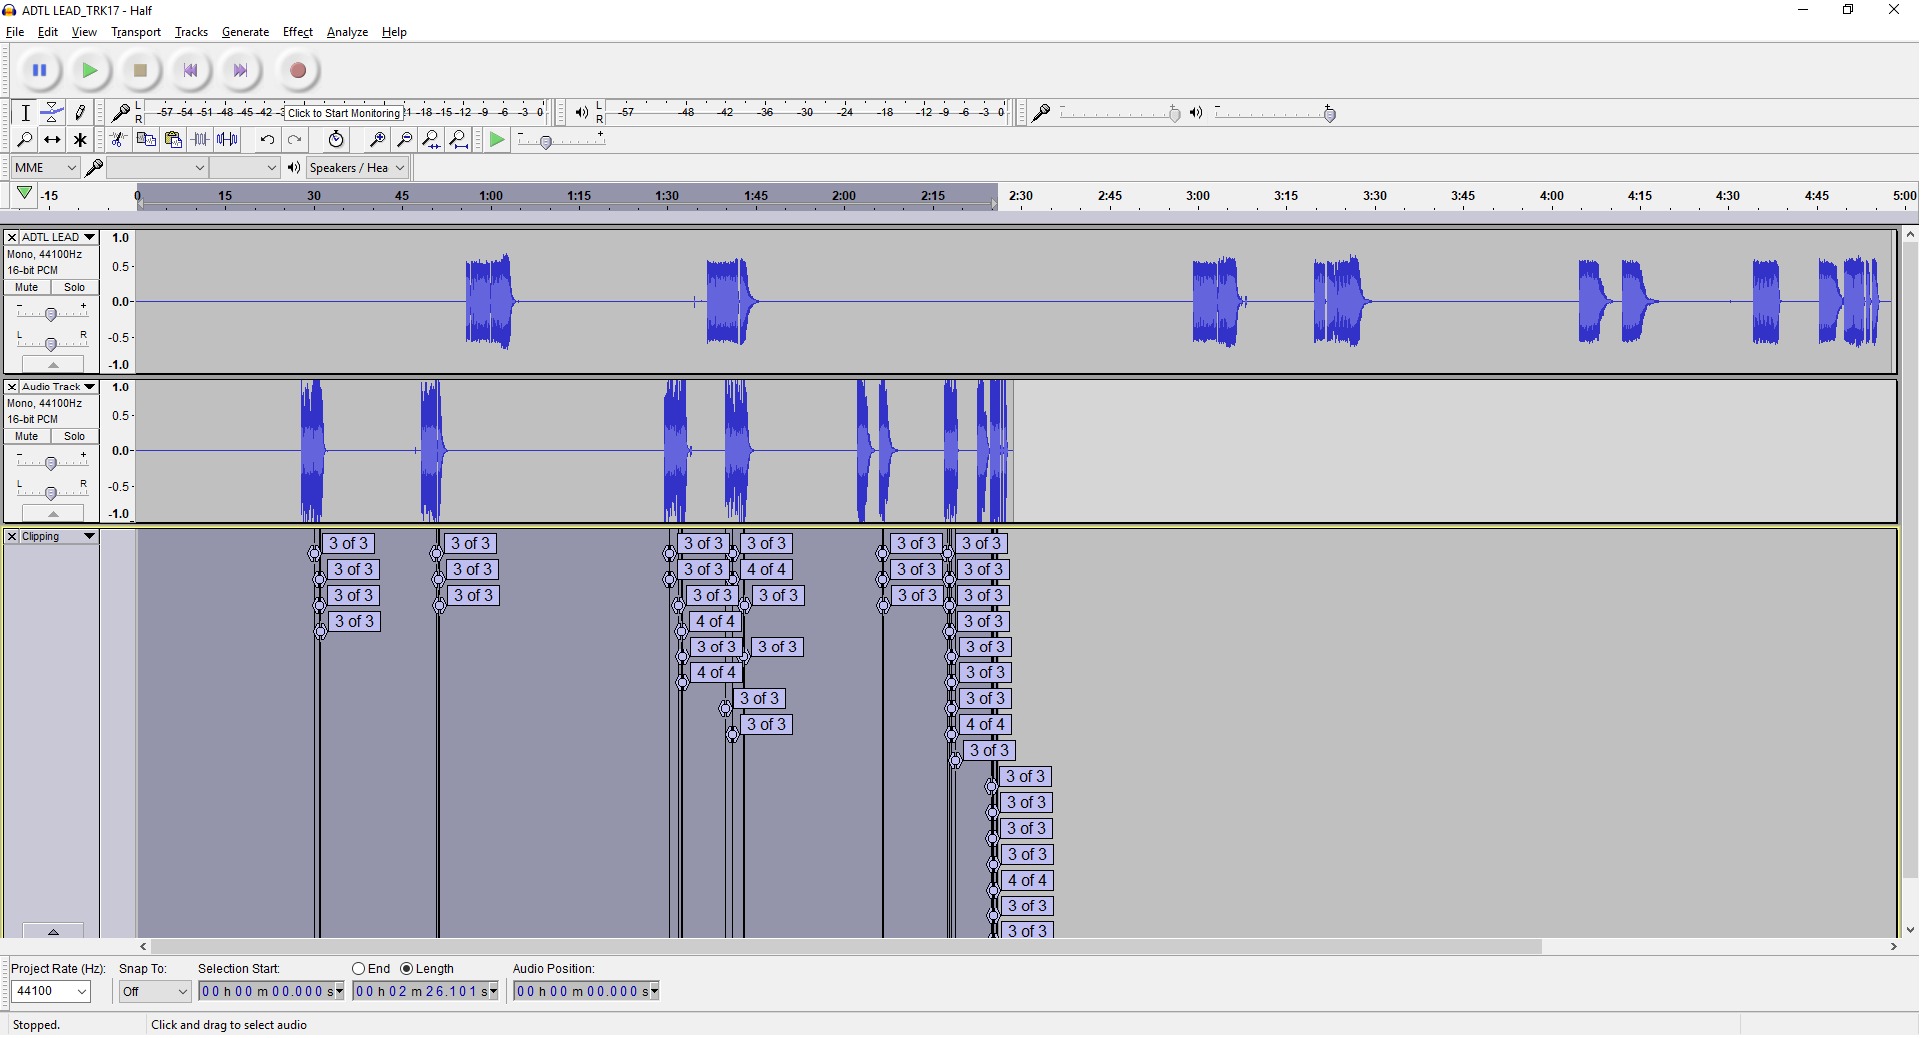
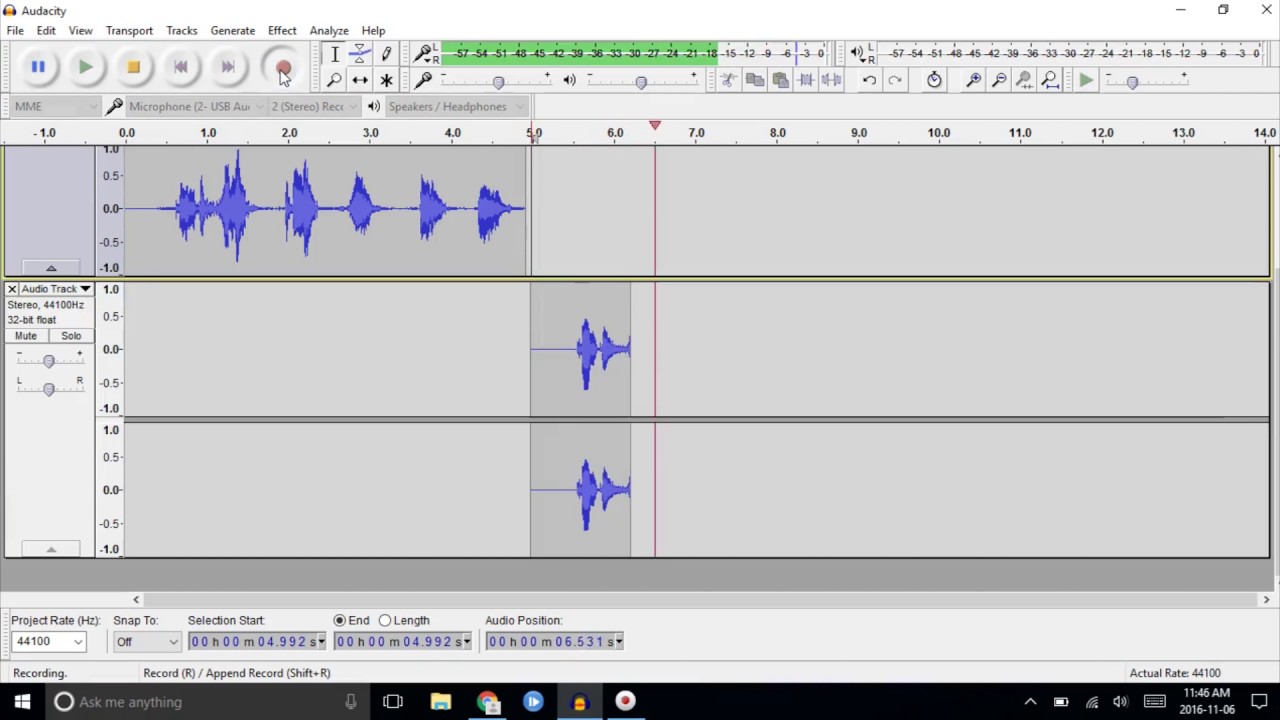
Once you have selected the music track, Audacity will display the waveform of the audio file in the main editing window. Take a moment to listen to the track and familiarize yourself with its structure and arrangement.
It’s important to note that audio files in stereo format contain both the left and right channels, which often represent the instrumental and vocal elements of the song. To create an acapella, we need to separate these channels and isolate the vocal elements.
In Audacity, you can easily visualize the left and right channels of the stereo track by looking at the waveform. The left channel is usually displayed in the top half of the waveform, while the right channel is displayed in the bottom half.
Before we proceed to the next step, it’s a good practice to save the project file in Audacity format (.aup) to ensure that you can easily make modifications and adjustments later if needed.
Now that we have imported the music track into Audacity, we can move on to the next step of splitting the stereo track into two separate channels.
Step 2: Splitting the Stereo Track into Two Separate Channels
After importing the music track into Audacity, the next step in creating an acapella is to split the stereo track into two separate channels. This will allow us to work with each channel individually and isolate the vocal elements.
To split the stereo track, navigate to the track menu and click on the dropdown arrow next to the track title. From the menu, select “Split Stereo Track”. This will create two separate mono tracks in Audacity.
By default, the left channel will be displayed in the top track, and the right channel in the bottom track. You can easily identify the channels by examining the waveform – the top track represents the left channel (often the instrumental elements), and the bottom track represents the right channel (often the vocals).
Now that we have separated the stereo track into two channels, we can move on to the next step of inverting one of the channels to eliminate the instrumental elements and isolate the vocals.
Please note that in some cases, the instrumental elements might be present in both channels and cannot be completely removed using this method. However, this technique can still significantly reduce the instrumental presence and provide a usable acapella track.
Before proceeding, make sure to save your project to preserve your progress and have a backup in case you need to make any changes later.
Step 3: Inverting one of the Channels
Now that we have separated the stereo track into two channels, it’s time to invert one of the channels to eliminate the instrumental elements and isolate the vocals. By inverting one of the channels and playing both channels simultaneously, the instrumental elements that are present in both channels will cancel out, leaving only the vocals behind.
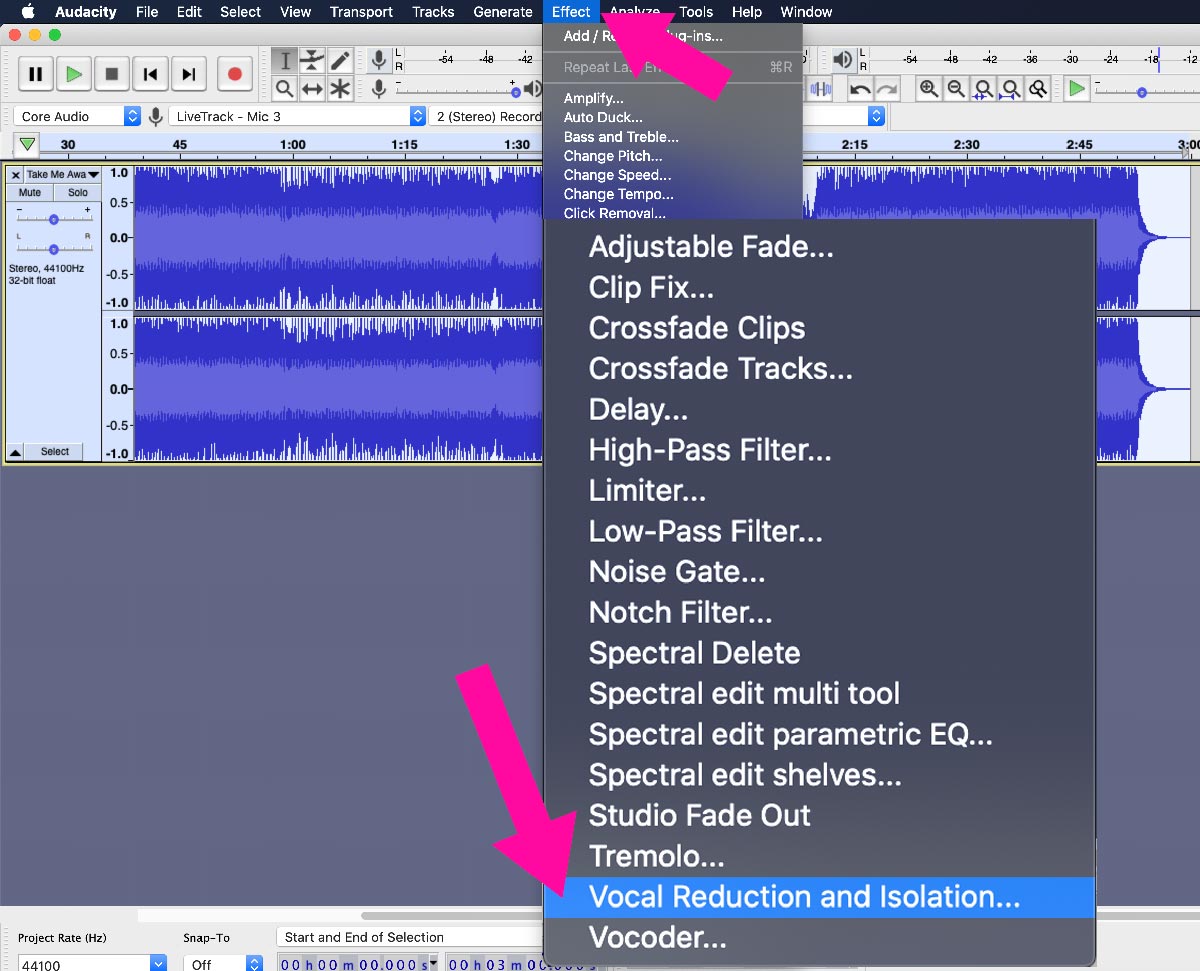
To invert one of the channels in Audacity, select the bottom track (which represents the right channel) by clicking on it. Then, go to the “Effects” menu and choose “Invert” from the dropdown list. This will invert the selected channel.
After inverting the right channel, make sure to check the playback to ensure that the vocals are dominant and the instrumental elements are minimized. You can do this by playing both tracks simultaneously. If the vocals are too faint or the instrumental elements are still prominent, you can try adjusting the volume levels of each track to achieve a better balance.
It’s worth noting that the success of this technique depends on the stereo mix of the original track and how well the vocals and instrumentation are separated. In some cases, the instrumental elements may still be audible even after inverting one of the channels. However, with careful adjustment and fine-tuning, you can achieve satisfactory results.
Remember to save your progress after inverting the channel to preserve your work.
Step 4: Adjusting the Timing and Alignment
After inverting one of the channels and isolating the vocals, it’s time to focus on adjusting the timing and alignment of the tracks to ensure they are synchronized properly. This step is crucial to create a seamless and cohesive acapella track.
Start by zooming in on the waveform and carefully examine the alignment between the vocal track and the instrumental track. Look for any small discrepancies in timing and make note of them.
To make precise adjustments, you can use Audacity’s editing tools such as the Time Shift Tool or the Cut, Copy, and Paste functions. These tools allow you to move, trim, and align the tracks, ensuring that the vocals and instrumental elements are in perfect sync.
Pay attention to areas where the vocals and instrumentation overlap or there are specific musical cues that need precise timing. By using the zoom tools, you can zoom in and accurately edit these sections.
As you make adjustments, it’s important to listen to the track playback frequently to hear the changes and ensure the vocals remain aligned with the instrumental elements. Make small adjustments as needed until you achieve a satisfactory result.
In some cases, you may need to edit or remove certain parts of the track where the alignment is challenging or the vocals are too distorted. Remember to use the “Undo” feature or create backups to revert any changes that do not improve the quality of the acapella track.
Take your time during this step, as achieving proper timing and alignment is essential to create a professional-sounding acapella track.
Once you are satisfied with the timing and alignment adjustments, save your project to keep your progress intact.
Step 5: Exporting the Acapella Track
After successfully adjusting the timing and alignment of the vocals and instrumental elements, it’s time to export the final acapella track from Audacity. Exporting the track will allow you to save it as a separate audio file that you can use for various purposes, such as remixing, sharing with others, or incorporating into your own music production.
Before exporting, make sure to listen to the acapella track in its entirety to ensure that all the adjustments and alignments are satisfactory.
To export the track, go to the “File” menu and select “Export”. Choose a desired file format, such as WAV or MP3, and specify the location where you want to save the exported file on your computer.
When selecting the file format, it’s recommended to use a lossless format like WAV to preserve the audio quality. However, if you prefer a smaller file size and compatibility with various devices and platforms, you can choose a compressed format like MP3.
After selecting the format and location, click on “Save” to initiate the export process. Depending on the length of the track and the settings you choose, the exporting process may take a few moments.
Once the export is complete, you will have a high-quality, standalone acapella track that you can use in your projects. Remember to give the exported file a meaningful name and organize it in a proper folder to easily access it in the future.
Congratulations! You have successfully created an acapella track using Audacity. Feel free to experiment with different songs, techniques, and modifications to further refine your acapella production skills.
Remember to save your project in Audacity format (.aup) as well, so you can revisit and make any necessary adjustments or modifications in the future.
Enjoy your acapella adventures and have fun exploring the creative possibilities of this captivating vocal art form!
Conclusion
Congratulations on successfully creating an acapella track using Audacity! By following the step-by-step process outlined in this guide, you have gained the knowledge and skills to extract vocals from a stereo track and produce your very own acapella masterpiece.
Creating acapella tracks can be an exciting and rewarding experience. While the technique we explored in this article may not yield perfect results for every song, it provides a viable method to significantly reduce the instrumental elements and isolate the vocals.
Remember, the key to achieving the best possible acapella track is patience and attention to detail. Adjusting the timing and alignment is crucial to ensure that the vocals and instrumental elements are properly synchronized and blended together.
With Audacity’s versatile editing tools and your creativity, you can continue to refine your acapella production skills and explore different songs, genres, and techniques. Experimentation and practice will further enhance your ability to create seamless and captivating acapella tracks.
Additionally, always be sure to respect the copyright laws and obtain the necessary permissions before using acapella tracks for commercial purposes or sharing them publicly.
Now that you have the knowledge and tools at your disposal, it’s time to unleash your creativity and create incredible acapella renditions of your favorite songs! Embrace the power of the human voice and enjoy the journey of producing beautiful acapella music.
So, what are you waiting for? Start exploring, experimenting, and creating your own acapella magic with Audacity today!