Home>Production & Technology>Metronome>How To Export Musescore As Mp3 With Metronome
Metronome
How To Export Musescore As Mp3 With Metronome
Modified: February 22, 2024
Learn how to export your Musescore files as MP3 with a metronome included. Ensure perfect timing and rhythm with our step-by-step guide.
(Many of the links in this article redirect to a specific reviewed product. Your purchase of these products through affiliate links helps to generate commission for AudioLover.com, at no extra cost. Learn more)
Table of Contents
Introduction
Welcome to the world of music notation and digital composition! If you’re a musician or music enthusiast, chances are you’re familiar with Musescore, a popular software for creating and editing musical scores. Musescore provides a wide range of powerful features that allow users to notate and arrange music with incredible precision. One of the many benefits of Musescore is the ability to export your compositions into various formats, including the widely-used MP3 format.
However, some musicians prefer to not only export their compositions as MP3 files but also include a metronome click track to help keep the tempo steady while listening to their music. This can be particularly useful for practice sessions or sharing compositions with other musicians who may want to play along.
In this article, we’ll explore how to export your Musescore compositions as MP3 files with a metronome click track. We’ll guide you through the steps, helping you unlock the full potential of your musical creations. Whether you’re a seasoned composer or a beginner just starting to explore the world of music notation, this article will provide you with the information you need to export your Musescore files with a metronome click track in just a few simple steps.
Step 1: Exporting the Musescore file
The first step in exporting your Musescore composition with a metronome click track is to ensure that you have the latest version of Musescore installed on your computer. This will ensure you have access to all the necessary features and updates.
Once you have your Musescore file open and ready for export, navigate to the “File” menu at the top left corner of the application window. From the dropdown menu, select “Export” and then choose the desired export format.
When exporting your Musescore file, you have several options to choose from, including MusicXML, MIDI, PDF, and more. For the purpose of exporting with a metronome click track, we recommend selecting the MIDI format. MIDI files contain the necessary data to include the metronome information in the exported file.
After selecting the export format, you will be prompted to choose a file name and location for the exported file. It’s a good practice to save the file in a location that is easily accessible and organized for future reference.
Once you have chosen the file name and location, click on “Save” to proceed. Musescore will then export your composition into the selected file format, ready for further customization and adjustment.
It’s important to note that the options and steps mentioned here may vary slightly depending on the version of Musescore you are using. However, the general process of exporting your composition remains the same.
Step 2: Exporting with metronome
Now that you have exported your Musescore file in the desired format, it’s time to configure the metronome settings to include the click track in the exported file.
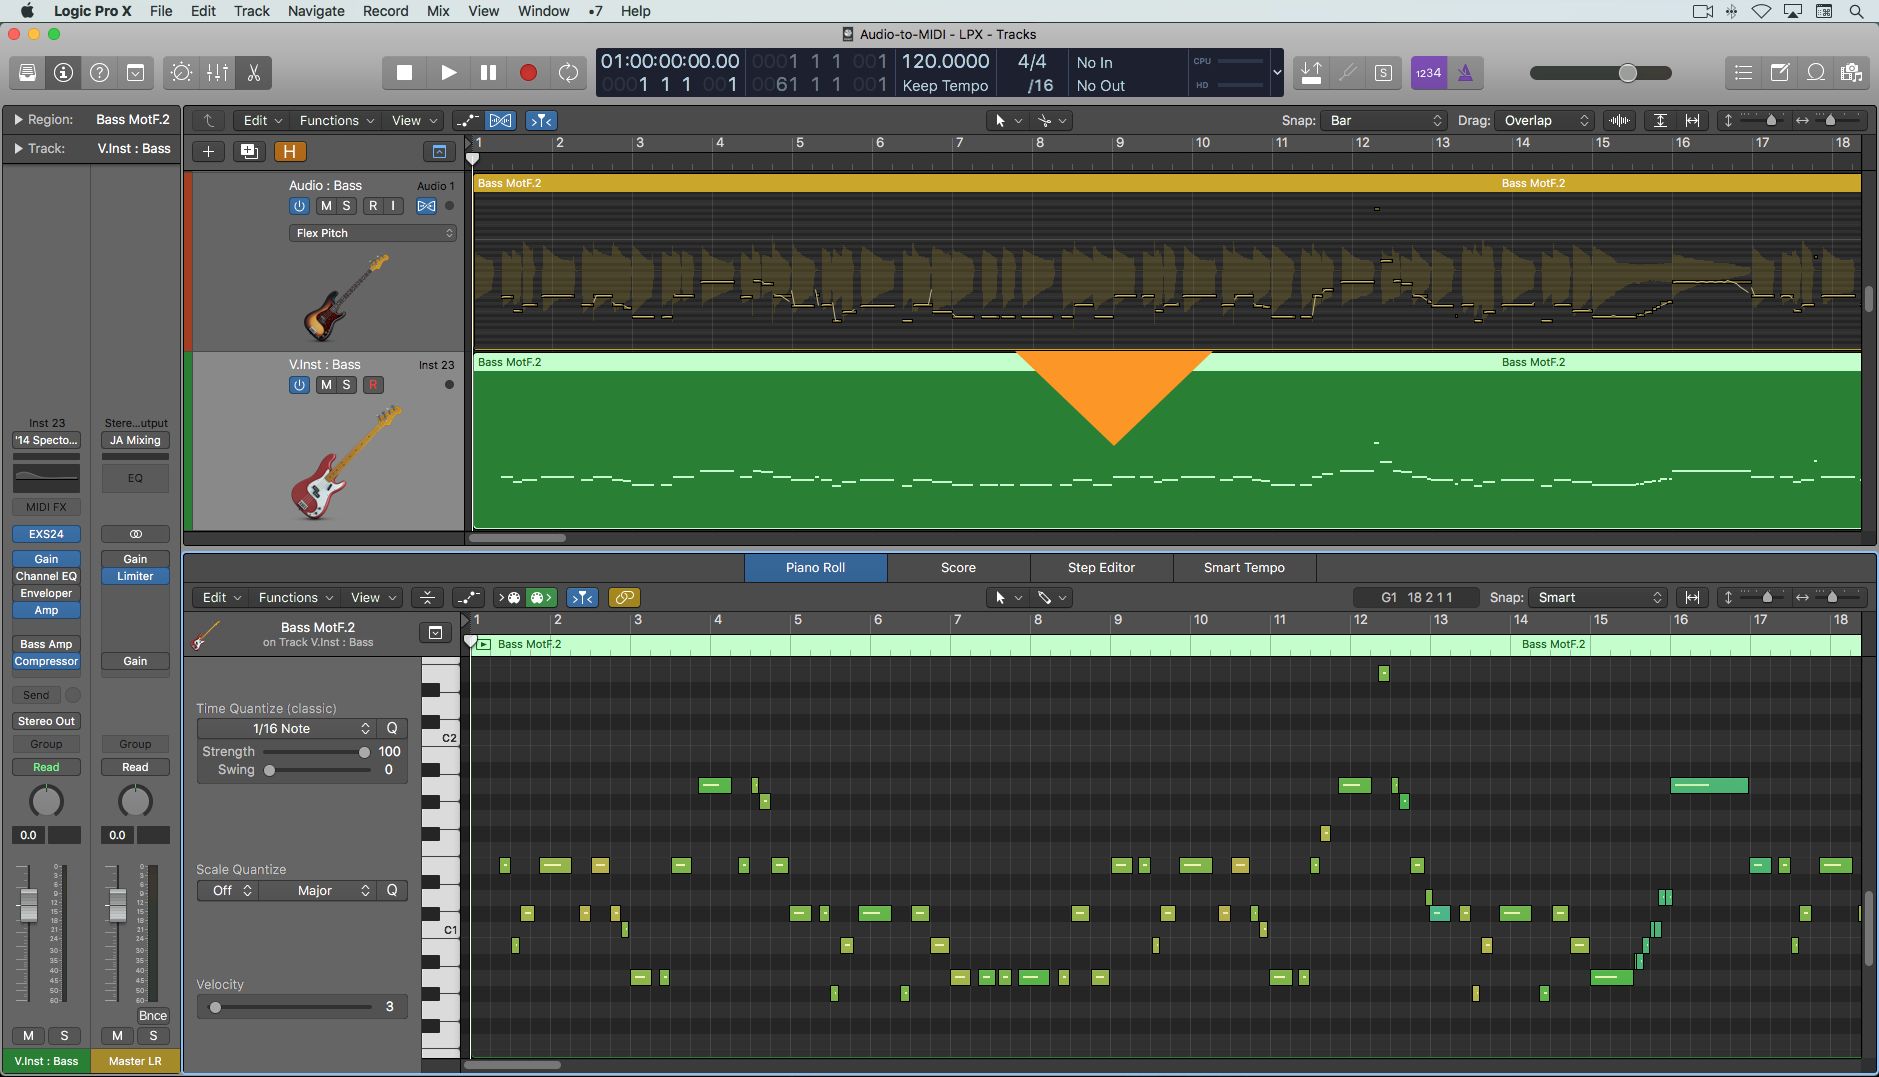
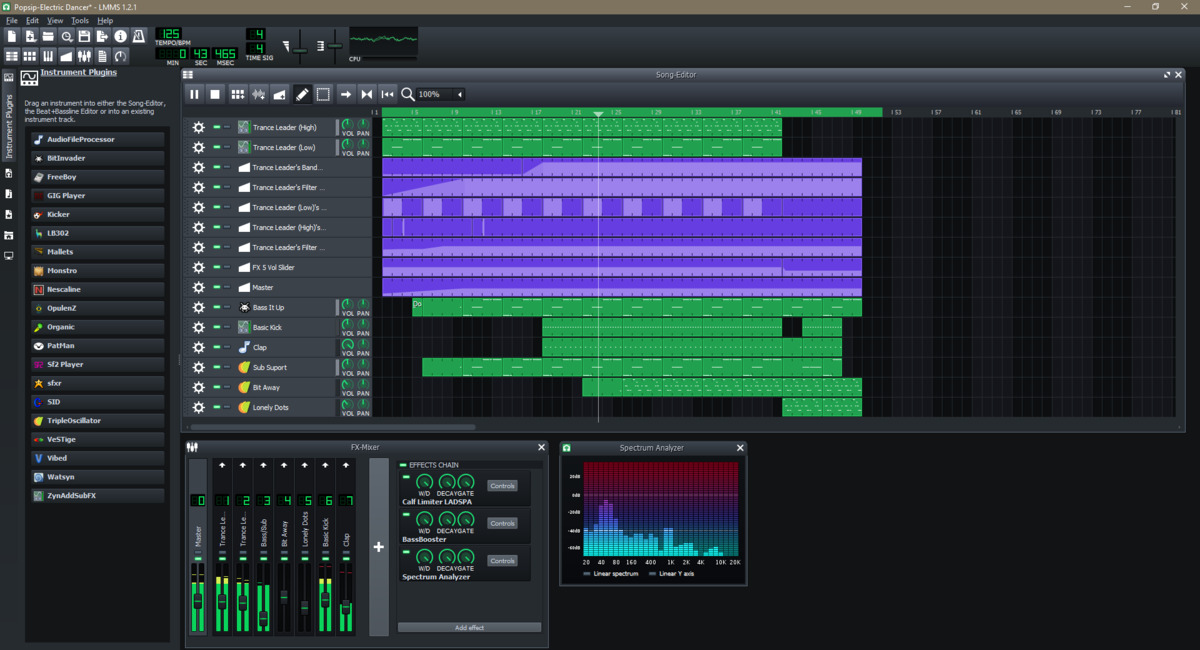
To do this, open the exported file in a MIDI editing software or a digital audio workstation (DAW) that supports MIDI files. Popular options include GarageBand, Logic Pro, FL Studio, or any DAW of your choice.
Once your MIDI file is open, look for the metronome settings or click track options within the software. These settings may be located in different menus or panels depending on the software you are using, so refer to the software’s documentation or help resources if needed.
Enable the metronome or click track option and ensure that the click settings match your desired preferences. You may be able to adjust parameters such as the tempo, volume, sound, and the number of beats per measure. Take some time to experiment and find the settings that best suit your composition.
It’s worth noting that not all MIDI editing software or DAWs have a built-in metronome or click track feature. In this case, you can use a virtual instrument or plugin that provides a metronome sound. Simply load the virtual instrument or plugin onto a MIDI track and set it to play the desired metronome click sound.
Once you are satisfied with the metronome settings, save the changes to the MIDI file.
By exporting your Musescore file as a MIDI file and configuring the metronome settings in a separate MIDI editing software or DAW, you have the flexibility to fine-tune and customize the metronome click track according to your preferences.
Step 3: Adjusting metronome settings
After exporting your Musescore file as a MIDI file and opening it in a MIDI editing software or DAW, it’s time to adjust the metronome settings to ensure the click track matches your desired tempo and style.
Most MIDI editing software and DAWs have a dedicated metronome or click track panel where you can modify the metronome settings. Look for options such as tempo, time signature, sound, volume, and accent beats.
Start by setting the tempo to match the desired speed of your composition. If you’re unsure of the exact tempo, you can refer to the original Musescore file or experiment with different tempos to find the one that feels right.
Next, adjust the time signature to match the time signature of your composition. Common time signatures include 4/4, 3/4, and 6/8, but you can choose any time signature that fits your music.
Experiment with different click sounds to find the one that suits your composition. Some MIDI editing software and DAWs offer a variety of click sounds, ranging from traditional metronome ticks to electronic or percussive sounds. Choose a click sound that complements your composition and enhances the overall feel of the piece.
Consider adjusting the volume of the click track to ensure it is audible but not overpowering. You want the click track to be clearly heard, but it should not distract from the rest of the music. Find the right balance by adjusting the volume slider or using the mixer within the software.
If your composition requires a specific emphasis on certain beats, such as accenting the first beat of each measure, explore the options for accent beats in the metronome settings. This can help create a stronger rhythmic feel and highlight important musical moments.
As you adjust the metronome settings, it’s important to listen to the click track alongside your composition to ensure everything aligns correctly. Make any necessary adjustments to tempo, time signature, or other settings until you are satisfied with the result.
Once you have fine-tuned the metronome settings, save your changes to the MIDI file. These adjustments will be reflected when the file is played or exported with the metronome click track.
Step 4: Choosing the MP3 export format
Now that you have adjusted the metronome settings to your liking, it’s time to prepare your composition for export as an MP3 file.
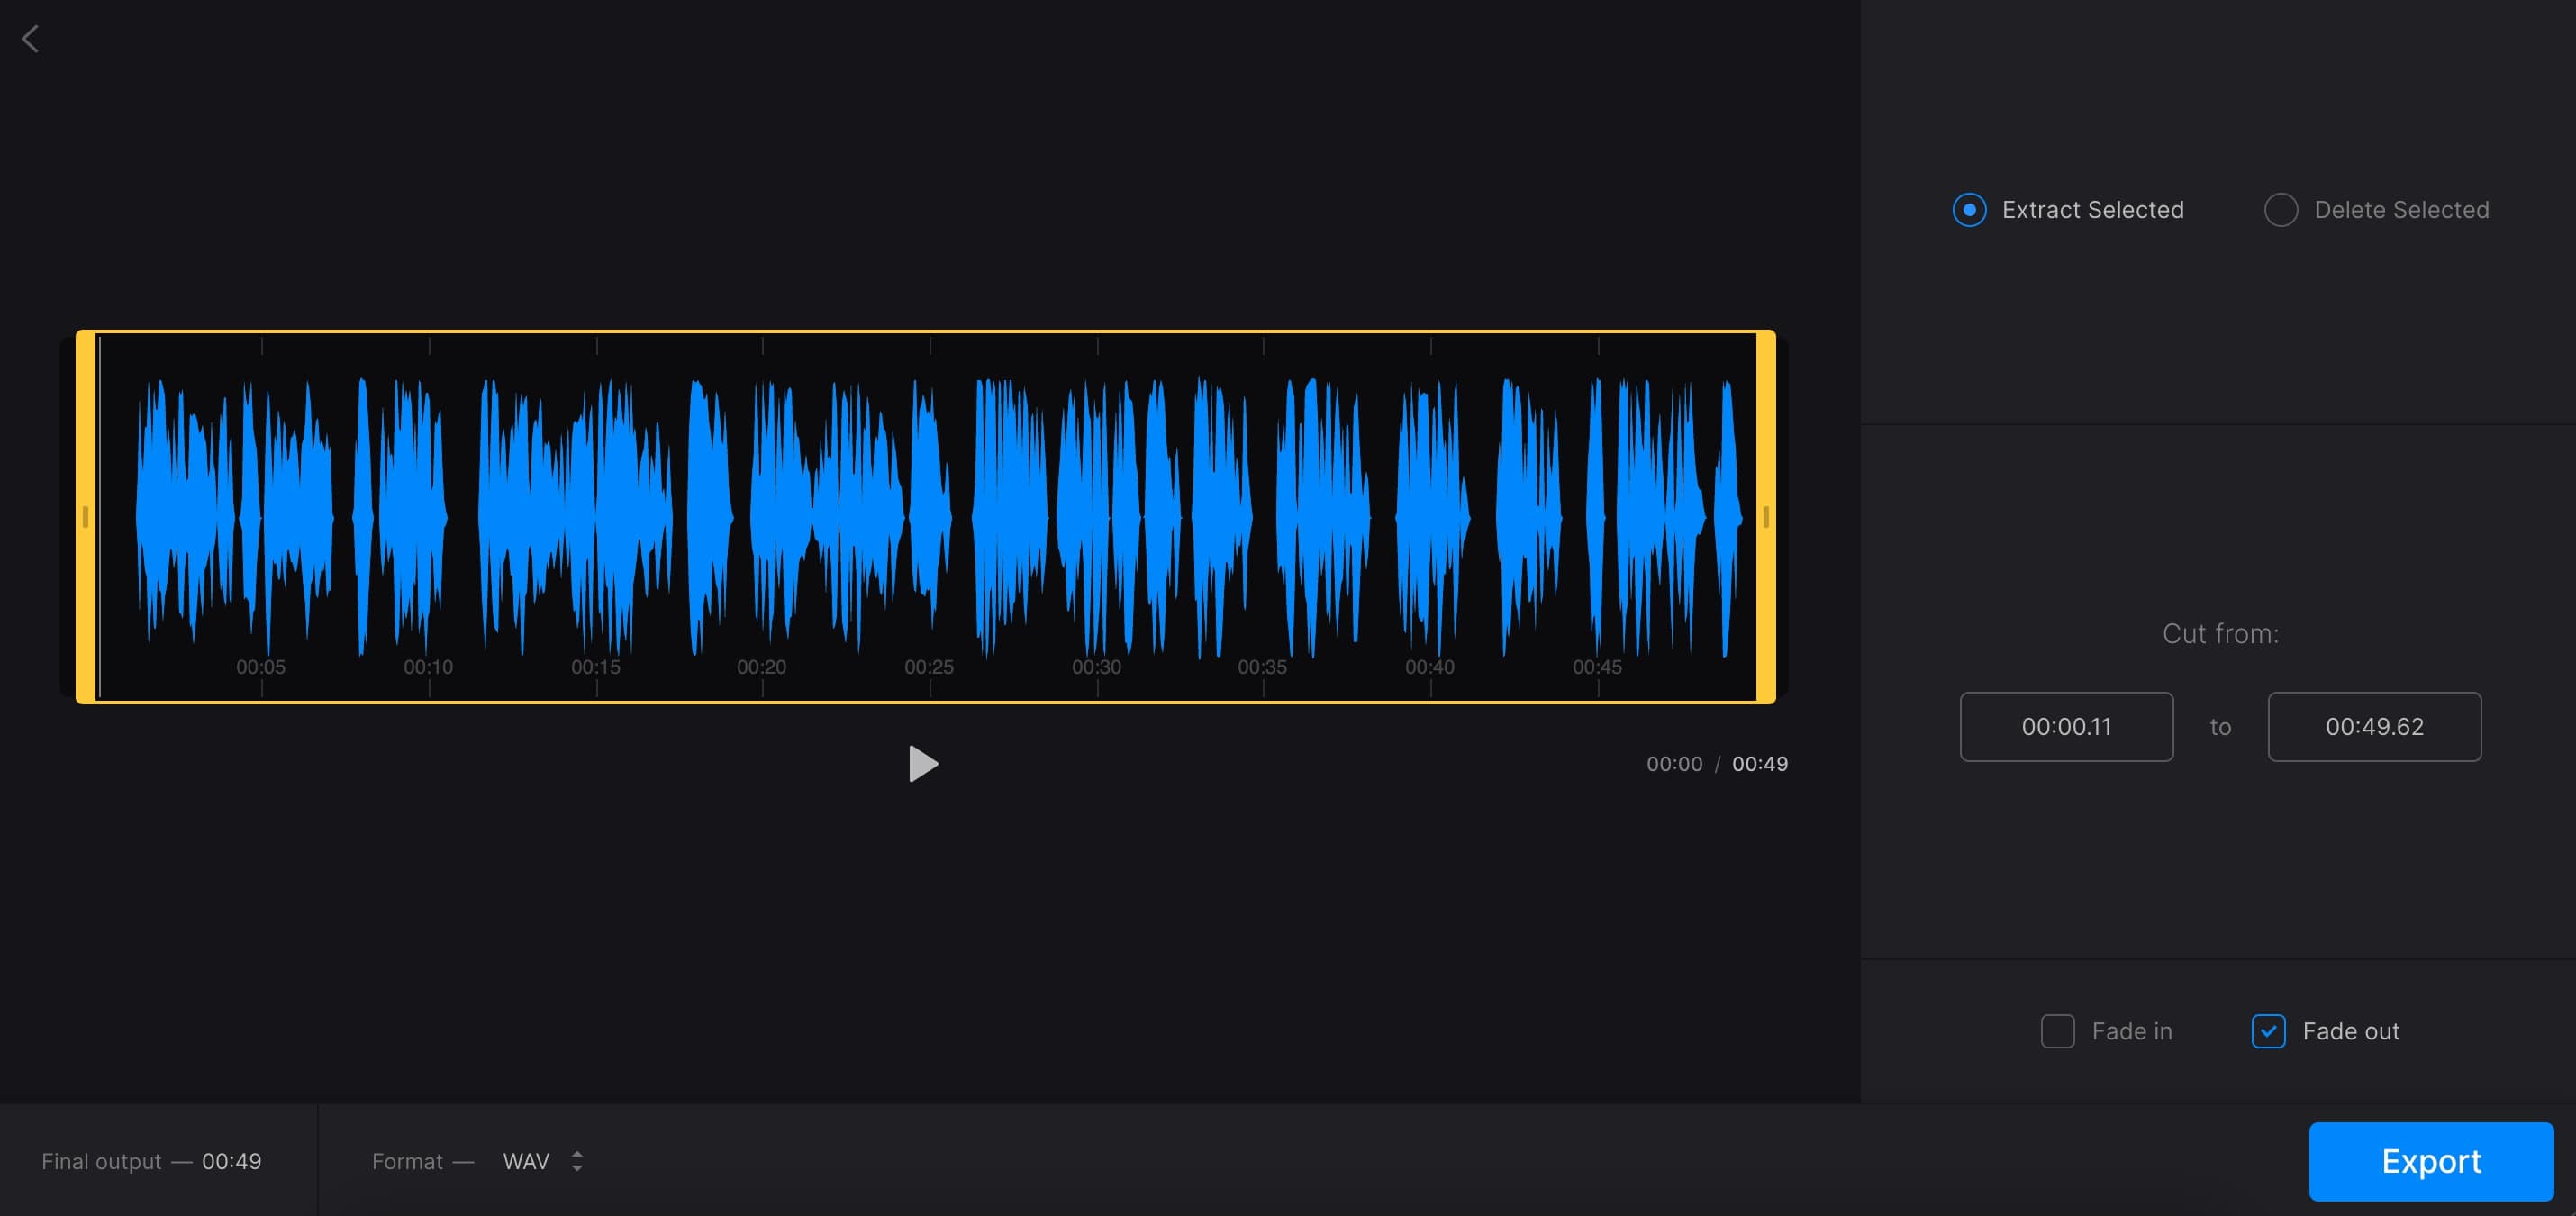
Before proceeding, ensure that your MIDI editing software or DAW has the capability to export files in the MP3 format. If not, you may need to use a third-party converter or a separate audio editing software that supports MP3 export.
Once you have confirmed MP3 export capability, locate the export or render options within the software. This is often found in the “File” or “Export” menu, but the specific location may vary depending on the software you are using.
Within the export options, select the MP3 format as the desired file type. You may also have the option to choose the audio quality, bit rate, and other settings for the exported MP3 file. Consider the desired file size and audio quality when making these selections.
Additionally, check if the software offers the option to include metadata such as artist name, track title, and album information. Adding metadata will help organize your MP3 files and provide relevant information to those who listen to your compositions.
After selecting the appropriate export settings, specify the name and location for the exported MP3 file. Choose a name that accurately represents your composition and save it in a location that is easily accessible for future use.
Double-check all the export settings to ensure they match your preferences. Make any necessary adjustments before finalizing the export process. It’s always a good practice to listen to a preview of the exported file to ensure it captures the desired metronome click track along with your composition.
Once you’re confident in the settings, initiate the export process. The software will then convert your MIDI file, complete with the adjusted metronome settings, into an MP3 file, ready for distribution or further customization.
With the MP3 export complete, you now have a versatile audio file that includes the metronome click track, providing a helpful guide for practice sessions and collaborative performances.
Step 5: Exporting as MP3 with metronome
Now that you have chosen the MP3 export format and adjusted the metronome settings, it’s time to export your composition as an MP3 file with the included metronome click track.
In your MIDI editing software or DAW, navigate to the final export options. Look for the option to export or render the project as an audio file, and select the MP3 format as the output.
Before initiating the export process, double-check that all the necessary settings are in place. Ensure that the metronome click track is activated, the tempo and time signature are correctly configured, and any desired accent beats or click sound variations are applied.
Consider previewing the exported MP3 file to ensure that the metronome click track is audible and perfectly synchronized with your composition. This step will help you catch any issues or discrepancies before finalizing the export.
When you’re satisfied with the settings and the preview, initiate the export process by clicking on the export button. The software will then generate a high-quality MP3 file that includes your composition along with the metronome click track.
Depending on the length and complexity of your composition, the export process may take a few moments. Be patient while the software converts the MIDI file into a fully realized audio file that you can easily share and distribute.
Once the export process is complete, locate the exported MP3 file in the specified folder or destination you chose earlier. Verify that the file name is accurate and reflects your composition.
Congratulations! You have successfully exported your Musescore file as an MP3 with the metronome click track included. Now you can listen to your composition with the added guidance of the metronome, facilitating practice, collaboration, and sharing with other musicians.
Remember to save and back up your exported MP3 file to ensure it is secure and readily available for future use. You can now enjoy the benefits of a professionally rendered audio file that showcases your musical talent and creativity.
Conclusion
Congratulations on successfully exporting your Musescore file as an MP3 with a metronome click track! By following these simple steps, you have unlocked a powerful tool for practicing, collaborating, and sharing your musical compositions.
Exporting your Musescore files with a metronome click track allows you to maintain a steady tempo while listening to your compositions. This can greatly enhance your practice sessions, making it easier to stay in rhythm and develop your musical skills.
Furthermore, sharing your compositions with other musicians becomes even more engaging and interactive when they have the option to play along with the metronome click track. It promotes collaboration and facilitates ensemble performances, even when practicing or performing remotely.
Remember, the key to exporting your Musescore files with a metronome click track lies in properly configuring the metronome settings within a MIDI editing software or DAW. Take the time to experiment with different settings, including tempo, time signature, click sound, and accent beats, to create the perfect click track that complements your composition.
With the final MP3 export in hand, you can easily share your musical creations across various platforms and devices. Whether you’re showcasing your talents on social media, collaborating with fellow musicians, or simply savoring the fruits of your hard work, the ability to export your Musescore files with a metronome click track opens up a world of possibilities.
So, go ahead and explore the endless opportunities that exporting Musescore files with a metronome click track brings. Let your compositions shine and make the most of this powerful feature to enhance your musical journey. Happy exporting!