Home>Production & Technology>Metronome>How To Turn The Metronome Off In FL Studio


Metronome
How To Turn The Metronome Off In FL Studio
Modified: January 22, 2024
Learn how to easily turn off the metronome in FL Studio and enjoy uninterrupted creative flow. Say goodbye to the ticking sound with our simple step-by-step guide.
(Many of the links in this article redirect to a specific reviewed product. Your purchase of these products through affiliate links helps to generate commission for AudioLover.com, at no extra cost. Learn more)
Table of Contents
Introduction
The metronome is an essential tool for musicians, helping them keep time while practicing and performing. Its steady ticking or clicking sound serves as a reference point to maintain a consistent tempo. However, there may be times when you want to turn off the metronome, such as when you’re working on a project that doesn’t require strict timing or when you’re recording a track and want to eliminate any distractions. In FL Studio, a popular digital audio workstation (DAW), you can easily toggle the metronome on and off to accommodate your needs.
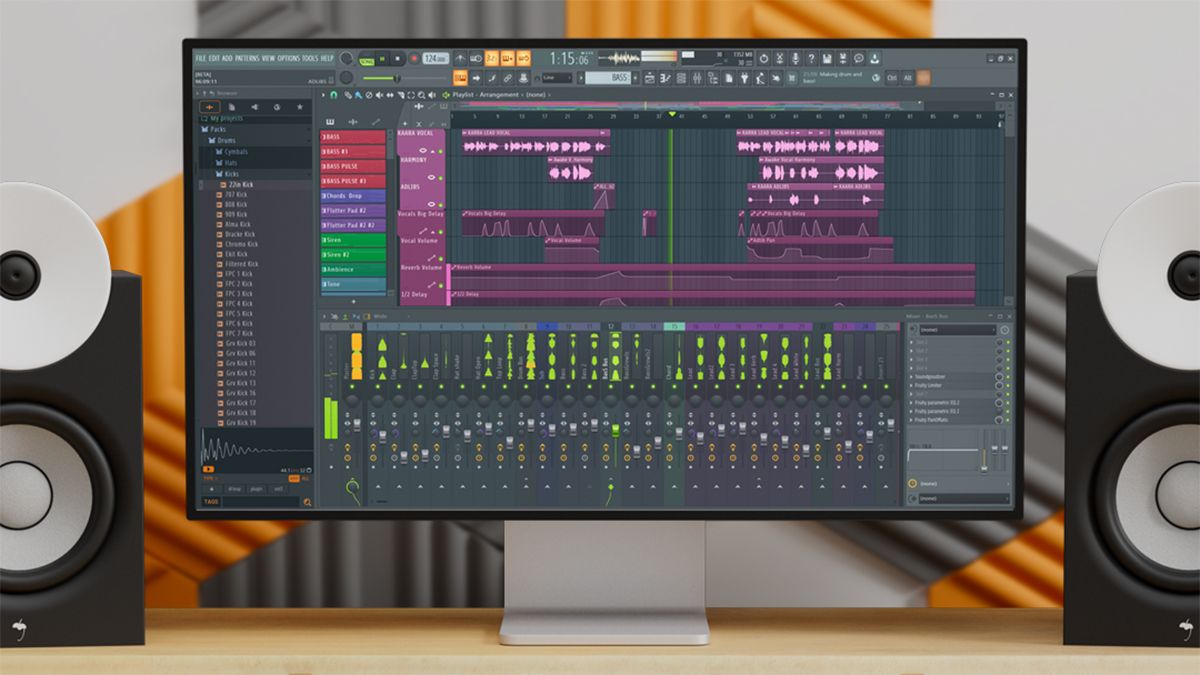
FL Studio, also known as FruityLoops, is a versatile DAW used by music producers and electronic musicians around the world. Whether you’re a beginner or an experienced user, knowing how to control the metronome settings can enhance your production workflow and creativity. In this article, we will guide you through the step-by-step process of turning off the metronome in FL Studio so that you can compose, record, and mix your tracks without any rhythmic distractions.
Step 1: Accessing the Menus
To turn off the metronome in FL Studio, you need to first access the menus where the metronome settings are located. Follow these simple steps to get started:
- Launch FL Studio on your computer.
- Once FL Studio is open, locate the menu bar at the top of the screen. It contains various options and settings that you can access to customize your FL Studio experience.
- Click on the “Options” tab in the menu bar. A dropdown menu will appear with several options.
- From the dropdown menu, select “Project General Settings.” This will open a new window where you can modify various project settings, including the metronome.
By accessing the “Project General Settings” menu, you’re now one step closer to turning off the metronome. In the next step, we’ll navigate to the metronome settings to make the necessary adjustments.
Step 2: Navigating to the Metronome Settings
Once you’ve accessed the “Project General Settings” menu in FL Studio, it’s time to navigate to the metronome settings. Here’s a straightforward guide to help you find the required options:
- In the “Project General Settings” window, you’ll see a list of settings on the left-hand side. Look for the option labeled “Audio” and click on it to expand the section.
- Within the “Audio” section, you’ll find several subcategories. Scroll down until you locate the “Metronome” category.
- Click on the “Metronome” category to open the metronome settings.
Once you’ve successfully reached the metronome settings, you’re ready to proceed with the final step of turning off the metronome in FL Studio. This next step will allow you to make the necessary adjustments to the metronome preferences.
Step 3: Turning Off the Metronome
Now that you’ve accessed the metronome settings in FL Studio, it’s time to make the desired changes to turn off the metronome. Follow the steps below:
- Within the metronome settings, you’ll see a series of options that control various aspects of the metronome’s behavior.
- Locate the checkbox labeled “Enable Metronome” or a similar option that indicates the metronome’s activation.
- Uncheck the box to disable the metronome. This action will prevent the metronome from playing during your music production sessions.
- Optionally, you can also adjust other metronome settings, such as the volume level, accent beats, and sound type, to further customize your experience.
Once you have unchecked the “Enable Metronome” box or made any necessary adjustments, click the “OK” or “Apply” button in the lower-right corner of the window to save the changes.
Congratulations! You have successfully turned off the metronome in FL Studio. From now on, you can work on your music projects without the rhythmic distractions of the metronome ticking or clicking in the background.
Remember, if you ever need to turn the metronome back on, simply return to the metronome settings and check the “Enable Metronome” box.
Conclusion
In this article, we have explored how to turn off the metronome in FL Studio, a popular digital audio workstation used by musicians and producers worldwide. By following the simple steps outlined in this guide, you can easily disable the metronome’s ticking or clicking sound, allowing for a more focused and distraction-free music production experience.
The metronome is a valuable tool for practicing and maintaining a consistent tempo, but there are times when it may not be necessary or desired. Whether you’re working on a project that doesn’t require strict timing or you simply find the metronome’s sound to be distracting, FL Studio offers a straightforward way to turn it off.
By accessing the menus, navigating to the metronome settings, and unchecking the “Enable Metronome” box, you can effectively silence the metronome and focus solely on your creative process. Additionally, you have the flexibility to customize other metronome preferences, such as volume level and accent beats, to suit your preferences and workflow.
Remember, turning off the metronome in FL Studio is reversible. If you ever need to reintroduce the metronome back into your music production sessions, simply navigate back to the metronome settings and check the “Enable Metronome” box.
With the metronome silenced, you can now fully immerse yourself in the creative process, experimenting with different sounds, melodies, and rhythms without any external pulses dictating your musical journey. Enjoy the freedom and flexibility that FL Studio provides, and let your creativity soar!


