Home>Production & Technology>Metronome>How To Lower Metronome Volume FL Studio

Metronome
How To Lower Metronome Volume FL Studio
Published: January 13, 2024
Learn how to lower the volume of the metronome in FL Studio and create a more comfortable working environment. Discover step-by-step techniques to adjust the metronome settings.
(Many of the links in this article redirect to a specific reviewed product. Your purchase of these products through affiliate links helps to generate commission for AudioLover.com, at no extra cost. Learn more)
Table of Contents
Introduction
When using FL Studio as your Digital Audio Workstation (DAW), the metronome can be a helpful tool to keep your music in time. However, at times, you may find the metronome volume to be too loud and overpowering in your mix. Lowering the metronome volume can be essential when recording or producing music, to ensure that it doesn’t distract or interfere with your creative process.
In this article, we will guide you step-by-step on how to lower the metronome volume in FL Studio. Whether you’re a beginner or a seasoned producer, these instructions will help you adjust the metronome volume to your desired level.
Before we dive into the steps, it’s important to note that FL Studio makes use of a mixer to control and adjust audio levels. The metronome sound, too, is routed through the mixer, which gives us the flexibility to adjust its volume independently.
So, if you’re ready to take control of the metronome volume in FL Studio, let’s get started!
Step 1: Accessing the Mixer
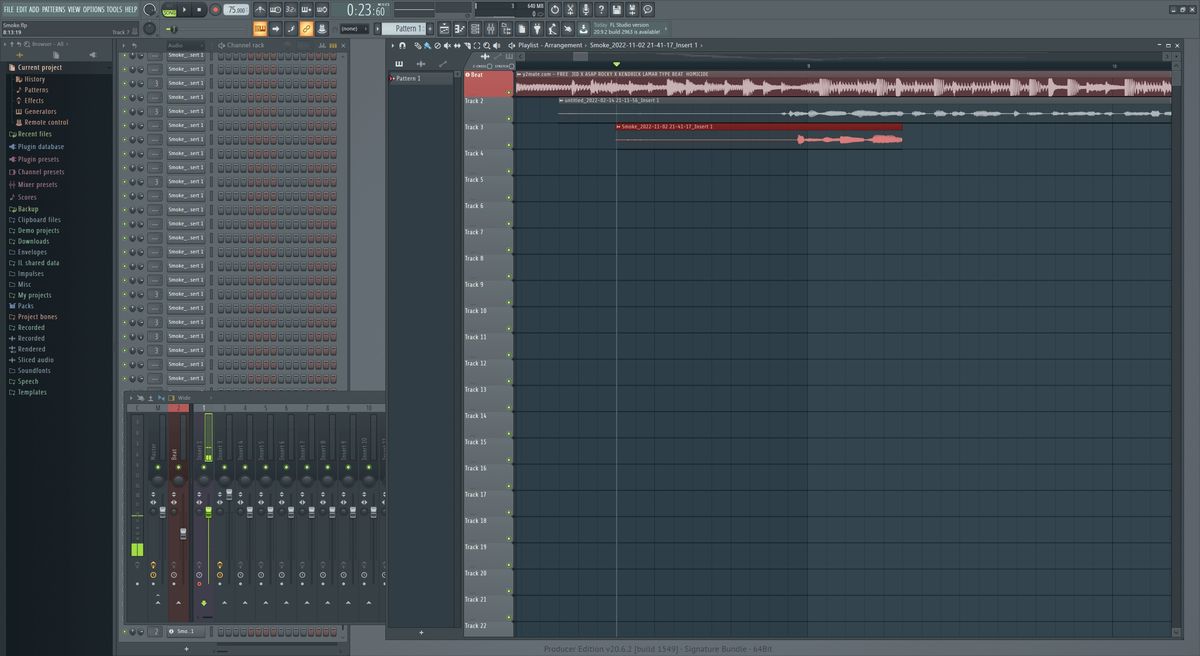
The first step to lower the metronome volume in FL Studio is to access the mixer. The mixer is where you can control the audio levels of different tracks and channels in your project.
To access the mixer, follow these simple steps:
- Open FL Studio and ensure that you have a project loaded.
- Locate the toolbar at the top of the FL Studio interface.
- Click on the “View” menu, and a drop-down menu will appear.
- In the drop-down menu, click on the option that says “Mixer” or press the shortcut key “F9”.
- Upon clicking or pressing the shortcut key, the mixer window will open, displaying the various channels in your project.
Now that you have successfully accessed the mixer, let’s move on to the next step to lower the metronome volume.
Step 2: Selecting the Metronome Channel
Once you have accessed the mixer in FL Studio, the next step is to select the metronome channel. This is where you can find the controls for the metronome volume and make adjustments accordingly.
Here’s how you can select the metronome channel:
- In the mixer window, take a look at the channels displayed. They are usually labeled with the names of the instruments or plugins used in your project.
- Locate the channel labeled “Metronome” or “Metro”.
- If you can’t find the metronome channel, it might be hidden. In that case, right-click on any of the channel labels and select “Insert” from the context menu.
- A list of available channels will appear. Scroll down and look for the option that says “Metronome” or “Metro”.
- Click on the “Metronome” or “Metro” option, and the metronome channel will be inserted into the mixer.
After selecting the metronome channel, you are now ready to adjust its volume. Proceed to the next step to learn how to lower the metronome volume in FL Studio.
Step 3: Adjusting the Volume
Now that you have selected the metronome channel in the mixer, it’s time to adjust the volume to your desired level. FL Studio provides several ways to control the volume of the metronome. Let’s explore a few options:
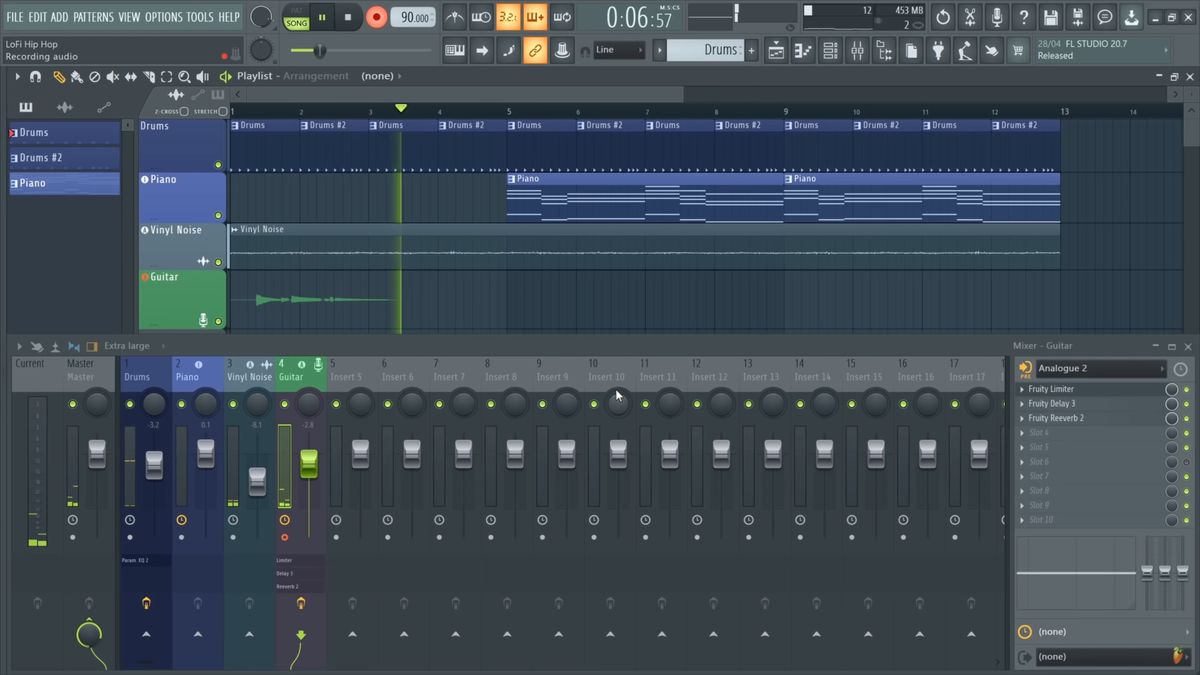
- Using the Fader: One of the simplest and quickest ways to adjust the metronome volume is by using the fader in the mixer. The fader is a vertical slider located next to the channel label. To lower the volume, drag the fader downwards. Experiment with different positions until you find the desired volume.
- Using the Knob: FL Studio also allows you to control the metronome volume using a knob. Locate the knob labeled “Volume” or “Gain” on the metronome channel in the mixer. Click and drag the knob to the left to decrease the volume or to the right to increase it. Fine-tune the volume by making small adjustments to achieve the perfect balance.
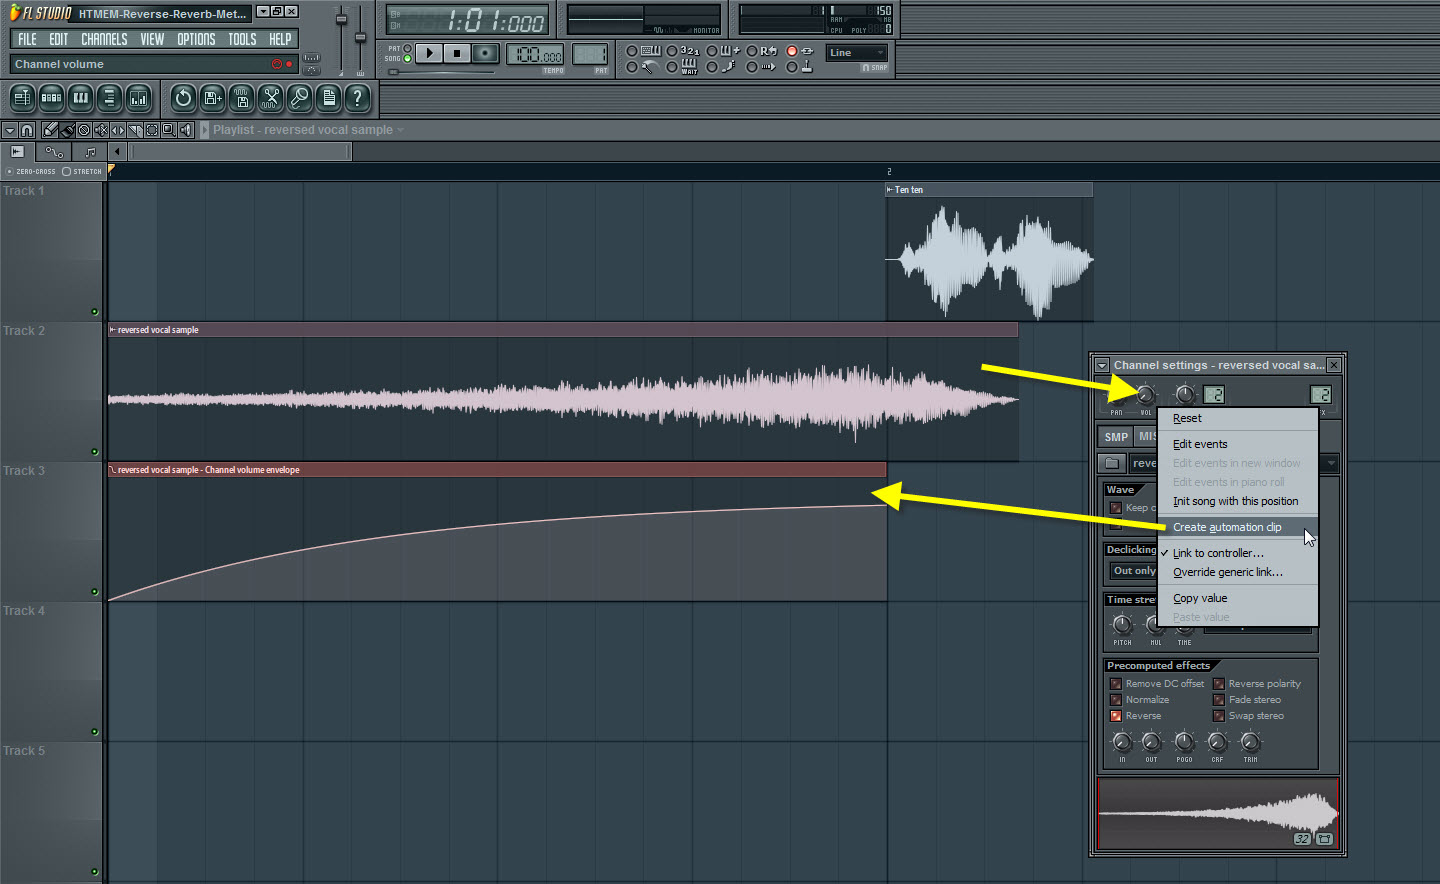
- Using Automation: Another powerful feature in FL Studio is automation. With automation, you can create precise volume adjustments over time. Right-click on the volume knob or fader of the metronome channel, select “Create Automation Clip” from the context menu, and a new automation clip will be created. Now, you can draw points on the automation clip and adjust their positions to control the volume at specific points in your project.
Feel free to try out different methods and choose the one that best suits your workflow and preferences. Remember, it’s all about finding the right balance and ensuring that the metronome volume doesn’t overpower the rest of your mix.
Now that you have adjusted the metronome volume, let’s move on to the final step and test the changes you’ve made.
Step 4: Testing the Metronome Volume
After adjusting the metronome volume in FL Studio, it’s important to test the changes you’ve made to ensure that the volume is at the desired level.
Here’s how you can test the metronome volume:
- Play your project in FL Studio by pressing the play button or using the designated shortcut key.
- Listen carefully to the metronome sound while the project is playing. Pay attention to whether it is too loud, too soft, or perfectly balanced with the other elements in your mix.
- If the metronome volume is still too loud, return to the mixer and make further adjustments. Repeat Step 3 to lower the volume even more.
- Continue testing and fine-tuning the metronome volume until you achieve the desired result.
Remember that the metronome serves as a guide to keep your music in time, so it should be audible but not overpowering. Finding the right balance ensures that you stay focused on your creative process while maintaining accurate timing.
Once you are satisfied with the metronome volume, you can proceed with your recording or production workflow with confidence, knowing that the metronome is at the perfect level for your needs.
Congratulations! You have successfully learned how to lower the metronome volume in FL Studio. Take some time to practice and experiment with different volume settings to find what works best for you.
Conclusion
Controlling the metronome volume in FL Studio is essential for maintaining a balanced mix and an optimized workflow. By following these simple steps, you can easily lower the metronome volume to a level that suits your needs and preferences.
In this article, we discussed the process of accessing the mixer, selecting the metronome channel, adjusting the volume using faders and knobs, and testing the changes you’ve made. With these steps, you have the ability to fine-tune the metronome volume to ensure it doesn’t overpower your music.
Remember that finding the right balance between the metronome volume and the rest of your mix is the key. It shouldn’t be too loud to distract you or too soft to become inaudible. The metronome should serve as a helpful guide while you focus on your creative process.
Feel free to experiment with different volume settings and techniques such as automation to achieve the best results. FL Studio offers flexibility and customization options to tailor the metronome to your specific requirements.
Now, armed with the knowledge of how to lower the metronome volume in FL Studio, you can confidently work on your projects, maintaining accurate timing without any undue distractions. Let your creative ideas flow without being overshadowed by an overpowering metronome.
So go ahead, apply these steps, and enjoy a pleasant and productive music production experience in FL Studio!