Home>Production & Technology>Metronome>What Does The Metronome Do In FL Studio

Metronome
What Does The Metronome Do In FL Studio
Modified: January 22, 2024
Discover the power of the metronome in FL Studio and enhance your music production skills. Stay in rhythm with this essential tool.
(Many of the links in this article redirect to a specific reviewed product. Your purchase of these products through affiliate links helps to generate commission for AudioLover.com, at no extra cost. Learn more)
Table of Contents
Introduction
FL Studio is a powerful digital audio workstation (DAW) that allows musicians, producers, and hobbyists to create, edit, and mix music. One of the essential tools in FL Studio is the metronome. The metronome is often referred to as the “click track” and serves as a rhythmic guide during the music production process.
Whether you’re a beginner getting started with music production or an experienced producer refining your tracks, understanding how to use the metronome effectively is crucial. It helps you maintain a consistent tempo, stay in sync with other musical elements, and create well-structured compositions.
In this article, we’ll take a comprehensive look at the metronome in FL Studio. We’ll explore its purpose, learn how to set it up, adjust its parameters, and even customize its sound. Additionally, we’ll provide some useful tips and tricks to help you make the most out of this invaluable tool.
So, if you’re ready to take your music production skills to the next level, let’s dive into the world of the FL Studio metronome and discover how it can enhance your creativity and workflow.
Overview of FL Studio
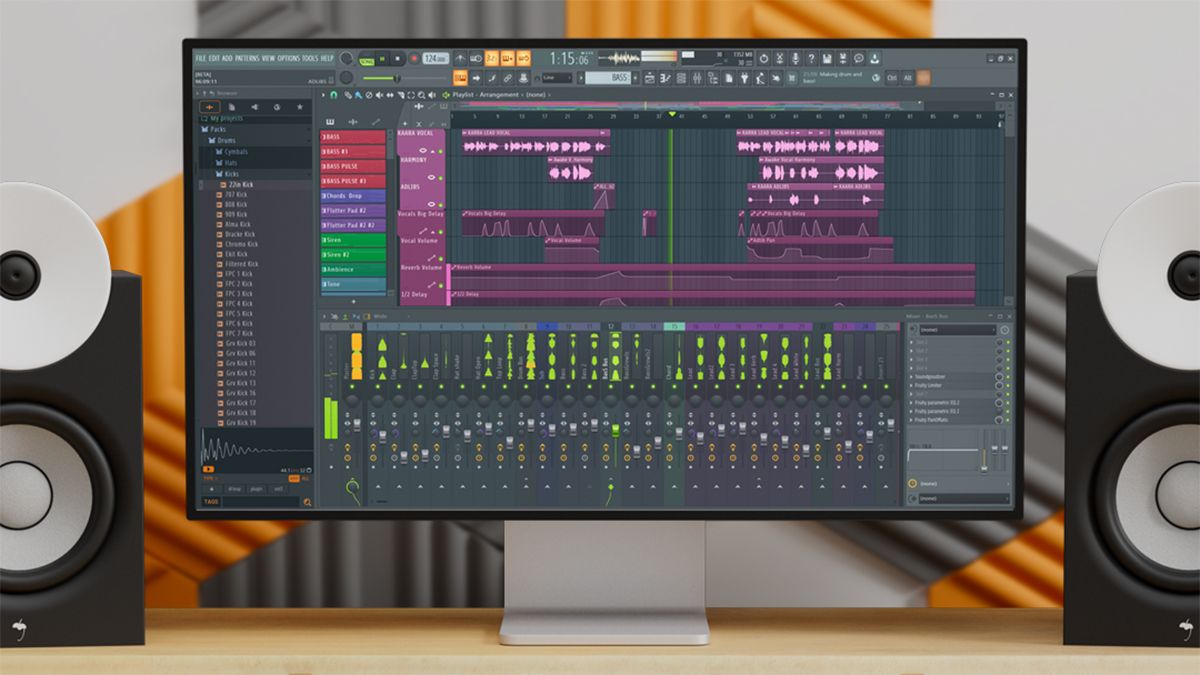
FL Studio, developed by Belgian company Image-Line, is a popular digital audio workstation (DAW) used by musicians, producers, and DJs around the world. It offers a comprehensive set of tools and features for creating, recording, editing, and mixing music. FL Studio is known for its intuitive interface, extensive plugin support, and powerful workflow capabilities.
FL Studio provides a seamless environment for music production, allowing users to compose music, arrange tracks, and mix their creations with ease. It offers a wide range of virtual instruments, effects, and samples, enabling users to explore different genres and experiment with various sounds and textures.
One of the standout features of FL Studio is its impressive playlist and pattern-based workflow. The playlist allows users to arrange their musical ideas into a cohesive structure, while the pattern-based interface provides a flexible approach to creating beats, melodies, and chord progressions.
In addition to its robust creative features, FL Studio offers advanced mixing and mastering tools, giving users the ability to fine-tune their tracks and achieve professional-grade sound quality. It supports popular audio formats and seamlessly integrates with external hardware and plugins, making it a versatile and adaptable DAW.
With its user-friendly interface and comprehensive set of features, FL Studio is suitable for both beginners and experienced producers. Whether you’re just starting out or looking to take your productions to the next level, FL Studio provides a solid foundation for music creation and endless possibilities for artistic expression.
Now that we have a brief overview of FL Studio, let’s delve into the specifics of one of its essential tools, the metronome, and how it can assist you in creating rhythmically accurate and engaging music.
Understanding the Metronome
The metronome is a rhythmic device that provides a steady beat or pulse to help musicians stay in time and maintain a consistent tempo. In FL Studio, the metronome serves the same purpose, ensuring that your music aligns precisely with the desired rhythm.
The metronome in FL Studio functions as a click track, providing an audible reference point that helps you keep track of the tempo throughout your project. It aids in maintaining synchronization between different tracks, instruments, and musical elements.
By using the metronome, you can create music with precise timing, allowing for a more cohesive and professional sound. This is especially crucial when working with multiple tracks or collaborating with other artists. The metronome acts as a guide, ensuring that every element of your composition is properly aligned and synchronized.
Additionally, the metronome is particularly useful when recording live instruments or vocals. It provides a rhythmic backbone that musicians can follow, ensuring that their performances are in time and consistent. It helps eliminate timing discrepancies and ensures a tight, well-executed performance.
Understanding the metronome’s importance and how to effectively use it will greatly benefit your music production process. In the next sections, we will explore how to set up the metronome in FL Studio, adjust its parameters, and customize its sound to suit your preferences and creative vision.
Setting the Metronome in FL Studio
Setting up the metronome in FL Studio is a straightforward process that ensures your music stays in rhythm throughout your project. By following a few simple steps, you can easily configure and customize the metronome to fit your specific needs.
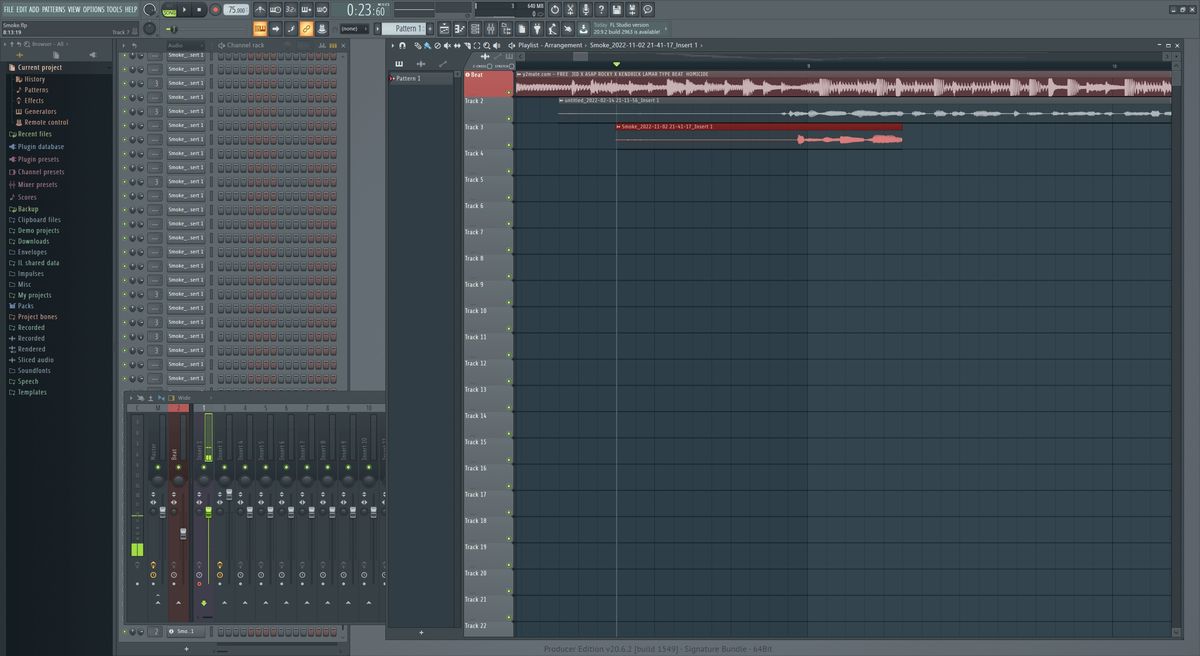
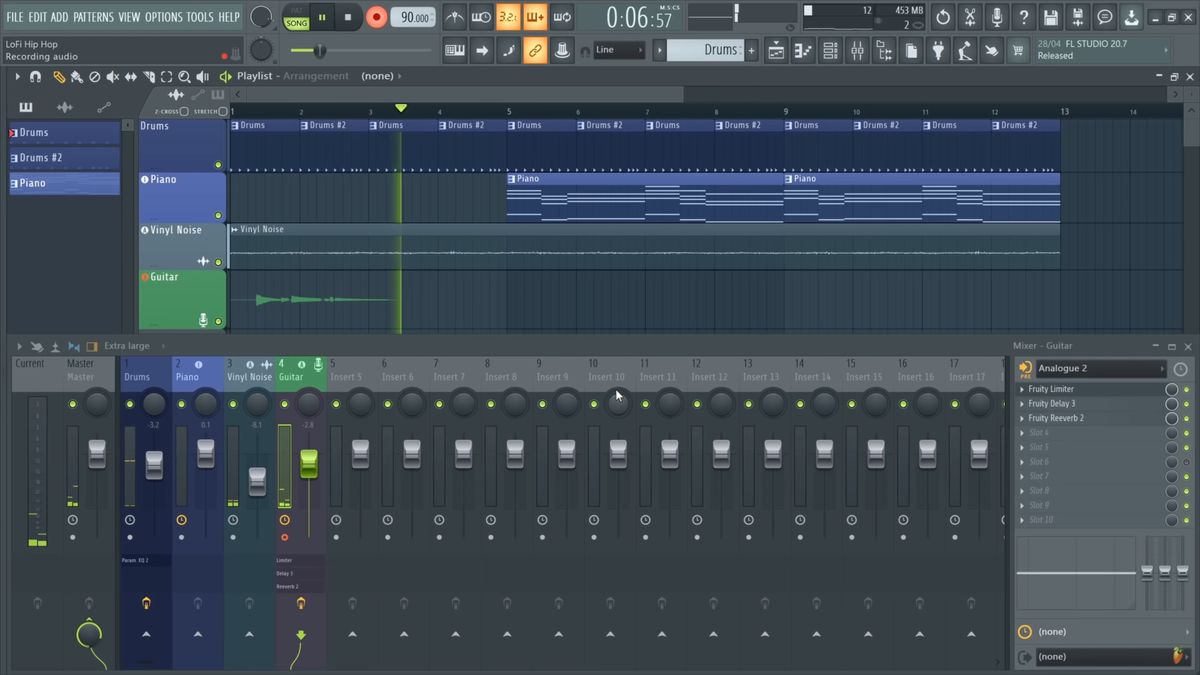
To begin, open FL Studio and create a new project or open an existing one. Once you have your project loaded, locate the metronome settings in the toolbar at the top of the screen. The metronome icon looks like a small clock or metronome, usually situated near the play and stop buttons.
Click on the metronome icon to access the metronome settings. This will open a pop-up window where you can adjust various parameters related to the metronome.
The first option you’ll see is the “Enable” checkbox. Make sure this box is ticked to activate the metronome. By enabling the metronome, you will hear the click track during playback and recording.
Next, you can choose the metronome’s output destination by selecting the appropriate audio device from the dropdown menu. This allows you to send the metronome sound to a specific audio output, such as your headphones or speakers.
One important parameter to consider is the metronome’s time signature. The time signature determines the number of beats in each measure and the type of note that represents one beat. In FL Studio, you can configure the time signature by adjusting the “Time Signature” dropdown menu. Choose the appropriate time signature that matches your project’s tempo and rhythm.
Furthermore, you can set the metronome’s tempo or beats per minute (BPM) by adjusting the “BPM” field. The BPM determines the speed at which the metronome clicks. You can manually enter a specific BPM value or use the arrow buttons to increase or decrease the tempo.
Once you have adjusted the metronome’s settings to your liking, click the “Accept” or “OK” button to save the changes. The metronome is now set up and ready to be used in your project.
Now that you have learned how to set up the metronome in FL Studio, let’s explore how you can customize its parameters and sound to enhance your workflow and creative process.
Adjusting the Metronome Parameters
FL Studio provides several options to adjust the metronome parameters, allowing you to customize its behavior and appearance to suit your preferences and workflow. By exploring these options, you can fine-tune the metronome settings to create a more personalized and efficient music production experience.
One of the key parameters you can adjust is the metronome’s volume. To control the volume of the metronome, locate the volume slider or knob in the metronome settings window. Drag the slider or adjust the knob to increase or decrease the volume to your desired level. This is useful for ensuring that the metronome is audible without overpowering the other elements of your composition.
In addition to volume control, you can alter the metronome sound itself. FL Studio offers different click sounds for the metronome, allowing you to choose a sound that best suits your style and preferences. To change the metronome sound, locate the “Sound” dropdown menu in the metronome settings window. Click on the dropdown menu and select the desired sound from the available options.
Furthermore, FL Studio allows you to modify the accent pattern of the metronome. The accent pattern refers to emphasizing certain beats within a measure. By adjusting the accent pattern, you can create rhythmic variations and add interest to your music. To modify the accent pattern, locate the “Accent” dropdown menu in the metronome settings window. Choose the desired accent pattern from the available options or create custom accent patterns.
Another parameter to consider is the metronome’s visual representation. FL Studio offers different visual modes for the metronome, allowing you to choose between a bouncing ball, blinking button, or no visual representation at all. To select a visual mode for the metronome, locate the “Visual Mode” dropdown menu in the metronome settings window. Choose the preferred visual mode from the available options.
By adjusting these metronome parameters, you can tailor the click sound, accent pattern, volume, and visual representation to match your workflow and musical style. These customization options contribute to a more personalized and efficient music production process, ensuring that the metronome works in harmony with your creative vision.
Now that you understand how to adjust the metronome parameters in FL Studio, let’s explore how you can further customize the metronome sound to add a unique touch to your compositions.
Customizing the Metronome Sound
FL Studio provides various options for customizing the metronome sound, allowing you to add a unique touch to your compositions. By exploring these customization options, you can enhance the metronome’s audio experience and make it more fitting for your style of music.
One of the ways to customize the metronome sound is by using your own sample or sound. FL Studio allows you to import your own audio files and use them as the metronome sound. This is a great opportunity to personalize the metronome and choose a sound that aligns with the overall vibe of your track. To add a custom metronome sound, locate the “Sound” dropdown menu in the metronome settings window and select “User”. Then, click on the folder icon to browse and select the custom sound file you want to use.
Another way to customize the metronome sound is by applying effects or processing. FL Studio offers a wide range of effects plugins that you can apply to the metronome sound to alter its characteristics. For example, you can use reverb to give the metronome a spacious ambiance or add distortion for a grittier sound. Experimenting with effects can help you create a metronome sound that is truly unique and complements your musical style.
Furthermore, you can adjust the pitch or timbre of the metronome sound using FL Studio’s editing tools or plugins. Changing the pitch can add a different flavor to the metronome, making it more interesting and distinct. Similarly, using equalization or other sound shaping tools can help you shape the tonal characteristics of the metronome to fit your desired sound aesthetic.
Once you have customized the metronome sound to your liking, be sure to save the settings as a preset. This will allow you to easily recall your customizations in future projects or sessions, saving you time and effort in the long run.
Customizing the metronome sound in FL Studio is a fantastic way to infuse your compositions with a personal touch. Whether you’re using your own samples, applying effects, or adjusting the pitch, these customization options provide you with the opportunity to create a metronome sound that adds depth and character to your music.
Now that you know how to customize the metronome sound, let’s explore some useful tips and tricks to assist you in effectively using the metronome in your music production workflow.
Metronome Tips and Tricks
The metronome is a powerful tool that can greatly enhance your music production process. By applying some useful tips and tricks, you can make the most out of the metronome and improve your overall rhythm and timing. Let’s explore some techniques to effectively utilize the metronome in your workflow:
- Start Slow: When practicing or recording a new piece or section, start with a slow tempo on the metronome. This allows you to focus on accuracy and precision, gradually increasing the tempo as you become comfortable.
- Use Subdivisions: Set the metronome to subdivide the beat, such as playing eighth notes or sixteenth notes. This helps you internalize complex rhythms and improve your sense of timing.
- Experiment with Different Time Signatures: The metronome in FL Studio allows you to adjust the time signature. Try working with different time signatures to create unique rhythmic patterns and challenge your musical creativity.
- Practice Playing Ahead and Behind the Beat: Experiment with intentionally playing slightly ahead or behind the metronome beat. This helps develop a sense of groove and allows for more expressive and dynamic performances.
- Use the Metronome in Different Sections of a Song: Set the metronome to specific sections of your song, such as only during the verse or chorus. This helps maintain a consistent tempo and keeps your arrangement tight and cohesive.
- Record with the Metronome: When recording live instruments or vocals, always record with the metronome. This ensures that your performances are in time and can be easily aligned with other tracks during the editing and mixing process.
- Practice with Metronome Challenges: Set metronome challenges by gradually increasing the tempo or playing with odd accents. This strengthens your rhythmic abilities and pushes you outside your comfort zone.
- Syncopation Training: Use the metronome to practice syncopated rhythms or off-beat patterns. This helps you develop a solid sense of rhythm and adds complexity to your musical ideas.
- Utilize Metronome Muting: Occasionally mute the metronome while practicing to test your ability to maintain a steady tempo without relying solely on the audible click. This builds internal rhythm and improves your overall sense of time.
By incorporating these metronome tips and tricks into your music production routine, you can significantly improve your timing, rhythm, and overall musicality. The metronome is a valuable tool that, when utilized effectively, can help you create professional-sounding compositions and performances.
Now, armed with these tips and tricks, you can take your music production skills to the next level by leveraging the power of the metronome in FL Studio.
Conclusion
The metronome is an indispensable tool in music production, and understanding how to effectively use it can greatly enhance your rhythmic accuracy and overall compositions. In this article, we explored the fundamentals of the metronome in FL Studio, from its purpose to its customization options.
We started by providing an overview of FL Studio, a powerful digital audio workstation that offers extensive features for music creation. From there, we delved into the importance of the metronome in maintaining a steady tempo and synchronization within your projects.
We then discussed how to set up the metronome in FL Studio, adjusting parameters such as enabling the metronome, selecting the audio output, and configuring the time signature and tempo. Properly setting up the metronome ensures a strong foundation for your music production workflow.
We also explored how to customize the metronome sound, including using custom samples or sounds, applying effects, and adjusting pitch. These customization options allow you to add a personal touch to the metronome and align it with your creative vision.
Finally, we provided a range of tips and tricks for effectively using the metronome, including starting slow, practicing with subdivisions, experimenting with different time signatures, and recording with the metronome. These strategies help develop your timing, groove, and overall rhythmic abilities.
By incorporating these techniques, you can harness the power of the metronome in FL Studio to create tight, well-timed compositions, and improve your musical performances. The metronome serves as an invaluable guide, ensuring that every element of your music is in rhythm and aligned harmoniously.
So, whether you’re a beginner looking to develop your timing or an experienced producer seeking to refine your rhythmic skills, mastering the metronome in FL Studio is a crucial step in your musical journey. Embrace the metronome as your rhythmic companion and witness the transformative impact it can have on your music.

