Home>Production & Technology>Metronome>How To Change Metronome Sound In Garageband

Metronome
How To Change Metronome Sound In Garageband
Published: January 13, 2024
Learn how to easily change the metronome sound in Garageband and customize your music production experience. Unlock the potential of your metronome with simple steps.
(Many of the links in this article redirect to a specific reviewed product. Your purchase of these products through affiliate links helps to generate commission for AudioLover.com, at no extra cost. Learn more)
Table of Contents
Introduction
In the world of music production and recording, having a reliable and precise metronome is essential. The metronome serves as a rhythmic guide, helping musicians maintain the desired tempo while performing. Garageband, one of the most popular digital audio workstations (DAWs) developed by Apple, offers a variety of settings, including the ability to change the metronome sound.
By default, Garageband comes with a standard metronome sound that is often used in various genres of music. However, musicians and producers may prefer to customize the metronome sound to match their style or personal preference. Fortunately, Garageband allows users to not only change the metronome sound but also adjust its volume and other settings.
In this article, we will explore how to change the metronome sound in Garageband, step by step. Whether you are an amateur musician, a professional producer, or someone simply looking to experiment with different sounds, this guide will help you unleash your creativity and make the most out of Garageband’s metronome feature.
Understanding Garageband Metronome Settings
Before we dive into the process of changing the metronome sound in Garageband, it’s important to familiarize ourselves with the various metronome settings available. Garageband offers a range of options for customizing the metronome, allowing you to tailor it to your specific needs and preferences.
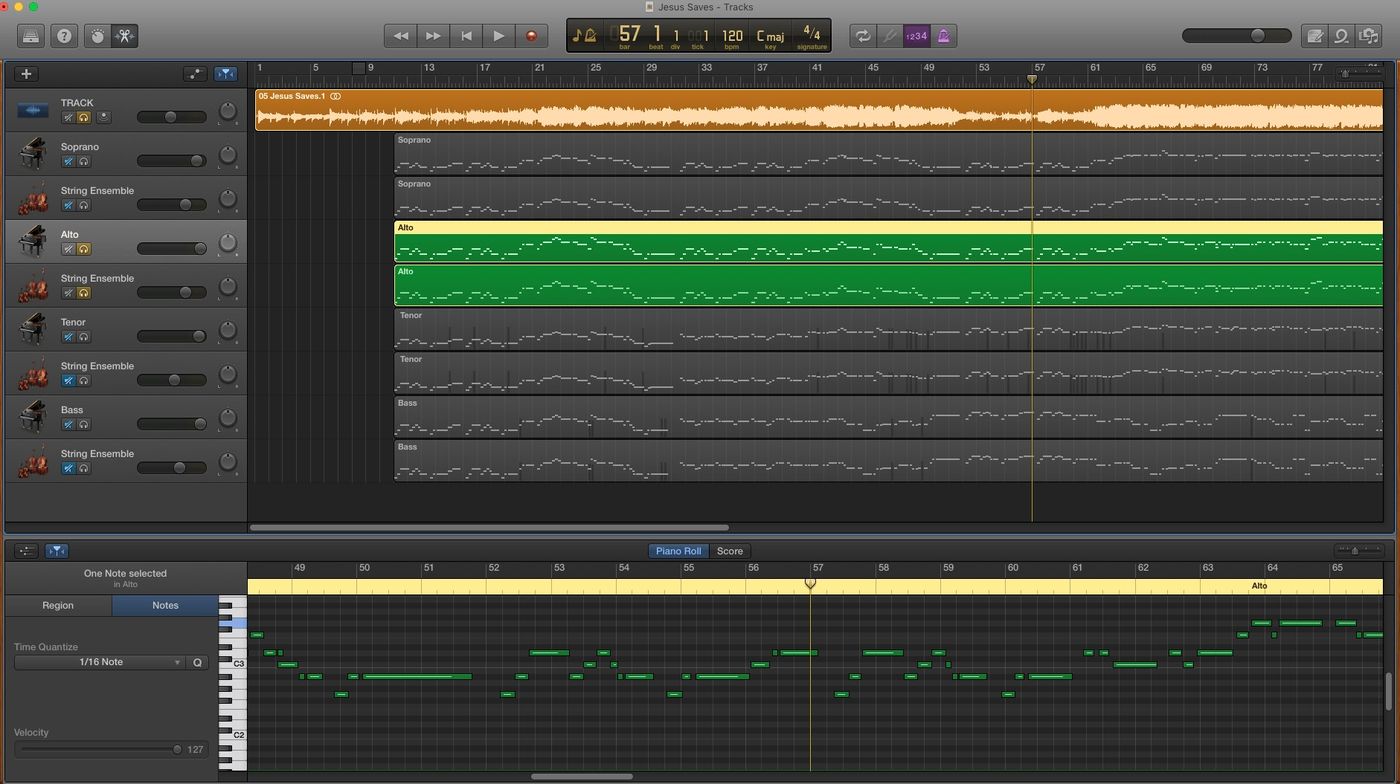
The metronome settings in Garageband can be accessed from the main toolbar, located at the top of the screen. When you open the metronome settings, you will find several options to modify the metronome sound, volume, and other related settings.
One of the key settings is the Metronome Sound, which determines the audio that is played when the metronome is active. By default, Garageband provides a selection of built-in metronome sounds, such as Click, Clave, Sonar, and Woodblock. However, you also have the option to import custom sound files and use them as the metronome sound.
Another important setting is the Metronome Volume, which controls the overall volume of the metronome sound. This allows you to adjust the volume level based on your preference and the specific requirements of your musical project. Additionally, Garageband offers the option to adjust the Accent Beat Volume, which emphasizes certain beats to help you stay in sync with the rhythm.
Furthermore, you have the ability to enable or disable the Count-In feature. When Count-In is activated, Garageband plays a bar or two of the metronome sound before the recording starts, giving you a brief preview and lead-in to the actual performance.
Lastly, Garageband allows you to customize the Time Signature of the metronome, which determines the number of beats per measure and the value of each beat. This is particularly useful when working on projects with complex or unconventional time signatures.
Now that we have a good understanding of the various metronome settings available in Garageband, let’s proceed to the steps to change the metronome sound and customize it to your liking.
Step 1: Opening the Metronome Settings
To change the metronome sound in Garageband, you’ll first need to open the Metronome Settings. Follow these simple steps:
- Launch Garageband on your computer. Once the application is open, create a new project or open an existing one where you want to modify the metronome sound.
- In the main toolbar at the top of the screen, you’ll find the Metronome icon, represented by a small clock icon. Click on this icon to open the Metronome Settings.
- A dropdown menu will appear with a list of metronome-related options. At the top of the dropdown menu, you’ll see the Metronome On/Off toggle switch. Make sure that the toggle switch is turned on (displaying as active) to enable the metronome.
- Click on “Metronome Settings” at the bottom of the dropdown menu. This will open the Metronome Settings window, where you can customize various aspects of the metronome.
Once you have successfully opened the Metronome Settings, you’re ready to proceed to the next step of choosing a new sound for the metronome. Keep reading to learn how to select a different metronome sound in Garageband.
Step 2: Selecting a New Sound for the Metronome
Changing the metronome sound in Garageband allows you to add a personal touch to your music projects. Follow these steps to select a new sound for the metronome:
- Once you have the Metronome Settings window open, you will see a section labeled “Sound”. This is where you can choose the sound that will be played when the metronome is active.
- Click on the dropdown menu next to the “Sound” label. You will see a list of built-in metronome sounds available in Garageband, such as Click, Clave, Sonar, and Woodblock.
- To listen to a specific metronome sound, simply click on it from the dropdown menu. Garageband will play a preview of the sound, giving you an idea of how it will sound during your recording or practice sessions.
- If you want to use a custom sound for the metronome, you can import your own audio file. Click on “Import Sound…” at the bottom of the dropdown menu. This will bring up a file browser where you can locate and select the audio file you wish to use as the metronome sound.
- After selecting the desired metronome sound, it will be instantly applied. You can now close the Metronome Settings window or proceed to further customization, such as adjusting the volume or saving the custom metronome sound.
By following these steps, you can easily change the metronome sound in Garageband and explore a wide range of options to enhance your musical experience. Once you have chosen a new sound, you can move on to customizing other metronome settings, as explained in the next step.
Step 3: Customizing the Metronome Sound
Now that you have selected a new sound for the metronome in Garageband, you may want to further customize it to suit your preferences. Garageband offers several options to fine-tune the metronome sound. Here’s how you can customize the metronome sound:
- In the Metronome Settings window, you will find the “Volume” slider under the “Sound” section. You can adjust the volume level by dragging the slider to the left or right, depending on your desired volume.
- Adjacent to the volume slider, you will see the “Accent Beat Volume” slider. This allows you to control the volume of the accented beats in the metronome. Adjust it to emphasize specific beats that require more emphasis in your music.
- Additionally, you have the option to enable or disable the “Count-In” feature. When Count-In is turned on, Garageband plays a few measures of the metronome sound before recording starts. To toggle the Count-In feature, simply check or uncheck the box next to “Count-In” under the “Options” section.
- Furthermore, Garageband allows you to customize the Time Signature of the metronome. This determines the number of beats in each measure and the value of each beat. You can change the Time Signature by clicking on the dropdown menu next to “Time Signature” and selecting your desired time signature.
By customizing these options, you can have more control over the metronome sound in Garageband, ensuring that it complements your musical style and enhances your overall recording or practice experience. Take some time to experiment with these settings and fine-tune the metronome sound to your liking.
Once you’re satisfied with the changes you’ve made, you can proceed to the next step, where we’ll explore how to adjust the overall volume of the metronome.
Step 4: Adjusting the Metronome Volume
After selecting a new metronome sound and customizing it to your liking, you may find the need to adjust the overall volume of the metronome in Garageband. Here’s how you can do it:
- In the Metronome Settings window, locate the “Volume” slider under the “Sound” section.
- Drag the volume slider to the left to decrease the metronome volume or to the right to increase it, based on your preference.
- While adjusting the volume, it’s important to strike a balance where the metronome is audible enough to guide your timing but not overpowering or distracting. Experiment with different volume levels until you find the sweet spot that works best for you.
- If you have enabled the “Count-In” feature, make sure to also consider the metronome volume during the count-in phase to ensure that it doesn’t overshadow the actual recording.
By adjusting the metronome volume, you can create a comfortable and immersive environment for your musical performance or practice sessions. It’s crucial to find the right balance between the metronome and the other elements in your music project.
Once you have successfully adjusted the metronome volume, you can proceed to the next step, where we’ll explore how to save your customized metronome sound for future use.
Step 5: Saving the Custom Metronome Sound
If you have created a unique and personalized metronome sound in Garageband, you might want to save it for future use or to share it with others. Saving your custom metronome sound ensures that you can easily access it whenever you need it. Here’s how you can save your custom metronome sound:
- In the Metronome Settings window, after selecting and customizing your desired metronome sound, make sure that all the settings are as you want them.
- Once you are satisfied with the customizations, close the Metronome Settings window by clicking the “X” button in the upper-left corner.
- Now, navigate to the main toolbar at the top of the screen and click on the “Track” menu.
- In the dropdown menu, select “Metronome Track” and click on “Save as Default” to save your custom metronome sound as the default setting for future projects.
By saving your custom metronome sound as the default setting, you ensure that every time you create a new project in Garageband, the same metronome sound will be automatically applied.
Alternatively, if you want to use the custom metronome sound in an existing project without setting it as the default, you can simply select “Metronome Track” under the “Track” menu and choose your desired metronome sound from the dropdown menu.
Remember, saving your custom metronome sound allows you to maintain consistency and easily access your preferred sound for future music projects in Garageband.
With these steps, you have successfully changed the metronome sound in Garageband and customized it to suit your preferences. Now, you can enjoy practicing, recording, and creating music with a metronome that truly reflects your unique style.
Conclusion
Changing the metronome sound in Garageband is a simple yet powerful way to enhance your music production and practice sessions. By customizing the metronome sound, you can add a personal touch to your projects and stay in rhythm with your desired sound.
In this article, we’ve explored the step-by-step process of changing the metronome sound in Garageband. From opening the Metronome Settings to selecting a new sound, customizing the sound and volume, and saving the custom metronome sound, we’ve covered it all.
Remember, Garageband offers a range of built-in metronome sounds to choose from, and you also have the option to import your own custom sounds. Additionally, you can adjust the volume, accent beat volume, enable/disable count-in, and customize the time signature to further tailor the metronome to your needs.
Whether you’re an aspiring musician, a seasoned producer, or someone who simply enjoys experimenting with different sounds, Garageband’s metronome settings give you the flexibility to create a metronome experience that suits your style and preferences.
So, go ahead and start exploring the diverse options available in Garageband. Change the metronome sound, customize it to your liking, and enjoy the benefits of having a precise and personalized rhythmic guide to support your musical journey.
Remember, the metronome not only helps you maintain tempo but also builds a strong foundation for your musical skills. So, embrace the metronome and let it be your faithful companion in your creative endeavors.

