Home>Production & Technology>MIDI>How To Connect MIDI Keyboard To Focusrite Scarlett 2i2
MIDI
How To Connect MIDI Keyboard To Focusrite Scarlett 2i2
Modified: February 22, 2024
Learn how to easily connect your MIDI keyboard to the Focusrite Scarlett 2i2 for seamless music production. Follow our step-by-step guide now!
(Many of the links in this article redirect to a specific reviewed product. Your purchase of these products through affiliate links helps to generate commission for AudioLover.com, at no extra cost. Learn more)
Table of Contents
Introduction
Connecting a MIDI keyboard to a Focusrite Scarlett 2i2 opens up a world of musical possibilities. Whether you're a budding musician, a seasoned producer, or simply looking to explore the realms of digital music creation, this guide will walk you through the process with clarity and precision. By the end of this tutorial, you'll be well-equipped to seamlessly integrate your MIDI keyboard with the powerful capabilities of the Focusrite Scarlett 2i2, allowing you to unleash your creativity and craft captivating melodies and compositions.
The Focusrite Scarlett 2i2 is renowned for its exceptional audio quality and versatile connectivity options, making it a popular choice for musicians and producers alike. Its combination of high-quality preamps, low-latency performance, and robust construction makes it an ideal companion for MIDI keyboards, enabling you to translate your musical ideas into digital form with unparalleled fidelity.
Whether you're aiming to record intricate piano compositions, experiment with electronic music production, or control virtual instruments and software synthesizers, the connection between your MIDI keyboard and the Focusrite Scarlett 2i2 serves as the bridge that brings your musical visions to life. This guide will provide you with the necessary steps to establish this vital link, empowering you to harness the full potential of your MIDI keyboard within your music production setup.
As we embark on this journey, it's important to approach the process with a sense of curiosity and enthusiasm. Embrace the opportunity to expand your musical horizons and unlock the boundless creativity that awaits at the intersection of MIDI keyboards and audio interfaces. With a clear understanding of the steps involved, you'll soon be on your way to seamlessly integrating your MIDI keyboard with the Focusrite Scarlett 2i2, paving the way for countless musical endeavors and sonic explorations.
Step 1: Gather Necessary Cables and Adapters
Before embarking on the process of connecting your MIDI keyboard to the Focusrite Scarlett 2i2, it's essential to gather the required cables and adapters to ensure a seamless and reliable connection. The following components are vital for establishing a robust link between your MIDI keyboard and the audio interface:
-
MIDI Cable: The MIDI cable serves as the primary conduit for transmitting musical data between your MIDI keyboard and the Focusrite Scarlett 2i2. Ensure that you have a MIDI cable with the appropriate connectors to establish a secure connection. It's advisable to opt for a high-quality MIDI cable to minimize the risk of signal interference and ensure consistent data transmission.
-
USB Cable: Depending on the specific model of your MIDI keyboard, you may need a USB cable to facilitate the transfer of MIDI data and power between the keyboard and your computer. Many modern MIDI keyboards feature USB connectivity, allowing for convenient plug-and-play functionality. Verify whether your MIDI keyboard requires a USB connection and have a compatible cable on hand.
-
MIDI to USB Adapter (If Required): In the event that your MIDI keyboard does not have built-in USB connectivity, a MIDI to USB adapter may be necessary to bridge the gap between the keyboard's MIDI output and the USB input of the Focusrite Scarlett 2i2. This adapter serves as a versatile solution for integrating MIDI devices with USB-equipped systems, providing flexibility in connecting diverse musical equipment.
-
Focusrite Scarlett 2i2 Power Supply (If Applicable): If your Focusrite Scarlett 2i2 requires external power, ensure that the power supply is readily available. While the Scarlett 2i2 can be powered via USB in many cases, certain setups may necessitate the use of an external power adapter. Confirm the power requirements of your specific Scarlett 2i2 model and have the corresponding power supply at hand if needed.
By assembling these essential cables and adapters, you'll lay a solid foundation for the subsequent steps in the process of connecting your MIDI keyboard to the Focusrite Scarlett 2i2. With the necessary components at your disposal, you'll be well-prepared to proceed with confidence and efficiency, setting the stage for a seamless integration of your MIDI keyboard within your music production setup.
Step 2: Connect MIDI Keyboard to Focusrite Scarlett 2i2
The process of connecting your MIDI keyboard to the Focusrite Scarlett 2i2 involves establishing a robust and reliable link that enables seamless communication between the two devices. By following the steps outlined below, you'll be able to create a solid connection, paving the way for a harmonious integration of your MIDI keyboard within your music production setup.
-
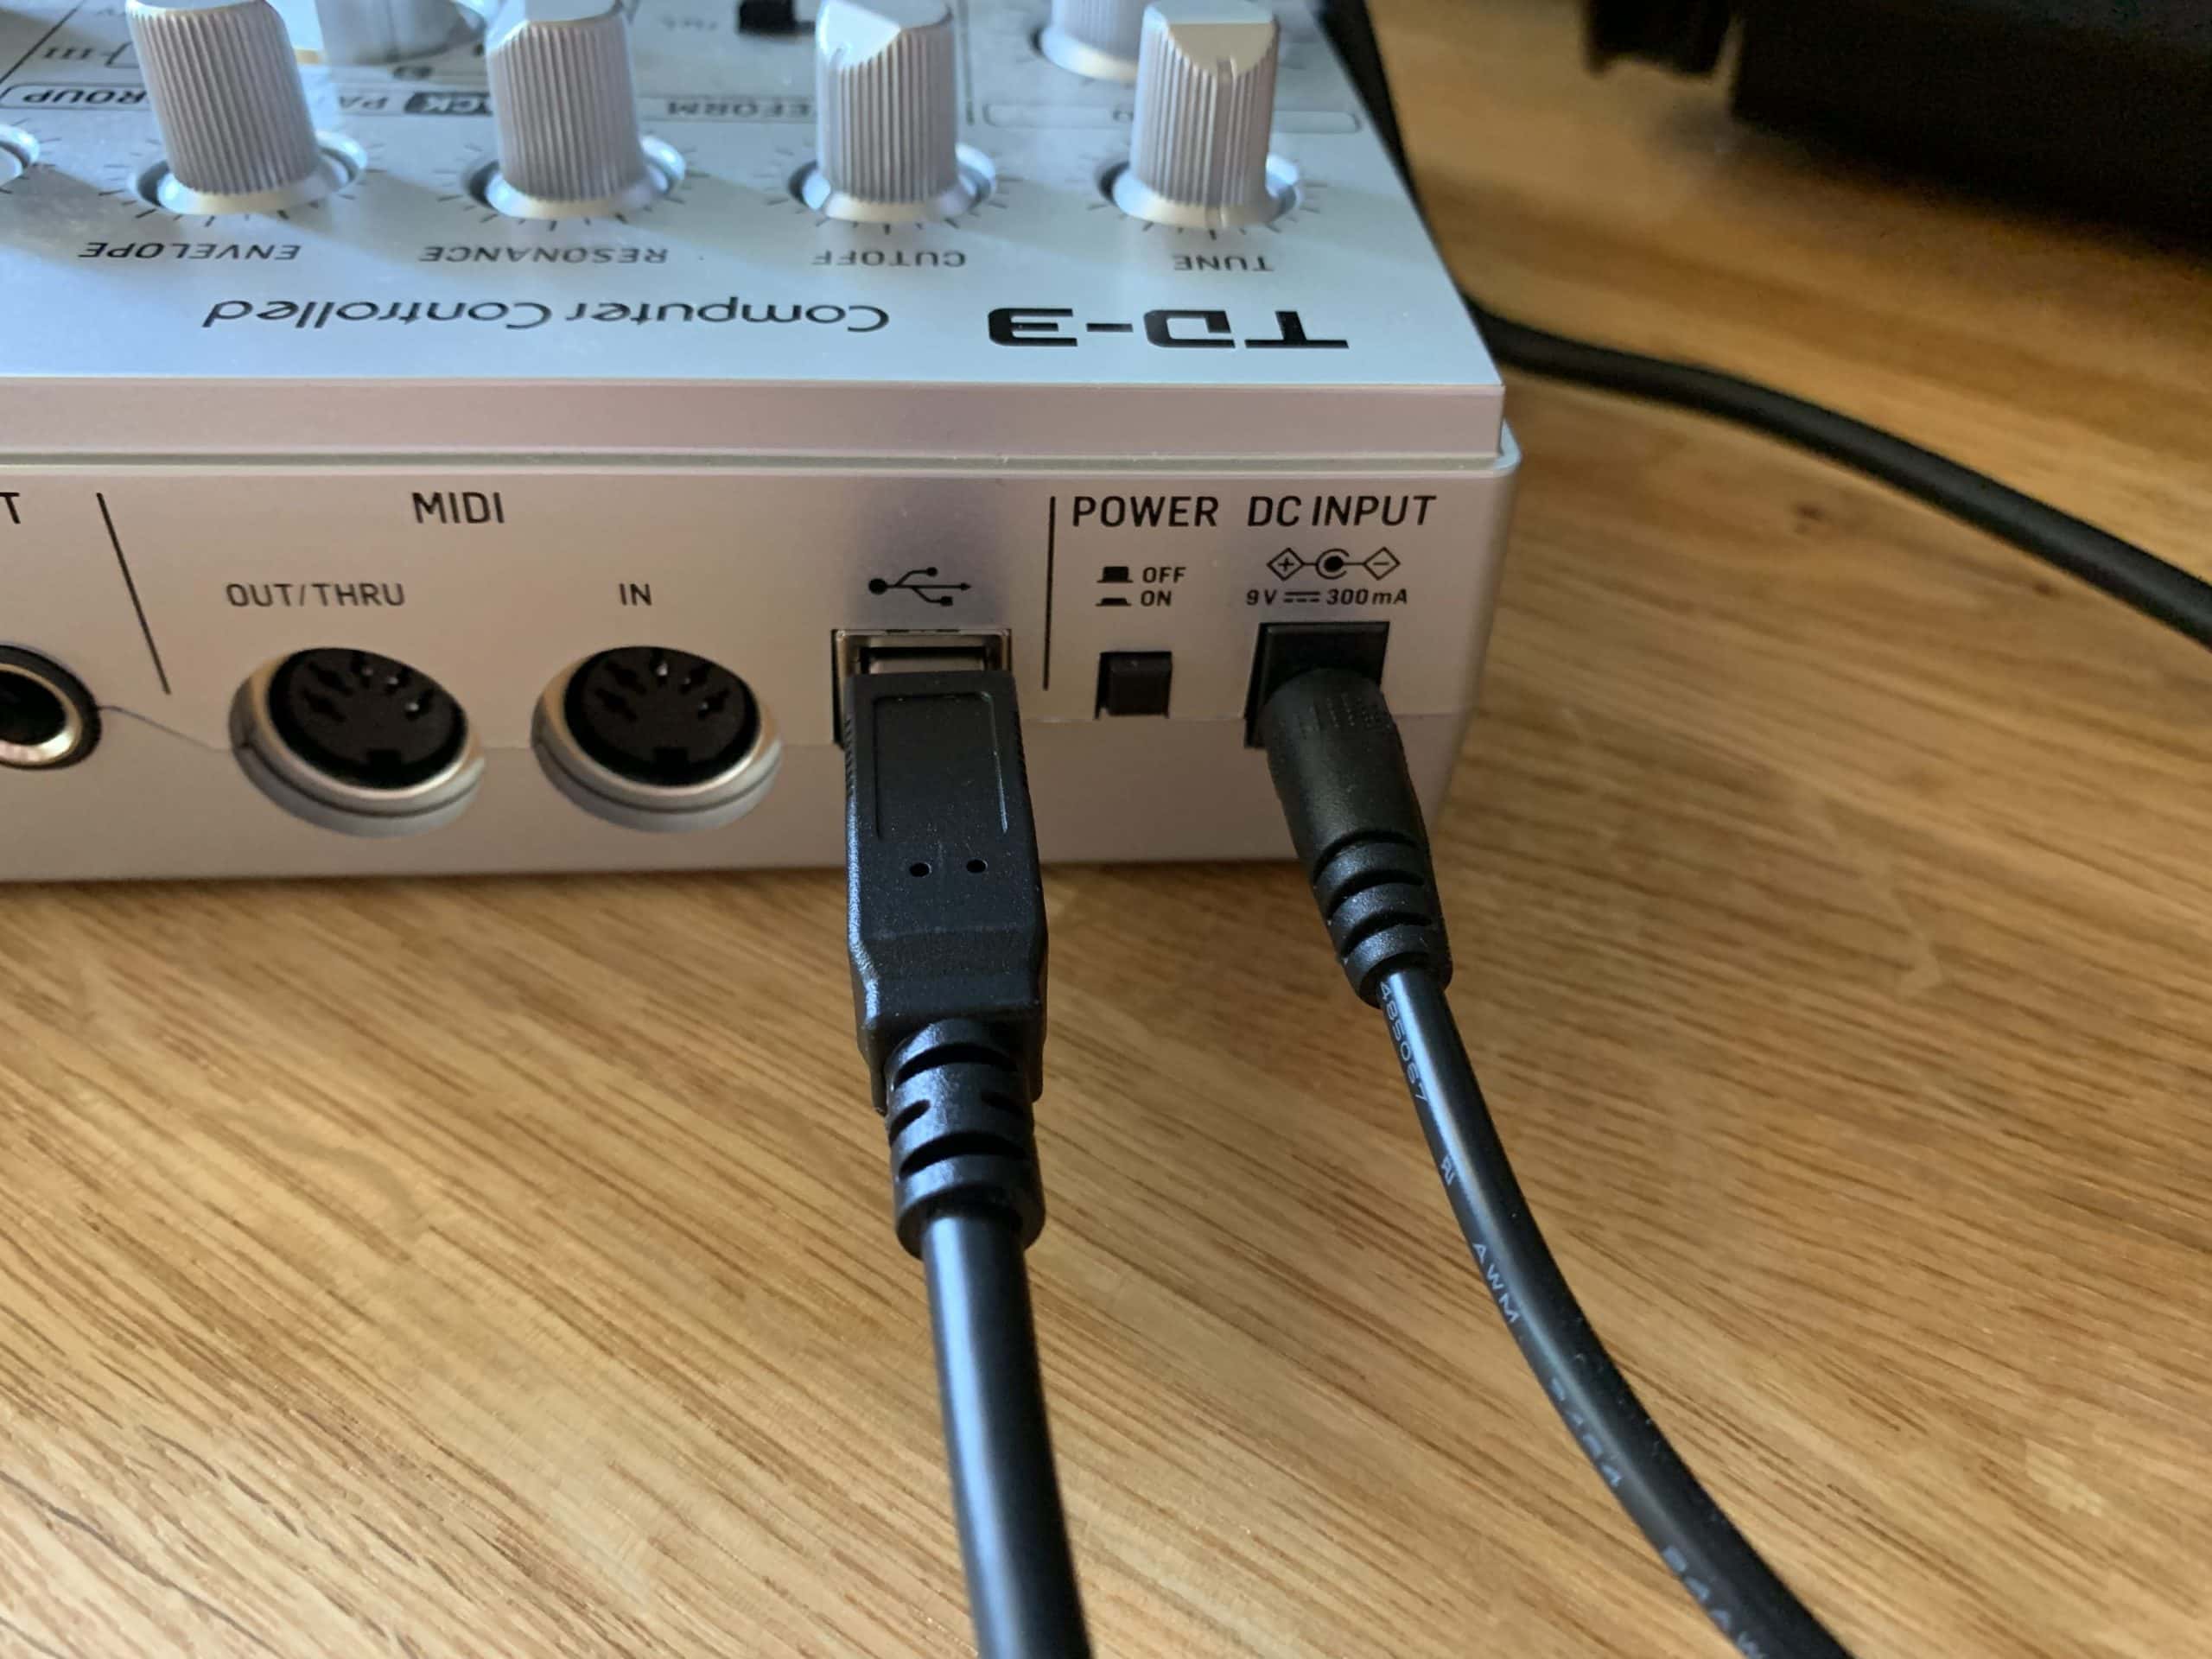
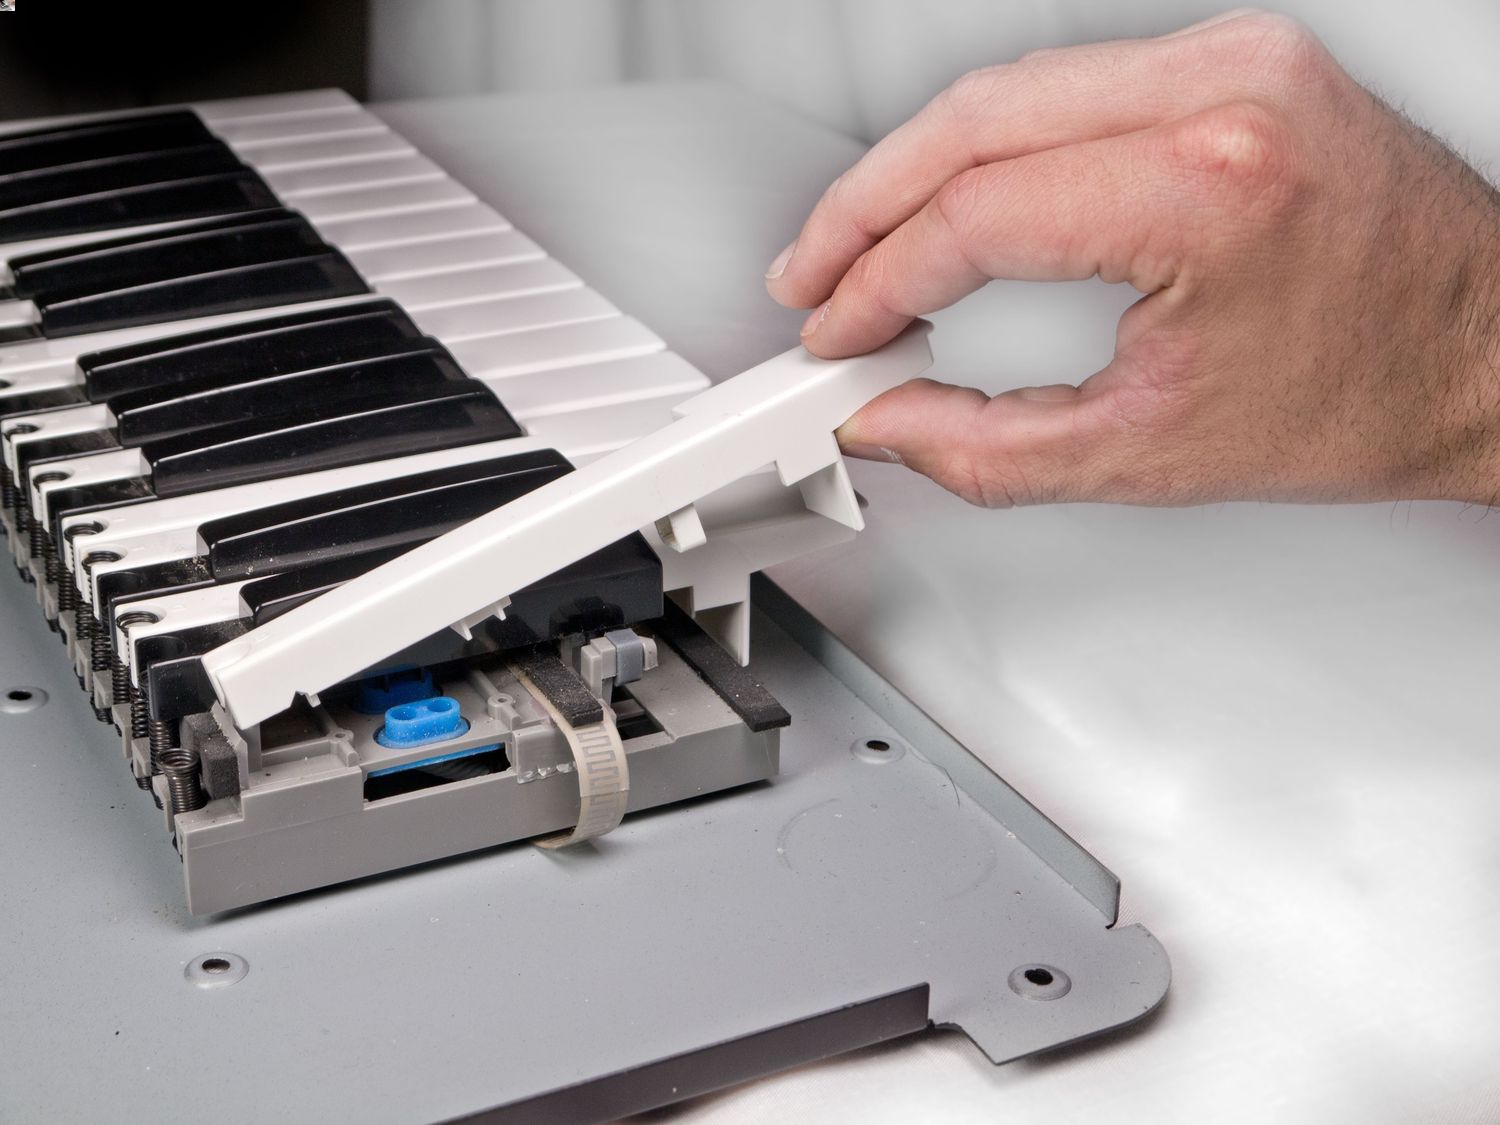
Locate MIDI Ports: Begin by identifying the MIDI ports on both your MIDI keyboard and the Focusrite Scarlett 2i2. Most MIDI keyboards feature MIDI Out and MIDI In ports, while the Scarlett 2i2 typically includes a MIDI Out port for transmitting MIDI data.
-
Connect MIDI Cable: Take the MIDI cable and insert one end into the MIDI Out port on your MIDI keyboard. Ensure a secure connection to minimize the risk of signal loss or interference.
-
Insert MIDI Cable into Scarlett 2i2: With the other end of the MIDI cable in hand, carefully insert it into the MIDI In port on the Focusrite Scarlett 2i2. This establishes the bidirectional flow of MIDI data from your keyboard to the audio interface.
-
Secure the Connections: Double-check the connections to guarantee a snug fit, mitigating the possibility of accidental disconnection during usage. A secure link between the MIDI keyboard and the Scarlett 2i2 is crucial for consistent data transmission.
-
Power On the Devices: Once the MIDI keyboard and the Focusrite Scarlett 2i2 are connected via the MIDI cable, proceed to power on both devices. This ensures that the necessary power and signal pathways are activated, setting the stage for seamless communication between the two components.
-
Verify Signal Flow: After powering on the devices, verify the signal flow by checking for indicator lights or on-screen notifications that indicate MIDI activity. This serves as a visual confirmation that the MIDI data is successfully traveling from the keyboard to the Scarlett 2i2.
By meticulously following these steps, you'll establish a robust and dependable connection between your MIDI keyboard and the Focusrite Scarlett 2i2. This foundational link forms the backbone of your music production setup, enabling the seamless transmission of MIDI data and empowering you to unleash the full potential of your MIDI keyboard within your creative endeavors.
Step 3: Configure Settings on Your Computer
Configuring the settings on your computer is a pivotal step in ensuring the seamless integration of your MIDI keyboard with the Focusrite Scarlett 2i2. By fine-tuning the software and system preferences, you'll optimize the communication between your MIDI keyboard, audio interface, and digital audio workstation (DAW), setting the stage for a cohesive and responsive music production environment.
1. Selecting the MIDI Input
Begin by accessing the MIDI settings within your digital audio workstation (DAW) or music production software. Navigate to the MIDI input preferences and designate the Focusrite Scarlett 2i2 as the primary MIDI input device. This selection establishes the audio interface as the conduit through which MIDI data from your keyboard is received by the software, ensuring that all incoming musical information is routed through the Scarlett 2i2 for processing and recording.
2. Adjusting Latency Settings
Latency, the delay between the moment a MIDI note is triggered and when it is heard through the audio interface, is a critical consideration for real-time performance and recording. Access the audio settings on your computer and configure the latency settings to achieve a balance between minimal delay and stable performance. Lower latency settings reduce the delay, enhancing the responsiveness of your MIDI keyboard during live playing and recording sessions.
3. Mapping MIDI Controls
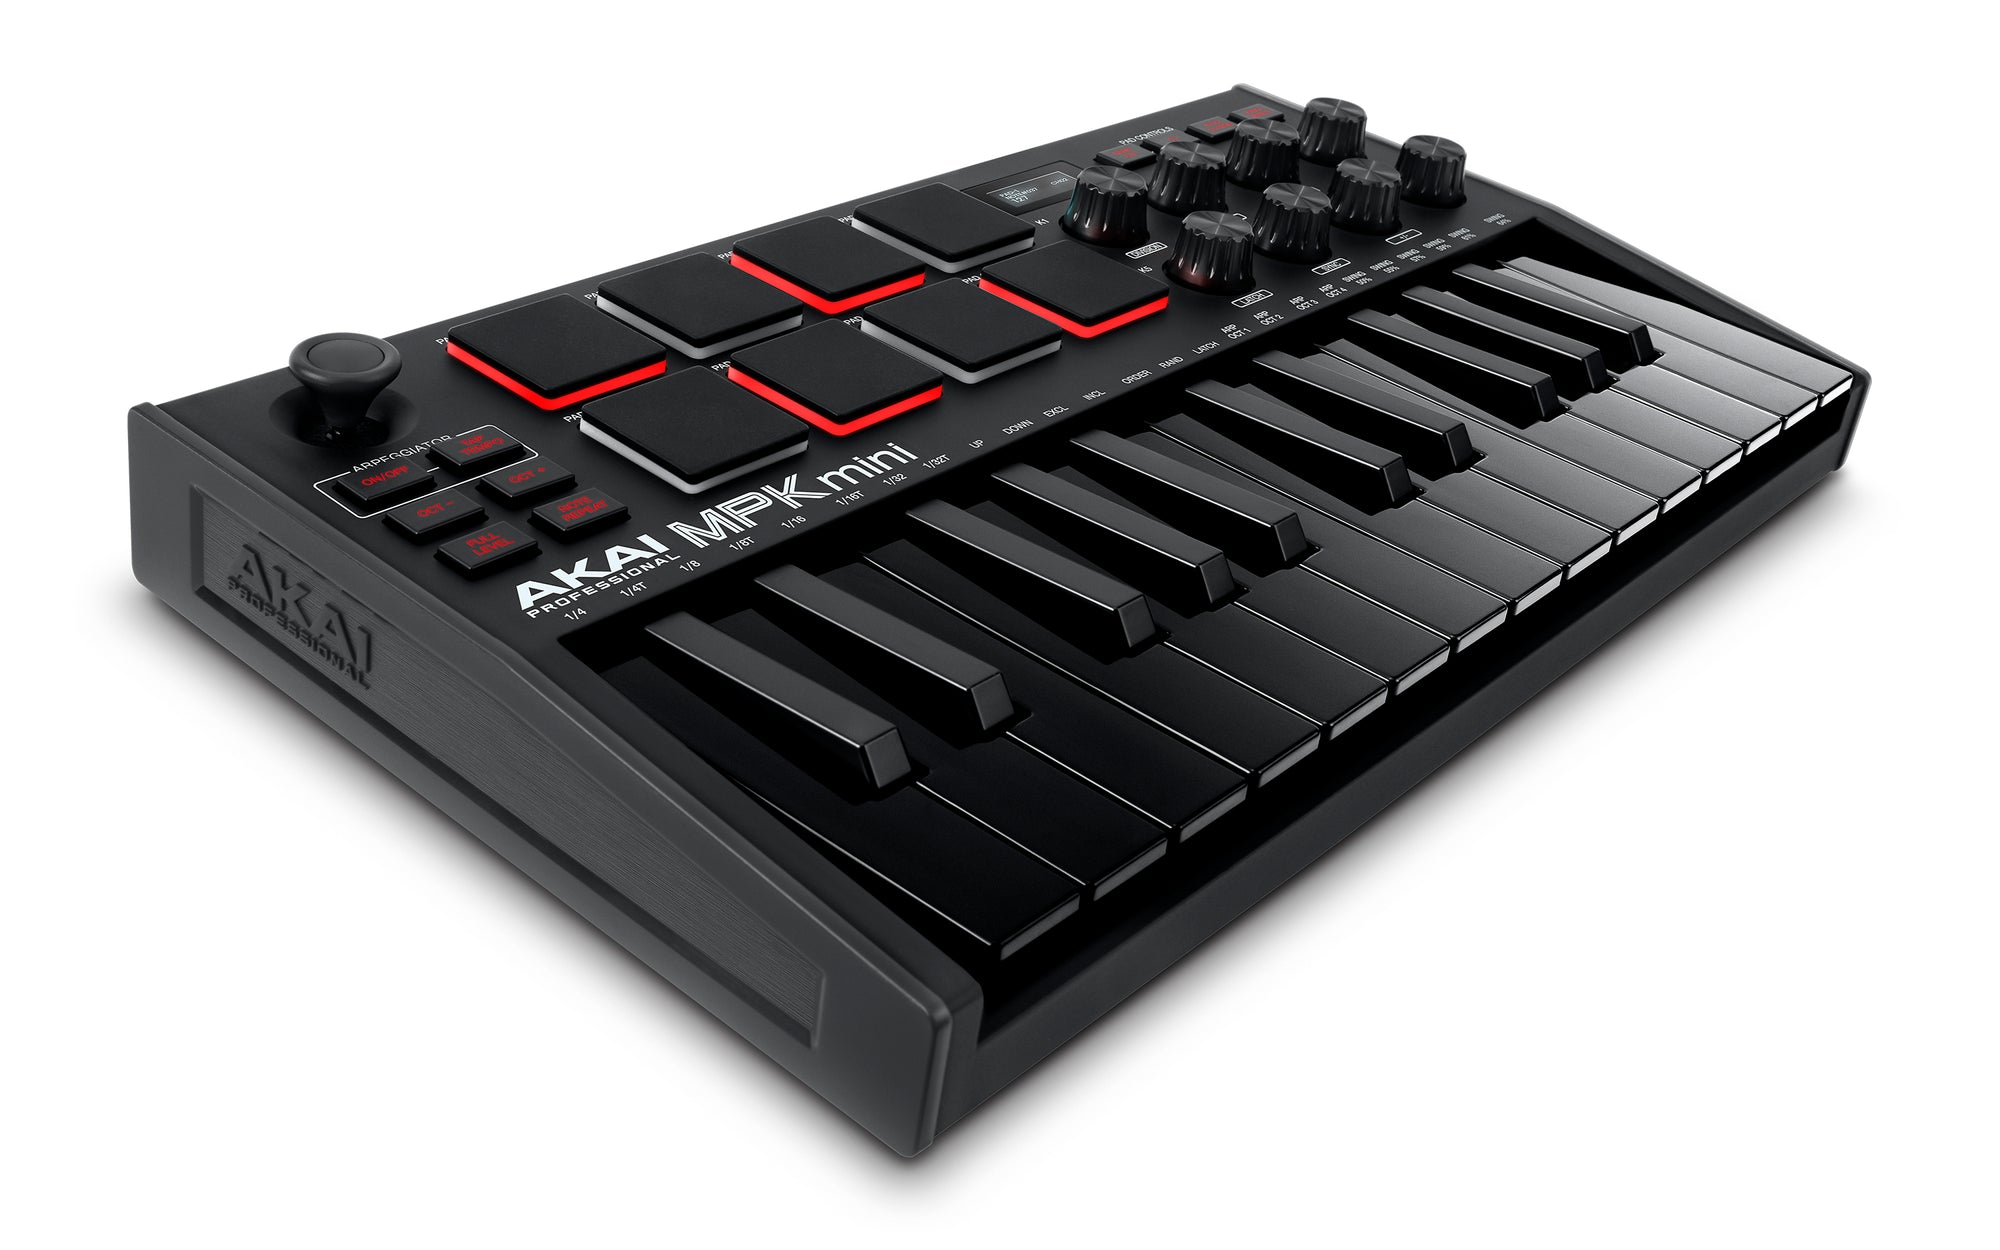
If your MIDI keyboard features assignable knobs, faders, or pads, take advantage of the opportunity to map these controls within your music production software. By assigning MIDI controls to specific parameters within your DAW, such as volume, panning, or instrument parameters, you can streamline your workflow and exert precise control over various aspects of your musical compositions. Mapping MIDI controls empowers you to interact with your software instruments and effects in a tactile and intuitive manner, enhancing your creative expression and productivity.
4. Testing MIDI Input
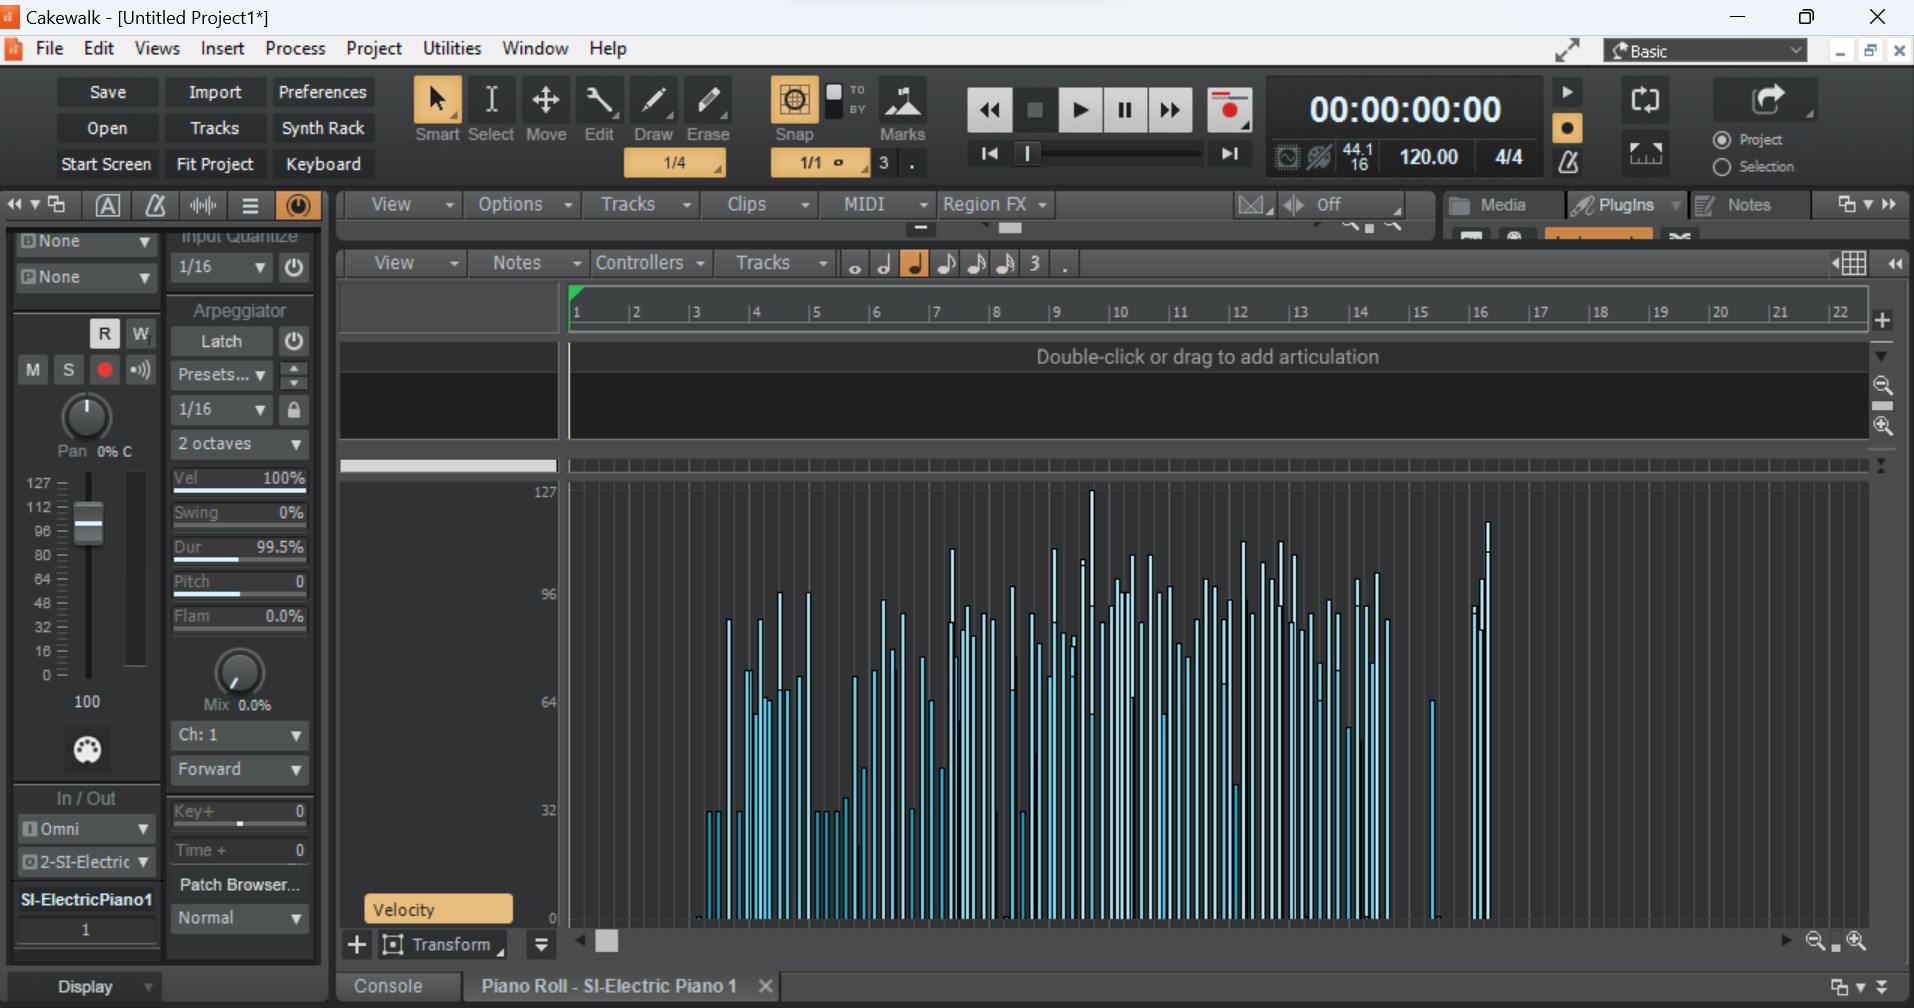
Once the settings have been configured, it's essential to conduct a thorough test of the MIDI input to ensure that the communication between your MIDI keyboard and the Focusrite Scarlett 2i2 is functioning as intended. Play a variety of musical passages on your MIDI keyboard while monitoring the input within your DAW. Verify that the MIDI data is accurately captured and reflected in the software, confirming that the settings adjustments have resulted in a seamless and responsive MIDI input experience.
By meticulously configuring the settings on your computer, you'll optimize the interaction between your MIDI keyboard and the Focusrite Scarlett 2i2, unlocking a realm of creative possibilities within your music production endeavors. This step serves as the bridge that harmoniously unites hardware, software, and musical expression, laying the groundwork for a fluid and immersive music production experience.
Step 4: Test the Connection
Testing the connection between your MIDI keyboard and the Focusrite Scarlett 2i2 is a crucial step in ensuring that the link is robust, responsive, and capable of accurately transmitting MIDI data. By conducting a comprehensive evaluation of the connection, you can verify the seamless integration of your MIDI keyboard within your music production setup, laying the foundation for uninterrupted creativity and musical exploration.
1. MIDI Input Monitoring
Initiate the testing process by engaging in MIDI input monitoring within your digital audio workstation (DAW) or music production software. Play a series of musical passages on your MIDI keyboard while observing the MIDI input indicators within the software. This visual feedback provides real-time confirmation that the MIDI data generated by your keyboard is successfully reaching the Focusrite Scarlett 2i2, serving as the first line of verification for the integrity of the connection.
2. Real-Time Responsiveness
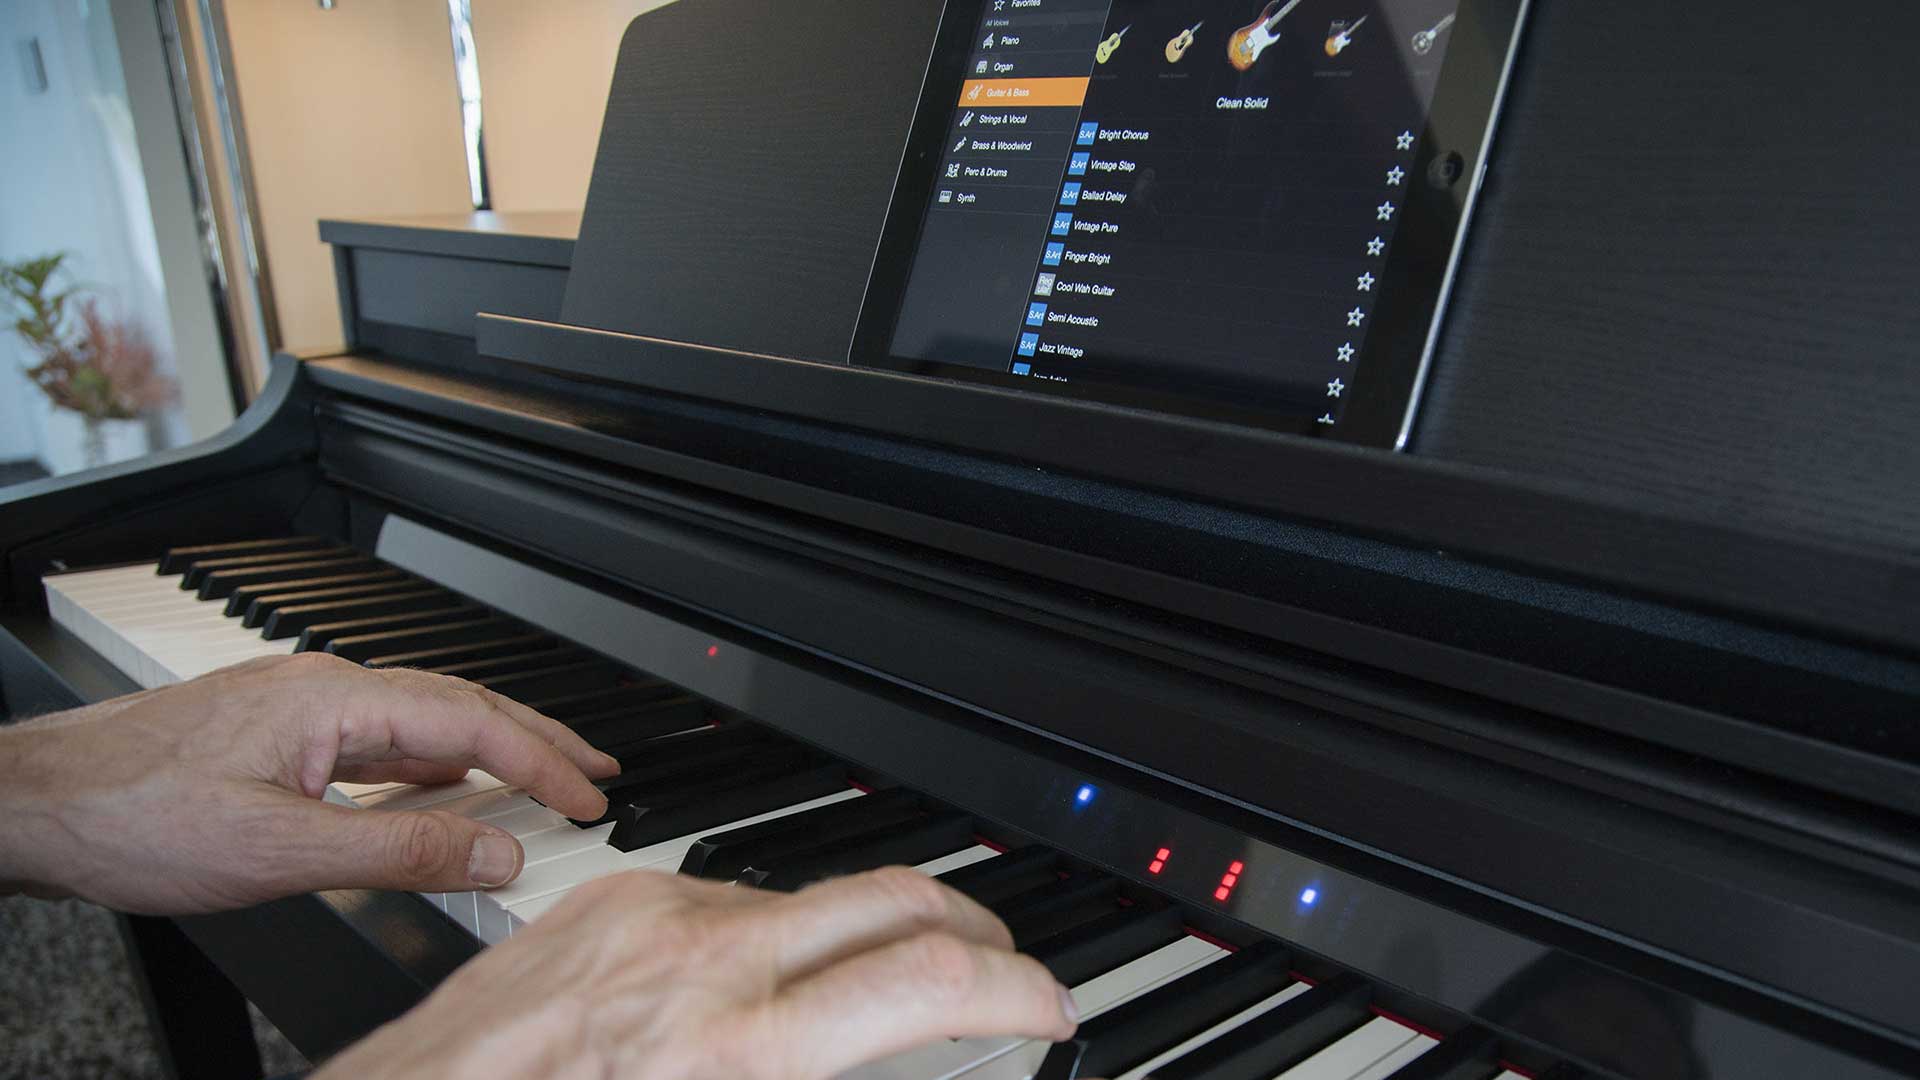
Assess the real-time responsiveness of the MIDI connection by performing dynamic and expressive musical phrases on your keyboard. Observe the immediate playback of the notes within your DAW, ensuring that the latency is minimal and the musical nuances are faithfully captured. The ability of the connection to accurately convey the subtleties of your performance is a testament to its reliability and precision, underscoring its capacity to facilitate the seamless translation of your musical expressions into the digital domain.
3. Sustained Data Transmission
Conduct an extended testing phase to evaluate the sustained data transmission capabilities of the MIDI connection. Engage in prolonged playing sessions on your MIDI keyboard, exploring a diverse range of musical styles and techniques. Monitor the continuity of MIDI data transmission, ensuring that the connection remains stable and consistent throughout the duration of your performance. This comprehensive assessment validates the resilience of the connection, affirming its ability to uphold the integrity of MIDI communication under varying musical contexts.
4. Multi-Channel Communication
If your MIDI keyboard supports multi-channel communication, take advantage of this capability to test the simultaneous transmission of MIDI data across different channels. Utilize the diverse channels to trigger distinct sounds or control separate parameters within your music production software. Verify that the Focusrite Scarlett 2i2 adeptly captures and distinguishes the MIDI data from each channel, demonstrating its proficiency in managing multi-faceted MIDI communication with precision and clarity.
By meticulously testing the connection between your MIDI keyboard and the Focusrite Scarlett 2i2, you can confidently affirm the reliability and efficacy of the link, setting the stage for boundless musical creativity and exploration. This comprehensive evaluation serves as the final validation of the seamless integration of your MIDI keyboard within your music production environment, empowering you to embark on a musical journey characterized by fluidity, responsiveness, and uninhibited expression.
Conclusion
In conclusion, the successful connection of your MIDI keyboard to the Focusrite Scarlett 2i2 represents a pivotal milestone in your musical journey. By seamlessly integrating these essential components within your music production setup, you've unlocked a realm of creative possibilities and technical capabilities that empower you to express your musical vision with unparalleled precision and fidelity.
The process of connecting your MIDI keyboard to the Focusrite Scarlett 2i2 is not merely a technical endeavor; it signifies the convergence of artistry and technology, where the boundless creativity of the musician intersects with the advanced capabilities of modern audio equipment. This intersection forms the nexus through which musical ideas are translated into tangible sonic expressions, enabling you to craft captivating melodies, intricate compositions, and immersive sonic landscapes with seamless fluidity.
With the MIDI keyboard and Scarlett 2i2 working in harmony, you have at your disposal a versatile and powerful platform for musical exploration. Whether you aspire to record expressive piano performances, delve into the realm of electronic music production, or harness the capabilities of virtual instruments and software synthesizers, the connection between your MIDI keyboard and the Scarlett 2i2 lays the foundation for limitless sonic innovation.
Furthermore, the successful integration of your MIDI keyboard with the Focusrite Scarlett 2i2 signifies more than just a technical achievement; it embodies the fusion of passion, creativity, and technological prowess. It represents the convergence of artistry and innovation, where the intangible essence of musical expression converges with the tangible capabilities of advanced audio equipment.
As you embark on your musical endeavors, armed with the seamless connection between your MIDI keyboard and the Focusrite Scarlett 2i2, you are primed to explore new sonic frontiers, experiment with diverse musical genres, and actualize your creative vision with unparalleled precision and depth. The harmonious integration of these essential components serves as the catalyst for transformative musical experiences, empowering you to embark on a journey of sonic discovery and artistic fulfillment.
In essence, the connection between your MIDI keyboard and the Focusrite Scarlett 2i2 transcends the realm of technical connectivity; it symbolizes the harmonious fusion of musical passion, technical ingenuity, and creative expression, paving the way for a musical odyssey characterized by innovation, inspiration, and boundless creativity.