Home>Production & Technology>MIDI>How To Connect MIDI Keyboard To FL Studio 11

MIDI
How To Connect MIDI Keyboard To FL Studio 11
Modified: February 22, 2024
Learn how to easily connect your MIDI keyboard to FL Studio 11 and start creating music. Follow our step-by-step guide to set up MIDI in no time.
(Many of the links in this article redirect to a specific reviewed product. Your purchase of these products through affiliate links helps to generate commission for AudioLover.com, at no extra cost. Learn more)
Table of Contents
Introduction
Connecting a MIDI keyboard to FL Studio 11 opens up a world of possibilities for music production and performance. By integrating a physical keyboard with the versatile digital audio workstation (DAW) software, musicians and producers can seamlessly blend the tactile experience of playing a traditional instrument with the boundless creative potential of electronic music production.
In this comprehensive guide, we will walk through the process of setting up and configuring a MIDI keyboard to work seamlessly with FL Studio 11. Whether you're a seasoned musician looking to harness the power of technology or a budding producer eager to explore new sonic horizons, this tutorial will equip you with the knowledge and skills to seamlessly integrate your MIDI keyboard with FL Studio 11.
As we embark on this journey, we'll delve into the intricacies of MIDI technology, demystify the setup process, and explore the seamless synergy between hardware and software. By the end of this guide, you'll be well-equipped to harness the full potential of your MIDI keyboard within the dynamic environment of FL Studio 11, empowering you to express your musical ideas with precision and creativity.
So, grab your MIDI keyboard, fire up FL Studio 11, and let's embark on this exciting exploration of music, technology, and creative expression. Whether you're aiming to lay down captivating melodies, craft intricate harmonies, or unleash the power of cutting-edge sound design, the fusion of your MIDI keyboard and FL Studio 11 will serve as your gateway to a world of musical innovation and inspiration.
Step 1: Setting up the MIDI Keyboard
Setting up a MIDI keyboard with FL Studio 11 is a pivotal first step in unlocking the full potential of your music production setup. This process entails establishing a seamless connection between your physical MIDI keyboard and the digital realm of FL Studio 11, enabling you to harness the expressive capabilities of the keyboard within the software environment. Let's dive into the detailed steps to ensure a smooth and effective setup.
1.1. Physical Connection
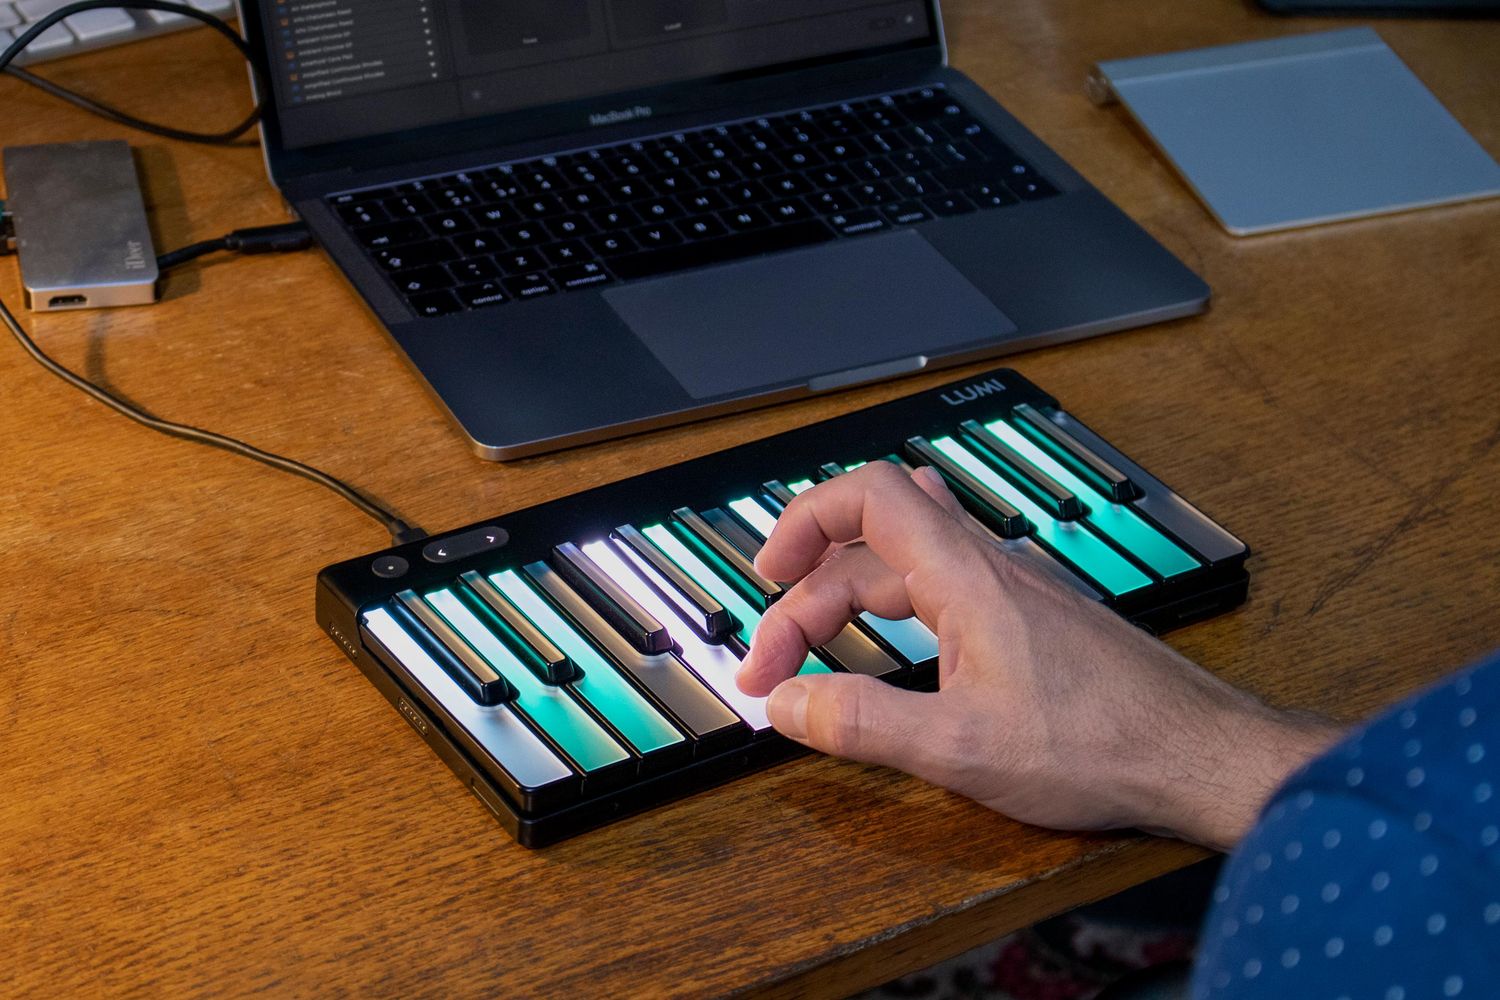
Begin by connecting your MIDI keyboard to your computer using a USB cable or MIDI interface, depending on the available connectivity options. Most modern MIDI keyboards feature USB connectivity, simplifying the setup process and eliminating the need for additional MIDI interfaces. Once the physical connection is established, your computer should recognize the MIDI keyboard as a peripheral device, paving the way for the subsequent software configuration.
1.2. Power On and Driver Installation
After connecting the MIDI keyboard, power it on and ensure that it is functioning properly. In some cases, your computer may prompt you to install specific drivers for the MIDI keyboard. If this occurs, follow the on-screen instructions to install the necessary drivers, ensuring seamless communication between the keyboard and your computer's operating system.
1.3. FL Studio 11 Configuration
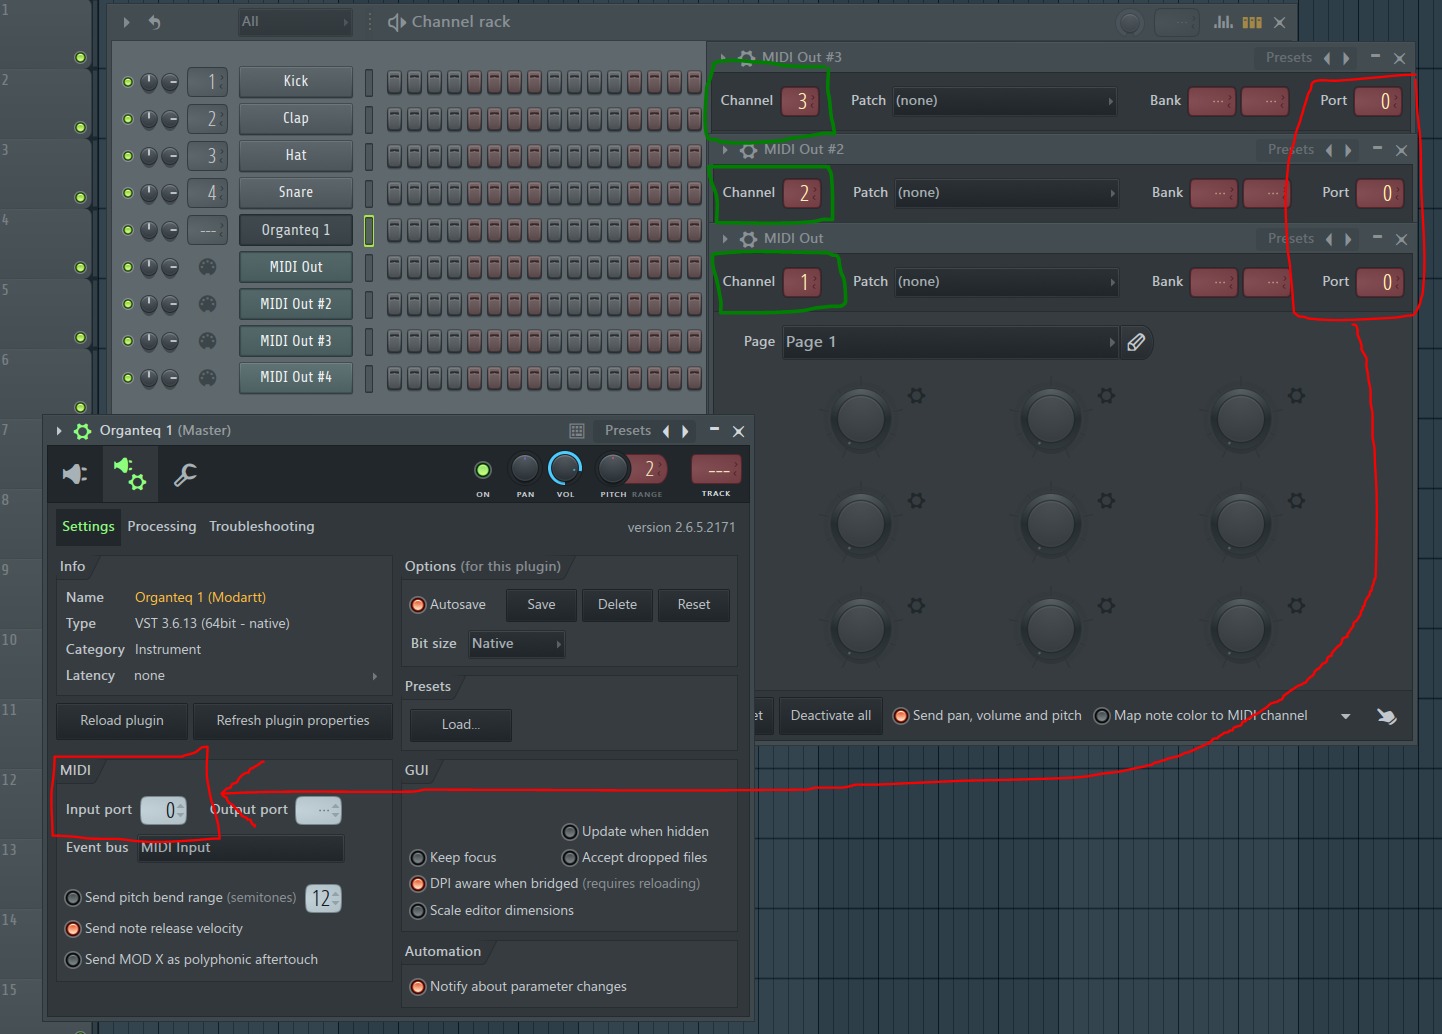
Launch FL Studio 11 and navigate to the "Options" menu. Select "MIDI Settings" to access the MIDI configuration panel. Here, you can manage the MIDI input and output settings, including the recognition of your MIDI keyboard within FL Studio 11. Locate your MIDI keyboard in the list of available devices and ensure that it is enabled for both input and output communication.
1.4. MIDI Mapping
In FL Studio 11, MIDI mapping allows you to assign specific functions within the software to various controls on your MIDI keyboard. This customization empowers you to manipulate parameters, trigger samples, and control virtual instruments directly from your keyboard. To configure MIDI mapping, access the "Options" menu and select "MIDI Settings." From here, you can assign MIDI input to specific software functions, creating a personalized and intuitive workflow tailored to your musical preferences.
By meticulously following these steps, you can seamlessly integrate your MIDI keyboard with FL Studio 11, laying the foundation for a cohesive and expressive music production environment. This setup process bridges the physical and digital realms, empowering you to unleash your creativity and musical vision within the dynamic landscape of FL Studio 11.
Step 2: Configuring FL Studio 11
Configuring FL Studio 11 to seamlessly communicate with your MIDI keyboard is a crucial step in harnessing the full potential of this powerful music production software. By optimizing the software settings to accommodate your specific MIDI keyboard and performance preferences, you can create a tailored environment that enhances your workflow and unleashes your creative potential. Let's delve into the intricate process of configuring FL Studio 11 to harmonize with your MIDI keyboard, empowering you to navigate the software with precision and fluidity.
2.1. MIDI Input Settings
Upon launching FL Studio 11, navigate to the "Options" menu and select "MIDI Settings" to access the MIDI configuration panel. Here, you can fine-tune the MIDI input settings to ensure that FL Studio 11 accurately interprets the signals from your MIDI keyboard. Verify that the MIDI input port corresponding to your keyboard is correctly selected, enabling seamless communication between the physical keys and the software's virtual instruments and controls.
2.2. MIDI Output Settings
In addition to configuring MIDI input, it's essential to optimize the MIDI output settings within FL Studio 11. By accessing the MIDI configuration panel, you can designate the MIDI output port that corresponds to your MIDI keyboard, facilitating the transmission of MIDI data from FL Studio 11 to the keyboard. This bidirectional communication stream enables you to control external hardware devices and leverage the expressive capabilities of your MIDI keyboard within the software environment.
2.3. Channel Assignments
FL Studio 11 offers comprehensive channel assignment options, allowing you to designate specific MIDI channels for different functions and instruments. Within the MIDI configuration panel, you can allocate distinct MIDI channels to various software components, facilitating nuanced control and seamless integration with your MIDI keyboard. Whether you're triggering drum samples, manipulating virtual synthesizers, or modulating effects parameters, precise channel assignments empower you to orchestrate your musical ideas with finesse and accuracy.
2.4. Latency Optimization
Latency, the delay between triggering a MIDI note and hearing the corresponding sound, is a critical consideration when configuring FL Studio 11 for use with a MIDI keyboard. By optimizing the audio settings within FL Studio 11, you can minimize latency to achieve a responsive and immersive playing experience. Fine-tune the audio buffer settings and sample rate to strike a balance between low latency and stable performance, ensuring that your MIDI keyboard responds with immediacy and precision.
By meticulously configuring FL Studio 11 to align with your MIDI keyboard, you pave the way for a harmonious fusion of hardware and software, enabling you to channel your musical creativity with unparalleled fluidity and control. This meticulous configuration process lays the groundwork for a seamless and immersive music production experience, empowering you to unlock the full potential of your MIDI keyboard within the dynamic realm of FL Studio 11.
Step 3: Testing the Connection
Upon completing the setup and configuration of your MIDI keyboard with FL Studio 11, it's essential to conduct a comprehensive testing phase to ensure that the connection is seamless and all functionalities are operational. This critical step allows you to verify the integrity of the MIDI communication, assess the responsiveness of the keyboard within the software environment, and confirm that all configured settings align with your musical workflow. Let's embark on the testing process to validate the connection between your MIDI keyboard and FL Studio 11, ensuring that you can unleash the full expressive potential of your instrument within the digital realm.
3.1. Note Input and Playback
Begin the testing phase by playing notes on your MIDI keyboard and observing the corresponding response within FL Studio 11. As you strike the keys, monitor the software interface to confirm that MIDI note data is accurately captured and translated into audible playback. Verify that the velocity-sensitive nature of your MIDI keyboard is faithfully represented in the software, allowing for nuanced dynamics and expression in your performances. By assessing the responsiveness of note input and playback, you can ascertain the seamless integration of your MIDI keyboard with FL Studio 11, laying the groundwork for expressive musical exploration.
3.2. Control Surface Functions
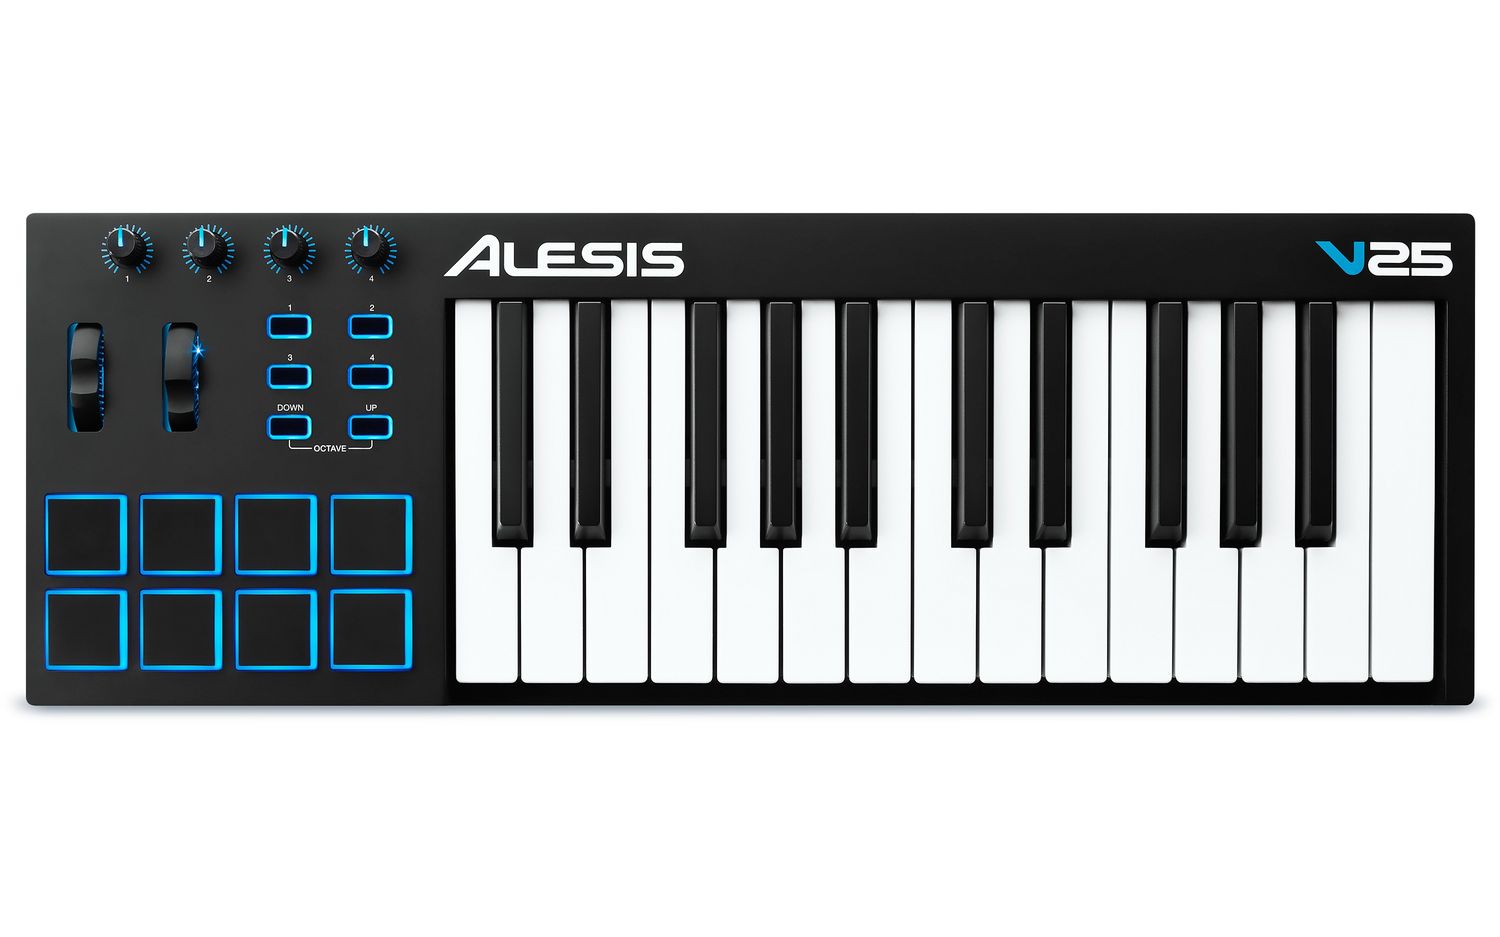
Many MIDI keyboards feature additional control surfaces, such as knobs, sliders, and pads, that can be mapped to various parameters within FL Studio 11. During the testing phase, engage these control surfaces and observe their impact on the software environment. Confirm that knob and slider movements are accurately reflected in the software's interface, enabling you to modulate virtual instrument parameters and effect settings with precision. Additionally, test the functionality of any assignable pads or buttons on your MIDI keyboard, ensuring that they trigger samples, initiate recording, or perform other designated functions within FL Studio 11. This comprehensive assessment of control surface functions validates the seamless integration of your MIDI keyboard's extended capabilities with the software's expansive feature set.
3.3. Sustain Pedal and Aftertouch
If your MIDI keyboard is equipped with a sustain pedal or aftertouch functionality, it's crucial to test these expressive elements within FL Studio 11. Connect the sustain pedal to your MIDI keyboard and engage it while playing sustained notes or chords. Verify that the pedal's effect on note duration and sustain aligns with your performance expectations, enriching your musical phrases with seamless legato transitions and prolonged resonance. Similarly, explore the aftertouch feature, if available, to modulate parameters in real time based on varying key pressure. By testing these nuanced expressive elements, you can harness the full emotive potential of your MIDI keyboard within the immersive sonic canvas of FL Studio 11.
3.4. Recording and Playback Workflow
As the testing phase progresses, engage in recording and playback activities to evaluate the cohesive workflow between your MIDI keyboard and FL Studio 11. Record musical passages using your MIDI keyboard as the input source, capturing the nuances of your performances with precision. Subsequently, initiate playback of the recorded MIDI data, ensuring that the musical articulations, dynamics, and expressive gestures are faithfully reproduced. Assess the seamless synchronization between your physical performances and the digital playback, validating the integrity of the MIDI connection and the harmonious interplay between your musical input and the software's playback capabilities.
3.5. External Hardware Integration
If your MIDI keyboard facilitates the control of external hardware devices, such as synthesizers or drum machines, through MIDI output, it's imperative to test this functionality within FL Studio 11. Configure the MIDI output settings to interface with your external hardware, and initiate communication between your MIDI keyboard and the external devices. Verify that MIDI data generated within FL Studio 11 accurately triggers and controls the parameters of your external hardware, facilitating a cohesive integration of digital and analog sonic elements. This comprehensive assessment ensures that your MIDI keyboard serves as a versatile conduit for controlling and manipulating external hardware devices within the expansive creative ecosystem of FL Studio 11.
By meticulously conducting these tests, you can validate the seamless connection between your MIDI keyboard and FL Studio 11, affirming that the hardware-software integration is robust and responsive. This rigorous testing phase not only ensures the operational integrity of the MIDI setup but also empowers you to embark on a musical journey where the expressive capabilities of your MIDI keyboard are seamlessly intertwined with the boundless creative potential of FL Studio 11.
Conclusion
In conclusion, the process of connecting a MIDI keyboard to FL Studio 11 represents a pivotal convergence of traditional musical expression and cutting-edge technology. By meticulously setting up and configuring the MIDI keyboard within the dynamic environment of FL Studio 11, musicians and producers can transcend the limitations of conventional instruments and delve into a realm of boundless creativity, sonic exploration, and expressive innovation.
The journey begins with the physical connection of the MIDI keyboard to the computer, establishing a tangible link between the tactile keys and the digital realm of music production. As the setup unfolds, the installation of drivers and meticulous configuration within FL Studio 11 paves the way for seamless communication, empowering the MIDI keyboard to serve as a versatile and expressive interface for musical exploration.
The meticulous configuration process, encompassing MIDI input and output settings, channel assignments, and latency optimization, ensures that the MIDI keyboard seamlessly integrates with FL Studio 11, harmonizing the physical and digital domains to create a cohesive and immersive music production environment. This alignment of hardware and software sets the stage for a seamless and intuitive workflow, empowering musicians to unleash their creative vision with unparalleled fluidity and precision.
The comprehensive testing phase serves as the ultimate validation of the MIDI keyboard's integration with FL Studio 11, affirming the operational integrity of the setup and the seamless interplay between the physical instrument and the software's expansive feature set. From note input and control surface functions to sustain pedal and aftertouch expression, the testing phase encapsulates the holistic evaluation of the MIDI connection, ensuring that every facet of the MIDI keyboard's expressive potential is harnessed within the digital canvas of FL Studio 11.
As the journey culminates, musicians and producers stand poised at the intersection of tradition and innovation, armed with a MIDI keyboard that transcends its physical form to become a conduit for boundless creativity within FL Studio 11. This seamless integration empowers artists to channel their musical ideas with unparalleled expressiveness, leveraging the tactile nuances of the MIDI keyboard to sculpt captivating melodies, intricate harmonies, and immersive sonic landscapes within the dynamic tapestry of FL Studio 11.
In essence, the connection of a MIDI keyboard to FL Studio 11 transcends the realm of technical setup to become a transformative gateway to musical expression, innovation, and boundless creativity. As the keys of the MIDI keyboard intertwine with the digital fabric of FL Studio 11, a symphony of possibilities unfolds, empowering musicians to embark on a journey where tradition meets technology, and musical vision finds its ultimate realization.
This transformative fusion of hardware and software, tradition and innovation, positions the MIDI keyboard as a conduit for artistic expression within the dynamic landscape of FL Studio 11, empowering musicians to forge new sonic frontiers, unlock expressive potential, and embark on a musical odyssey where creativity knows no bounds.

