Home>Instruments>Synthesizer>How To Set Up Yamaha Music Synthesizer S03 With Fl Studio 12
Synthesizer
How To Set Up Yamaha Music Synthesizer S03 With Fl Studio 12
Modified: February 19, 2024
Learn how to set up your Yamaha Music Synthesizer S03 with Fl Studio 12 and unleash your creativity. Master the art of synthesizing and create stunning music with this powerful instrument!
(Many of the links in this article redirect to a specific reviewed product. Your purchase of these products through affiliate links helps to generate commission for AudioLover.com, at no extra cost. Learn more)
Table of Contents
Introduction
Welcome to the world of music production! If you’re an aspiring musician or producer, you’re in for a treat. Yamaha Music Synthesizer S03 is a powerful and versatile synthesizer that can take your music to new heights. In this tutorial, we will guide you through the process of setting up your Yamaha Music Synthesizer S03 with Fl Studio 12, one of the most popular digital audio workstations.
The Yamaha Music Synthesizer S03 offers a wide range of sounds and customization options, making it a favorite among musicians and producers worldwide. Whether you’re creating electronic music, pop, rock, or any other genre, this synthesizer has got you covered. Fl Studio 12, on the other hand, provides a seamless and intuitive interface for recording, arranging, and mixing your music.
Setting up your Yamaha Music Synthesizer S03 with Fl Studio 12 is a simple process that can greatly enhance your music production capabilities. By connecting the synthesizer, installing the necessary drivers, and configuring the MIDI settings, you’ll be able to control and manipulate the synthesizer directly from Fl Studio 12.
Throughout this tutorial, we’ll provide step-by-step instructions along with useful tips and tricks to help you get started. So, let’s dive in and get your Yamaha Music Synthesizer S03 up and running with Fl Studio 12!
Requirements
Before we get started, let’s make sure you have everything you need to set up your Yamaha Music Synthesizer S03 with Fl Studio 12. Here are the requirements:
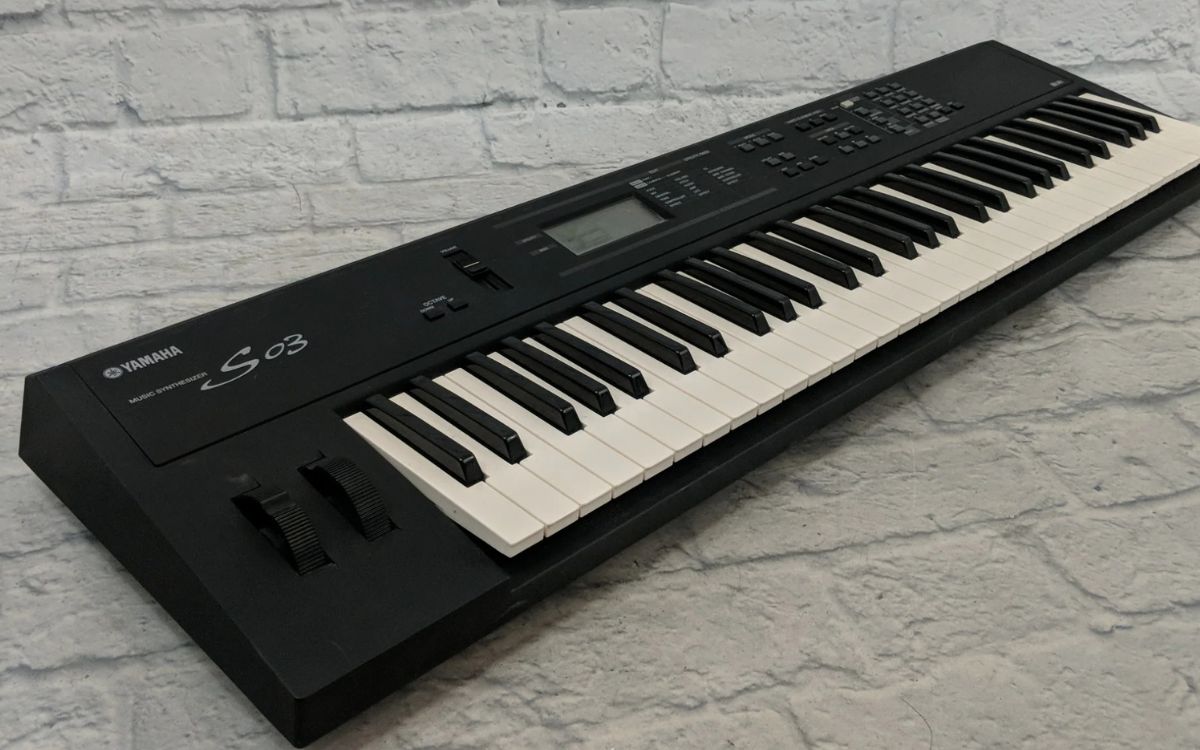
- Yamaha Music Synthesizer S03: Make sure you have the Yamaha Music Synthesizer S03 itself. This synthesizer is a compact and portable unit that offers a wide range of sounds and controls.
- Fl Studio 12: Ensure that you have Fl Studio 12 installed on your computer. Fl Studio 12 is a digital audio workstation that allows you to record, arrange, and mix your music.
- Computer: You’ll need a computer with sufficient processing power to run Fl Studio 12 and handle the audio processing. Check the system requirements for Fl Studio 12 to ensure your computer meets them.
- USB Cable: A USB cable is necessary to connect your Yamaha Music Synthesizer S03 to your computer. Make sure you have a compatible USB cable available.
- Internet Connection: An internet connection is required to download and install the Yamaha Synthesizer driver if it’s not already included with Fl Studio 12.
Once you have all the necessary requirements in place, you’re ready to move on to the next steps. Let’s move on to connecting your Yamaha Music Synthesizer S03 to your computer.
Step 1: Connecting the Yamaha Music Synthesizer S03
The first step in setting up your Yamaha Music Synthesizer S03 with Fl Studio 12 is to establish a physical connection between the synthesizer and your computer. Here’s how you can do it:
- Locate the USB port on your Yamaha Music Synthesizer S03. Typically, it is located on the rear panel of the synthesizer.
- Take the USB cable and plug one end into the USB port of your Yamaha Music Synthesizer S03.
- Connect the other end of the USB cable to an available USB port on your computer. It’s recommended to use a USB port directly on your computer rather than a USB hub for optimal performance.
- Ensure that both ends of the USB cable are securely connected.
Once you have successfully connected your Yamaha Music Synthesizer S03 to your computer, you are now ready to move on to the next step, which is installing the Yamaha Synthesizer driver.
Step 2: Installing the Yamaha Synthesizer Driver
To ensure that your Yamaha Music Synthesizer S03 properly communicates with your computer, you need to install the Yamaha Synthesizer driver. Follow these steps to install the driver:
- Open your web browser and navigate to the Yamaha website.
- Search for the Yamaha Music Synthesizer S03 driver download page.
- Download the appropriate driver for your operating system (e.g., Windows or macOS).
- Once the driver is downloaded, locate the file and double-click on it to start the installation process.
- Follow the on-screen instructions to complete the driver installation. Accept any prompts or agreements that appear during the installation process.
- Restart your computer to ensure that the driver is properly installed and loaded.
After restarting your computer, the Yamaha Synthesizer driver will be ready to use. This driver enables your computer to recognize and communicate with the Yamaha Music Synthesizer S03. Now, let’s move on to the next step and set up Fl Studio 12.
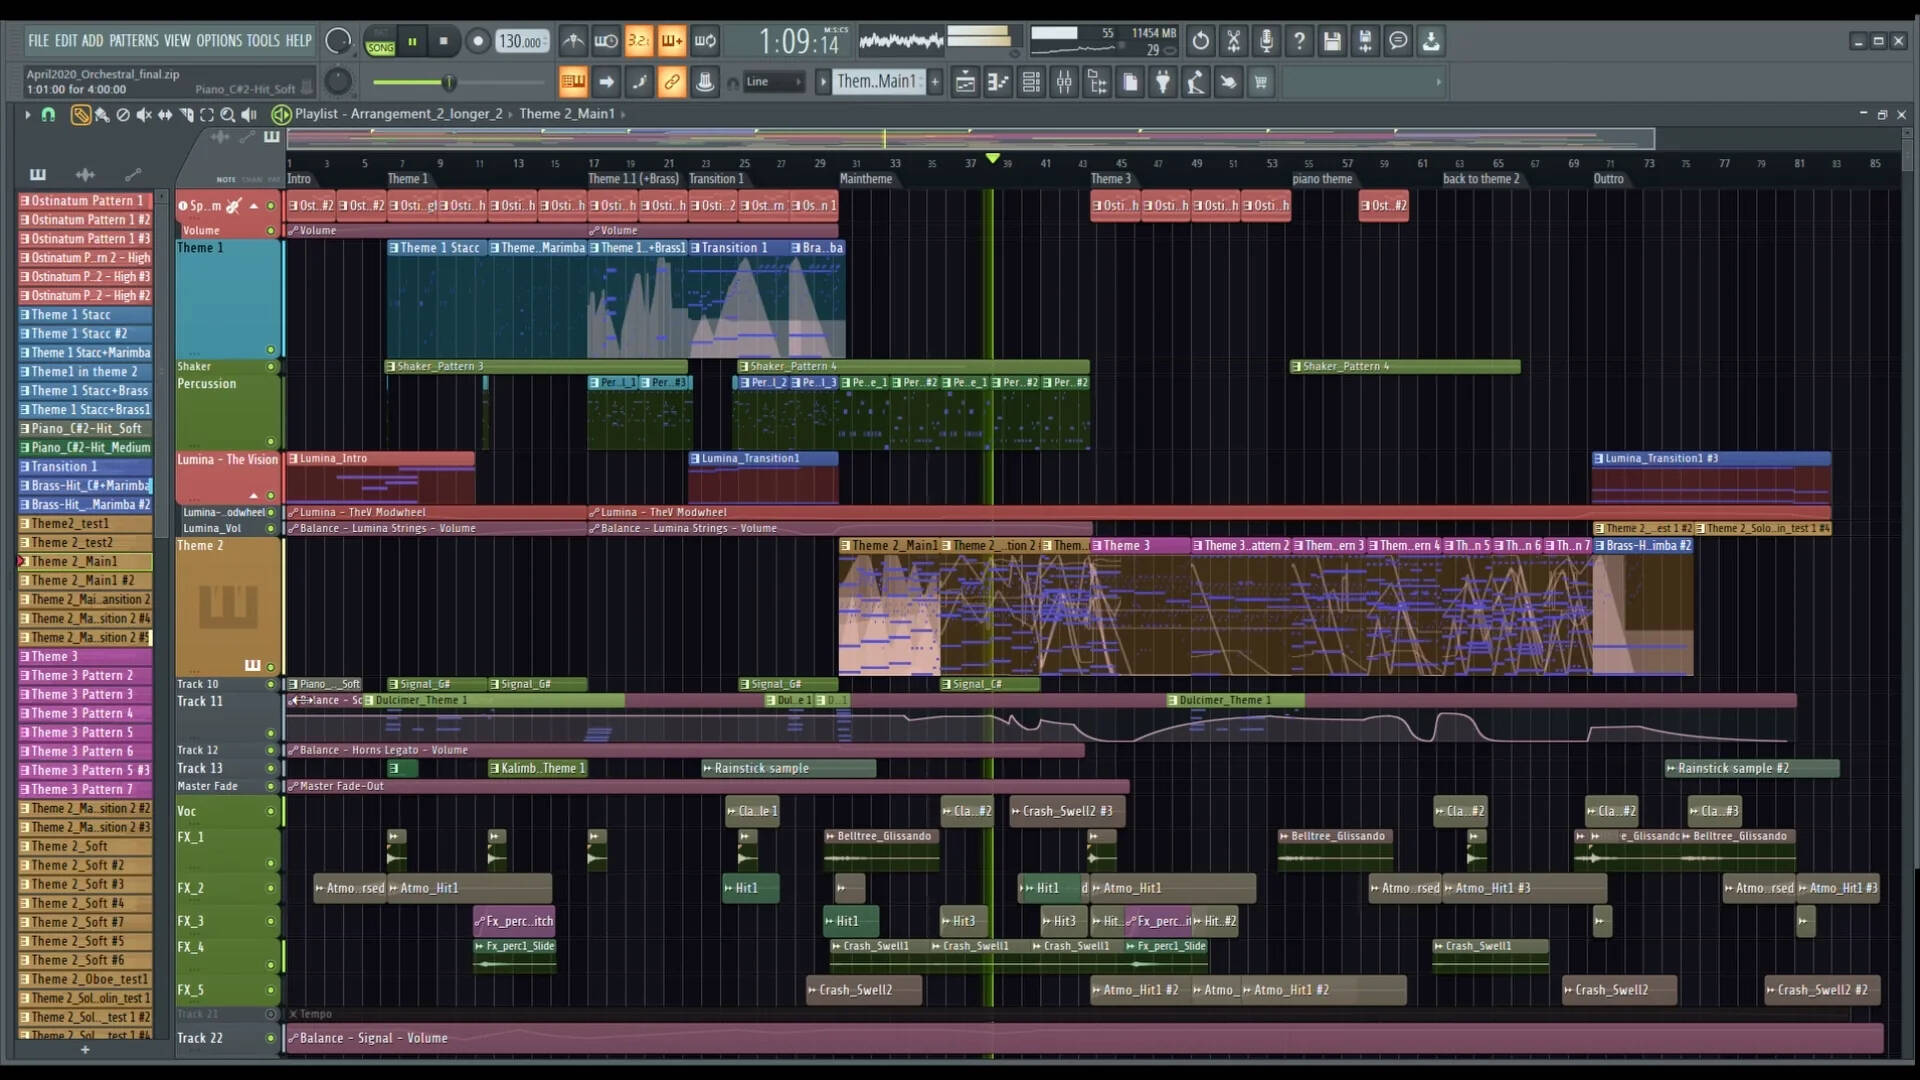
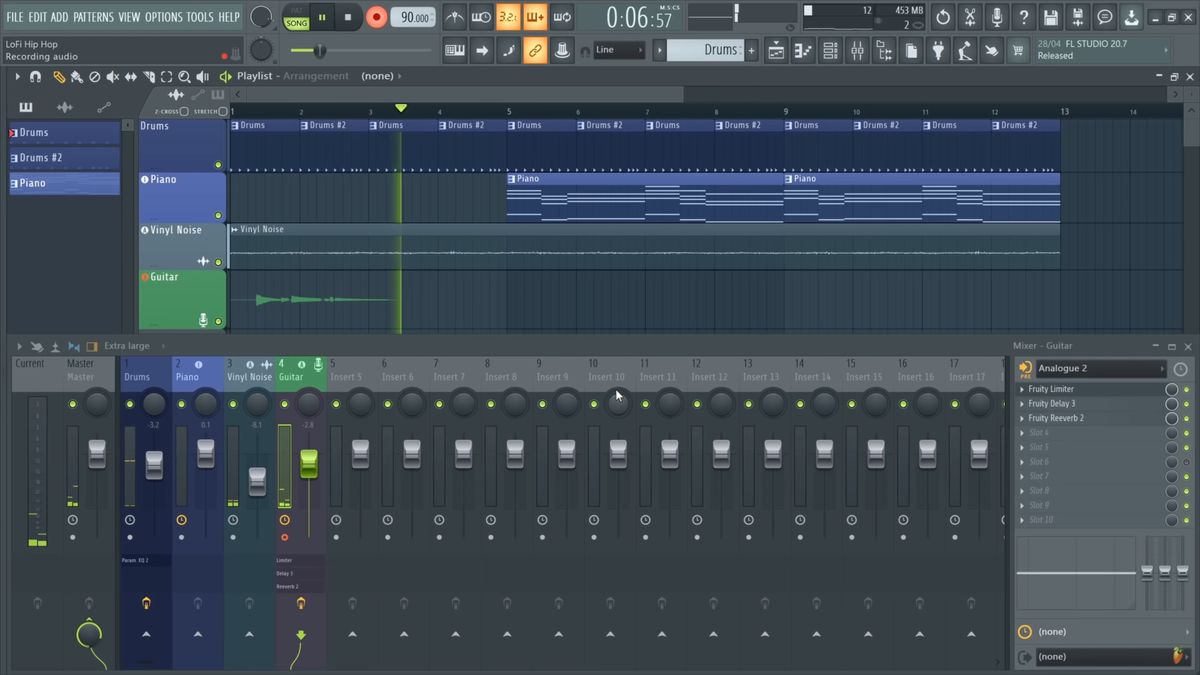
Step 3: Setting Up Fl Studio 12
Now that you have connected your Yamaha Music Synthesizer S03 and installed the necessary driver, it’s time to set up Fl Studio 12 to work with the synthesizer. Follow these steps to configure Fl Studio 12:
- Launch Fl Studio 12 on your computer.
- Click on the “Options” menu at the top of the Fl Studio 12 interface.
- From the dropdown menu, select “MIDI Settings” to open the MIDI Settings window.
- In the MIDI Settings window, select the “Input” tab.
- Under the “Input” section, you should see the Yamaha Music Synthesizer S03 listed as an available MIDI input device. Check the box next to its name to enable it for input.
- Next, select the “Output” tab in the MIDI Settings window.
- Under the “Output” section, select the Yamaha Music Synthesizer S03 as the MIDI output device by checking the box next to its name.
- Click on the “OK” button to save the MIDI settings and close the MIDI Settings window.
Fl Studio 12 is now configured to receive MIDI input from the Yamaha Music Synthesizer S03 and send MIDI output to it. In the next step, we will test the connection between Fl Studio 12 and the synthesizer.
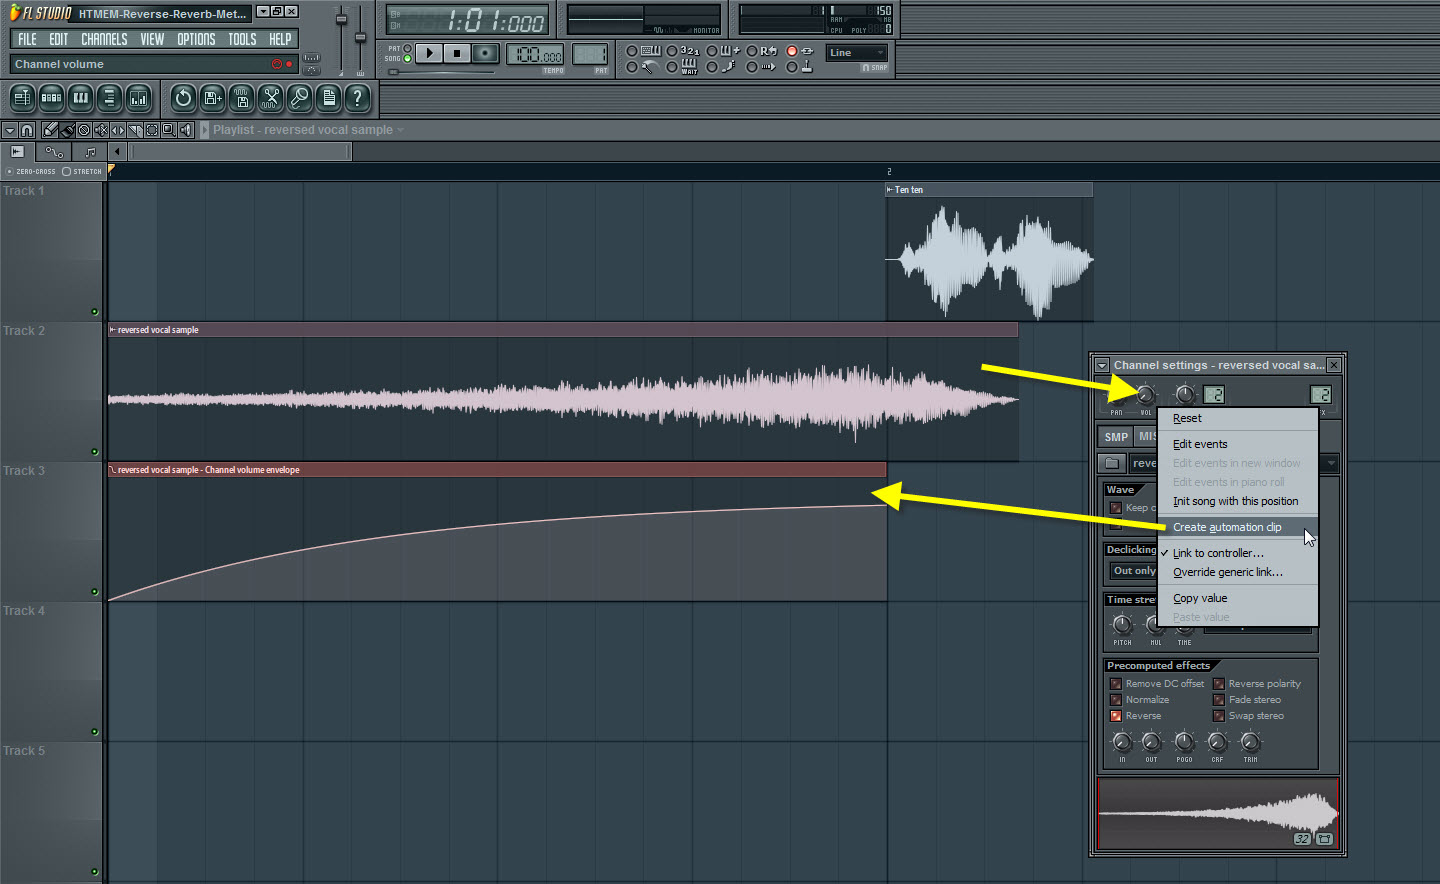
Step 4: Configuring the MIDI Settings
Now that you have set up Fl Studio 12 to work with your Yamaha Music Synthesizer S03, it’s time to configure the MIDI settings within the software. Follow these steps to configure the MIDI settings:
- With Fl Studio 12 open, click on the “Options” menu at the top of the interface.
- Select “Preferences” from the dropdown menu. This will open the Preferences window.
- In the Preferences window, click on the “MIDI” tab on the left-hand side.
- Ensure that the “Enable MIDI Input” and “Enable MIDI Output” options are checked.
- Under the “Input” section, you should see the Yamaha Music Synthesizer S03 listed as an available MIDI input device. Check the box next to its name to enable it for input.
- Under the “Output” section, select the Yamaha Music Synthesizer S03 as the MIDI output device by checking the box next to its name.
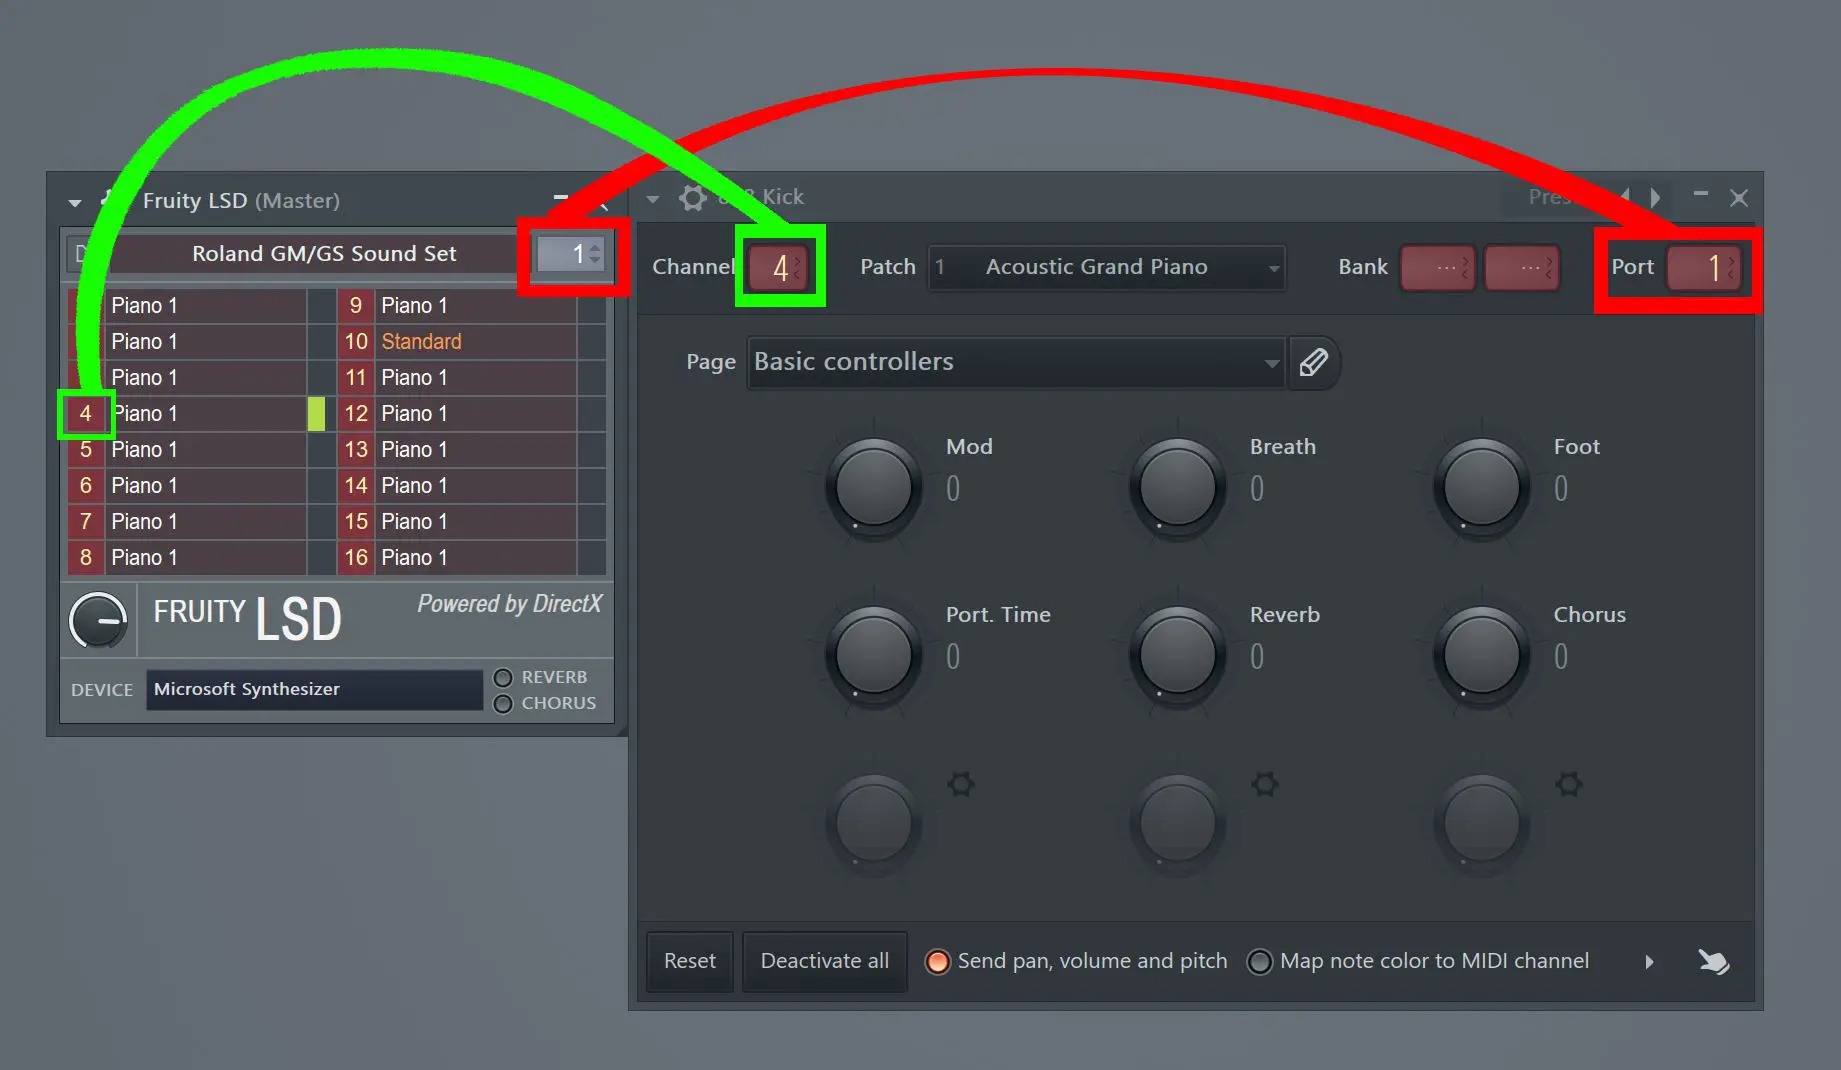
- You can configure additional MIDI settings such as the MIDI channel, pitch bend range, and more, according to your preferences.
- Click on the “OK” button to save the MIDI settings and close the Preferences window.
With the MIDI settings properly configured, Fl Studio 12 is now ready to send and receive MIDI data to and from your Yamaha Music Synthesizer S03. In the next step, we will test the connection to ensure everything is working correctly.
Step 5: Testing the Connection
Now that you have completed the setup process, it’s time to test the connection between Fl Studio 12 and your Yamaha Music Synthesizer S03. Follow these steps to test the connection:
- Create a new project or open an existing one in Fl Studio 12.
- Load a synthesizer plugin or VST instrument onto a channel in Fl Studio 12.
- Ensure that the MIDI input and output channels of the synthesizer plugin are set to the Yamaha Music Synthesizer S03.
- Play a MIDI note on your Yamaha Music Synthesizer S03. You should hear the sound of the synthesizer plugin or VST instrument playing through your computer speakers or headphones.
- Try adjusting the parameters and controls on the Yamaha Music Synthesizer S03 to manipulate the sound of the synthesizer plugin. You should see and hear the changes reflected in real-time within Fl Studio 12.
- Test different MIDI functions such as pitch bend, modulation, and sustain to ensure that they are working correctly between the synthesizer and Fl Studio 12.
- If you encounter any issues or have trouble hearing sound, double-check your MIDI and audio settings in both Fl Studio 12 and your Yamaha Music Synthesizer S03.
If everything sounds and works as expected, congratulations! You have successfully set up your Yamaha Music Synthesizer S03 with Fl Studio 12. Now you can start exploring the vast possibilities of music production using this powerful combination of hardware and software.
Remember to save your project and experiment with different sounds, effects, and techniques to unleash your creativity. Happy music making!
Conclusion
Congratulations on successfully setting up your Yamaha Music Synthesizer S03 with Fl Studio 12! By following the steps outlined in this tutorial, you have now unlocked a world of possibilities for music production and creativity.
The Yamaha Music Synthesizer S03 offers a wide range of sounds and controls, allowing you to shape and manipulate your music to your liking. Fl Studio 12, with its intuitive interface and powerful features, provides a seamless environment for recording, arranging, and mixing your music.
Remember to explore the various synthesizer plugins and VST instruments available within Fl Studio 12 to expand your sonic palette even further. Experiment with different sounds, effects, and techniques to create your own unique musical compositions.
As you continue your music production journey, don’t be afraid to seek inspiration from other artists, learn new techniques, and continually refine your skills. Music production is an ongoing learning process, and with dedication and passion, you can achieve great results.
Always stay updated with the latest software updates and driver versions to ensure optimal performance and compatibility between your hardware and software. Additionally, consider joining online communities or forums to connect with fellow musicians and producers, where you can share knowledge and collaborate on projects.
With your Yamaha Music Synthesizer S03 and Fl Studio 12 at your disposal, the possibilities are endless. So go ahead, create, and let your music shine.