Home>Production & Technology>MIDI>How To Splice To MIDI For Free
MIDI
How To Splice To MIDI For Free
Modified: March 9, 2024
Learn how to splice to MIDI for free with our step-by-step guide. Discover the best tools and techniques for seamless MIDI splicing.
(Many of the links in this article redirect to a specific reviewed product. Your purchase of these products through affiliate links helps to generate commission for AudioLover.com, at no extra cost. Learn more)
Table of Contents
Introduction
Are you a music enthusiast looking to manipulate and customize your MIDI files? Perhaps you want to extract a specific section of a MIDI file or merge multiple MIDI tracks into a single file. In either case, the process of splicing MIDI files allows you to precisely edit and rearrange musical compositions to suit your creative vision.
Splicing MIDI files can be a rewarding endeavor, enabling you to craft unique musical arrangements and experiment with different melodies, harmonies, and rhythms. Whether you're a seasoned musician or an aspiring producer, understanding how to splice MIDI files empowers you to tailor your musical creations to your exact specifications.
In this comprehensive guide, we'll walk you through the step-by-step process of splicing MIDI files for free. By following these instructions, you'll gain the ability to seamlessly edit, rearrange, and customize MIDI tracks using intuitive and accessible software. Whether you're delving into the world of music production or simply seeking to enhance your musical projects, mastering the art of MIDI splicing can unlock a world of creative possibilities.
So, without further ado, let's embark on this journey to discover how you can effortlessly splice MIDI files and unleash your creativity in the realm of digital music production. Whether you're aiming to remix existing tracks, create original compositions, or explore new sonic landscapes, the ability to splice MIDI files will undoubtedly expand your musical horizons.
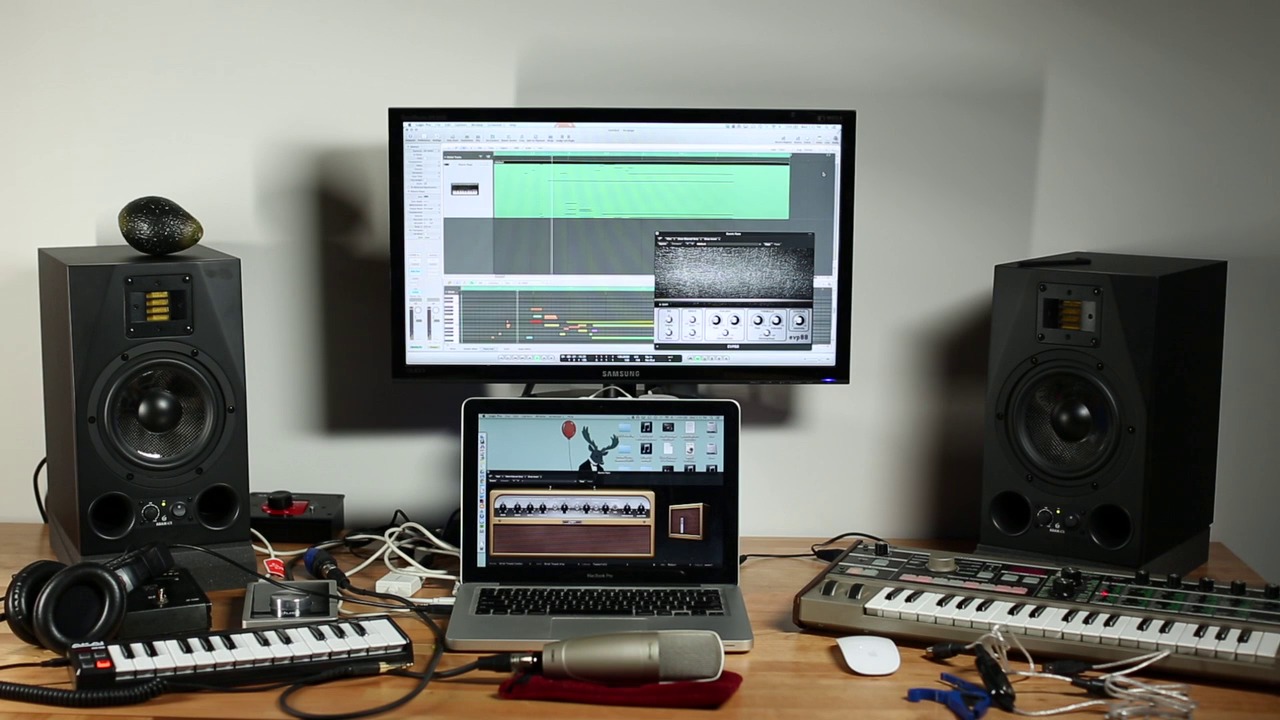
Step 1: Download a Free MIDI Splicing Software
When embarking on the journey of splicing MIDI files, the first crucial step is to procure a reliable and user-friendly MIDI splicing software. Fortunately, there are several reputable options available for free, allowing you to seamlessly manipulate and customize your MIDI tracks without incurring any financial burden.
One of the most popular and accessible free MIDI splicing software is "Audacity." Renowned for its versatility and intuitive interface, Audacity empowers users to edit, splice, and enhance audio and MIDI files with remarkable ease. By downloading Audacity from its official website, you can gain access to a comprehensive suite of tools and features tailored to facilitate seamless MIDI splicing.
Another notable option is "LMMS (Linux MultiMedia Studio)," a powerful open-source digital audio workstation that supports MIDI splicing and offers a wide array of music production capabilities. With its user-friendly interface and extensive library of built-in instruments and effects, LMMS provides a robust platform for splicing MIDI files and crafting intricate musical arrangements.
Furthermore, "TuxGuitar" stands out as a versatile and free MIDI splicing software designed specifically for guitarists and musicians. While its name suggests a focus on guitar-related functionalities, TuxGuitar also boasts robust MIDI editing capabilities, allowing users to splice, rearrange, and fine-tune MIDI tracks with precision and efficiency.
Upon identifying the ideal free MIDI splicing software that aligns with your specific preferences and workflow, proceed to download the software from its official website or a trusted software repository. Ensure that you select a reputable source to download the software, prioritizing security and authenticity to safeguard your computer against potential risks.
By obtaining a reliable and feature-rich MIDI splicing software, you'll lay a solid foundation for seamlessly manipulating and customizing your MIDI files to bring your musical visions to life. With the software securely downloaded and ready for installation, you're poised to embark on the next step of this exhilarating journey toward mastering the art of MIDI splicing.
Step 2: Install the Software on Your Computer
With the chosen free MIDI splicing software securely downloaded onto your computer, the next pivotal step is to proceed with the installation process. Installing the software will grant you access to a myriad of tools and functionalities tailored to facilitate seamless MIDI splicing, empowering you to embark on a journey of musical creativity and innovation.
To initiate the installation, locate the downloaded setup file of the MIDI splicing software in your computer's designated download directory. Once located, double-click on the setup file to commence the installation process. Depending on the specific software and your operating system, you may encounter a series of prompts and dialog boxes guiding you through the installation procedure.
Follow the on-screen instructions provided by the installation wizard to progress through the setup process. Typically, you will be prompted to review and agree to the software's end-user license agreement (EULA) before proceeding with the installation. It's essential to carefully read and understand the terms outlined in the EULA to ensure compliance and a clear understanding of the software's permitted usage.
Subsequently, you will be prompted to select the destination folder for the software installation. By default, the installation wizard may suggest a predefined directory for the software installation. However, if you prefer to specify a different installation path, you can opt to customize the installation directory to align with your preferences.
Once the installation directory is confirmed, proceed to initiate the installation process by clicking the "Install" or "Next" button, depending on the instructions presented by the installation wizard. At this stage, the software will begin to copy necessary files, configure settings, and integrate seamlessly with your computer's operating system.
Upon successful completion of the installation process, you may be presented with an option to create desktop shortcuts or quick launch icons for convenient access to the MIDI splicing software. Additionally, some installation wizards may prompt you to launch the software immediately following the installation.
With the MIDI splicing software now installed on your computer, you have effectively equipped yourself with a powerful toolset to delve into the realm of MIDI manipulation and customization. The successful installation paves the way for you to seamlessly open the software, import your MIDI files, and embark on the enthralling process of splicing and refining your musical compositions.
By meticulously following the installation instructions and ensuring that the software is seamlessly integrated into your computer's environment, you've taken a crucial stride toward harnessing the full potential of MIDI splicing. With the software poised for action, you're primed to delve into the subsequent steps of importing, splicing, and saving your MIDI files, thus unlocking a world of creative possibilities in the realm of digital music production.
Step 3: Open the Software and Import Your MIDI File
After successfully installing the chosen MIDI splicing software on your computer, the next pivotal step is to open the software and prepare to import your MIDI file for seamless manipulation and customization. This step marks the transition from software installation to the practical utilization of the tools and features offered by the MIDI splicing software, setting the stage for a captivating journey of musical exploration and creativity.
To commence this step, navigate to the location where the MIDI splicing software is installed on your computer. Depending on the software and your operating system, you may find the software's shortcut icon on the desktop, in the Start menu, or within the designated installation directory. Simply double-click on the software's icon to launch the application and initiate the interface, readying it for the subsequent importation of your MIDI file.
Upon launching the MIDI splicing software, you will be greeted by a user-friendly interface designed to streamline the process of importing, editing, and splicing MIDI files. The interface may feature a range of intuitive controls, menus, and toolbars, providing you with a comprehensive toolkit to seamlessly navigate the software's functionalities.
Next, locate the "File" or "Import" option within the software's interface. This essential feature serves as the gateway to importing your MIDI file into the software, enabling you to commence the process of splicing and refining your musical composition. By clicking on the "File" or "Import" option, you'll be presented with a dialog box that allows you to navigate through your computer's directories to locate and select the desired MIDI file for importation.
Upon selecting the MIDI file, proceed to confirm the importation by clicking the "Open" or "Import" button within the dialog box. This action triggers the seamless integration of your MIDI file into the software's workspace, positioning it for further manipulation and customization. Depending on the software's capabilities, you may encounter additional options during the importation process, allowing you to specify parameters such as tempo, time signature, and track assignments for the imported MIDI file.
With your MIDI file successfully imported into the software, you've laid the groundwork for an immersive and rewarding experience of MIDI splicing. The seamless integration of your musical composition into the software's environment sets the stage for the subsequent steps of splicing, rearranging, and refining your MIDI tracks to bring your creative vision to fruition.
By meticulously following the process of opening the MIDI splicing software and importing your MIDI file, you've positioned yourself at the threshold of an exhilarating journey into the realm of digital music production. With your MIDI file seamlessly integrated into the software's interface, you're now poised to embark on the enthralling process of splicing and customizing your musical compositions, unlocking a world of creative possibilities and artistic expression.
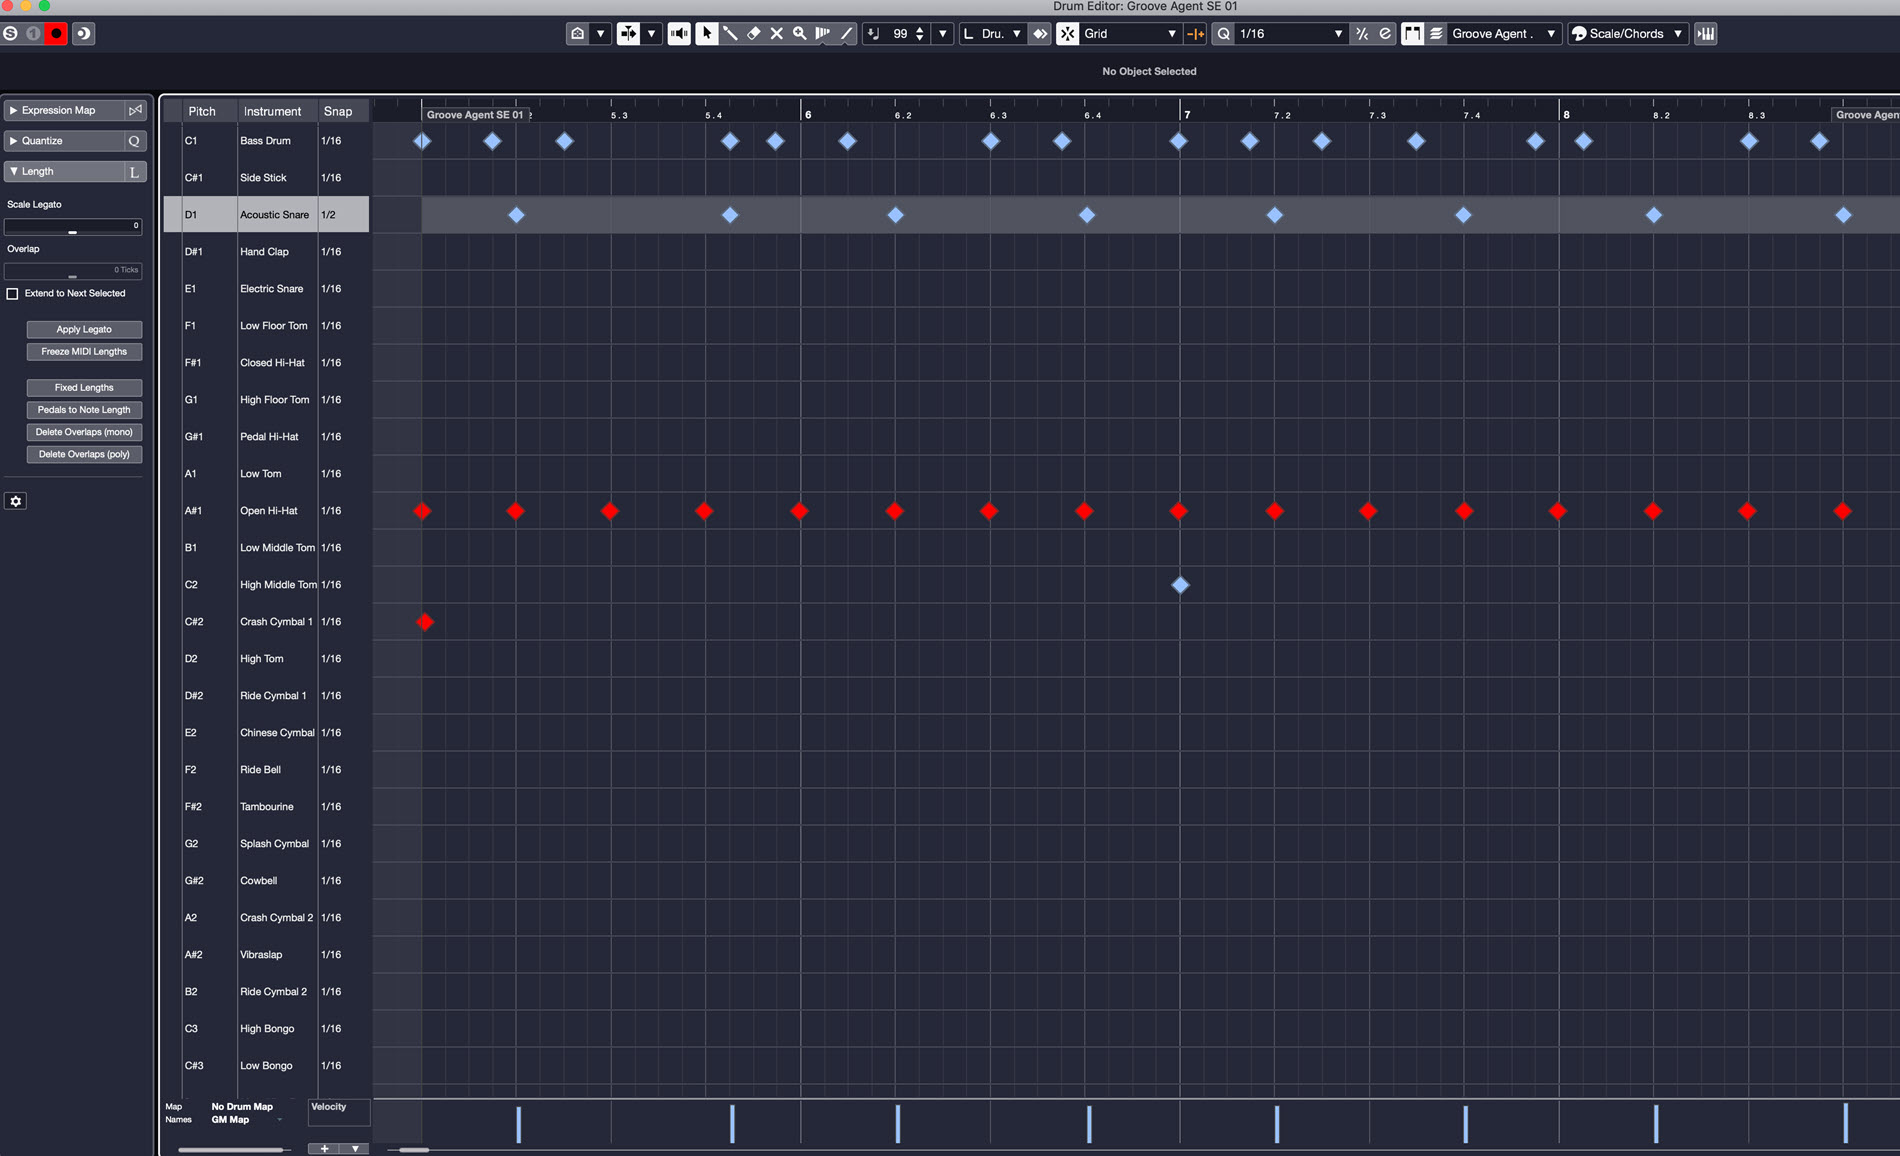
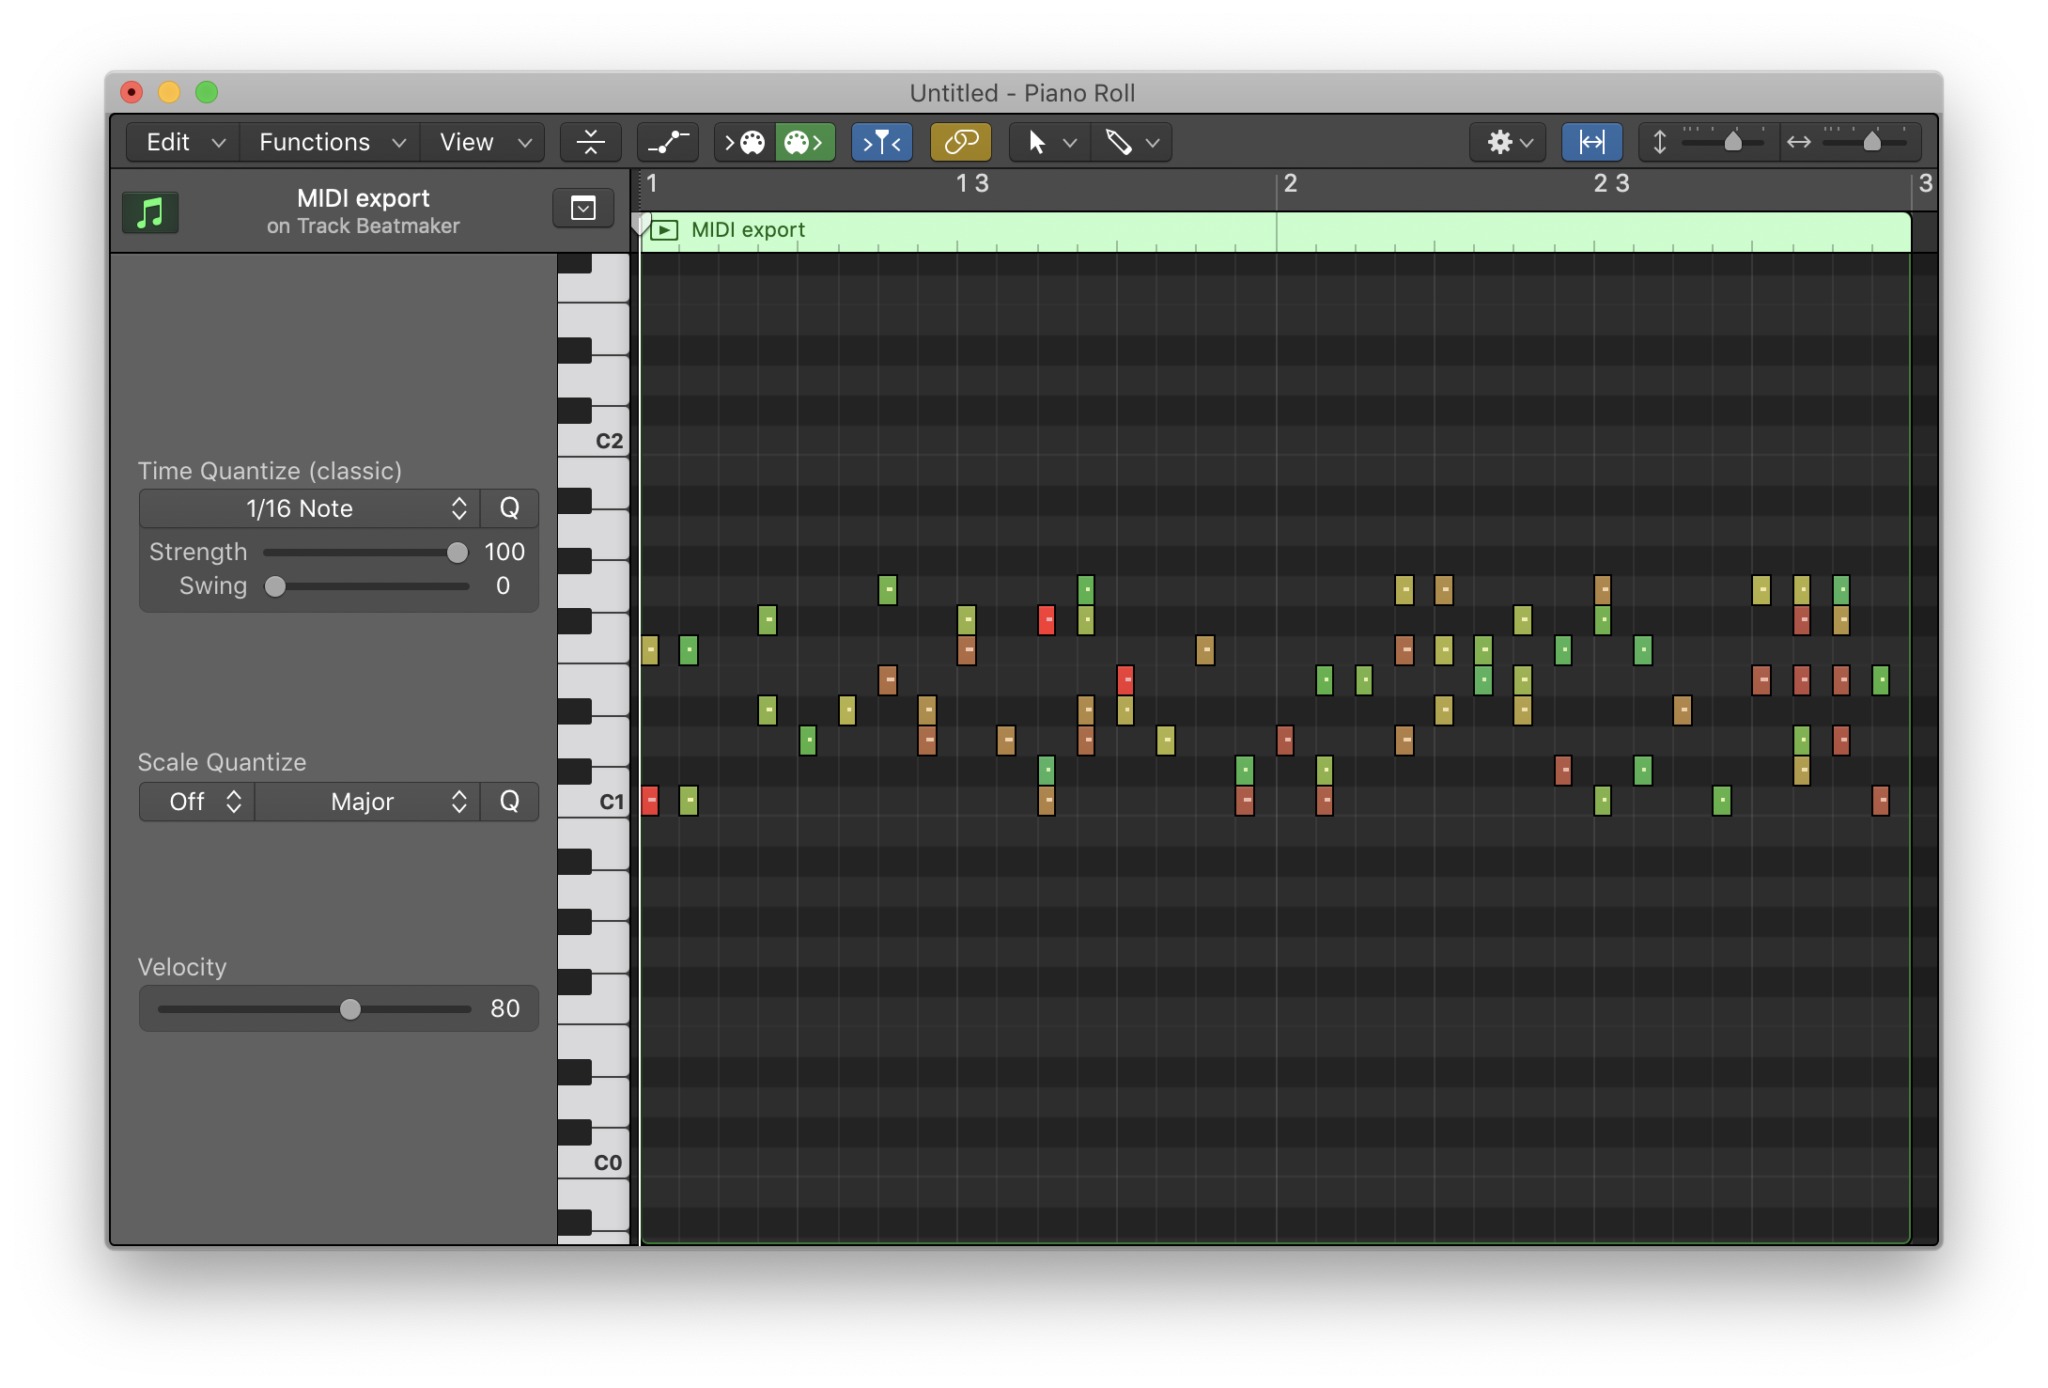
Step 4: Splice Your MIDI File
With your MIDI file seamlessly integrated into the MIDI splicing software, you are now poised to delve into the captivating process of splicing and refining your musical composition. This pivotal step empowers you to precisely manipulate and rearrange specific sections of the MIDI file, allowing you to craft unique musical arrangements and explore diverse creative possibilities.
To initiate the splicing process, navigate to the section of the MIDI file that you intend to manipulate within the software's interface. The software may provide a visual representation of the MIDI tracks, enabling you to identify and select the specific segments that warrant splicing. Utilizing the software's intuitive controls and editing functionalities, you can seamlessly highlight, isolate, and manipulate individual segments of the MIDI file with remarkable precision.
Once the desired segments are identified and isolated, proceed to employ the splicing tools offered by the software to facilitate seamless manipulation. Depending on the software's capabilities, you may encounter a range of splicing functionalities, including cut, copy, paste, and merge operations tailored to empower you in refining and rearranging your MIDI tracks.
With the splicing tools at your disposal, meticulously select and isolate the segments of the MIDI file that you intend to manipulate. Whether you aim to extract a specific melody, harmonize multiple tracks, or rearrange musical phrases, the splicing tools enable you to execute these operations with remarkable accuracy and finesse.
Furthermore, the MIDI splicing software may offer additional features such as quantization, velocity adjustment, and note manipulation, augmenting your capacity to refine and customize the spliced segments of the MIDI file. These advanced functionalities empower you to fine-tune the musical nuances, timing, and dynamics of the spliced segments, thereby enhancing the overall coherence and expressiveness of your musical composition.
By meticulously navigating through the splicing tools and functionalities offered by the MIDI splicing software, you can seamlessly refine, rearrange, and customize the segments of your MIDI file to align with your artistic vision. The splicing process serves as a gateway to unlocking a world of creative possibilities, enabling you to craft unique musical arrangements and breathe life into your compositions with unparalleled precision and artistry.
As you immerse yourself in the enthralling process of splicing your MIDI file, you'll witness your musical vision spring to life, enriched by the seamless manipulation and customization facilitated by the MIDI splicing software. With each refined segment and meticulously arranged phrase, you're one step closer to realizing the full potential of your musical creativity and embarking on a captivating journey of digital music production.
Step 5: Save Your Spliced MIDI File
After meticulously refining and rearranging the segments of your MIDI file, the final step in the splicing process entails saving your meticulously crafted composition. This critical phase ensures that your creative endeavors are preserved in a format that retains the intricacies and nuances of your musical arrangement. By following the seamless process of saving your spliced MIDI file, you safeguard your artistic vision and pave the way for sharing, further refinement, or integration into larger musical projects.
To save your spliced MIDI file, navigate to the software's menu and locate the "File" or "Save As" option. Upon selecting this feature, you'll be prompted to specify the desired file name, format, and destination for saving your spliced MIDI composition. It's essential to choose a descriptive and memorable file name that encapsulates the essence of your musical arrangement, facilitating easy identification and organization within your computer's storage.
Next, select the preferred file format for saving your spliced MIDI file. Common formats for MIDI files include .mid and .midi, both of which preserve the intricate musical data and structure of your composition. It's advisable to opt for the standard MIDI format to ensure compatibility and seamless integration with a wide range of music production software and hardware devices.
Following the selection of the file format, designate the destination folder where you intend to save your spliced MIDI file. Whether you opt to create a dedicated folder for your musical compositions or choose an existing directory, ensure that the selected location is easily accessible and aligns with your organizational preferences. By saving your spliced MIDI file in a designated folder, you streamline the process of archiving, sharing, and accessing your musical creations in the future.
Upon confirming the file name, format, and destination, proceed to execute the saving process by clicking the "Save" or "OK" button within the software's dialog box. This action finalizes the preservation of your spliced MIDI composition, encapsulating the culmination of your creative efforts and musical ingenuity within a meticulously crafted digital file.
With your spliced MIDI file securely saved, you've immortalized your artistic vision and musical expression in a format that transcends the boundaries of time and space. The saved MIDI file stands as a testament to your creativity and serves as a canvas for further exploration, refinement, and integration into larger musical endeavors.
By meticulously following the process of saving your spliced MIDI file, you've concluded a captivating journey of MIDI splicing, culminating in the preservation of your musical composition in a format that captures the essence of your creative prowess. As you embark on future musical endeavors, the saved MIDI file will serve as a timeless artifact of your artistic journey, ready to inspire, captivate, and resonate with audiences across the globe.
Conclusion
In conclusion, the process of splicing MIDI files for free unveils a realm of boundless creative possibilities, enabling musicians, producers, and enthusiasts to meticulously manipulate and customize their musical compositions with remarkable precision. Through the seamless integration of intuitive MIDI splicing software and a methodical approach to editing and refining MIDI tracks, individuals can embark on an exhilarating journey of musical exploration and artistic expression.
By following the step-by-step guide outlined in this comprehensive tutorial, you've gained invaluable insights into the intricacies of MIDI splicing, equipping yourself with the knowledge and tools necessary to seamlessly edit, rearrange, and save your MIDI compositions. From procuring a reliable free MIDI splicing software to meticulously refining and rearranging your musical segments, each step in the process has set the stage for a captivating journey of digital music production.
As you venture into the realm of MIDI splicing, it's essential to embrace experimentation, creativity, and innovation, leveraging the power of technology to breathe life into your musical visions. Whether you're seeking to remix existing tracks, craft original compositions, or explore new sonic landscapes, the art of MIDI splicing empowers you to transcend traditional boundaries and forge unique musical arrangements that resonate with audiences worldwide.
Furthermore, the journey of MIDI splicing serves as a testament to the enduring fusion of artistry and technology, showcasing the seamless integration of musical creativity with digital innovation. By harnessing the capabilities of free MIDI splicing software and infusing your compositions with personalized touches and refinements, you're poised to make a lasting impact in the vibrant tapestry of digital music production.
In essence, the process of splicing MIDI files for free transcends mere technical manipulation, evolving into a captivating odyssey of artistic expression and sonic craftsmanship. As you navigate the intricacies of MIDI splicing, remember that each refined segment, meticulously arranged phrase, and preserved composition encapsulates a fragment of your creative journey, ready to inspire, captivate, and resonate with audiences across the globe.
Embrace the art of MIDI splicing as a gateway to boundless musical horizons, where your unique voice, vision, and passion converge to shape timeless compositions that transcend the constraints of conventional boundaries. With each spliced MIDI file, you're not merely editing music – you're sculpting a symphony of creativity, poised to leave an indelible imprint on the ever-evolving tapestry of digital music production.