Home>Production & Technology>Audio Cable>How To Splice An Audio Cable
Audio Cable
How To Splice An Audio Cable
Modified: January 22, 2024
Learn how to splice an audio cable with our step-by-step guide. Ensure seamless audio connections with this handy tutorial.
(Many of the links in this article redirect to a specific reviewed product. Your purchase of these products through affiliate links helps to generate commission for AudioLover.com, at no extra cost. Learn more)
Table of Contents
Introduction
Audio cables are an integral part of any sound system, allowing the transmission of audio signals between devices. Whether you are a professional musician, audiophile, or casual listener, understanding how to splice an audio cable can come in handy when it comes to troubleshooting or customizing your setup.
Splicing an audio cable involves joining two separate cable ends together securely, ensuring a seamless connection. This can be useful when dealing with damaged cables, creating custom length cables, or adapting cables to fit different audio devices.
In this guide, we will walk you through the step-by-step process of splicing an audio cable. We will discuss the tools and materials you need, as well as provide detailed instructions on how to properly strip the insulation, twist and solder the wires, and insulate the connections. By the end of this guide, you will be equipped with the knowledge and skills to confidently splice an audio cable and maintain the integrity of your audio setup.

Tools and Materials Needed
Before you begin splicing an audio cable, it’s important to ensure you have the necessary tools and materials. Here’s a list of what you’ll need:
- Soldering iron: A soldering iron is essential for properly joining the wires together. Make sure you have a soldering iron with a fine tip for precise soldering.
- Wire stripper: A wire stripper is used to remove the insulation from the cable ends. Look for a wire stripper that can handle the gauge of your audio cable.
- Solder: High-quality solder is essential for creating strong and reliable connections. Choose solder specifically designed for electrical and audio applications.
- Heat shrink tubing: Heat shrink tubing is used to insulate and protect the soldered connections. Make sure you have tubing that is appropriate for the diameter of your cables.
- Heat gun or lighter: A heat gun or lighter is necessary to shrink the tubing and provide a secure insulation barrier.
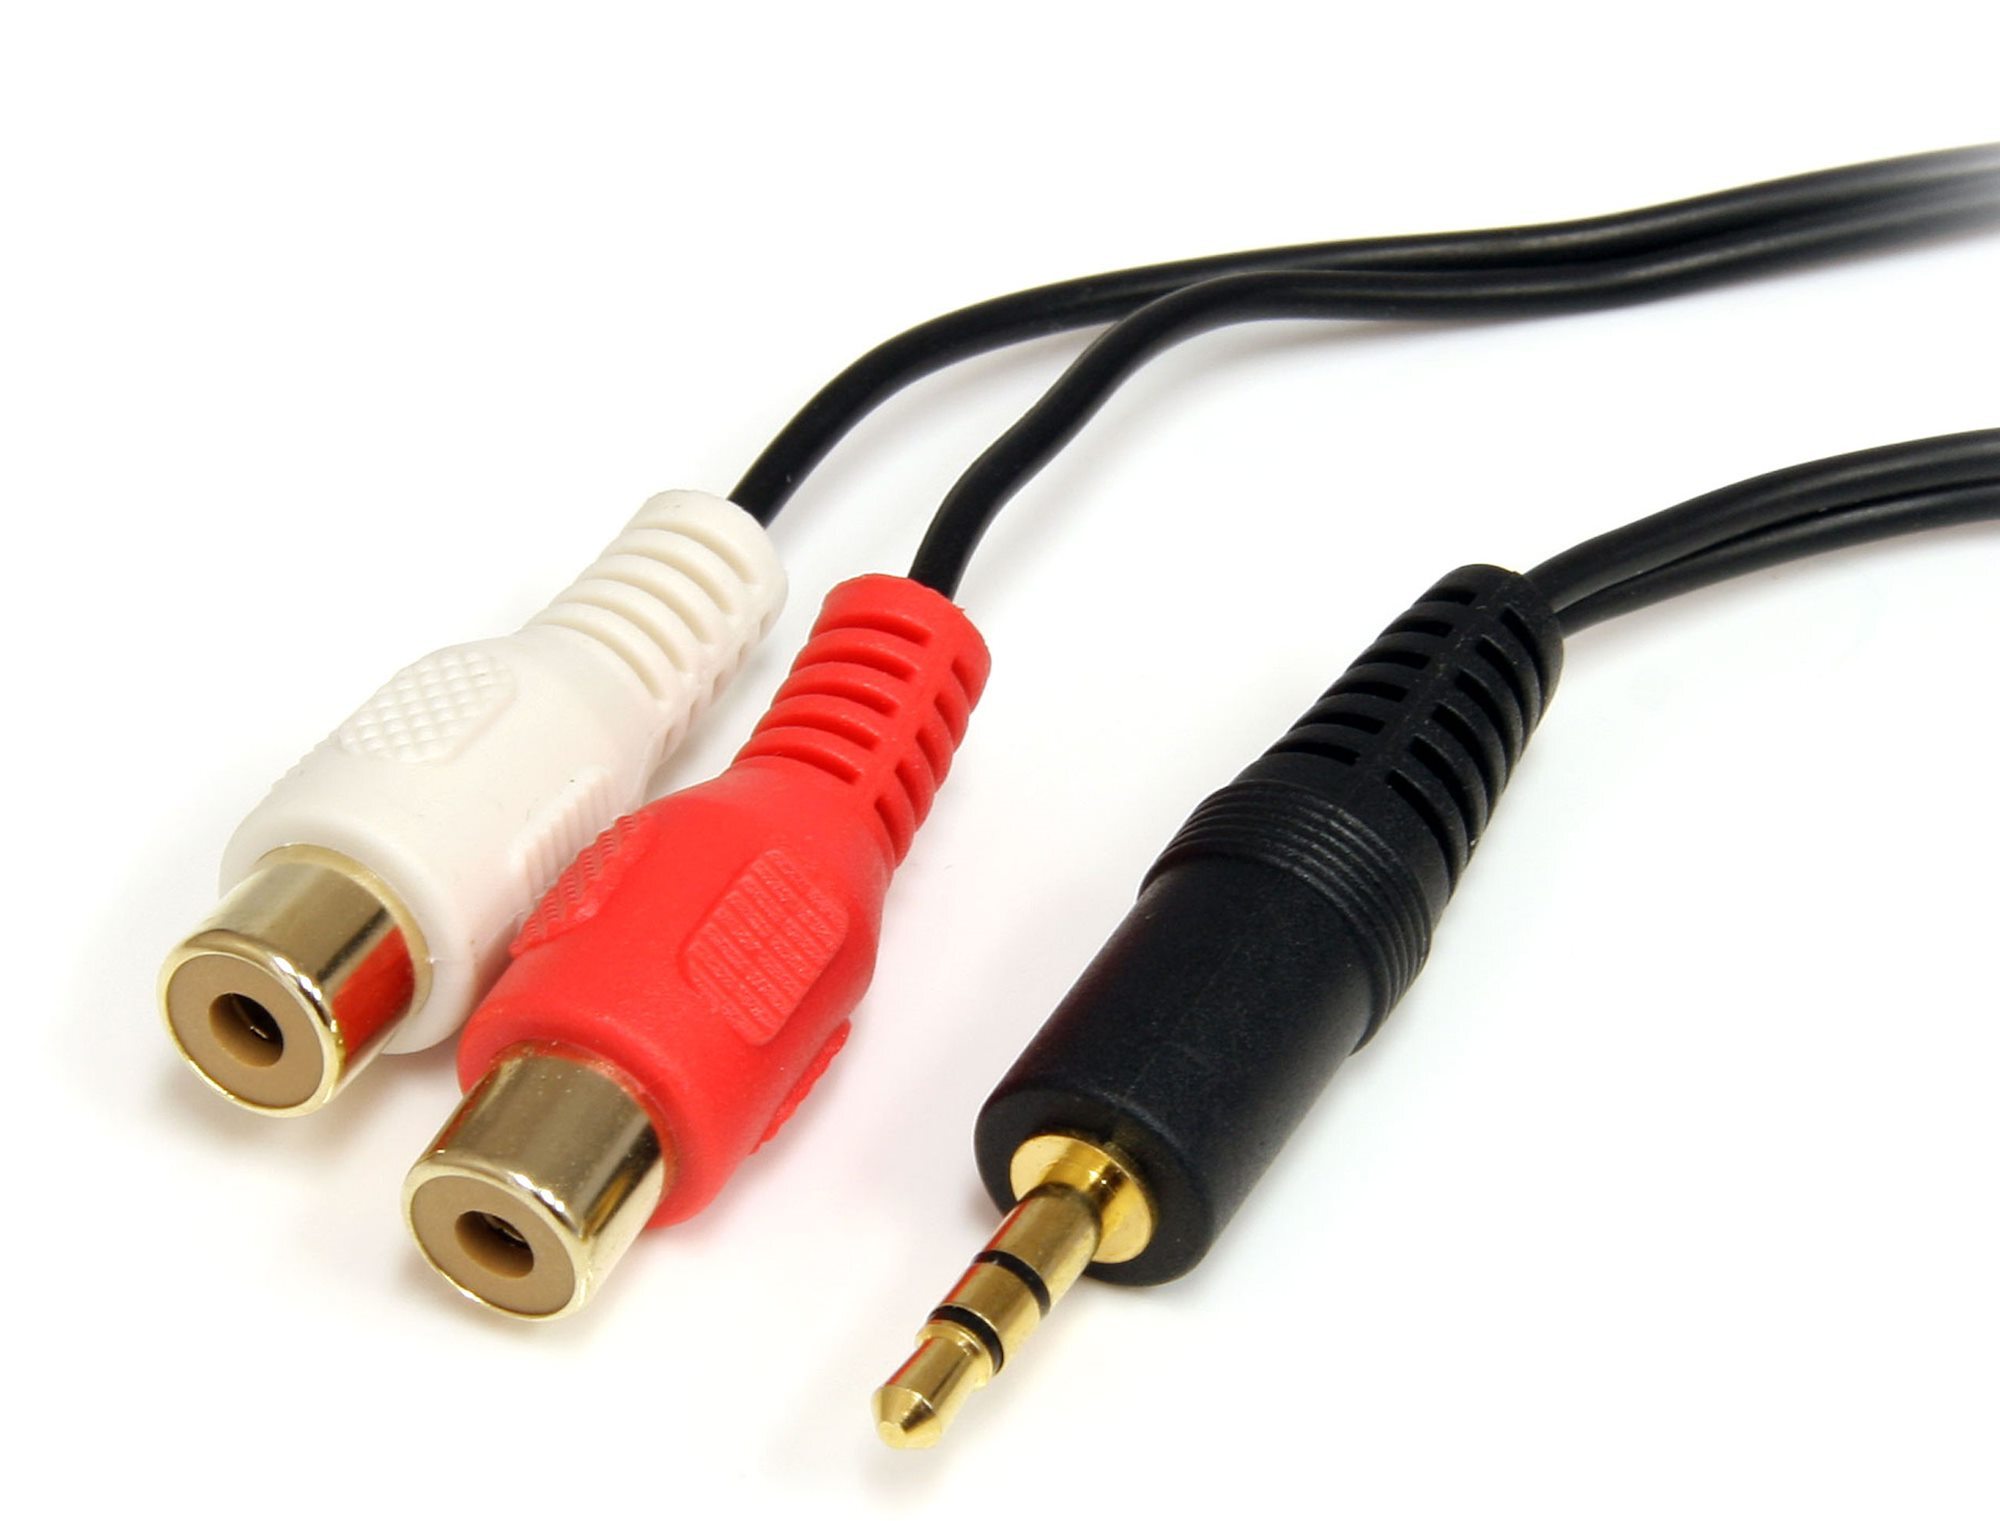
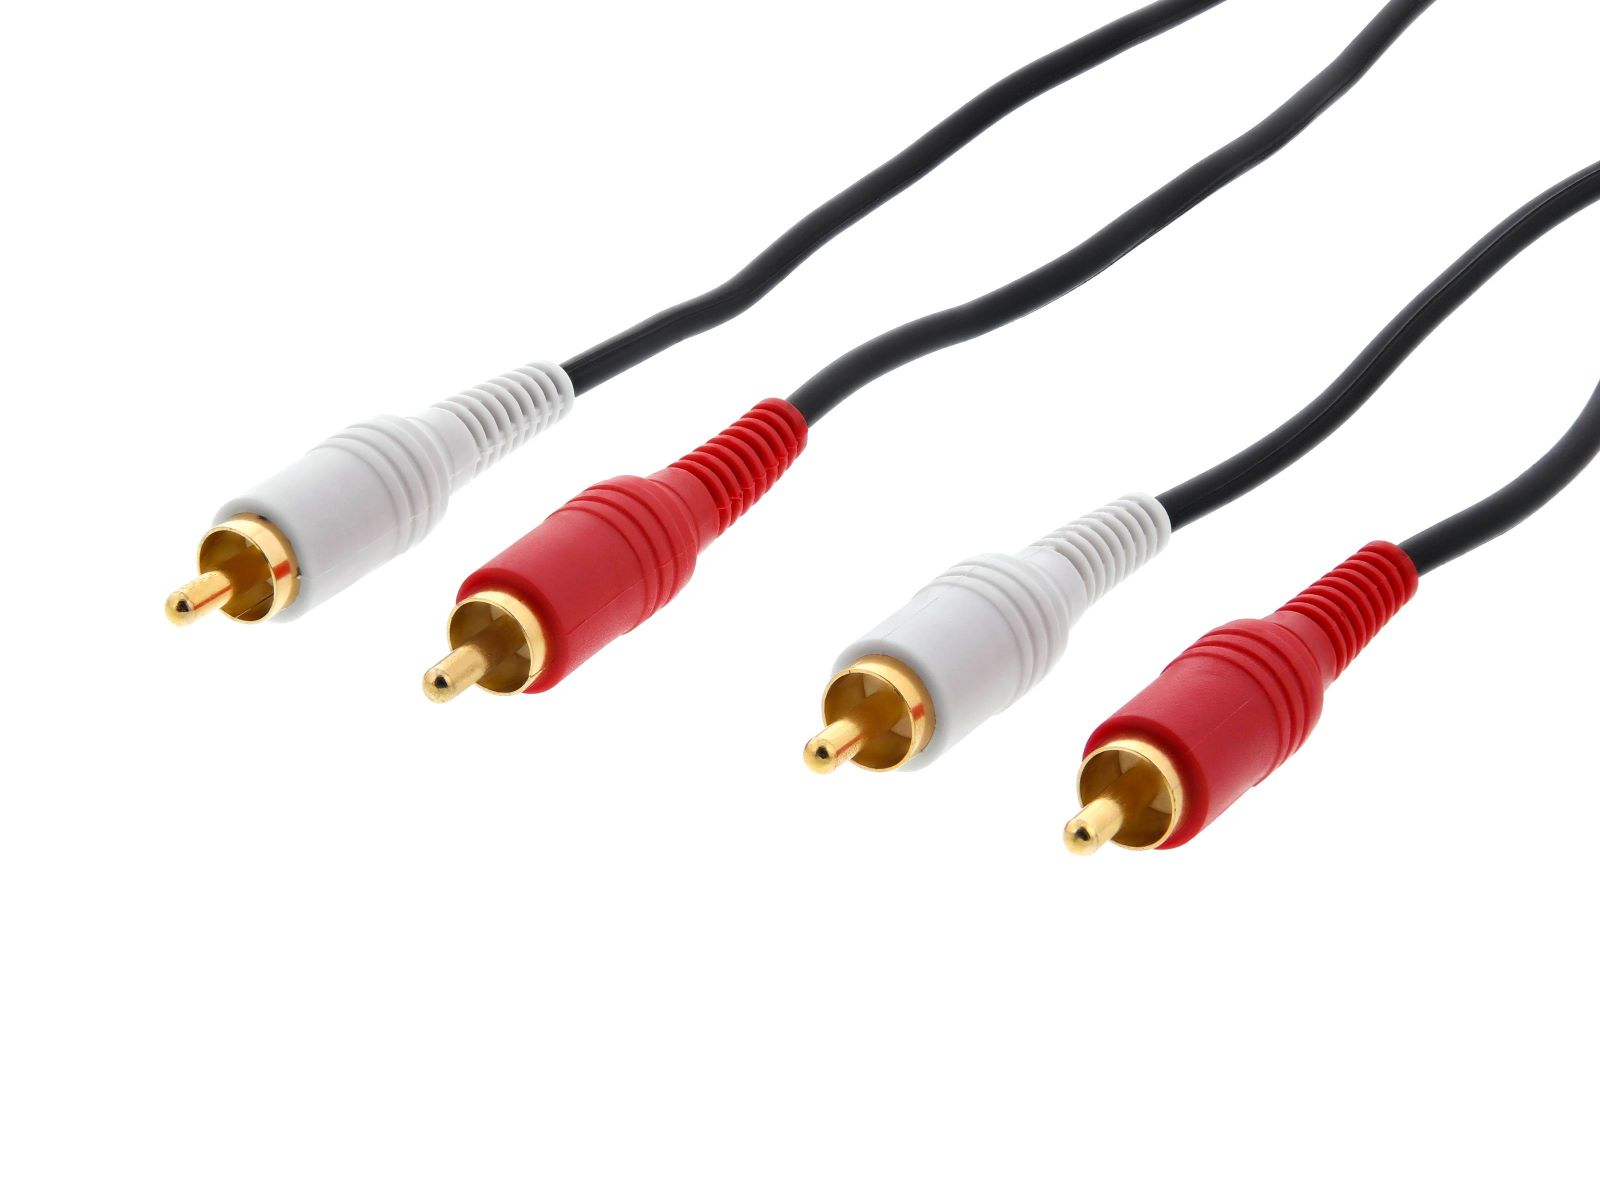
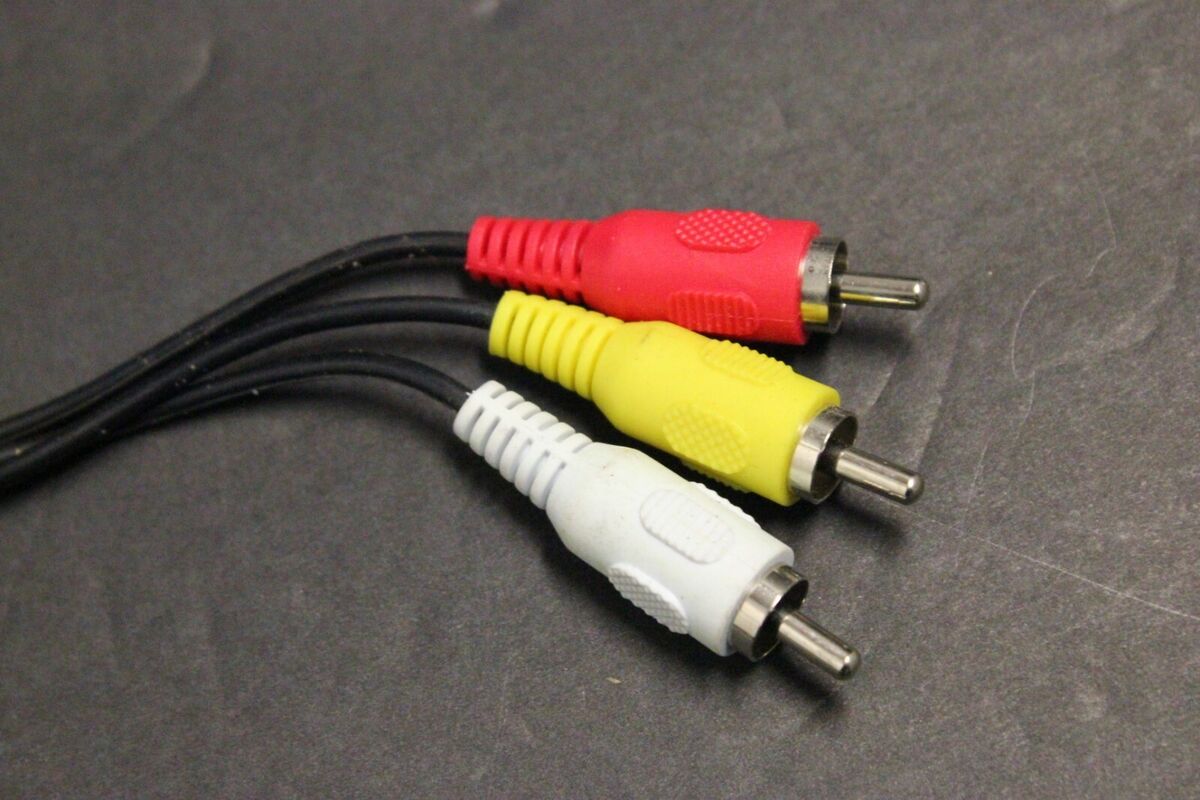
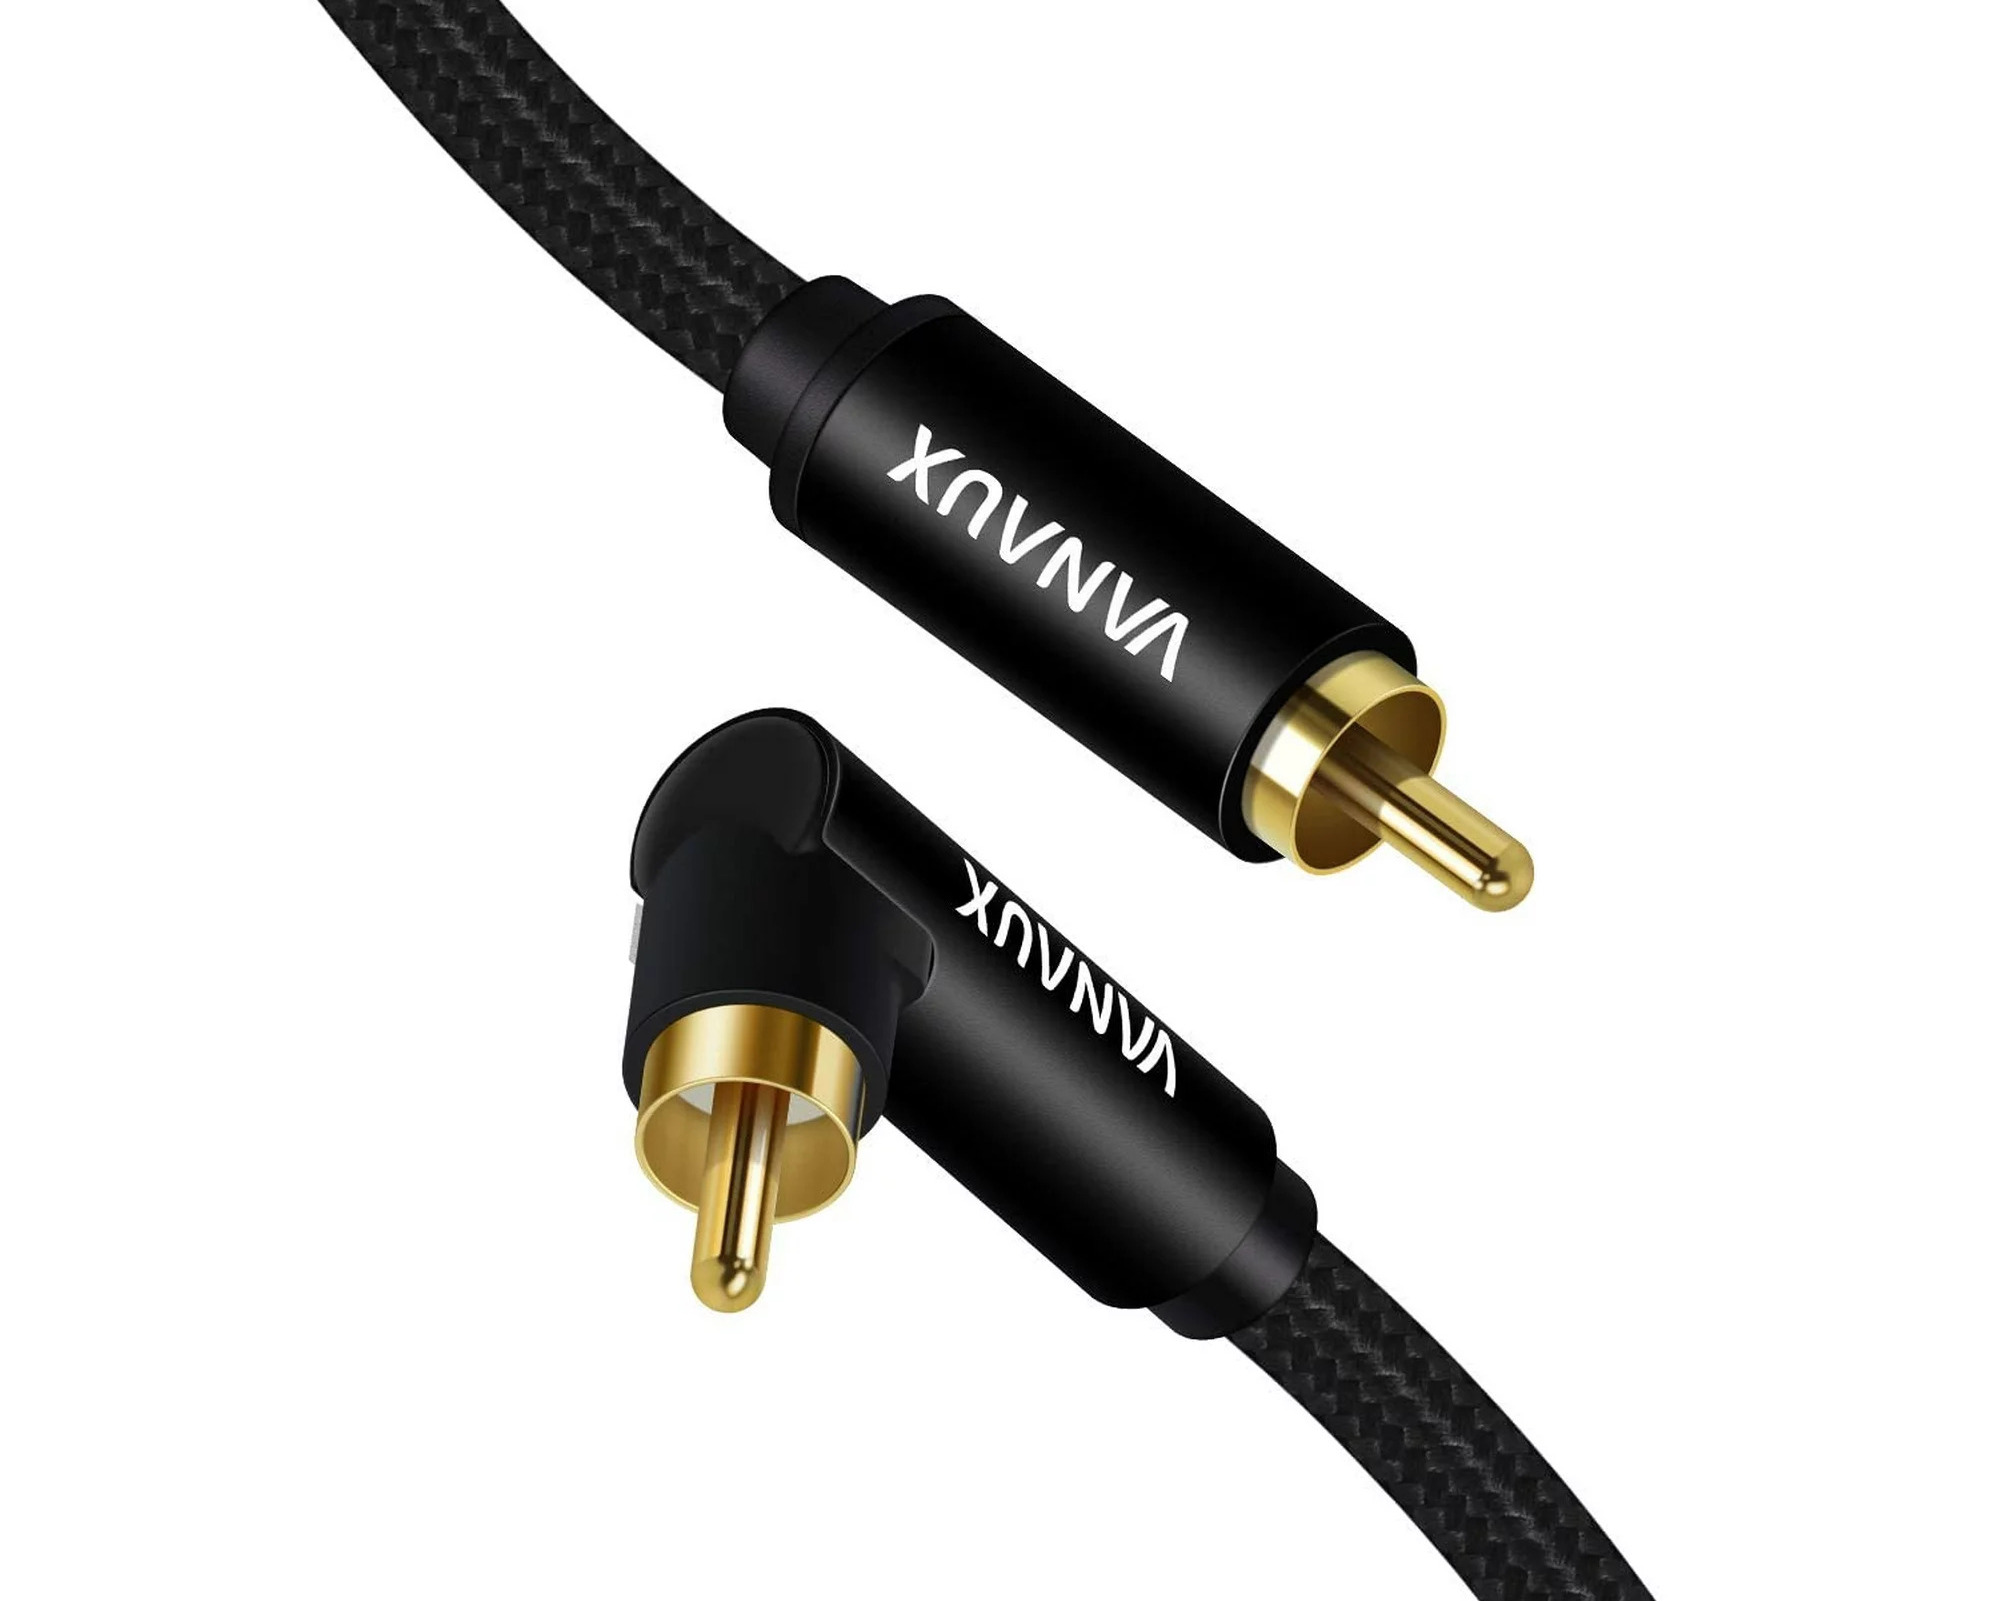
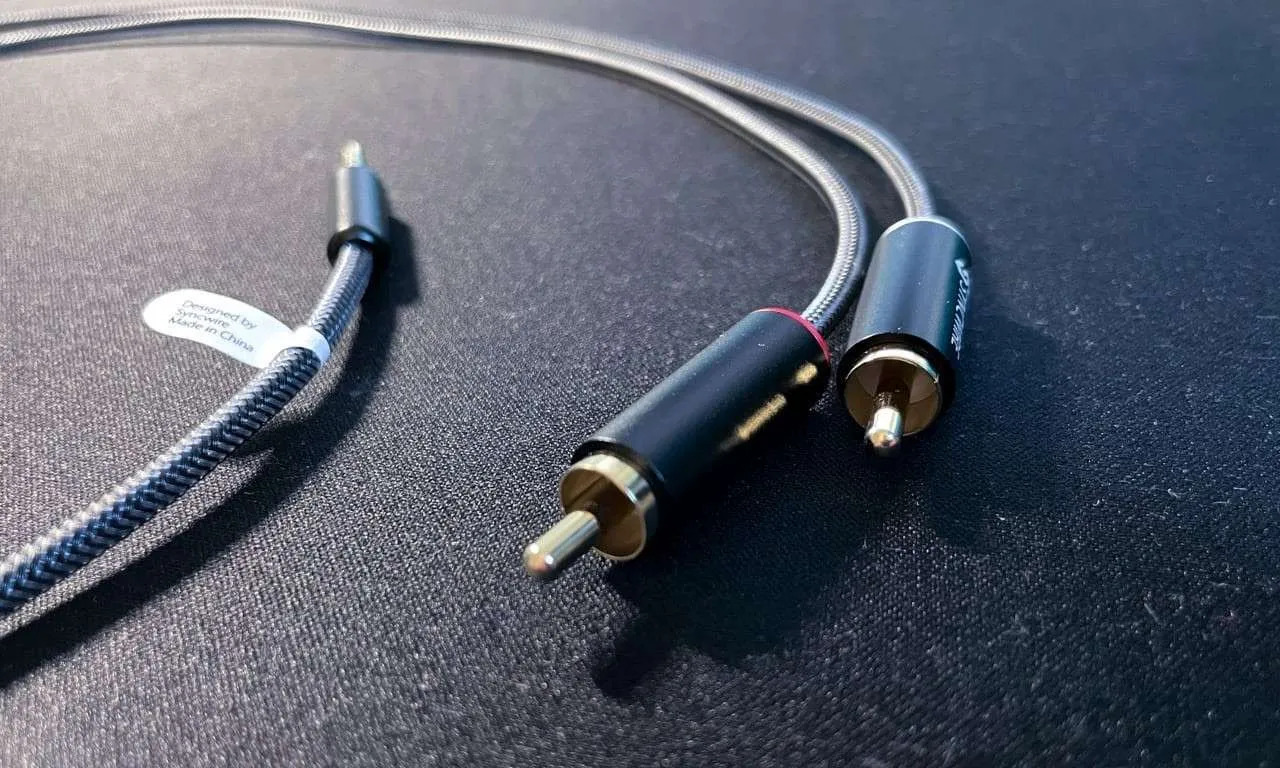
- Audio cable: Of course, you’ll need the audio cable itself. Ensure you have enough cable length to accommodate the desired splice.
- Wire cutters: Wire cutters are useful for trimming excess wire and cutting the heat shrink tubing to the appropriate length.
- Safety goggles: It’s always important to protect your eyes when working with soldering equipment. Wear safety goggles to prevent any accidents.
- Workbench or soldering station: Find a comfortable and well-lit workspace to perform the splicing. A designated workbench or soldering station will provide an organized and safe environment.
Having these tools and materials on hand will ensure that you have everything you need to complete the splicing process with ease and efficiency. Now that you’re prepared, let’s move on to the steps involved in splicing an audio cable.
Step 1: Gather the Supplies
Before you begin splicing an audio cable, it’s important to gather all the necessary supplies and ensure that you have everything within reach. This will help streamline the process and prevent any interruptions once you start working. Here’s what you need to do:
- Set up your work area: Find a well-lit and ventilated area to work in. Make sure you have enough space for your tools and materials.
- Organize your tools: Lay out all the tools you’ll need for the splicing process. This includes the soldering iron, wire stripper, solder, heat shrink tubing, heat gun or lighter, wire cutters, safety goggles, and any other tools specific to your setup.
- Prepare the audio cable: Ensure that you have a sufficient length of audio cable for splicing. Measure and cut the cable to the desired length.
- Inspect the cable ends: Examine the ends of the audio cable for any damage or frayed wires. If necessary, trim the ends to ensure clean and smooth wire exposure.
- Organize your materials: Lay out the solder, heat shrink tubing, and any other miscellaneous materials you’ll be using. This will make it easier to access them during the splicing process.
- Put on your safety goggles: Before you begin working with the soldering iron, protect your eyes by wearing safety goggles. This is crucial for your safety.
By taking the time to gather and organize your supplies, you’ll be well-prepared to start the splicing process smoothly. This will help you work efficiently and minimize any potential setbacks or delays. Once you’ve completed this step, you’ll be ready to move on to the next step: preparing the cable ends.
Step 2: Prepare the Cable Ends
Once you have gathered your supplies, it’s time to prepare the cable ends for splicing. Properly preparing the cable ends is crucial for ensuring a secure and reliable connection. Follow these steps to prepare the cable ends:
- Identify the connector types: Before you begin preparing the cable ends, identify the types of connectors you are working with. Common audio cable connectors include TRS (Tip, Ring, Sleeve) and XLR connectors. Familiarize yourself with the different parts of the connectors.
- Remove any existing connectors: If the cable ends already have connectors attached, remove them carefully. This typically involves unscrewing or unclipping the connectors from the cable.
- Inspect the cable ends: Examine the cable ends for any damage, frayed wires, or excessive insulation. If you notice any issues, trim the cable ends to remove the damaged portion. Make sure to leave enough length for splicing.
- Untwist the cable wires: If the wires inside the cable end are twisted together, gently untwist them using your fingers. This will make it easier to strip the insulation later on.
- Straighten and align the wires: Once the wires are untwisted, straighten and align them as best as you can. This will ensure a tidy and organized splicing process.
- Trim any uneven wires: If any of the wires are longer than the others, use wire cutters to trim them to the same length. This will facilitate the soldering process and create a more uniform connection.
By thoroughly preparing the cable ends, you set the stage for a successful splicing process. Removing existing connectors, inspecting and trimming the cable ends, and straightening and aligning the wires will make it easier to strip the insulation in the next step. With the cable ends prepared, you are ready to move on to the next crucial step: stripping the insulation.
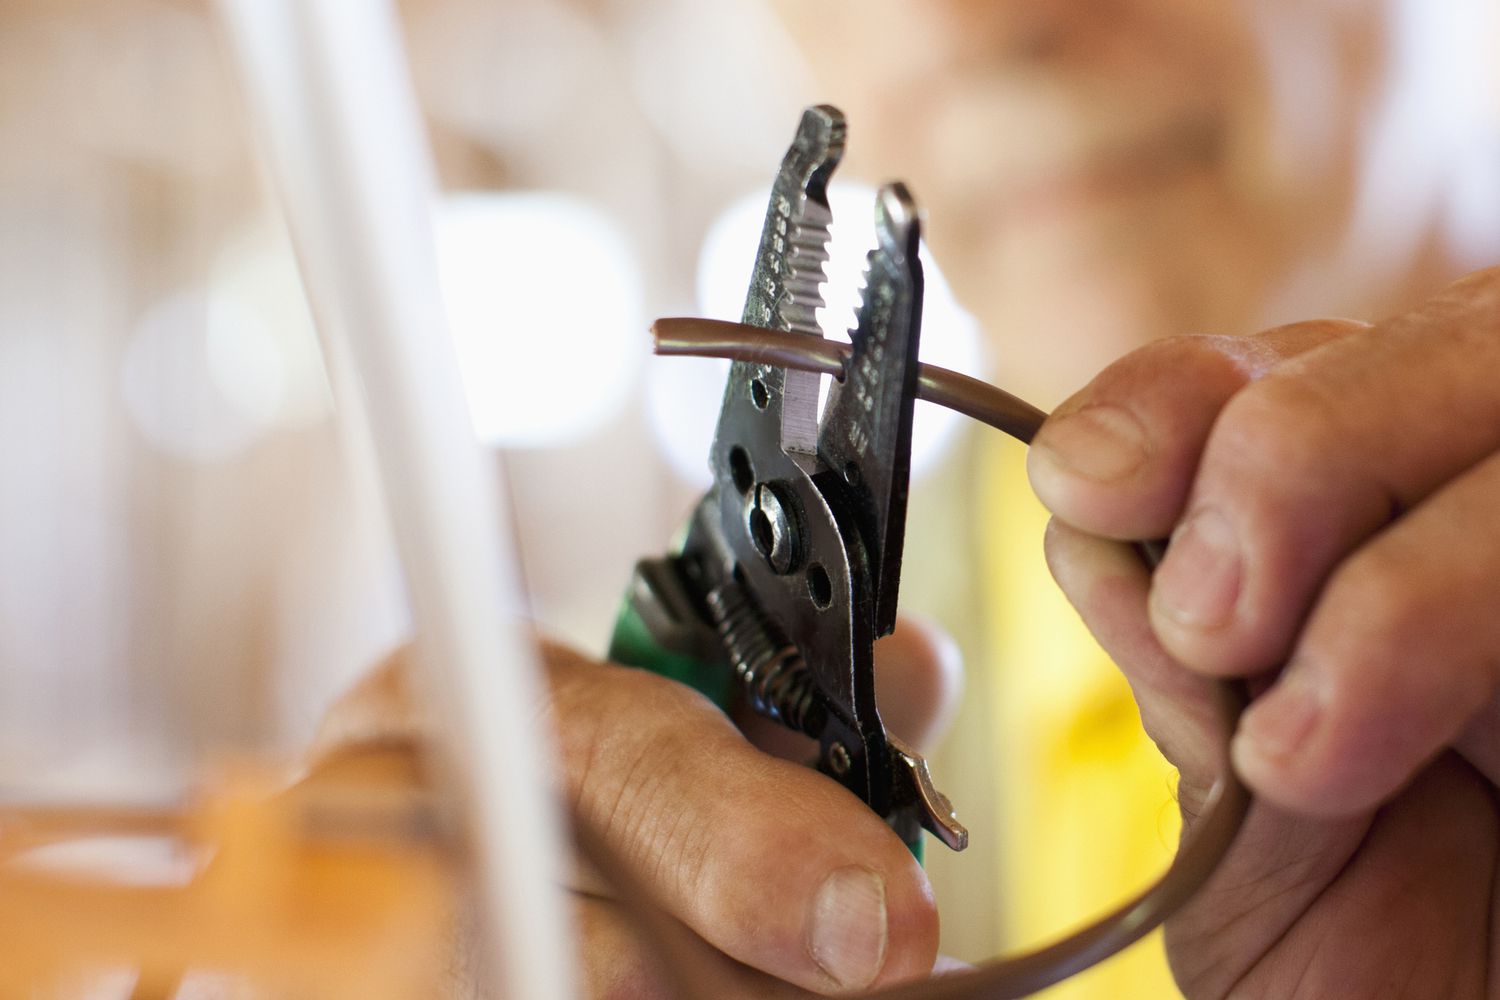
Step 3: Strip the Insulation
With the cable ends prepared, the next step in splicing an audio cable is stripping the insulation. Stripping the insulation is necessary to expose the bare wires for a proper connection. Follow these steps to strip the insulation:
- Locate the insulation: Identify the outer layer of insulation on the cable ends. This is typically made of rubber or plastic and is designed to protect the internal wires.
- Determine the stripping length: Measure the length of the exposed wire you need for splicing. This will depend on the type of connector you are working with and the specific requirements of your setup.
- Choose the appropriate wire stripper: Select a wire stripper that is suitable for the gauge of your audio cable. It should have cutting edges designed to remove the outer insulation without damaging the inner wires.
- Position the wire stripper: Place the cable end into the appropriate size notch on the wire stripper. Make sure the cable is secured in place.
- Strip the insulation: Gently squeeze the handles of the wire stripper to cut through the insulation. Rotate the wire stripper around the cable to score and remove the insulation in a clean, even fashion.
- Inspect the stripped wires: After stripping the insulation, carefully examine the exposed wires. Make sure there is no remaining insulation or pieces of wire sticking out.
It’s crucial to be careful when stripping the insulation to avoid damaging the inner wires. Taking your time and using the appropriate wire stripper will help ensure a clean and precise strip. Remember to double-check the stripped wires to ensure they are free from any debris or excess insulation.
Now that you’ve successfully stripped the insulation, you’re ready to move on to the next step: twisting the wires together.
Step 4: Twist the Wires Together
After stripping the insulation from the cable ends, the next step in splicing an audio cable is to twist the wires together. Twisting the wires creates a solid and secure connection between the cables. Follow these steps to properly twist the wires:
- Identify the wire colors: Take note of the color-coding of the wires on your audio cable. This will help ensure proper connectivity and prevent any potential signal interruptions.
- Group the wires: Separate the individual wires into their respective groups based on their color-coding. Twist each group of wires together gently using your fingers.
- Twist the wire pairs: Pair up the corresponding wires from each group and twist them together. For example, twist the red wire from one cable with the red wire from the other cable.
- Ensure a tight twist: Hold onto the wire pairs close to the point of connection and twist them tightly together. The goal is to create a secure and solid connection between the wires.
- Check for symmetry: Confirm that each wire pair is twisted together evenly and symmetrically. This will provide a neat and organized appearance.
Twisting the wires together is a critical step in the splicing process. It ensures reliable and consistent connectivity between the cable ends. By properly twisting the wire pairs, you create a strong foundation for the soldering process, which will be covered in the next step.
Once you have completed this step, you are ready to move on to the next step: soldering the wires together to create a permanent connection.
Step 5: Solder the Wires
With the wires properly twisted together, it’s time to solder them to create a solid and reliable connection. Soldering forms a permanent bond between the wires, ensuring optimal signal transmission. Follow these steps to solder the wires:
- Prepare your soldering iron: Turn on your soldering iron and allow it to heat up. Make sure to use a soldering iron with a fine tip for precise soldering.
- Apply flux (optional): Applying flux to the twisted wire pairs can help improve the soldering process by removing oxidation and enhancing the flow of solder. Use a small amount of flux on the twisted wire pairs, if desired.
- Heat the wires: With the soldering iron heated up, touch the tip of the iron to the twisted wire pairs. This will heat the wires and prepare them for soldering.
- Add a small amount of solder: Once the wires are heated, touch the solder wire to the heated wires. The solder will melt and flow onto the wires, creating a secure connection.
- Ensure proper coverage: Make sure the solder covers the twisted wire pairs evenly and completely. This will ensure a durable and reliable connection.
- Remove the soldering iron: Once the solder has cooled and hardened, remove the soldering iron from the connection. Be cautious not to disturb the newly formed solder joint.
- Inspect the solder joint: Examine the solder joint to ensure it is smooth, shiny, and free from any excess solder or gaps. A proper solder joint should be strong and visually clean.
It’s important to exercise caution when working with a soldering iron to avoid burns or damage to the cables. Additionally, be mindful not to leave the soldering iron on the wires for an extended period, as it can potentially damage the insulation or overheat the connection.
After soldering the wires together, you have successfully created a permanent connection between the cable ends. The next step is to insulate the soldered connections to protect them and prevent any short circuits.
Step 6: Insulate the Connections
After soldering the wires together, it’s crucial to insulate the connections to protect them and prevent any potential short circuits. Insulating the connections ensures the longevity and reliability of your spliced audio cable. Follow these steps to properly insulate the connections:
- Cut the heat shrink tubing: Measure and cut the heat shrink tubing to a length that can fully cover the soldered connections. Make sure to use heat shrink tubing with a diameter large enough to fit over the cable and the soldered area.
- Slide the heat shrink tubing onto the cable: Before shrinking the tubing, slide it onto one end of the cable, away from the soldered connections. This will ensure easy access to the connections during the heat-shrinking process.
- Position the tubing over the connections: Move the heat shrink tubing over the soldered connections, ensuring that it covers the entire soldered area. The tubing should extend beyond the soldered area on both ends.
- Heat the tubing: Use a heat gun or a lighter to apply heat evenly to the heat shrink tubing. Move the heat source around the tubing, maintaining a safe distance to prevent overheating or damaging the cable.
- Observe the shrinkage: As you apply heat, the tubing will shrink and conform tightly to the connections. Make sure the tubing shrinks uniformly and creates a secure insulation barrier over the soldered area.
- Check for proper insulation: Once the tubing has cooled, visually inspect the connections to ensure they are completely covered and insulated. Verify that there are no exposed wires or areas susceptible to short circuits.
Properly insulating the connections with heat shrink tubing is essential for protecting the soldered area from external factors that could compromise the signal transmission. It provides insulation against moisture, dust, and physical damage, ensuring the longevity and reliability of your spliced audio cable.
With the connections insulated, you have completed an important step in the splicing process. Now, it’s time to move on to the final step: testing the spliced cable.
Step 7: Test the Spliced Cable
After completing the splicing process, it’s crucial to test the spliced cable to ensure that it functions properly and delivers optimal audio performance. Testing allows you to identify any issues or potential problems before integrating the cable into your audio setup. Follow these steps to test the spliced cable:
- Connect the cable: Plug one end of the spliced cable into the appropriate audio input/output port of your audio device.
- Connect the other end: Connect the other end of the spliced cable to a compatible audio output/input source, such as a speaker, amplifier, or audio interface.
- Power on the devices: Turn on both the audio source and the receiving device to establish a connection.
- Play audio: Start playing audio through the connected audio source and check if you can hear the sound through the receiving device. Adjust the volume as necessary.
- Test different audio sources: Try connecting the spliced cable to various audio sources and receivers to ensure compatibility and check for consistent audio performance.
- Check for interference: Listen for any unwanted noise, distortion, or interference in the audio signal. If you encounter any issues, ensure that the connections are secure and properly insulated.
- Verify signal strength: Test the spliced cable’s ability to transmit a strong and clear audio signal. If the signal is weak or intermittent, double-check the connection and consider re-soldering if necessary.
Testing the spliced cable ensures that it meets your audio requirements and performs as expected. By conducting thorough tests, you can identify and address any issues early on, ensuring optimal audio quality and preventing potential disruptions during actual usage.
If you encounter any issues during the testing phase, double-check your splicing work, including the soldering and insulation. Rectify any problems before finalizing the installation of your spliced audio cable.
With the spliced cable successfully tested and verified, you can confidently incorporate it into your audio system and enjoy uninterrupted and high-quality audio playback.
Conclusion
Splicing an audio cable can be a valuable skill for anyone working with audio equipment. By following the steps outlined in this guide and having the necessary tools and materials, you can successfully splice an audio cable and create a secure and reliable connection. Whether you are repairing a damaged cable or customizing your audio setup, knowing how to splice an audio cable gives you the flexibility to adapt and troubleshoot as needed.
Remember to take your time and work carefully throughout the process. Properly preparing the cable ends, stripping the insulation, twisting the wires together, soldering, and insulating the connections are all crucial steps in ensuring a strong and durable spliced cable. Additionally, testing the cable after the splicing process is essential to confirm functionality and audio performance.
By acquiring the necessary tools, following the steps outlined in this guide, and exercising caution, you can achieve professional-level splices that maintain the integrity of your audio system. Whether you are a musician, audio enthusiast, or simply someone who appreciates high-quality sound, knowing how to splice an audio cable empowers you to maintain and customize your audio setup with confidence.
With the knowledge and skills gained from this guide, you can now embark on your audio cable splicing journey. Remember to always prioritize safety, precision, and attention to detail. Happy splicing!