MIDI
How To Use MIDI In FL Studio
Modified: 9 March 2024
Table of Contents
Choosing your MIDI gear and software for MIDI in FL Studio
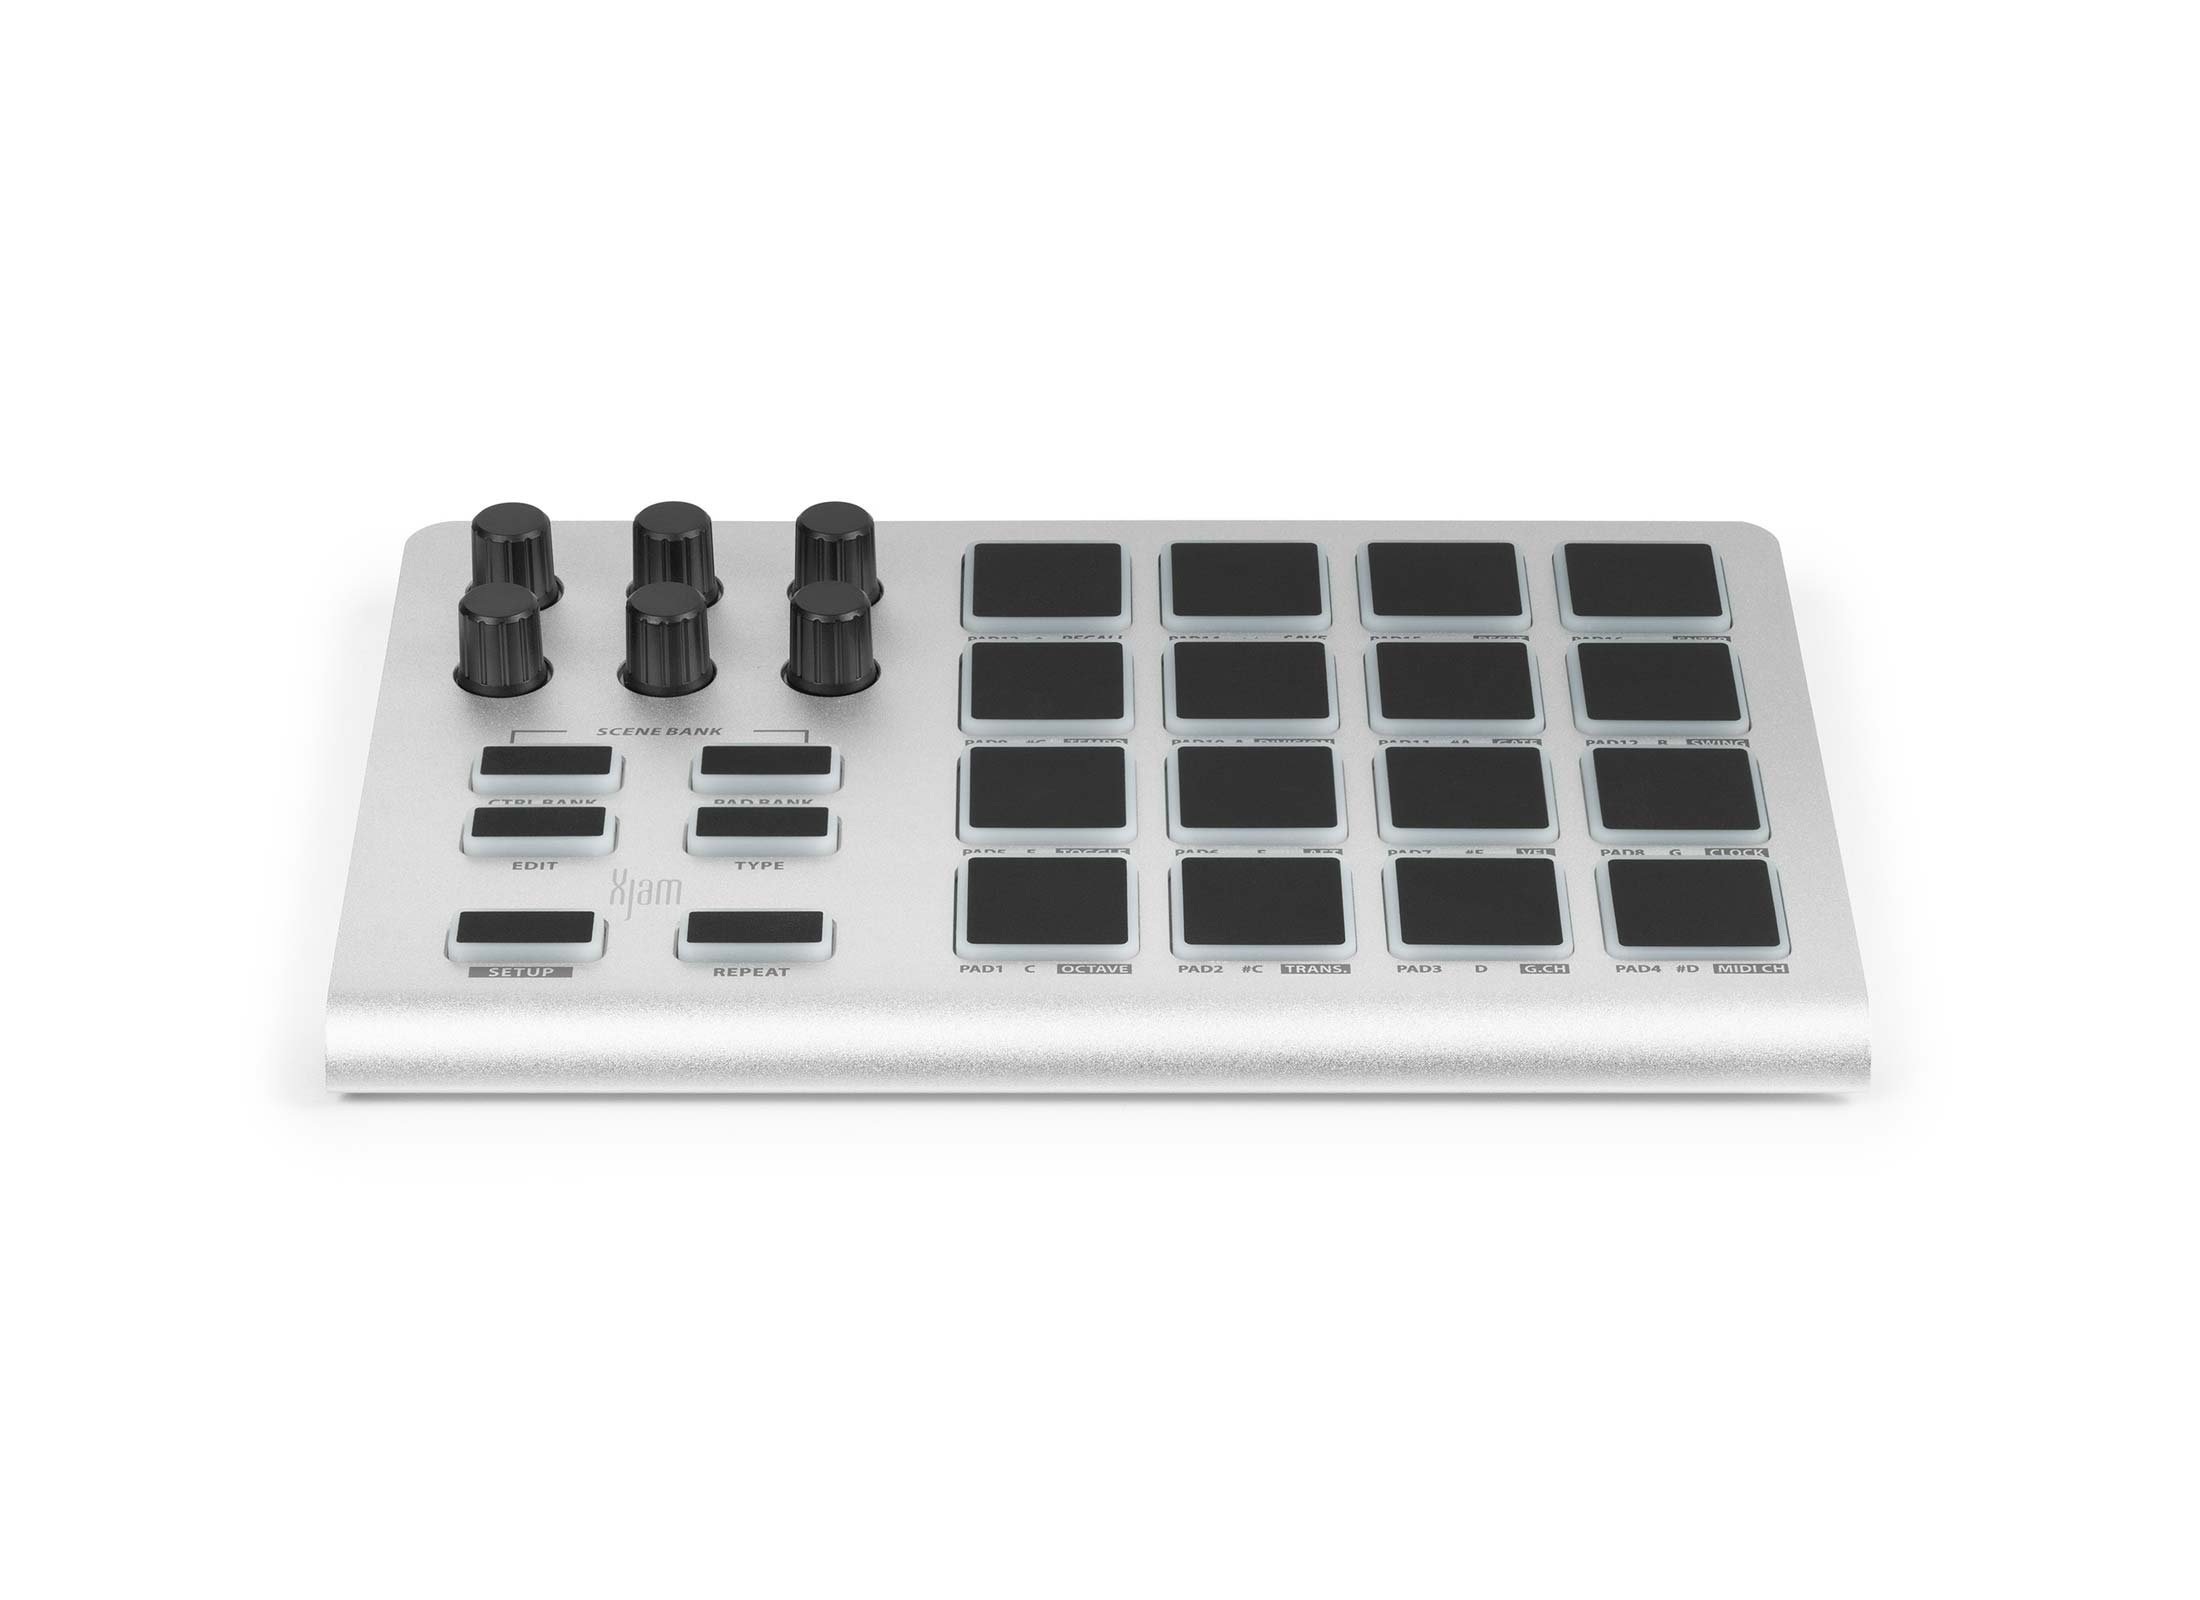
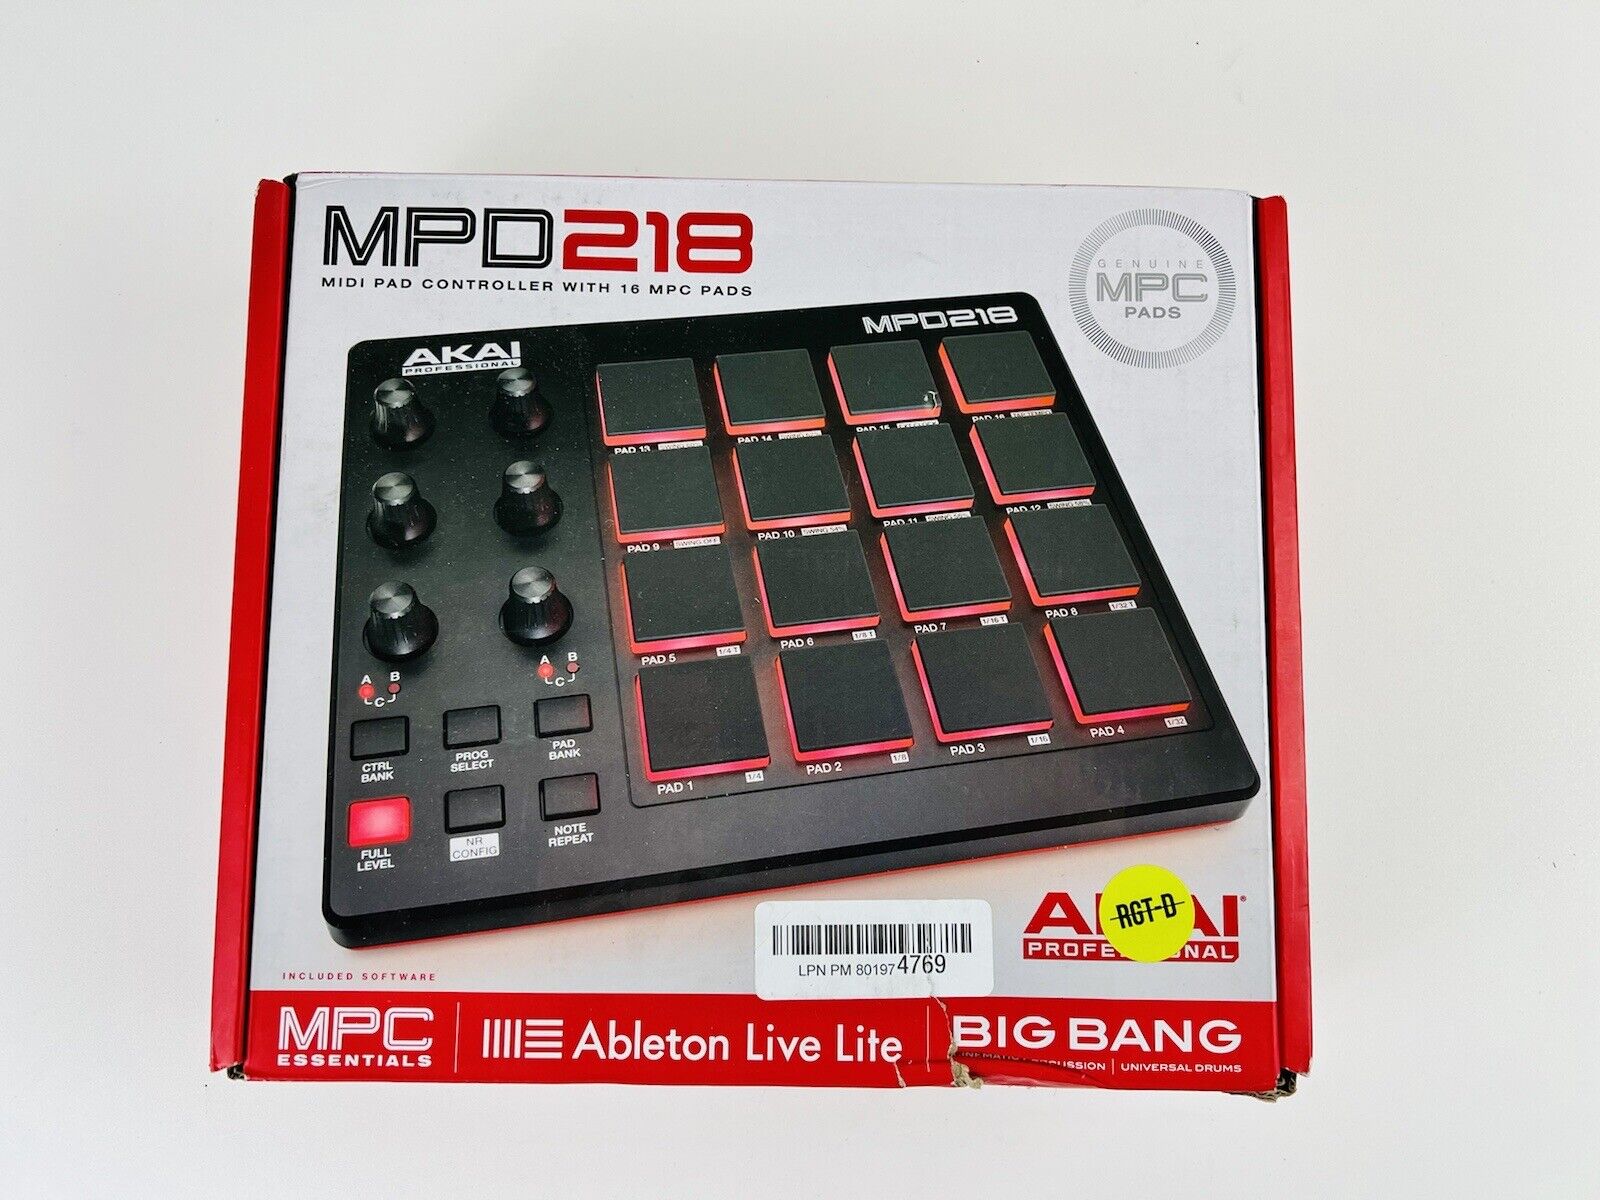
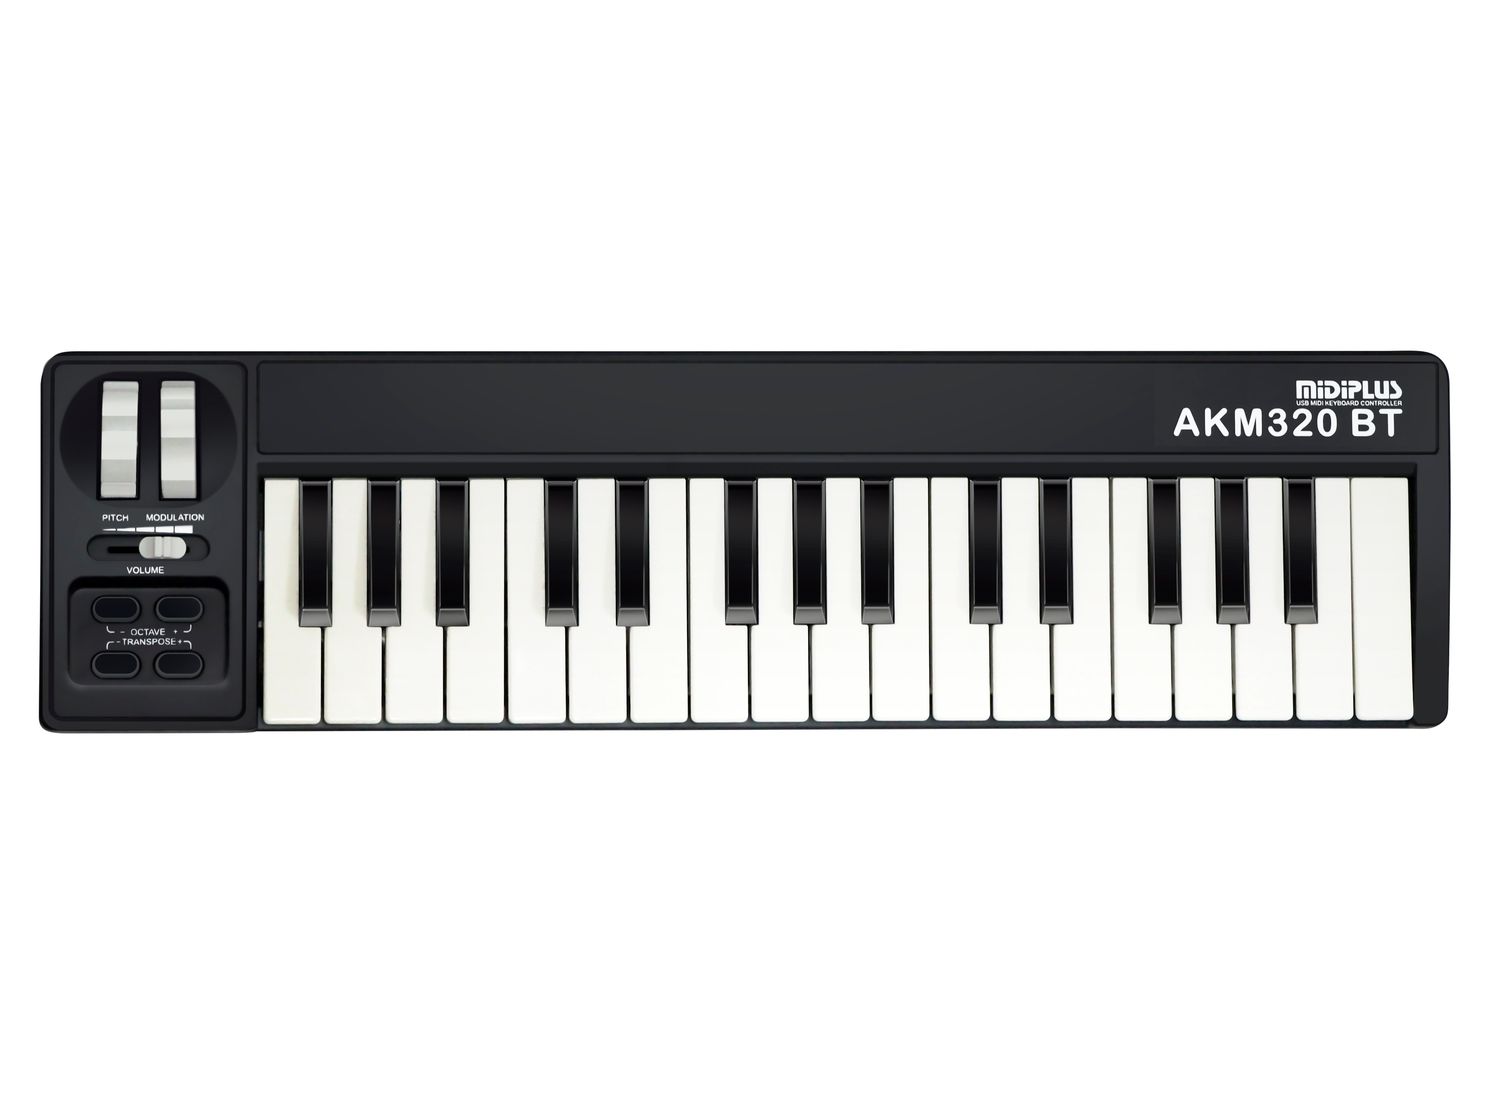
Working with MIDI in FL Studio starts before you open the software, and sorting out your physical and virtual gear will save you the common frustration of a keyboard that lights up but makes no sound. FL Studio treats controllers and audio as separate systems. You will configure them in different settings tabs later. Start with the controller itself. The program works with any USB or MIDI keyboard, pad controller, or synth that sends standard MIDI. Many popular models are preconfigured. When hunting for a good MIDI keyboard for FL studio. The only hard requirement is that it speaks standard MIDI over a connection your computer can accept. If you plan to play without hardware right away, you can turn on Typing keyboard to piano keyboard from the Options menu. You can also press Ctrl+T to use your computer keys as a temporary note input.
Your sound sources matter just as much. This gives your hardware something to trigger. A current official answer to the best music software for rock is not available. The application itself handles the MIDI routing. Your guitar and drum tones will come from the specific amp sims and sample libraries you choose to load. If you decide to install Piano One in FL Studio. Then load it onto a channel before your keys can play it. For mobile users, wired controllers on Android and iOS often need an OTG adapter. Bluetooth connections require you to use the Enable MIDI over Bluetooth option inside the app’s settings.
Hooking up your MIDI controller
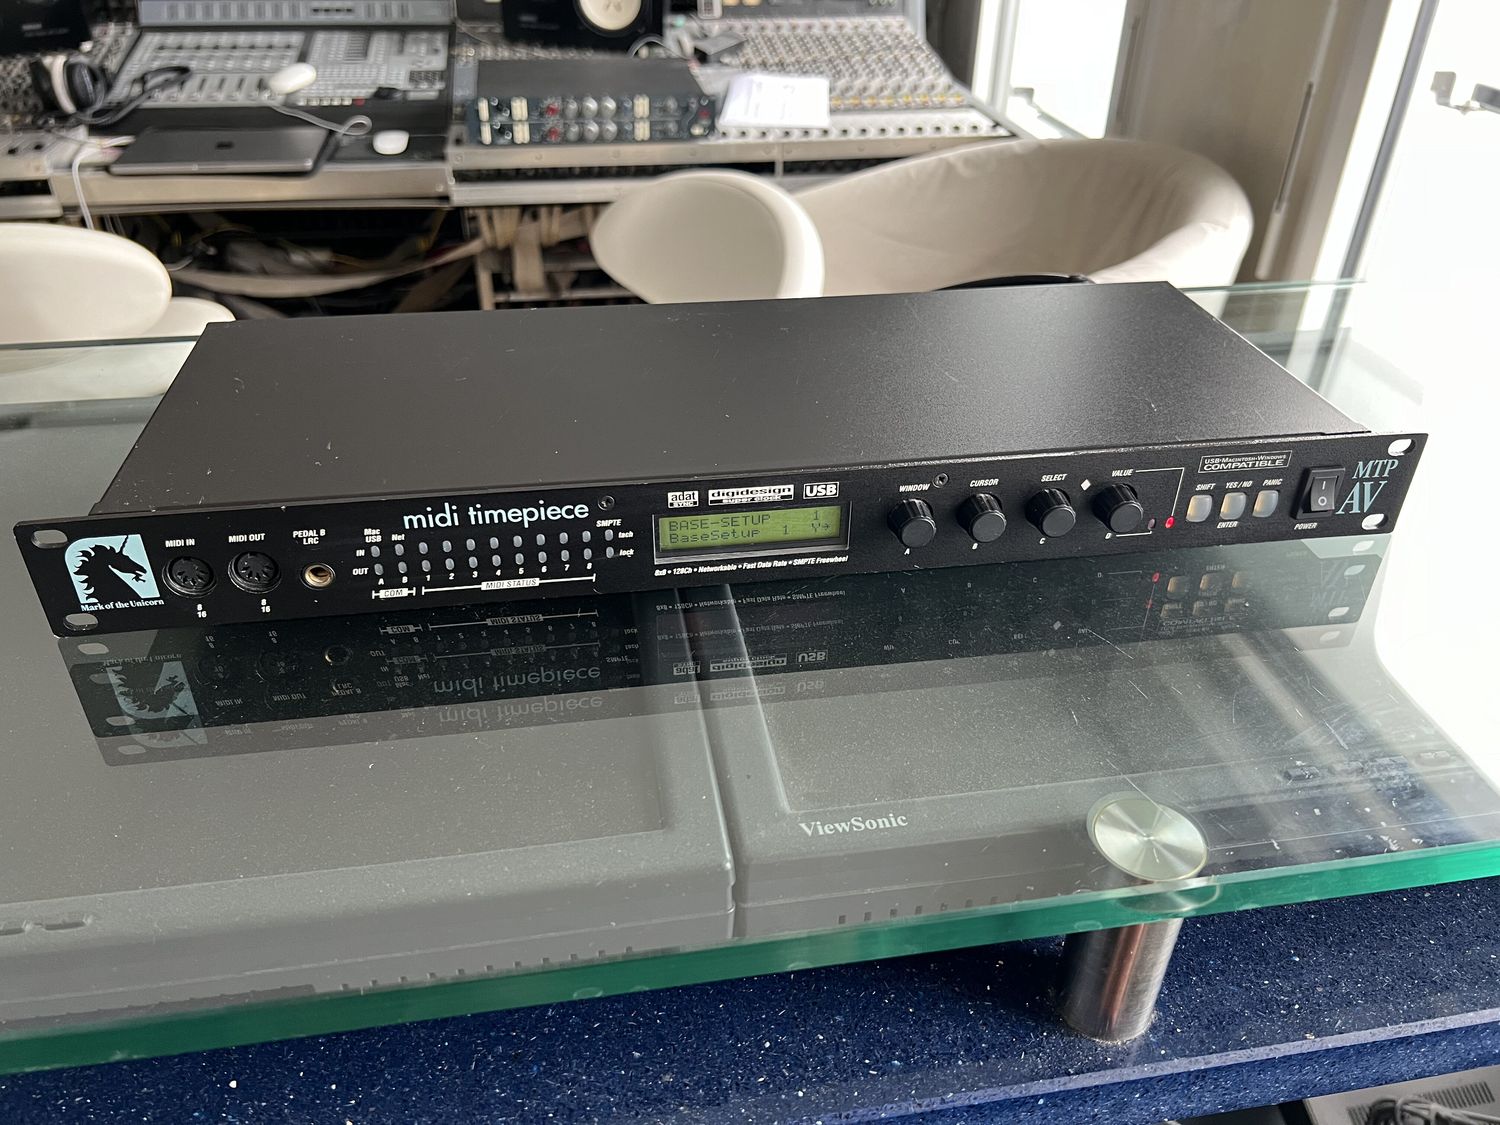
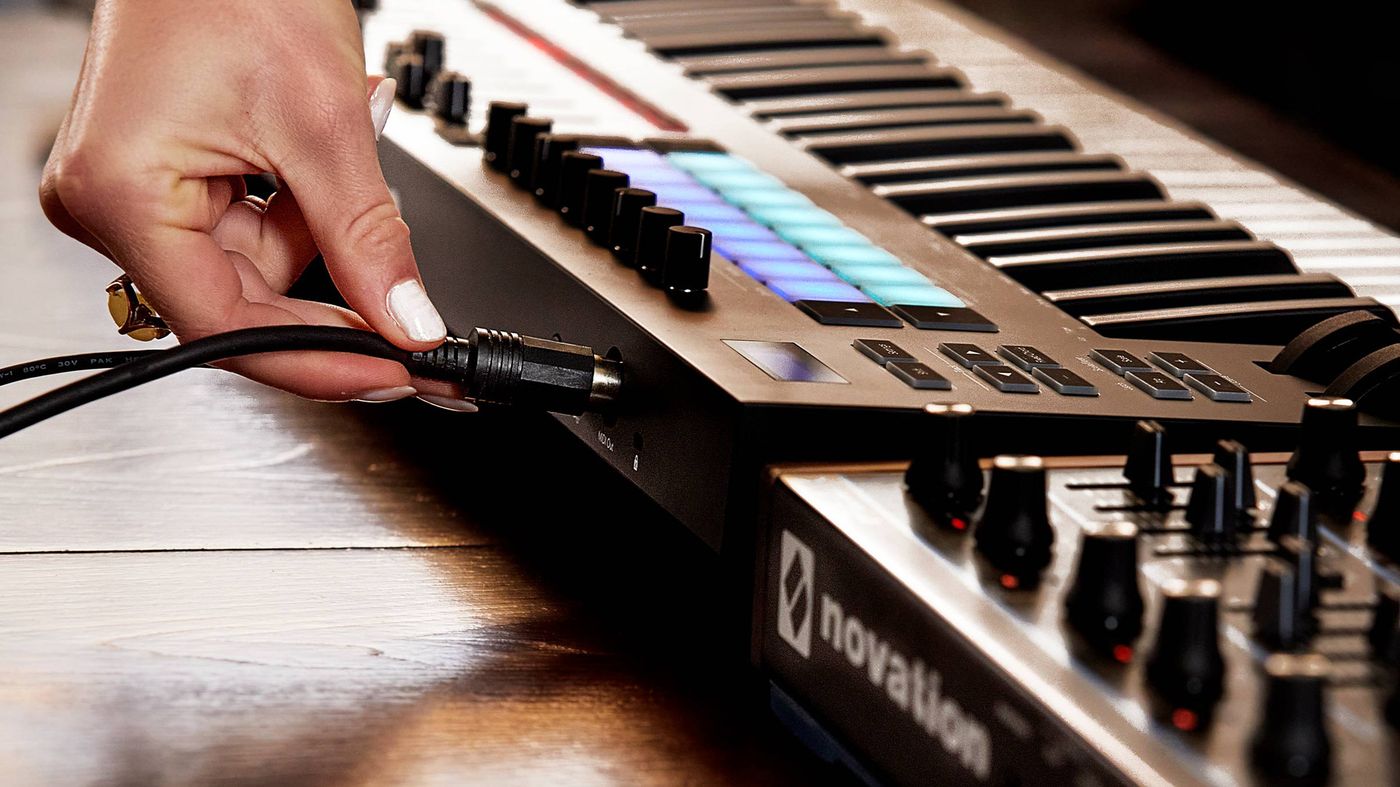
When you are ready to set up MIDI keyboard in FL Studio, the physical connection comes first. Plug the USB cable directly into your computer before you launch the software. Alternatively, run a 5-pin DIN cable through a MIDI interface. If you need to connect MIDI keyboard to FL Studio 11, the process is identical to current versions. Open the Options menu and select MIDI settings. Find your device in the Input list. Click its name to highlight it. Then click the Enable switch so the controller can send note data. For more complex rigs where you link MIDI keyboard to fl studio through audio interface, remember that the interface handles both audio and MIDI paths separately. You will still need to select the interface’s MIDI port in that same Input list. Do not look for the instrument’s name directly. Once the connection is live, you can map a MIDI keyboard in FL Studio by right-clicking any Channel button. Choose Receive notes from. Pick your controller from the list to lock that instrument to a specific device. If you are working with older Sound Blaster hardware, the MIDI port jumper settings on an SB X-Fi AD_Ext card must be physically set to enable the breakout port. Otherwise, the computer will not see any incoming MIDI signal at all.
Configuring audio and fixing latency
Getting your audio interface working correctly is the single most effective way to fix MIDI latency in FL studio. The delay you feel between pressing a key and hearing a sound almost always lives in the audio driver, not the MIDI connection itself. Open Options > Audio settings or press F10 and use the Device dropdown to change fl studio 20 audio to my audio interface by selecting its native ASIO driver rather than the default system output. Once that driver is active, click the Show ASIO Panel button to open the hardware’s own control window and lower the Buffer length until you reach a responsive setting. The manual advises keeping it at or above 10 ms (441 samples) for stable playback, though many modern systems can push into the 5-10 ms range without glitches. Before you record anything, go back to the same Audio settings tab and turn Latency compensation ON, which forces the software to automatically realign your recorded notes with the playlist grid by stripping out the remaining driver delay. If you are unsure where to start, a buffer of around 512 samples gives you a safe middle ground that balances playability against the risk of pops and crackles.
Loading sounds onto MIDI channels
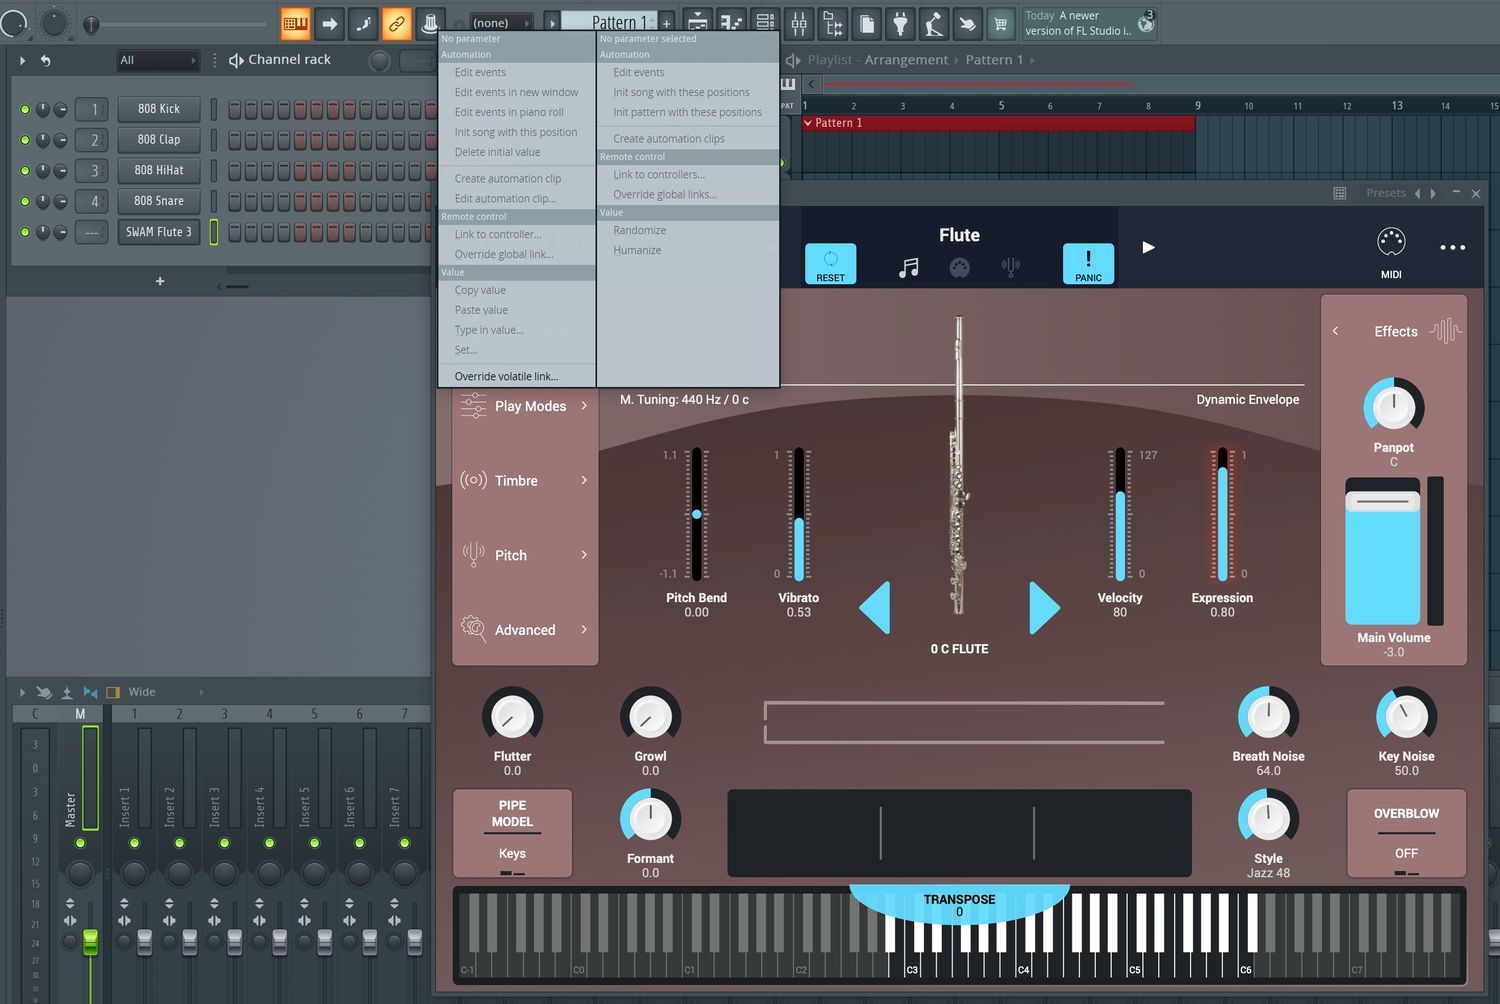
Before your controller can trigger anything, you need to load a sound source onto a channel. To assign instruments to MIDI channel in FL studio, open the Channel Rack and click the Channel button for the plugin you want to control. Then match its MIDI channel number to the one your hardware is transmitting on, anywhere from 1 to 16. If you want to make a MIDI drum rack in FL studio, the workflow relies on placing separate percussion samples on individual Channel Rack lanes. You then use the Step Sequencer grid to build patterns. You can set each lane to its own MIDI channel for independent triggering. For melodic parts, you can use piano in FL Studio 12 by loading any keyboard plugin into a channel. Right-click the Record button and ensure Note is selected so your performance captures as MIDI data. When the track calls for vocal textures, you can make a choir sound in FL studio the same way you would load any other instrument. Insert a plugin capable of choir patches into a Channel Rack lane and route your controller to it. Every instrument you add follows this same routing logic. Nothing will produce audio until you have your MIDI device enabled in the F10 settings.
Recording MIDI and audio performances
When you are ready to record with MIDI keyboard in FL studio, enable the device in Options > MIDI settings, click the Transport Panel Record Button, make sure the recording filter is set to Note, and press Play to begin capturing incoming note events from your controller keyboard. To record guitar in fl studio using an audio interface, load Edison into an FX slot on the target Mixer track or arm the track’s disk icon to write directly to the Playlist, and remember to turn off Latency compensation in the Mixer menu’s Disk recording submenu to keep your takes aligned.
You can put metronome in to channel FL studio by enabling it from the Options menu or pressing Ctrl+M, which gives you a short click on each beat and an accented downbeat that is especially helpful when tracking a melody from your music keyboard. If you prefer a count-in instead, use Ctrl+P to activate the Recording Countdown and right‑click it to set the number of bars.
You may find that real-time playback doesnt work on fl studios 11 when recording. The controls that govern this behaviour are the Wait for input to start recording toggle and the countdown option, which together determine exactly when the transport begins rolling.
Editing MIDI in the piano roll
Once your controller is sending notes and you can hear your instrument, double‑clicking the preview window in the Channel Rack is the fastest way to open piano roll in FL studio, giving you a full grid where every note appears as a coloured bar you can drag, resize, or delete.
Before committing a part to the playlist, many producers flip a phrase backwards for transitional effects by selecting the notes and using a reverse function to reverse MIDI in FL studio, which mirrors the entire selection horizontally and turns a rising run into a falling one in a single keystroke.
From there you can manipulate the data further using the tools at the top of the editor. The manual confirms that you can use MIDI in FL studio from a typing keyboard by toggling Ctrl+T, which is perfect for tapping in a quick idea without reaching for your external hardware.
The Piano roll also lets you quantise timing, adjust velocity per note, and draw pitch bends directly onto the lower lane, so even a roughly performed passage can be tightened into a polished pattern without leaving the window.
Importing and exporting MIDI files
When you want to put MIDI files into FL Studio, you can drag them directly from the Browser onto the Channel Rack. You can also drop them into an open Piano roll, where the notes land exactly on the grid for immediate editing. Another approach is to open the Piano roll menu and choose File > Import MIDI file. This brings up a dialog to place the data into your current pattern.
That same menu provides the reverse path when you need to export MIDI in FL Studio. Use the Export as MIDI file command to save the contents of the active Piano roll. Alternatively, you can prepare an entire project for export through the Tools menu. You then write it out from the Export Project Dialog. The project-wide option automatically replaces your instruments with MIDI Out plugins. For this reason, saving your work first is essential.
You may also want to add MP3 to FL Studio for audio stems by dragging the file into the Playlist or using the standard file-open workflow. Simply drag the file into the Playlist or use the standard file-open workflow. This places the clip on a new track for arrangement alongside your MIDI parts.
Converting between audio and MIDI
FL Studio’s Piano roll can extract pitch and timing from a monophonic recording. Just right‑click an audio clip and select turn audio into MIDI in FL studio, and the detected note data dumps straight into the active pattern. Once you have a sequence you like, you can change MIDI to audio in FL by routing its lane to a free Mixer track, arming the disk recording icon, and rendering the performance as a WAV clip directly into the Playlist.
Working with existing stereo files often requires the opposite kind of separation. The built‑in Fruity Parametric EQ 2 cannot isolate a vocal on its own, and results depend heavily on how the original mix was printed.
The official manual does not explain how to control external hardware via MIDI in FL. Set its Port number to match your interface, then send CC automation from the Piano roll. The retrieved MAGIX page says you can start MIDI recording with the transport control and play the software instrument with the computer keyboard or a MIDI keyboard, but does not detail how to play MIDI keyboard on magix music maker. The exported MIDI files from that environment drop cleanly into FL Studio’s Browser for immediate use.