Home>Production & Technology>MP3>How To Record MP3 On Windows
MP3
How To Record MP3 On Windows
Modified: January 22, 2024
Learn how to easily record MP3 files on your Windows device with our step-by-step guide. Capture high-quality audio and save it in the popular MP3 format for convenient playback.
(Many of the links in this article redirect to a specific reviewed product. Your purchase of these products through affiliate links helps to generate commission for AudioLover.com, at no extra cost. Learn more)
Table of Contents
Introduction
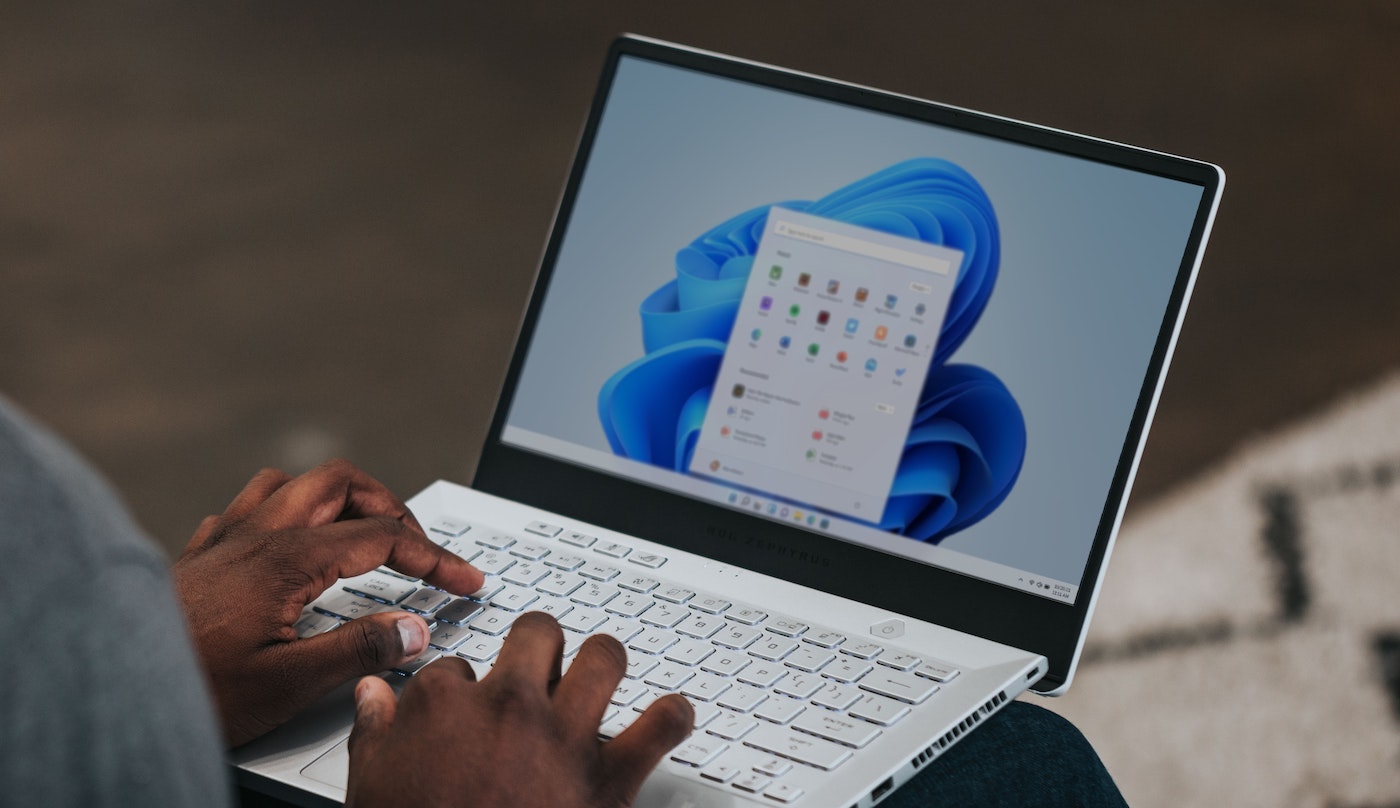
Recording MP3 files on Windows may seem like a daunting task, but it is actually quite simple and can be done using a variety of methods. Whether you want to record voice memos, interviews, podcast episodes, or even music, there are several options available that cater to different needs and preferences.
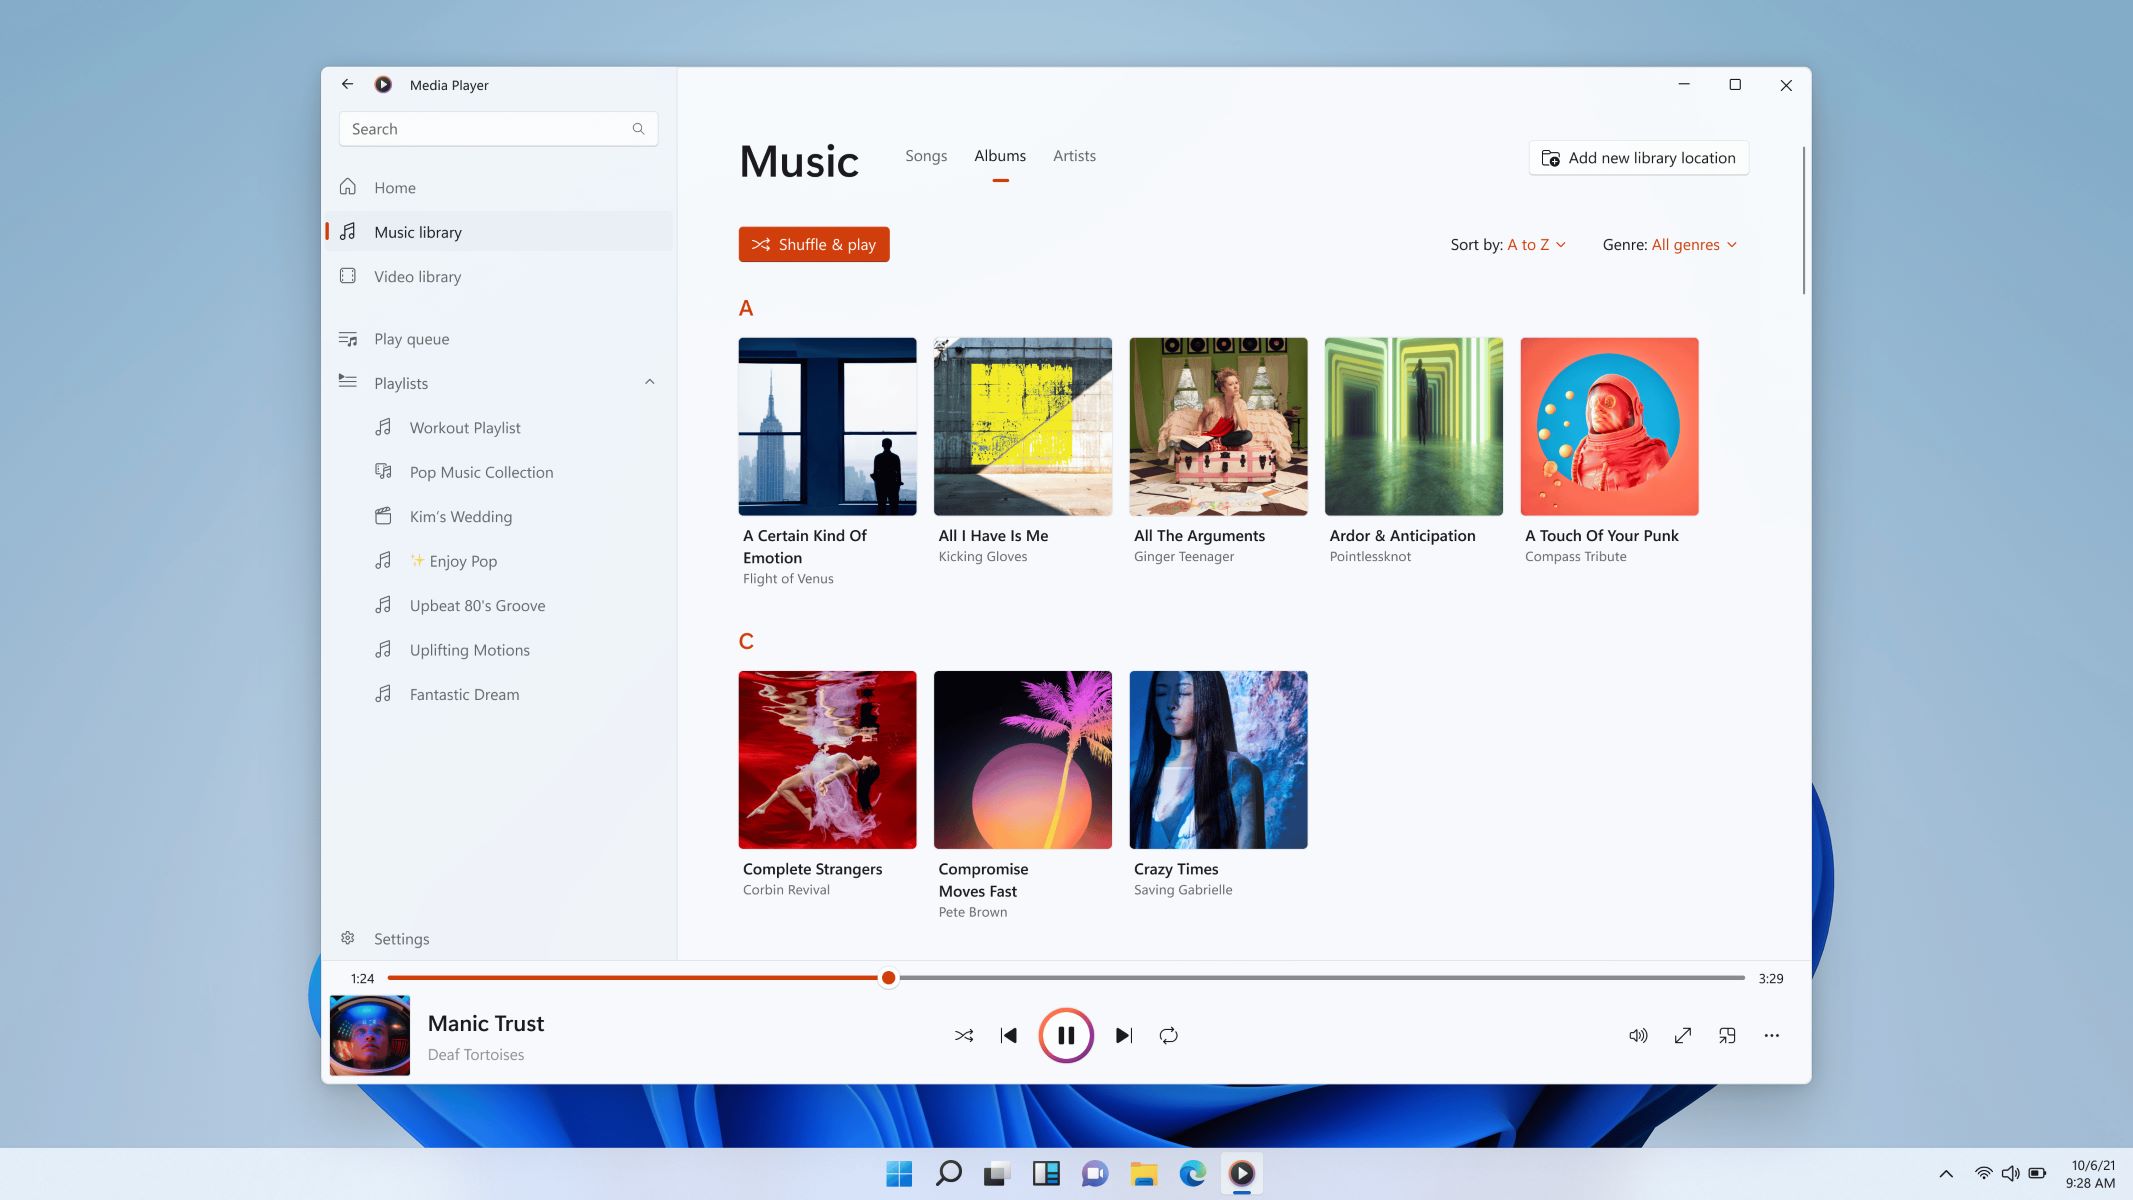
In this article, we will explore five different methods for recording MP3 files on Windows. From built-in tools like Windows Voice Recorder, to popular third-party software like Audacity and VLC Media Player, we will cover a range of options to suit various recording needs.
Each method has its own unique features and benefits, allowing you to choose the one that best fits your requirements. Whether you prefer a user-friendly interface, advanced editing capabilities, or seamless integration with other applications, you will find a method that suits your preferences.
But why would you want to record MP3 files in the first place? There are numerous reasons why you might need to record audio on your Windows device. You may be a content creator looking to produce podcasts or video tutorials. Or perhaps you need to document important conversations or meetings. Whatever the case may be, having the ability to record MP3 files on your Windows device can be incredibly useful.
So, without further ado, let’s dive into the various methods for recording MP3 files on Windows and discover the possibilities that await!
Method 1: Using Windows Voice Recorder
If you’re using a Windows operating system, you’re in luck! Windows comes equipped with a built-in voice recording tool called Windows Voice Recorder. This tool is simple, straightforward, and perfect for quick and easy MP3 recordings.
To start using Windows Voice Recorder, follow these steps:
- Open the Windows Voice Recorder app. You can find it by searching for “Voice Recorder” in the Windows Start menu.
- Click on the “Record” button to start your recording. You’ll see a visual representation of the sound being recorded.
- Once you’re finished recording, click on the “Stop” button to stop the recording process.
- To save your recording as an MP3 file, click on the “Save” button. You’ll be prompted to choose a location on your computer to save the file.
One of the advantages of using Windows Voice Recorder is its simplicity. It’s a straightforward tool with a user-friendly interface, making it easy for anyone to use. Additionally, it allows you to save your recordings as MP3 files, ensuring compatibility with various devices and applications.
However, it’s important to note that Windows Voice Recorder may not offer advanced editing features or customization options. If you’re looking for more advanced functionality, such as noise reduction or audio effects, you may need to explore other methods.
Overall, if you’re looking for a quick and hassle-free way to record MP3 files on your Windows device, Windows Voice Recorder is a great option. It’s especially useful for capturing voice memos, quick interviews, or any other audio recordings you want to save as MP3 files.
Method 2: Using Audacity
Audacity is a popular and powerful open-source audio editing software that can also be used for recording MP3 files on Windows. This versatile tool offers a wide range of features and customization options, making it a favorite among musicians, podcasters, and audio enthusiasts.
To use Audacity for MP3 recording, follow these steps:
- Download and install Audacity from the official website (https://www.audacityteam.org).
- Launch Audacity and ensure that your desired input device (such as a microphone) is selected under the “Device Toolbar.”
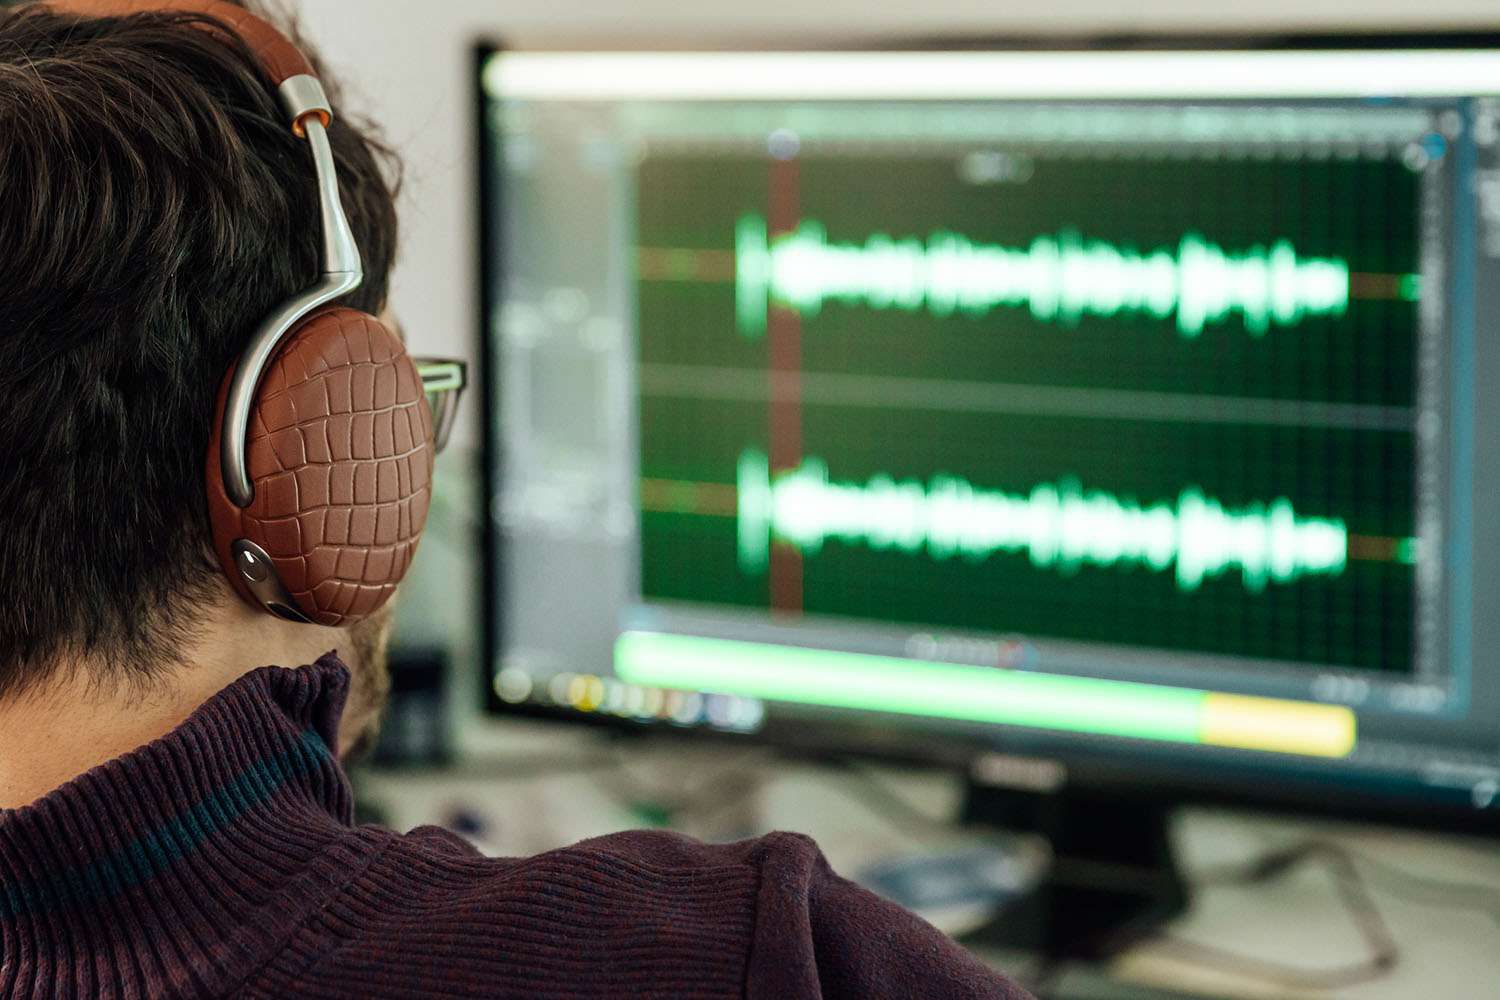
- Click on the red “Record” button to start recording. You’ll see the audio waveform being generated as you speak or play audio.
- Once you’re finished recording, click on the yellow “Stop” button to end the recording.
- To save your recording as an MP3 file, go to the “File” menu and select “Export” > “Export as MP3.” You can then choose the destination folder and customize the MP3 settings if desired.
Audacity offers advanced editing tools like noise reduction, equalization, and audio effects, allowing you to enhance and refine your recordings. You can also cut, copy, and paste sections of audio, making it ideal for more intricate editing tasks.
One of the main benefits of using Audacity is its extensive plugin support. There are numerous plugins available that can further extend the functionality of this software, allowing you to add various effects, filters, and features to your recordings.
However, due to its vast array of features, Audacity may have a steeper learning curve compared to simpler recording tools. It may take some time to explore and familiarize yourself with all the available options and settings. But once you get the hang of it, Audacity can be a powerful tool for all your recording and editing needs.
Whether you’re a musician, podcaster, or aspiring audio engineer, Audacity provides a comprehensive solution for recording MP3 files on your Windows device. It’s a versatile and professional-grade software that offers tremendous flexibility and customization options.
Method 3: Using VLC Media Player
While VLC Media Player is primarily known as a versatile media player, it can also be used for recording MP3 files on Windows. This popular open-source software offers a simple and straightforward method for capturing audio from various sources.
To record MP3 files using VLC Media Player, follow these steps:
- Download and install VLC Media Player from the official website (https://www.videolan.org/vlc).
- Launch VLC Media Player and go to the “Media” tab in the menu bar.
- Select “Open Capture Device” from the dropdown menu.
- In the “Capture Device” tab, choose your desired audio input device (such as a microphone or line-in) from the “Capture mode” dropdown.
- Click the “Play” button to start the recording.
- To stop the recording, click the “Stop” button in the playback controls.
- Save the recording as an MP3 file by going to the “Media” tab and selecting “Convert/Save.” Choose “Audio – MP3” as the profile, specify the destination file location, and click “Start” to begin the conversion process.
VLC Media Player offers a streamlined approach for capturing audio, making it a convenient option for users who are already familiar with the software. It supports a variety of input sources, allowing you to record from microphones, external audio devices, or even streaming audio from the internet.
It’s worth noting that while VLC Media Player provides basic audio recording capabilities, it may not offer advanced audio editing features. If you’re looking for more extensive editing options, you may need to consider using dedicated audio editing software like Audacity.
However, VLC Media Player’s simplicity and compatibility with a wide range of audio sources make it an excellent choice for recording quick MP3 files. Whether you want to capture a live performance, record audio from a video, or save streaming audio, VLC Media Player can handle the task with ease.
So, if you’re already using VLC Media Player as your go-to media player, why not take advantage of its recording capabilities and transform it into a powerful audio capture tool as well?
Method 4: Using Streaming Audio Recorder
If you’re looking for a dedicated tool specifically designed for recording and capturing audio streams, Streaming Audio Recorder is an excellent choice. This software offers a comprehensive set of features that make it easy to record MP3 files from various sources.
To use Streaming Audio Recorder for MP3 recording, follow these steps:
- Download and install Streaming Audio Recorder from the official website of the developer or a trusted source.
- Launch the software and make sure your desired audio input device (such as a microphone or system sound) is selected.
- Click on the “Record” button to start the recording process. The software will automatically detect and capture audio from the selected input source.
- To stop the recording, click on the “Stop” button in the interface.
- Once the recording is complete, you can save the audio as an MP3 file. Simply go to the “Output Settings” or “Save” options, choose the MP3 format, specify the output folder, and click on the “Save” or “Convert” button.
Streaming Audio Recorder offers several advantages when it comes to recording MP3 files. It supports recording from a variety of sources, including online streaming platforms, music apps, video sharing sites, and more. Whether you want to capture a live radio show, extract audio from a video, or record music from a streaming service, this software can handle it all.
Furthermore, Streaming Audio Recorder often comes equipped with additional features such as audio editing capabilities, file conversion, and automatic track splitting. These features allow you to customize and enhance your recordings as needed.
While Streaming Audio Recorder is a powerful tool for MP3 recording, it is worth mentioning that it is typically a paid software. However, the added functionality and convenience it offers make it a worthwhile investment for individuals who frequently work with audio recordings.
If you’re a content creator, podcaster, or music enthusiast looking for a robust and dedicated solution for MP3 recording, Streaming Audio Recorder is a reliable option to consider. With its user-friendly interface and advanced features, it provides a seamless experience for capturing high-quality audio in the MP3 format.
Method 5: Using Free Audio Recorder
If you’re on a tight budget or prefer to use free software, Free Audio Recorder is a great option for recording MP3 files on your Windows device. As the name suggests, this software allows you to capture audio from various sources without any cost.
To use Free Audio Recorder for MP3 recording, follow these steps:
- Download and install Free Audio Recorder from a reliable source.
- Launch the software and select your desired audio input source (microphone, system audio, etc.) from the settings.
- Click on the “Record” button to start capturing audio. The software will begin recording audio from the selected source.
- Once you’re finished recording, click on the “Stop” button to end the process.
- To save the recording as an MP3 file, go to the “Save” or “Export” option, choose the MP3 format, specify the destination folder, and click on the “Save” or “Convert” button.
Free Audio Recorder offers a simple and straightforward interface, making it easy to use for beginners. It provides basic recording capabilities and allows you to save your recordings as MP3 files, ensuring compatibility with various devices and applications.
While Free Audio Recorder may lack some of the advanced features and editing options found in premium software, it still provides a reliable solution for basic MP3 recording needs. It’s ideal for individuals who require a straightforward and fuss-free tool, without the complexities of advanced audio editing.
One thing to keep in mind with free software is that it may come with limitations or ads. Some free audio recorders may have restrictions on the recording duration or may display advertisements within the software. However, if these limitations do not impede your audio recording requirements, Free Audio Recorder can be a valuable tool.
Overall, if you’re looking for a free and easy-to-use audio recorder for capturing MP3 files, Free Audio Recorder is a commendable choice. It provides a no-frills approach to audio recording, making it accessible to users of all levels of experience.
With these five methods at your disposal, you now have a variety of options to record MP3 files on your Windows device. Whether you choose the simplicity of Windows Voice Recorder, the advanced features of Audacity, the versatility of VLC Media Player, the dedicated functionality of Streaming Audio Recorder, or the affordability of Free Audio Recorder, you can find a method that suits your needs and preferences.
Conclusion
Recording MP3 files on Windows is a straightforward process, thanks to the variety of options available. Whether you need to capture voice memos, interviews, podcasts, or music, there is a method suitable for your requirements. From the built-in Windows Voice Recorder to popular third-party software like Audacity and VLC Media Player, each method offers unique features and benefits.
If you’re looking for a quick and easy solution, Windows Voice Recorder is a convenient choice. Its user-friendly interface and ability to save recordings as MP3 files make it ideal for simple tasks. Audacity, on the other hand, is a powerful open-source software that provides advanced editing capabilities and customization options, making it perfect for musicians and podcasters.
VLC Media Player extends beyond its primary role as a media player, offering a straightforward method for recording MP3 files. Its compatibility with various input sources makes it a versatile option. For those who require specialized features and comprehensive functionality, Streaming Audio Recorder is a dedicated tool worth considering, while Free Audio Recorder provides a cost-effective solution without compromising essential recording capabilities.
Ultimately, the choice of method depends on your specific needs, preferences, and budget. Whether you prioritize simplicity, advanced editing features, or cost-effectiveness, there’s a solution out there for you.
With the knowledge and options provided in this article, you are now equipped to explore and experiment with various methods for recording MP3 files on your Windows device. Whether you’re a content creator, podcaster, musician, or simply someone looking to document important audio moments, you can move forward with confidence and produce high-quality MP3 recordings.
So, go ahead and choose the method that resonates with you. Start capturing those voice memos, interviews, podcasts, and music, and let your creativity flow through the power of MP3 recording on your Windows device!