Home>Production & Technology>MP3>How To Rip CDs To MP3

MP3
How To Rip CDs To MP3
Modified: March 9, 2024
Learn how to easily rip CDs to MP3 format and enjoy your favorite music on the go. Simplify the process and save space with our step-by-step guide.
(Many of the links in this article redirect to a specific reviewed product. Your purchase of these products through affiliate links helps to generate commission for AudioLover.com, at no extra cost. Learn more)
Table of Contents
- Introduction
- Step 1: Gathering the Necessary Tools
- Step 2: Installing CD Ripping Software
- Step 3: Configuring the Ripping Settings
- Step 4: Inserting the CD and Selecting Tracks
- Step 5: Starting the CD Ripping Process
- Step 6: Verifying and Organizing Ripped MP3 Files
- Step 7: Transferring MP3 Files to a Portable Device
- Step 8: Additional Tips and Troubleshooting
- Conclusion
Introduction
With the rise of digital music, MP3 files have become the go-to format for storing and sharing music. Many music lovers choose to rip their CDs to MP3 format, allowing them to create their own digital music libraries and listen to their favorite songs on various devices. Ripping CDs to MP3 not only saves space but also offers the flexibility to easily manage and organize music collections.
In this article, we will guide you through the process of ripping CDs to MP3 format, providing step-by-step instructions on how to convert your CDs into digital audio files. Whether you’re a music aficionado or simply someone looking to digitize your CD collection, we’ve got you covered.
Before we dive into the details, it’s important to note that CD ripping is legal for personal use in most countries, but sharing copyrighted material is not. Make sure you only rip CDs that you own and comply with copyright laws. Now, let’s get started on the journey of turning your CDs into MP3 files!
Step 1: Gathering the Necessary Tools
Before you begin ripping your CDs to MP3 format, you’ll need to gather the necessary tools to ensure a smooth and efficient process. Here’s what you’ll need:
- A computer with a CD/DVD drive: Most modern computers come equipped with CD/DVD drives. Make sure yours is in working order and capable of reading CDs.
- CD ripping software: You’ll need specialized software designed to extract audio tracks from CDs and convert them into MP3 files. There are several options available, both free and paid. Some popular choices include iTunes (for Mac users), Windows Media Player (for Windows users), and dedicated CD ripping software like Exact Audio Copy or CDex.
- An internet connection (optional): While not mandatory, having an internet connection can be helpful for accessing and downloading CD cover art and track information. It can also assist in automatically tagging your MP3 files with metadata for better organization.
Once you have these tools ready, you’re all set to move on to the next step: installing the CD ripping software. Having the necessary tools in place ensures a seamless CD ripping process and ensures you have everything at hand to create high-quality MP3 files from your CDs.
Step 2: Installing CD Ripping Software
Now that you have gathered the necessary tools, it’s time to install CD ripping software on your computer. The choice of software will depend on your operating system and individual preferences. Here are a few popular options:
- iTunes: If you’re using a Mac, iTunes is a reliable choice for CD ripping. It comes pre-installed on most Mac computers and offers a user-friendly interface.
- Windows Media Player: For Windows users, Windows Media Player is a built-in option. It’s easy to use and provides basic CD ripping functionality.
- Exact Audio Copy (EAC): EAC is a feature-rich CD ripping software available for both Windows and Mac. It offers advanced options for accurate CD ripping and is highly recommended for audiophiles.
- CDex: CDex is a free, open-source CD ripping software compatible with Windows. It supports various audio formats and provides CDDB integration for retrieving track information.
To install your chosen CD ripping software, follow these general steps:
- Download the software from the official website.
- Run the installation file and follow the on-screen instructions.
- Once the installation is complete, launch the software to ensure it’s functioning correctly.
It’s worth noting that some CD ripping software may require additional configurations or settings adjustments for optimal performance. Consult the software’s documentation or online resources for any specific installation requirements or troubleshooting tips.
With the CD ripping software successfully installed on your computer, you’re now ready to move on to the next step: configuring the ripping settings.
Step 3: Configuring the Ripping Settings
After installing the CD ripping software, you’ll need to configure the ripping settings to ensure the desired output for your MP3 files. While the exact steps may vary depending on the software you’ve chosen, the general process remains similar across different programs. Here’s how to configure the ripping settings:
- Select the output format: Most CD ripping software allows you to choose the output format for your ripped files. Select MP3 as the preferred format to ensure compatibility with various devices and players.
- Choose the desired audio quality: Consider the trade-off between file size and audio quality. Higher bit rates (e.g., 320 kbps) preserve more audio details but result in larger file sizes, while lower bit rates (e.g., 128 kbps) offer smaller file sizes but with some loss of audio quality. Select a bit rate that meets your preferences.
- Set the file naming scheme: Determine how you want the ripped files to be named. Some software allows you to automatically generate file names based on track information (e.g., song title, artist, album) for better organization. Alternatively, you can customize the file naming scheme to suit your preferences.
- Configure metadata retrieval: CD ripping software often provides the option to automatically retrieve metadata (such as track titles, album covers, and artist names) for your ripped files. Enable this feature if you want your MP3 files to be properly tagged and organized.
- Adjust advanced settings (if available): Depending on the software, you may have access to additional advanced settings like error correction, gapless playback, or volume normalization. Review the available options and make adjustments according to your preferences.
Take some time to explore the configuration options in your chosen CD ripping software. Experiment with different settings to find the optimal balance between file size, audio quality, and organization. Once you’ve configured the ripping settings, you’re ready to move on to the next step: inserting the CD and selecting tracks to rip.
Step 4: Inserting the CD and Selecting Tracks
With the CD ripping software configured, it’s time to insert the CD you want to rip into your computer’s CD/DVD drive. The software will detect the inserted disc and display a list of available tracks for ripping. Follow these steps to select the tracks you want to convert into MP3 files:
- Open the CD ripping software on your computer. It should automatically detect the inserted CD and display its contents.
- Review the tracklist: The software will display a list of tracks available on the CD. Take a moment to review the tracklist and ensure that it matches your expectations.
- Select the tracks: Choose the tracks you want to rip into MP3 format. Some CD ripping software allows you to select specific tracks or even entire albums for ripping. You can typically do this by checking boxes next to the desired tracks or selecting them through other available options.
- Unselect unwanted tracks (optional): If there are tracks you don’t want to rip, uncheck the corresponding boxes or deselect them to exclude them from the ripping process.
By carefully selecting the tracks, you can ensure that only the desired songs are converted into MP3 files. This helps save storage space and keeps your digital music library organized. Once you’ve finished selecting the tracks, you’re ready to proceed to the next step: starting the CD ripping process.
Step 5: Starting the CD Ripping Process
Now that you have selected the tracks you want to rip, it’s time to begin the CD ripping process. Follow these steps to start converting the selected tracks into MP3 files:
- Ensure that the CD is inserted properly in your computer’s CD/DVD drive.
- In your CD ripping software, locate the “Rip” or “Start Ripping” button. This button may be labeled differently depending on the software you are using.
- Click on the “Rip” or “Start Ripping” button to initiate the process.
- The software will start accessing the CD tracks and converting them into MP3 files based on the configured settings.
- Depending on the number of tracks and the speed of your computer, the ripping process may take a few minutes or longer. You can monitor the progress through a progress bar or an indication of the current track being ripped.
- Once the ripping process is complete, the software may prompt you with a notification or indicate that the process has finished.
During the ripping process, it’s important to avoid removing the CD from the drive or interrupting the software. Doing so may result in incomplete or corrupted MP3 files. Wait until the software confirms the completion of the ripping process before proceeding further.
With the CD ripping process complete, you now have a set of MP3 files corresponding to the selected tracks. In the next step, we’ll discuss how to verify and organize the ripped files to ensure a well-managed music library.
Step 6: Verifying and Organizing Ripped MP3 Files
After the CD ripping process is complete, it’s important to verify the quality and accuracy of the ripped MP3 files. Additionally, organizing the files properly will make it easier to find and enjoy your music collection. Follow these steps to verify and organize your ripped MP3 files:
- Check the quality of the ripped files: Take a sample of the ripped MP3 files and listen to them to ensure that the audio quality meets your expectations. If you notice any issues such as distortion or skipping, you may need to review your ripping settings or consider re-ripping the affected tracks.
- Verify the track information: Check the metadata of the ripped files, such as the song title, artist name, album name, and track number. Make sure that the information is accurate and matches the corresponding CD tracks.
- Organize the files into folders: Create a dedicated folder on your computer to store the ripped MP3 files. You may choose to organize them by artist, album, or any other criteria that suits your preferences. Creating subfolders within the main folder can further enhance the organization.
- Rename files (if necessary): If the ripped MP3 files have generic or undescriptive names, you can consider renaming them to be more informative and consistent with your file organization scheme. This can make it easier to identify specific songs at a glance.
- Apply album artwork (optional): Adding album artwork to your ripped MP3 files can enhance the visual appeal and help you quickly recognize albums in your music library. You can manually search for and add album artwork or use tools within your CD ripping software to automatically fetch and apply the artwork.
- Update metadata (if required): If you notice any incorrect or missing information in the metadata of the ripped MP3 files, you can manually update it using tag editing software or within your media player. Properly tagged files make it easier to browse and search for specific songs or albums.
By verifying the quality, ensuring accurate metadata, and organizing your ripped MP3 files, you can create a well-managed music library that enhances your listening experience. Once your files are organized, it’s time to transfer them to a portable device for on-the-go enjoyment. This transfer process will be covered in the next step.
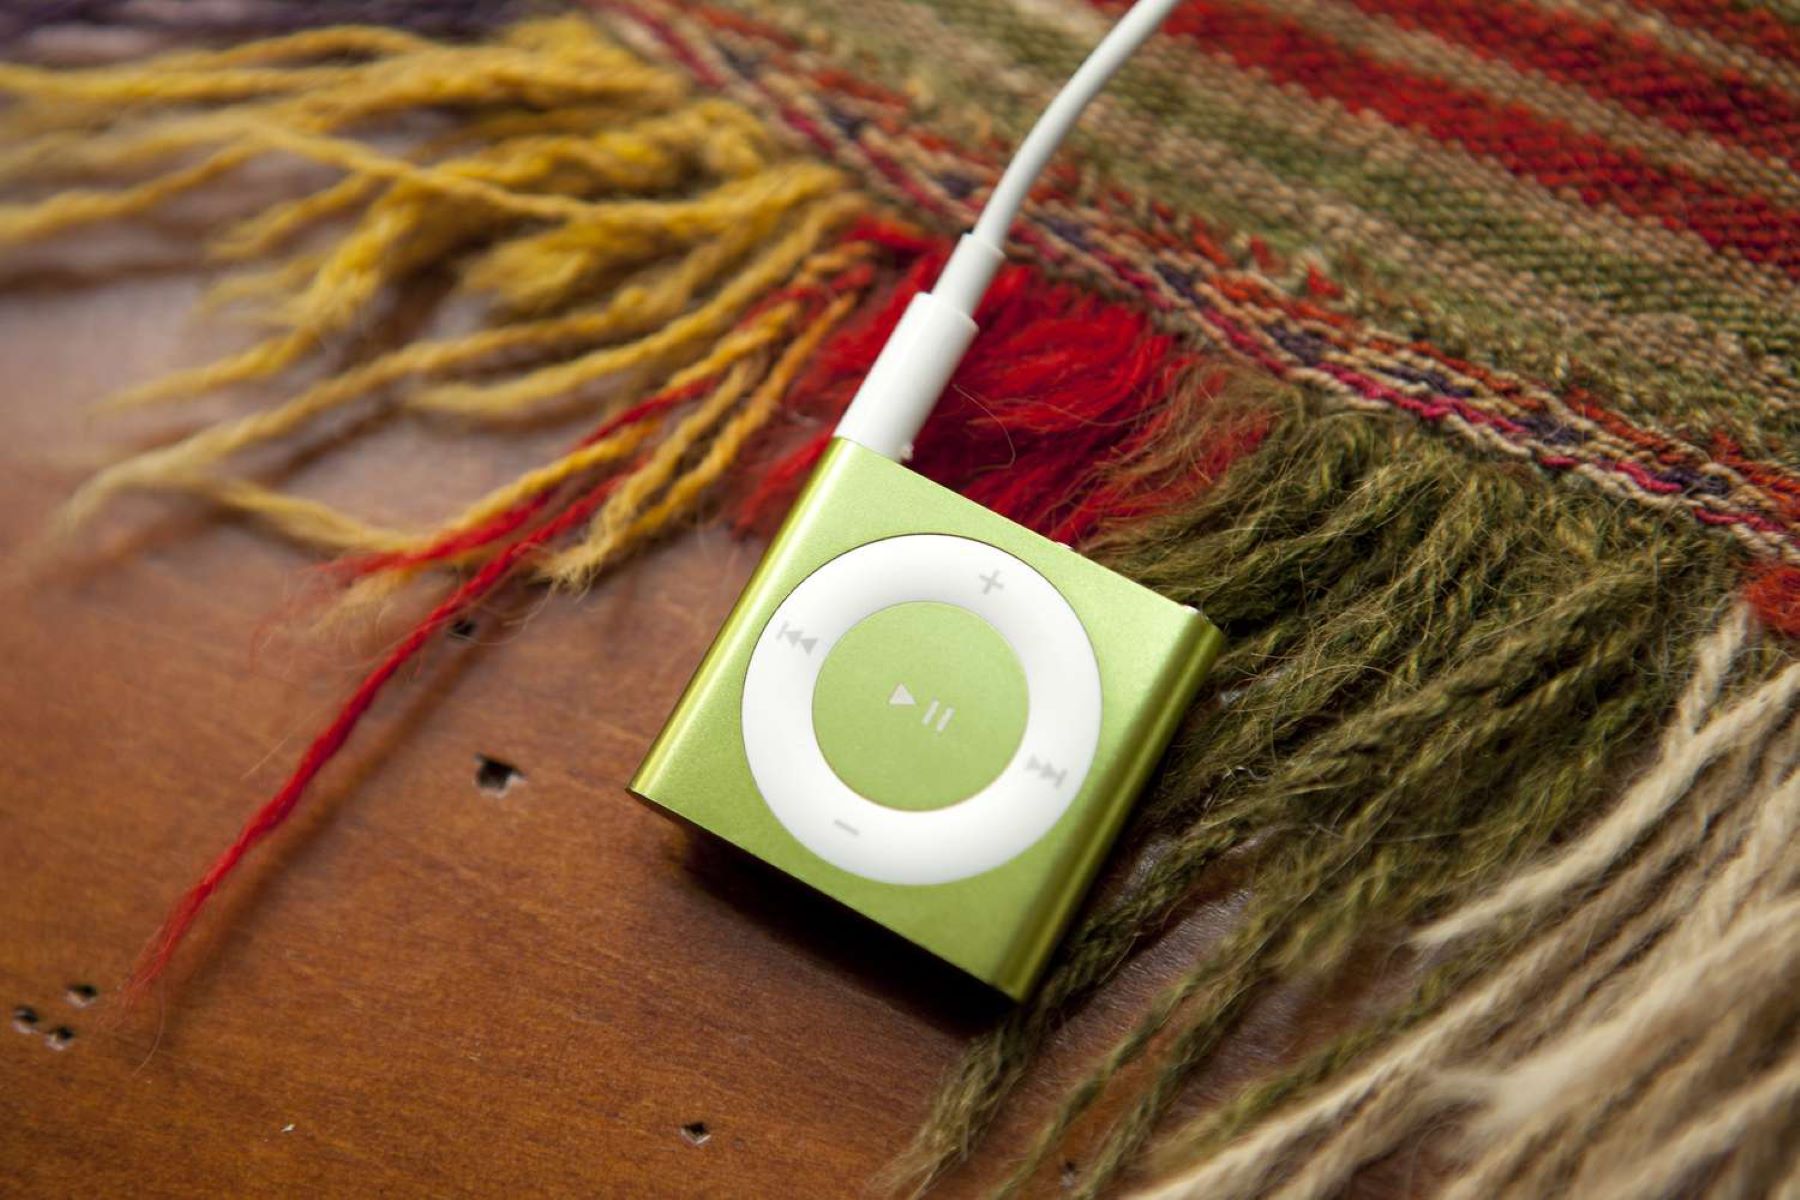
Step 7: Transferring MP3 Files to a Portable Device
Now that you have successfully ripped and organized your MP3 files, it’s time to transfer them to a portable device such as a smartphone, tablet, or MP3 player. Follow these steps to transfer your MP3 files to a portable device:
- Connect your portable device to your computer using a USB cable or through a wireless connection, depending on the capabilities of your device.
- Ensure that your portable device is recognized by your computer and appears as a removable storage device.
- Open the folder where you have stored your ripped and organized MP3 files.
- Select the desired MP3 files or folders that you want to transfer to your portable device.
- Drag and drop the selected files or folders into the storage location of your portable device.
- Wait for the transfer process to complete. This may take some time, depending on the number and size of the files being transferred.
- Once the transfer is finished, safely disconnect your portable device from your computer.
It’s essential to ensure that your portable device supports MP3 playback and has sufficient storage capacity to accommodate your desired music collection. Some devices may require specific software or apps to manage and play back the transferred MP3 files. Refer to the user manual or online resources for your specific device for any additional instructions.
With the MP3 files successfully transferred to your portable device, you can now enjoy your favorite music wherever you go. Whether you’re on a road trip, hitting the gym, or commuting, having your digital music library at your fingertips allows for convenient and personalized listening experiences.
Now that you’ve completed the process of ripping CDs to MP3 format and transferring the files to your portable device, we’ll provide some additional tips and troubleshooting suggestions in the next step to help you make the most of your new digital music library.
Step 8: Additional Tips and Troubleshooting
While ripping CDs to MP3 format is a straightforward process, it’s important to be aware of some additional tips and troubleshooting solutions to enhance your experience. Here are a few helpful suggestions:
- Use error correction: If you encounter issues while ripping certain tracks, enable error correction in your CD ripping software. This feature helps overcome reading errors on damaged or scratched CDs, ensuring more accurate audio extraction.
- Ensure sufficient storage space: Before ripping a large number of CDs, make sure you have enough storage space on your computer or portable device. MP3 files can consume a significant amount of storage, so periodically check for available space and consider backing up your files to an external drive.
- Keep your software up to date: Regularly update your chosen CD ripping software to access the latest features, bug fixes, and compatibility improvements. This ensures optimal performance and reliability.
- Consider using lossless formats: If you prioritize audio quality over file size, consider ripping your CDs to lossless formats like FLAC or ALAC. These formats preserve the original audio quality without any lossy compression.
- Experiment with different bit rates: If storage space is a concern, try different bit rates to balance file size and audio quality. Generally, bit rates between 192 kbps and 256 kbps offer a good compromise between audio fidelity and manageable file sizes.
- Explore additional features: Beyond basic CD ripping, your chosen software may offer other features like creating playlists, converting audio formats, or even burning CDs. Take the time to explore and experiment with these features to further enhance your music management capabilities.
If you encounter any issues or difficulties during the CD ripping process, consult the documentation or online support resources provided by the CD ripping software. Common troubleshooting steps include checking for software updates, ensuring proper CD insertion and detection, and verifying the functionality of your CD/DVD drive.
Remember, patience and attention to detail are key when ripping CDs to MP3 format. Take the time to customize settings, verify ripped files, and properly organize your digital music collection. By doing so, you’ll create a seamless and enjoyable experience, allowing you to enjoy your favorite music in high-quality MP3 format.
With the completion of Step 8, you’ve successfully learned how to rip CDs to MP3 format and overcome any potential challenges along the way. Now, you can confidently embark on your journey to build a digital music library that suits your unique taste and preferences. Happy listening!
Conclusion
Congratulations! You have reached the end of this comprehensive guide on how to rip CDs to MP3 format. You’ve learned the necessary steps to convert your physical CDs into digital MP3 files, allowing for easy organization and playback on various devices.
By gathering the necessary tools, installing CD ripping software, configuring the ripping settings, selecting tracks, starting the ripping process, verifying and organizing the ripped MP3 files, transferring them to a portable device, and implementing additional tips and troubleshooting when needed, you have gained the skills to create your own digital music library.
Ripping your CDs to MP3 format offers a multitude of benefits. You can save storage space while enjoying the convenience of having your entire music collection at your fingertips. Additionally, you can easily create custom playlists, access track information, and personalize your listening experience.
Remember to respect copyright laws and only rip CDs that you own. Sharing copyrighted material without permission is illegal.
We hope this guide has empowered you to embark on your own CD ripping journey. Whether you’re a music enthusiast looking to preserve your CD collection or someone seeking a more portable and versatile music experience, ripping CDs to MP3 format is a great solution.
So grab your CDs, fire up your CD ripping software, and start converting your beloved music collection into digital MP3 files. Enjoy the flexibility, convenience, and endless possibilities that come with having your favorite songs in a digital format. Happy ripping!