Home>Production & Technology>MP3>How To Import MP3 Into Audacity
MP3
How To Import MP3 Into Audacity
Published: December 7, 2023
Learn how to import MP3 files into Audacity and start editing your audio projects. Follow our step-by-step guide to seamlessly import MP3 files in just a few clicks.
(Many of the links in this article redirect to a specific reviewed product. Your purchase of these products through affiliate links helps to generate commission for AudioLover.com, at no extra cost. Learn more)
Table of Contents
Introduction
Welcome to this comprehensive guide on how to import MP3 files into Audacity. Audacity is a powerful and popular open-source audio editing software that allows you to create, edit, and manipulate audio files with ease. Whether you are a podcaster, musician, or simply someone who loves working with audio, Audacity provides a user-friendly interface and a wide range of features to meet your needs.
Importing MP3 files into Audacity is a fundamental step in the audio editing process. By importing MP3 files, you can access your existing music library or work with audio files you’ve downloaded or recorded yourself. Once imported, you can manipulate the MP3 files by applying effects, cutting, trimming, or merging them to create unique and professional-sounding tracks.
In this guide, we’ll walk you through the step-by-step process of importing MP3 files into Audacity. We’ll also explore how to adjust the imported MP3 settings, edit the MP3 files within Audacity, and finally, export the edited MP3 files. So, whether you’re a beginner or an experienced user, this guide will provide you with the necessary knowledge to make the most out of your MP3 files in Audacity.
Step 1: Open Audacity
The first step to import MP3 files into Audacity is to open the Audacity software on your computer. If you haven’t already installed Audacity, you can download it for free from the official Audacity website. Once you have installed the software, follow these simple steps to open Audacity:
- Double-click on the Audacity icon on your desktop or locate it in your applications folder.
- Wait for Audacity to load. It may take a few moments for the software to launch, depending on your computer’s processing speed.
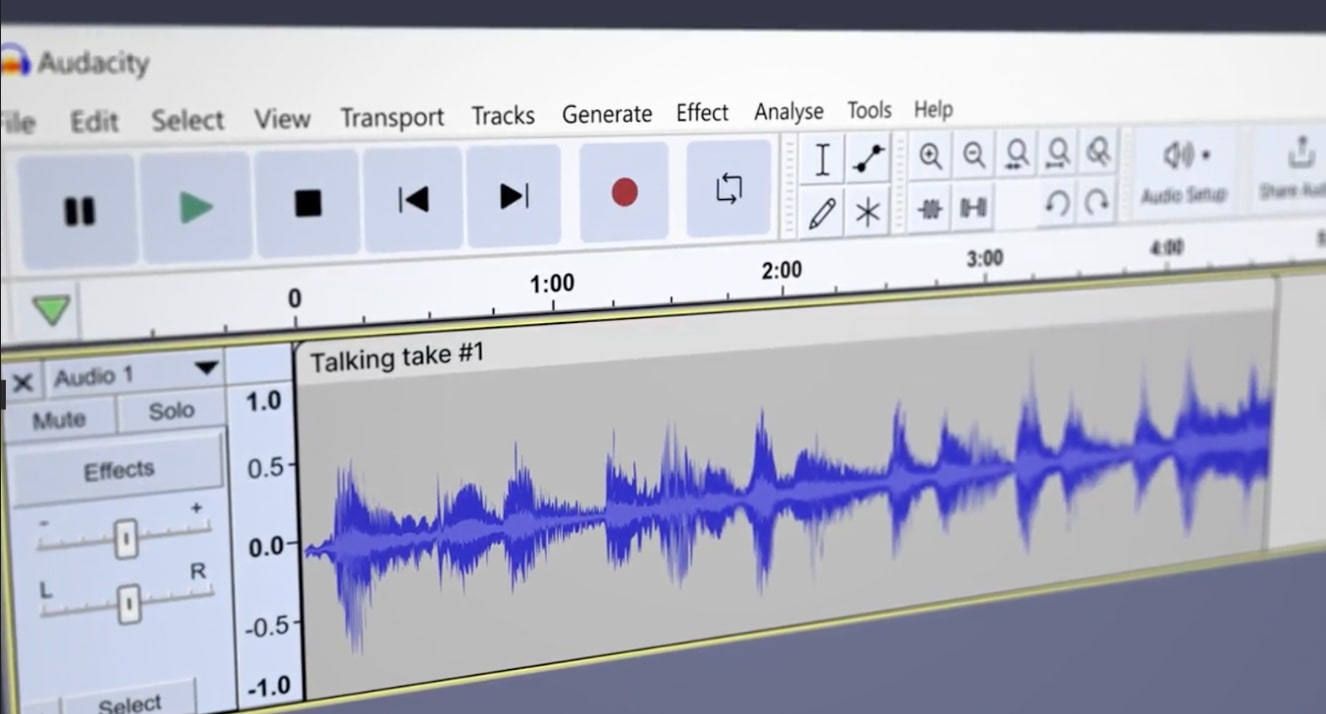
- Once Audacity is open, you will see the main interface, which consists of a menu bar at the top, several toolbars, and a waveform display area.
- Now that Audacity is open and ready to use, you can proceed to the next step of importing your MP3 files.
Opening Audacity is a straightforward process. If you encounter any issues, make sure that you have installed the software correctly or try restarting your computer before attempting to open Audacity again. Once you have successfully opened Audacity, you are ready to start importing MP3 files and exploring the capabilities of this versatile audio editing software.
Step 2: Import MP3 File
Now that Audacity is open, it’s time to import your MP3 file into the software. You can import MP3 files in two ways: by dragging and dropping the file directly into Audacity or by using the Import option from the File menu. Follow these steps to import your MP3 file:
- Method 1: Drag and Drop
- Locate the MP3 file on your computer that you want to import into Audacity.
- Click and hold the MP3 file with your mouse cursor.
- Drag the MP3 file into the Audacity window.
- Release the mouse button to drop the MP3 file into Audacity.
- Method 2: Import from File Menu
- Click on the File menu at the top of the Audacity window.
- Select Import from the drop-down menu.
- Browse your computer to locate the MP3 file you want to import.
- Select the MP3 file and click Open.
Once you have imported your MP3 file into Audacity, it will appear as a new track in the waveform display area. You can import multiple MP3 files into Audacity by following the same steps for each file. Audacity supports importing of various audio file formats, including MP3, WAV, AIFF, and more.
By importing the MP3 file into Audacity, you now have access to all the powerful editing features that Audacity has to offer. You can apply effects, adjust volume levels, cut or trim sections of the MP3 file, and more. The imported MP3 file serves as the foundation for your audio editing project, allowing you to create unique and professional-sounding tracks.
Step 3: Adjust Imported MP3 Settings
After importing your MP3 file into Audacity, you may need to adjust the imported MP3 settings to optimize your audio editing experience. Audacity provides various options to modify the settings of each imported MP3 file. Here’s how you can adjust the imported MP3 settings:
- Select the imported MP3 track by clicking on it in the waveform display area.
- Go to the Tracks menu and choose Audio Track.
- In the Audio Track Dropdown Menu, you can choose from options such as Mono, Stereo, or Split Stereo to modify the channel configuration of the MP3 file.
- You can also adjust the Gain to control the volume of the imported MP3 file. Increase the gain to make the audio louder or decrease it to make it softer.
- Furthermore, you can apply Effects to the imported MP3 file by accessing the Effect menu. This allows you to enhance the audio quality or add creative elements to your MP3 file.
- For more advanced users, Audacity provides additional options to modify the imported MP3 file settings. You can access these options by going to the Tracks Preferences under the Edit menu.
By adjusting the imported MP3 settings, you can customize the audio according to your specific requirements. Whether you want to fine-tune the channel configuration, adjust the volume, or apply effects, Audacity provides a wide range of options to enhance the quality and creativity of your MP3 files.
Once you have made the necessary adjustments to the imported MP3 settings, you can move on to the next step of the audio editing process, which is editing the MP3 file within Audacity.
Step 4: Edit MP3 in Audacity
Now that you have imported and adjusted the settings of your MP3 file in Audacity, it’s time to start editing and transforming your audio. Audacity offers a wide range of editing tools and features to help you manipulate and enhance your MP3 file. Here’s how you can edit your MP3 file in Audacity:
- Cutting and Trimming: Use the selection tool to select specific sections of the MP3 file and then click on Edit and choose Cut to remove those sections. Similarly, you can trim the beginning or end of the MP3 file by selecting the portion you want to remove and then clicking on Edit and choosing Delete.
- Applying Effects: Audacity offers a wide variety of built-in effects such as echo, reverb, equalization, and more. You can access these effects through the Effect menu and apply them to your MP3 file to transform its sound.
- Adjusting Pitch and Tempo: You can change the pitch or tempo of your MP3 file by going to the Effect menu and selecting either the Change Pitch or Change Tempo feature. This is useful if you want to create unique vocal effects or adjust the speed of the audio.
- Merging Tracks: If you have imported multiple MP3 files into Audacity, you can merge them together by selecting the tracks and then clicking on Tracks and choosing Mix and Render. This will combine the selected tracks into a single MP3 file.
- Adding Silence: You can insert periods of silence by using the Generate menu and selecting Silence. This is useful for creating pauses or breaks in your audio.
These are just a few examples of the many editing capabilities that Audacity offers. Explore the different menus and tools in Audacity to discover more editing options and features.
Remember to save your edited MP3 file regularly to avoid losing your progress. Audacity allows you to save your project as an Audacity Project file (.aup) or export it as an MP3 file or any other compatible audio format.
Now that you have edited your MP3 file to your satisfaction, it’s time to move on to the final step of exporting the edited MP3 file.
Step 5: Export Edited MP3
After you have finished editing your MP3 file in Audacity, it’s time to export the edited audio as an MP3 file. Exporting your edited MP3 file will allow you to save and share your work as a standalone audio file. Here’s how to export your edited MP3 file in Audacity:
- Make sure your edited MP3 file is selected or the track that you want to export is visible in the waveform display area.
- Go to the File menu at the top of the Audacity window.
- Select Export and choose the Export as MP3 option.
- Choose the file name and location where you want to save the exported MP3 file.
- Click Save to export the edited MP3 file.
- In the MP3 Export Options dialog box, you can customize the metadata tags such as the title, artist, album, and more for your exported MP3 file. Once you have made the desired changes, click OK to proceed.
- Audacity will start encoding and exporting your edited MP3 file. The time it takes to export the file will depend on the length and complexity of your edited audio.
- Once the export process is complete, you will have a finished MP3 file that you can use for various purposes such as sharing online, uploading to music platforms, or burning to a CD.
It’s important to note that Audacity may require the installation of the LAME MP3 encoder to export MP3 files. If you haven’t installed it already, Audacity will prompt you to locate the LAME library. Follow the instructions provided to locate and install the LAME MP3 encoder if needed.
Now that you have successfully exported your edited MP3 file, you can enjoy the final product of your audio editing efforts. The exported MP3 file is standalone and can be played on various devices and platforms that support the MP3 format.
Congratulations! You have completed the process of importing, adjusting, editing, and exporting MP3 files in Audacity. You now have the skills and knowledge to unleash your creativity and transform your audio files into professional-quality tracks.
Conclusion
Working with MP3 files in Audacity opens up a world of possibilities for editing and manipulating audio. In this guide, we have covered the step-by-step process of importing MP3 files into Audacity, adjusting the imported MP3 settings, editing the MP3 files, and finally, exporting the edited MP3 files. By following these steps, you can unleash your creativity and take full advantage of the powerful features that Audacity offers.
Importing MP3 files into Audacity allows you to access your existing music library or work with audio files you’ve recorded or downloaded. Once imported, you can adjust the settings of the MP3 files, such as channel configuration and volume, to optimize your editing experience. Audacity also provides a wide range of editing tools and effects to help you cut, trim, merge, and enhance your MP3 files.
After editing your MP3 files to your satisfaction, exporting them as standalone MP3 files allows you to save and share your work. Whether you want to share the audio online, upload it to music platforms, or burn it to a CD, exporting the edited MP3 files ensures that they are compatible with various devices and platforms.
Remember to save your progress regularly during the editing process to avoid losing your work. Audacity allows you to save your project as an Audacity Project file (.aup) so that you can come back and make changes later if needed.
With Audacity as your audio editing software, your MP3 files can be transformed into professional-quality tracks. Experiment with different effects, techniques, and editing tools to create unique and engaging audio content.
We hope this guide has been helpful in navigating the process of importing, adjusting, editing, and exporting MP3 files in Audacity. Now it’s time to unleash your creativity and explore the possibilities that Audacity offers for your audio projects.