Home>Production & Technology>MP3>How To Make MP3 Ringtone On Android
MP3
How To Make MP3 Ringtone On Android
Modified: February 2, 2024
Discover how to make MP3 ringtones on Android effortlessly. Follow our step-by-step guide to customize your phone with your favorite MP3 tracks.
(Many of the links in this article redirect to a specific reviewed product. Your purchase of these products through affiliate links helps to generate commission for AudioLover.com, at no extra cost. Learn more)
Table of Contents
Introduction
Music has always been an integral part of our lives, and having personalized ringtones is a great way to add a touch of uniqueness to our smartphones. While Android devices offer a wide range of pre-installed ringtones, creating your own MP3 ringtone can inject a fresh vibe to your phone and reflect your taste in music.
The process of making an MP3 ringtone for Android may sound complicated, but fear not! In this article, we’ll guide you through the steps, from selecting the perfect song to setting it as your ringtone on your Android device.
Before we dive into the steps, it’s important to note that different Android devices may have slight variations in menu options and settings. However, the overall process remains quite similar, and we’ll provide general instructions that should work on most Android devices.
So, if you’re ready to infuse your smartphone with a personalized MP3 ringtone that will make heads turn, let’s get started!
Step 1: Choosing the Song
The first step in creating your MP3 ringtone for Android is selecting the perfect song. Whether it’s your favorite tune or a catchy melody that you’ve been vibing to lately, choosing a song that resonates with you is essential. Here are a few pointers to keep in mind:
- Pick a Song with a Distinctive Intro: Since ringtone duration is typically short, it’s important to choose a song that has a memorable and recognizable intro. This will ensure that your ringtone is easily identifiable and stands out from other sounds.
- Avoid Complex Arrangements: While elaborate compositions are great for listening, they might not work well as ringtones. Opt for songs with simple melodies and clear instrumental or vocal sections. This will prevent the ringtone from sounding cluttered or confusing when it plays.
- Consider the Mood: Think about the vibe or mood you want your ringtone to convey. Whether you prefer a cheerful, upbeat tune or a soothing melody, selecting a song that matches your desired atmosphere will enhance your overall phone experience.
- Make Sure It’s Legal: It’s crucial to ensure that the song you choose is legally obtained and you have the right to use it as a ringtone. Avoid using copyrighted material without permission to avoid any legal issues.
Once you’ve chosen the perfect song, it’s time to move on to the next step: downloading the song onto your Android device.
Step 2: Downloading the Song
Now that you have selected the song you want to turn into an MP3 ringtone, the next step is to download it onto your Android device. There are a few different methods you can use to accomplish this:
- Download from Online Sources: There are various websites and platforms where you can legally download music. Look for a platform that offers high-quality MP3 downloads and search for the specific song you want. Once you find it, follow the download instructions provided by the website.
- Transfer from Computer to Phone: If you already have the song in your music library on your computer, you can transfer it to your Android device using a USB cable. Connect your phone to the computer, navigate to your phone’s storage, and create a folder specifically for your ringtones. Then, simply drag and drop the downloaded song into the designated folder.
- Use Music Streaming Apps: If you have a subscription to a music streaming service like Spotify or Apple Music, you can download the song from within the app for offline listening. Check the app’s settings or help section to learn how to download songs for offline use.
Once the song is successfully downloaded onto your Android device, you’re ready to proceed to the next step: editing the song to select the desired section for your ringtone.
Step 3: Editing the Song
Editing the song is a crucial step in creating your MP3 ringtone. It allows you to select the specific portion of the song that will play when you receive a call or notification. Here’s how you can edit the song on your Android device:
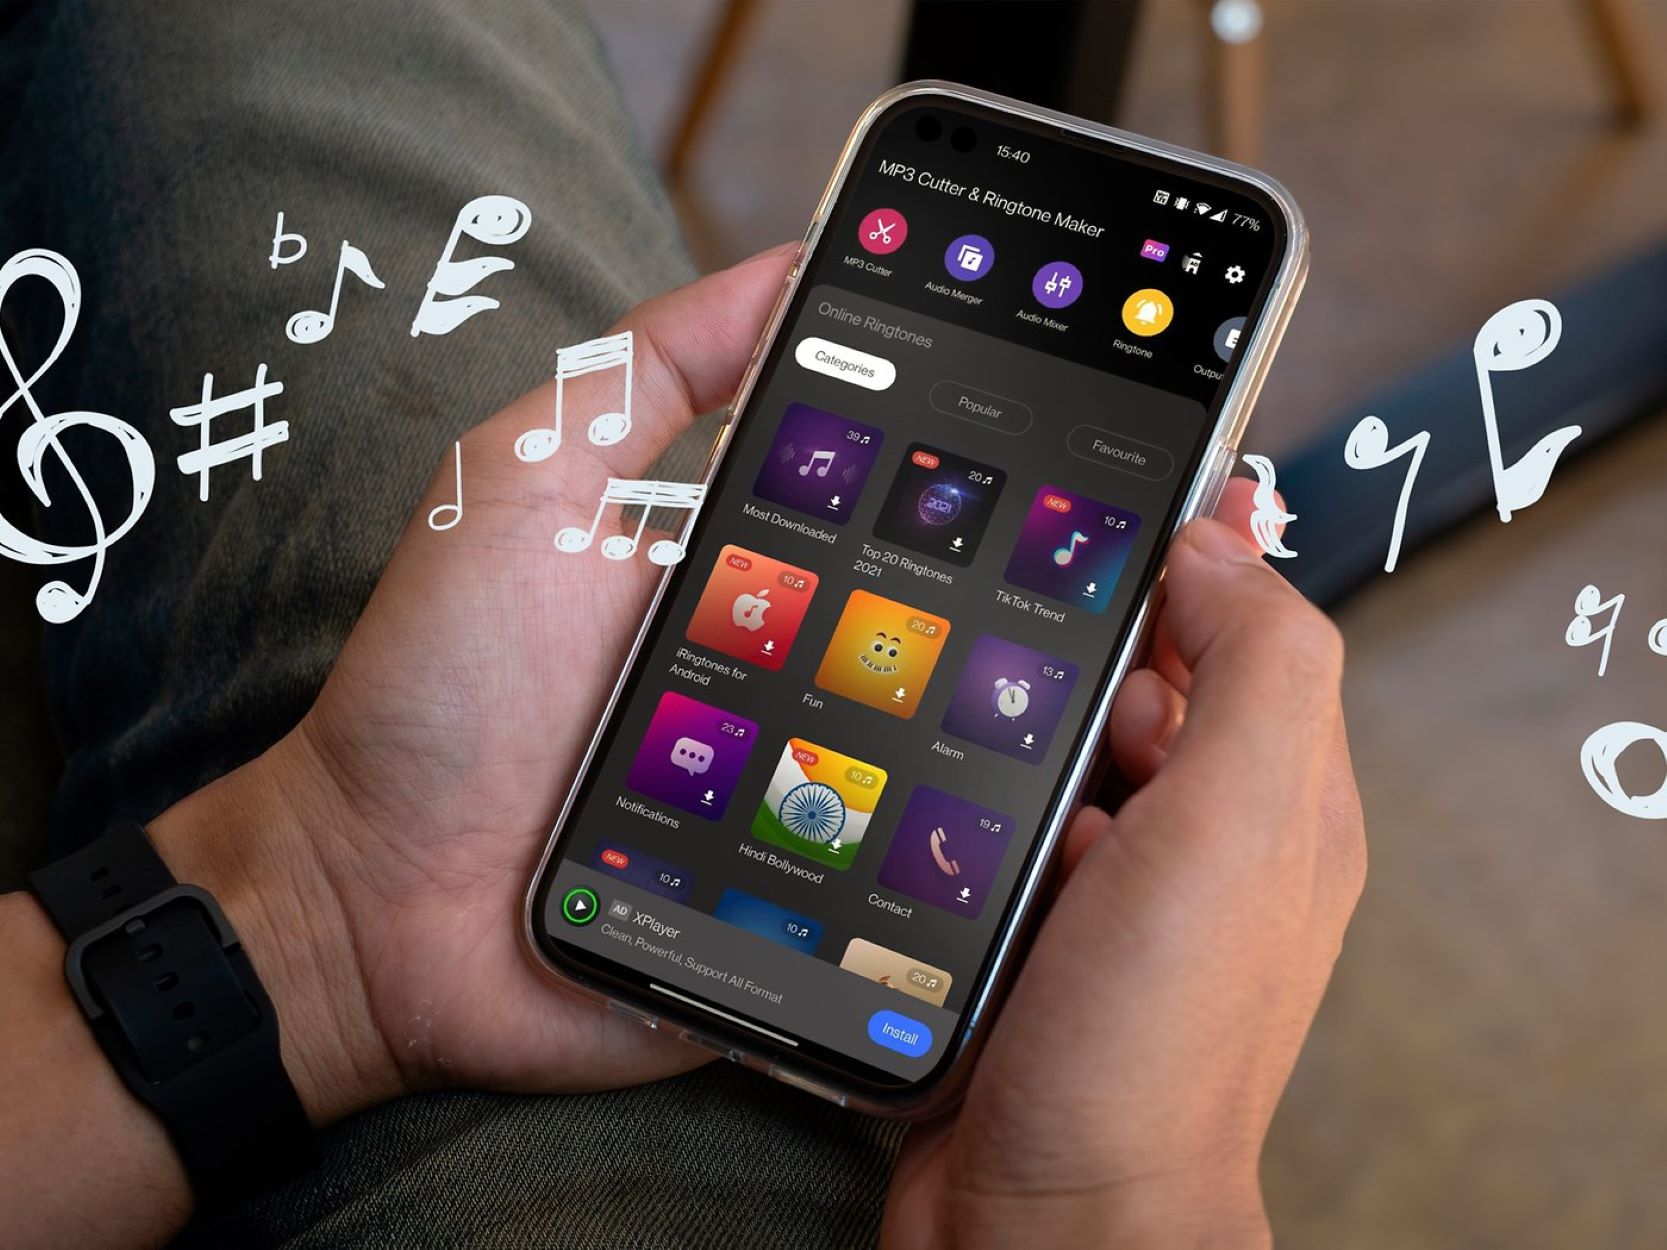
- Use a Ringtone Maker App: There are numerous ringtone maker apps available on the Google Play Store that make editing songs a breeze. Install a reputable ringtone maker app like “Ringdroid” or “MP3 Cutter and Ringtone Maker” on your Android device. Open the app, select the downloaded song from your music library, and use the provided tools to trim the song to your desired length. Save the edited portion as a new file.
- Utilize Built-in Audio Editing Features: Some Android devices come with built-in audio editing features. Check your device’s settings or pre-installed apps to see if there is an audio editor available. Open the editor, import the downloaded song, and use the available tools to trim and edit the song as needed. Save the edited version as a separate file.
- Third-Party Editing Software: If you prefer to edit the song on your computer, you can utilize third-party editing software like Audacity or GarageBand. Transfer the downloaded song to your computer, open the editing software, and import the song file. Use the provided tools to edit and trim the song to your desired length. Save the edited version and transfer it back to your Android device.
After editing the song and saving the desired portion as a separate file, it’s time to convert it to MP3 format in the next step.
Step 4: Converting to MP3 Format
Now that you have edited the song to your desired length, the next step is to convert it to the MP3 format. Most Android devices support MP3 files for ringtones, so converting the edited song to this format will ensure compatibility. Here’s how you can convert the file:
- Use an Online Converter: There are numerous websites that offer online file conversion services. Simply search for “MP3 converter” in your preferred search engine, and you’ll find a list of options. Upload the edited song file, select MP3 as the output format, and initiate the conversion process. Once the conversion is complete, download the converted MP3 file to your device.
- Utilize Audio Converter Apps: Similar to ringtone maker apps, there are also audio converter apps available on the Google Play Store. Install a trusted audio converter app like “Media Converter” or “Audio Converter” on your Android device. Open the app, select the edited song file, choose MP3 as the output format, and start the conversion process. Once the conversion is finished, the MP3 file will be saved on your device.
- Convert on Your Computer: If you prefer to convert the file on your computer, you can use audio conversion software like iTunes or Audacity. Transfer the edited song file from your Android device to your computer, open the audio conversion software, import the file, and select MP3 as the output format. Initiate the conversion process and save the converted MP3 file to your computer. Then, transfer the MP3 file back to your Android device.
Once the song is successfully converted to MP3 format, you’re ready to proceed to the final step: setting the MP3 ringtone on your Android device.
Step 5: Setting the Ringtone on Android
With the MP3 ringtone file ready, it’s time to set it as your ringtone on your Android device. The process may vary slightly depending on the specific Android version and device, but the general steps are as follows:
- Navigate to the “Settings” on your Android device. This can usually be found in the app drawer or by swiping down from the top of the screen and tapping the gear-shaped icon.
- In the settings menu, scroll down and find the “Sound” or “Sound & notification” option. Tap on it to access the sound settings.
- Look for the “Phone ringtone” or “Ringtone” option. Tap on it to open the ringtone selection menu.
- In the ringtone selection menu, you will see a list of available ringtones on your device. Look for the option to add a new ringtone or select a custom ringtone. This option may vary depending on your Android device.
- Choose the “File Explorer” or “Browse” option to navigate to the location where you have saved the converted MP3 ringtone file. Once you locate the file, select it to set it as your new ringtone.
- Tap the “Save” or “OK” button to confirm your selection and set the MP3 ringtone as your default ringtone.
After following these steps, your new custom MP3 ringtone will be set on your Android device. You can now enjoy your personalized ringtone whenever you receive a call or notification.
It’s worth mentioning that depending on your Android device, there may be additional options available to customize different types of notifications, such as alarms or text message notifications. Explore the sound settings on your device to personalize these notifications using your newly created MP3 ringtone.
So go ahead, show off your unique style and musical taste by setting a one-of-a-kind MP3 ringtone on your Android device!
Conclusion
Congratulations! You have successfully created and set a custom MP3 ringtone on your Android device. By following the steps outlined in this guide, you have added a personal touch to your smartphone that reflects your taste in music and gives it a unique personality.
The process of creating an MP3 ringtone may seem daunting at first, but with the right tools and guidance, it becomes a straightforward and rewarding experience. From choosing the perfect song to editing and converting it to MP3 format, each step plays a crucial role in creating a memorable ringtone.
Having a personalized MP3 ringtone not only adds a touch of individuality but also enhances your overall phone experience. Every time you receive a call or notification, your customized ringtone will make your device stand out and bring a smile to your face.
Remember, the steps provided in this guide are general and may vary slightly depending on your specific Android device. It’s always a good idea to explore your device’s settings and consult the user manual for more detailed instructions.
So, why settle for ordinary ringtones when you can create your own? Take some time to select a memorable song, follow the steps to personalize and set your MP3 ringtone, and enjoy the satisfaction of having a truly unique and personalized device.
Now, whenever your phone rings, you’ll be greeted by a sound that resonates with your style and personality. Happy customizing!