Home>Devices & Equipment>Music Box>How To Make A Music Box Mp3
Music Box
How To Make A Music Box Mp3
Published: January 11, 2024
Learn how to make a music box that plays MP3 files with our step-by-step guide. Create your own personalized melodies and enjoy the enchanting sounds of a music box.
(Many of the links in this article redirect to a specific reviewed product. Your purchase of these products through affiliate links helps to generate commission for AudioLover.com, at no extra cost. Learn more)
Table of Contents
Introduction
Welcome to the world of music boxes! These charming and nostalgic instruments have been enchanting people of all ages for centuries. With their delicate melodies and intricate designs, music boxes bring a touch of magic and joy to any space.
In this article, we will explore how to create your very own music box with an MP3 module, allowing you to personalize the music it plays. By following a few simple steps, you can unleash your creativity and create a unique music box that reflects your taste and style.
Whether you are a music box enthusiast looking to expand your collection or a DIY hobbyist interested in electronics and crafting, this article is for you. No prior experience is required, as we will guide you through the entire process, from gathering the materials to programming the MP3 module and testing your creation.
So, let’s embark on this musical journey and learn how to make your own music box!
Materials Needed
Before we begin, let’s make sure we have all the necessary materials and tools ready. Here’s a list of what you’ll need to create your music box with an MP3 module:
- A music box mechanism or movement
- A wooden or decorative box to house the music box
- An MP3 player module or board
- A microSD card for storing the music files
- A power source (batteries or USB power supply)
- Speakers (either built-in to the MP3 module or external)
- A small screwdriver for assembly
- Double-sided adhesive tape or glue
- Optional: decorative elements such as paint, ribbons, or stickers
The specific components mentioned above can be found in electronic supply stores or online marketplaces. It’s worth noting that you can customize your music box to your liking, so feel free to choose a box that matches your aesthetic preferences and make any additional modifications or embellishments you desire.
Now that we have our materials ready, let’s move on to the next step: gathering the components for our music box.
Step 1: Gathering the Components
Now that we have a list of materials needed, it’s time to gather all the components for our music box with an MP3 module. Here’s a breakdown of each component:
- Music Box Mechanism: This is the heart of the music box. You can find a wide variety of music box movements with different songs and melodies. Choose one that resonates with you or fits the theme of your project.
- Wooden or Decorative Box: Select a box that will house the music box mechanism and other electronic components. It can be a small wooden box, a decorative tin, or any other container that suits your taste and style.
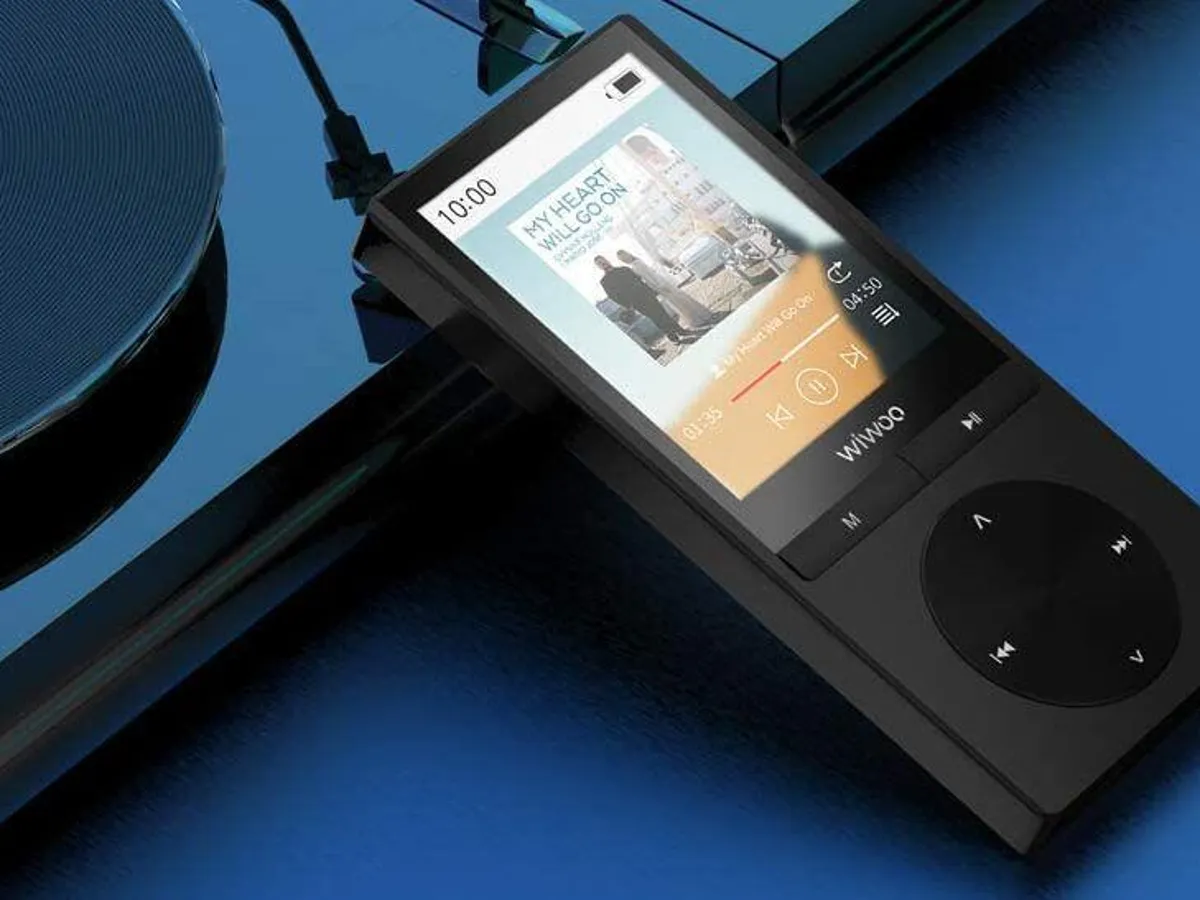
- MP3 Player Module or Board: Look for an MP3 player module or board that is compatible with your music box mechanism. This will be responsible for playing the music and controlling the volume.
- MicroSD Card: You’ll need a microSD card to store the music files that will be played by the MP3 player module. Make sure to choose a card with enough storage capacity for your desired songs.
- Power Source: Decide on the power source for your music box. It can be batteries or a USB power supply, depending on the requirements of your MP3 player module.
- Speakers: Determine whether your MP3 player module already has built-in speakers or if you need to connect external speakers. This will ensure that you can enjoy the music with clear audio.
- Small Screwdriver: You’ll need a small screwdriver to assemble the components and secure them in place. Make sure the screwdriver size matches the screws provided with the components.
- Double-Sided Adhesive Tape or Glue: Use double-sided adhesive tape or glue to mount the music box mechanism and MP3 player module securely in the box. This will prevent any movement or damage during use.
- Optional Decorative Elements: If you want to add a personal touch to your music box, consider using paint, ribbons, stickers, or other decorative elements to customize the outer appearance of the box.
Once you have gathered all the necessary components, you are ready to move on to the next step: preparing the music for your music box.
Step 2: Preparing the Music
Now that we have all the components assembled, it’s time to prepare the music that will be played by our music box with the MP3 module. Follow these steps to get your music files ready:
- Selecting Music: Choose the songs or melodies you want to include in your music box. You can choose pre-existing music or compose your own. Keep in mind the length and complexity of the music, as some music box mechanisms have limitations on the number of notes they can play.
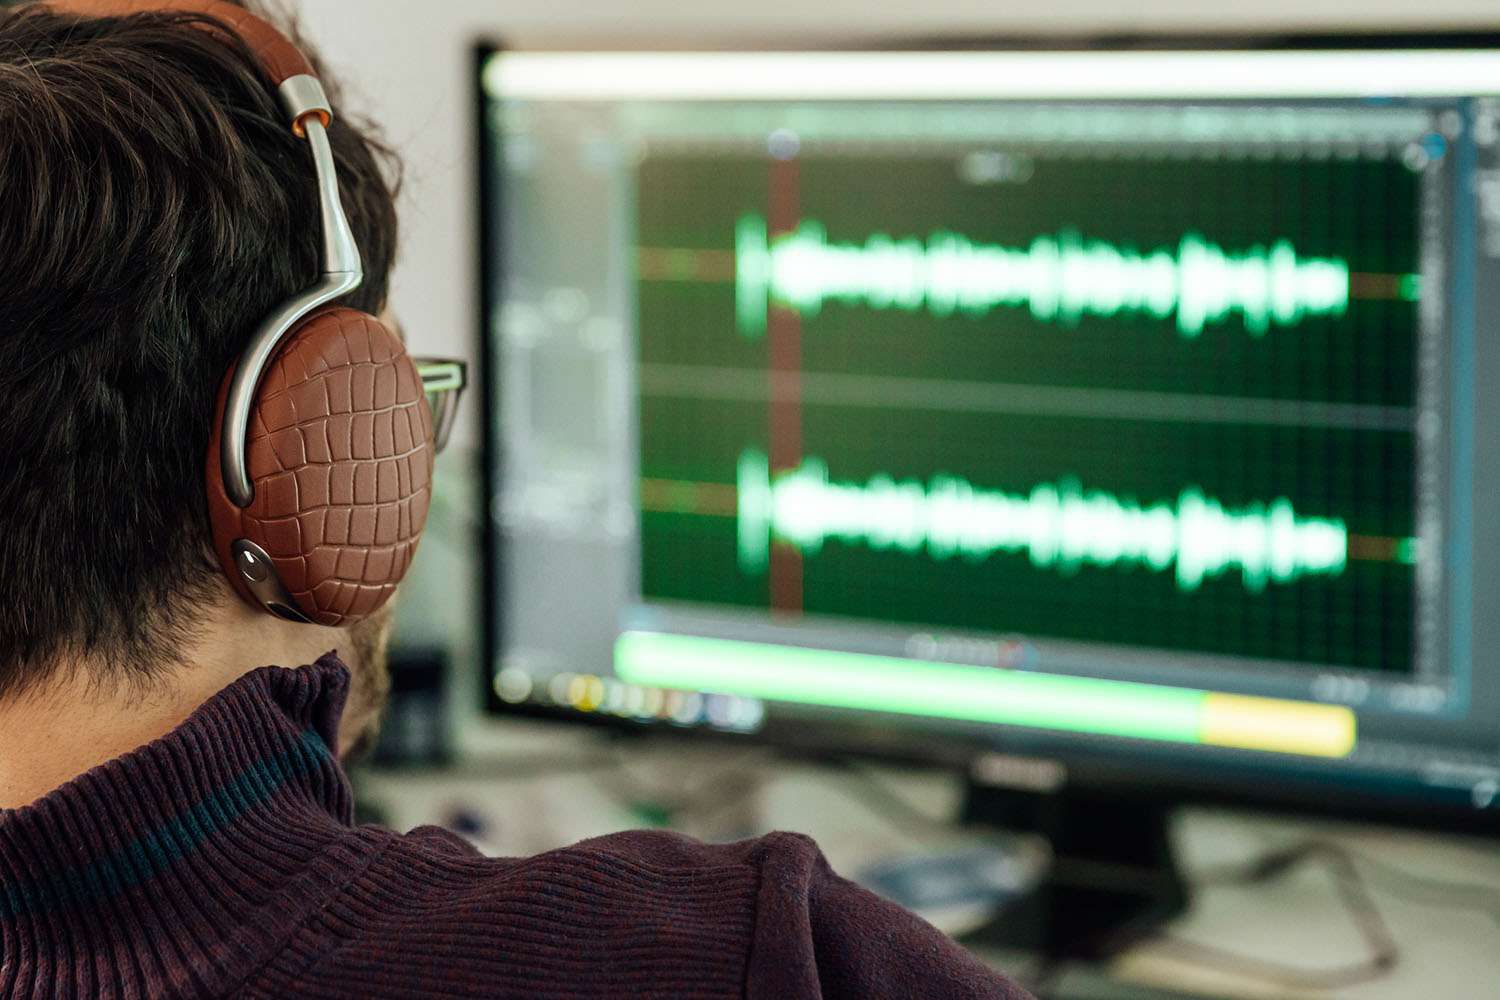
- Converting Music to MP3: If your music is not in MP3 format, you will need to convert it. Use audio editing software or online converters to convert the music files into MP3 format. Ensure that the bitrate and audio quality are suitable for your preference.
- Organizing Music Files: Create a folder on your computer and organize your music files. Label them according to the order in which you want them to be played in the music box. This will make it easier to transfer the files onto the microSD card.
- Transferring Music to the microSD Card: Insert the microSD card into your computer, either directly through the SD card slot or using an SD card adapter. Copy and paste the music files from your computer’s folder onto the microSD card. Ensure that the files are transferred successfully to the card.
- Testing the Music: Before proceeding, test the music files on your computer or MP3 player software to ensure they play correctly and in the desired order. Make any adjustments or edits as necessary.
Once you have prepared the music files and transferred them onto the microSD card, you are now ready to move on to the next step: assembling the music box.
Step 3: Assembling the Music Box
With the music prepared, it’s time to assemble the components and create your music box. Follow these steps to assemble your music box:
- Prepare the Box: Start by opening the wooden or decorative box. Remove any inserts or dividers if present to create a larger space for the music box mechanism and MP3 player module.
- Mount the Music Box Mechanism: Take the music box mechanism and position it in the center of the box. Use double-sided adhesive tape or glue to secure it in place. Ensure that the winding key or rotating arm of the mechanism is easily accessible.
- Mount the MP3 Player Module: Place the MP3 player module next to the music box mechanism. Use double-sided adhesive tape or glue to attach it to the box securely. Ensure that the control buttons and connectors are accessible and easily visible.
- Connect the Speakers (If External): If you are using external speakers, connect them to the appropriate audio output of the MP3 player module. Follow the instructions provided with the module to ensure correct connectivity.
- Install the Power Source: If your MP3 player module requires batteries, install them according to the instructions. Alternatively, if you are using a USB power supply, insert the USB cable into the module.
- Secure the MicroSD Card: Insert the microSD card containing your music files into the slot provided on the MP3 player module. Ensure that it is inserted correctly and securely.
- Close the Box: Carefully close the box, ensuring that all the components are securely in place and the box is fully closed. Make sure there is enough space for the winding key or rotating arm of the music box mechanism to move freely without obstruction.
Once you have assembled the music box, congratulate yourself on reaching this stage! The next step involves programming the MP3 module to control the music playback. We will explore this in detail in the following step.
Step 4: Programming the MP3 Module
Now that the components are assembled, it’s time to program the MP3 module to control the music playback. Follow these steps to program the MP3 module:
- Connect to a Computer: Connect the MP3 player module to your computer using a USB cable. The module should be recognized as a removable storage device.
- Create a Playlist: Open the folder of the MP3 player module on your computer. Create a new folder within it and name it “Playlist” or any desired name.
- Copy Music Files: Copy the MP3 music files from the microSD card onto the “Playlist” folder of the MP3 player module. Make sure the file names are in the order you want the songs to be played.
- Save and Eject: After copying the music files, save any changes and safely eject the MP3 player module from your computer.
- Disconnect from Computer: Disconnect the MP3 player module from your computer and power it off.
- Power On and Test: Power on the music box and MP3 module. Test the music playback by winding the music box mechanism and listening for the selected songs to play in sequence.
- Adjust Volume and Settings: If your MP3 module has volume control or other settings, adjust them according to your preference. Test the volume and make any necessary adjustments.
Once you have programmed the MP3 module and tested the music playback, you are almost there! The next step involves attaching the MP3 module to the music box. We will explore this step in detail next.
Step 5: Attaching the MP3 Module
With the MP3 module programmed and the music box functioning properly, it’s time to attach the MP3 module to the music box. Follow these steps to securely attach the MP3 module:
- Assess Placement: Determine the ideal placement for the MP3 module within the music box. Consider the size and shape of the box, as well as any existing compartments or dividers.
- Position the MP3 Module: Gently place the MP3 module in the chosen location, ensuring that it is aligned with the openings or slots provided for the control buttons, connectors, and power source.
- Secure with Adhesive: Use double-sided adhesive tape or glue to secure the MP3 module in place. Apply the adhesive to the bottom or back of the module, ensuring that it adheres well to the inner surface of the music box. Be careful not to obstruct any necessary openings for wires or connectors.
- Ensure Accessibility: Check that all the control buttons, connectors, and power source are accessible and visible from the outside of the music box. This will allow you to easily control the music playback and make any adjustments if needed.
- Test the Functionality: Power on the music box and test the functionality of the MP3 module. Ensure that the control buttons respond effectively, the music plays smoothly, and the volume is adjustable if applicable.
- Make Adjustments: If needed, fine-tune the position of the MP3 module within the music box. Ensure that it remains securely attached and all the necessary components are fully functional.
Once you have successfully attached the MP3 module to the music box, you are almost done! The final step involves testing the music box MP3 to ensure it operates as expected. Let’s move on to the last step.
Step 6: Testing the Music Box MP3
Congratulations on reaching the final step of creating your own music box with an MP3 module! It’s time to test the music box and ensure everything is working as expected. Follow these steps to test your music box MP3:
- Power On the Music Box: Turn on the power source of the music box. This can be done by inserting the batteries or connecting the USB power supply.
- Winding the Music Box Mechanism: Wind the music box mechanism using the designated winding key or rotating arm. This will activate the mechanism and start playing the music.
- Control the Music Playback: Use the control buttons on the MP3 module to pause, resume, or skip to the next song, depending on the features of your module. Familiarize yourself with the controls and experiment with different settings to enjoy your customized music box experience.
- Test the Volume: Adjust the volume of the music box to your desired level. If your MP3 module has volume control, use the buttons or knobs to increase or decrease the volume accordingly.
- Listen and Enjoy: Sit back, relax, and enjoy the beautiful melodies emanating from your handmade music box MP3. Admire your creation and take pride in the personalized touch it brings to your space.
- Make Necessary Adjustments: If you encounter any issues or difficulties during the testing phase, take note of them and make any necessary adjustments. This may involve troubleshooting the MP3 module, checking the connections, or fine-tuning the music box mechanism.
Once you have thoroughly tested and are satisfied with the functionality of your music box MP3, you have successfully completed the process! Now, you can showcase your creation, gift it to a loved one, or simply enjoy the soothing melodies it produces.
Remember, each music box is a unique piece of art, combining the charm of traditional mechanical music boxes with the versatility of modern technology. Let your creativity and imagination soar as you continue to explore and create your own mesmerizing music boxes!
Conclusion
Creating a music box with an MP3 module is a wonderful way to blend the nostalgia of traditional music boxes with the customization and versatility of modern technology. Throughout this article, we have covered the step-by-step process of making your own music box MP3, from gathering the materials to programming the module and testing the final product.
By following these steps, you have embarked on a creative journey that allows you to add a personal touch to your music box. From selecting the music to customizing the outer appearance of the box, you have the freedom to express your unique style and taste.
Building your own music box MP3 also offers a sense of accomplishment and satisfaction. Not only do you get to enjoy the melodies that resonate with you, but you also have a tangible reminder of your creativity and craftsmanship.
Whether you choose to display your music box in your home, give it as a heartfelt gift, or simply enjoy the soothing tunes it produces, your handmade music box will surely bring joy and enchantment to those who encounter it.
So, seize the opportunity, gather the materials, and let your creativity flow as you embark on the journey of creating your very own music box MP3. With some patience, attention to detail, and a sprinkle of imagination, you’ll have a unique and captivating music box that will fill your space with beautiful melodies for years to come.