Home>Production & Technology>Music Video>How To Make Music Video DVDs For Car
Music Video
How To Make Music Video DVDs For Car
Published: November 17, 2023
Learn how to create music video DVDs specifically for your car's entertainment system. Find step-by-step instructions and tips to enhance your driving experience with your favorite music videos.
(Many of the links in this article redirect to a specific reviewed product. Your purchase of these products through affiliate links helps to generate commission for AudioLover.com, at no extra cost. Learn more)
Table of Contents
Introduction
Music videos have become an integral part of the music industry, often serving as a visual representation of an artist’s creativity and expression. With the rise of streaming platforms, music videos are easily accessible online, but there is still something special about watching them on a big screen.
If you’re a music enthusiast or a fan of a particular artist, creating your own music video DVD can be a fun and rewarding project. Not only can you showcase your favorite music videos, but you can also enjoy them conveniently in your car while on the go.
In this article, we will guide you through the process of making music video DVDs specifically designed for car DVD players. We’ll cover the necessary materials, video selection and editing, organizing the videos on the DVD, creating a DVD menu, burning the DVD, and testing it in your car’s DVD player.
Whether you want to create a compilation of your favorite music videos, a themed collection, or even a personalized gift for a friend, this step-by-step guide will help you bring your vision to life.
Before we dive into the details, it’s important to note that creating music video DVDs may involve copyright considerations. Make sure to use legally-acquired music videos and respect the intellectual property rights of the artists and content creators involved. This guide is intended for personal use only.
Now, let’s get started on this exciting journey of making music video DVDs for your car!
Step 1: Gathering the Necessary Materials
Before you begin the process of making music video DVDs for your car, it’s important to gather all the necessary materials. Here’s a list of what you’ll need:
- A computer or laptop with a DVD burner: You will need a computer or laptop equipped with a DVD burner to create and burn your music video DVD. Ensure that your computer’s DVD burning software is up to date.
- Blank DVDs: Purchase high-quality blank DVDs with sufficient storage capacity to accommodate the music videos you plan to include on the DVD. DVD-R discs are the most compatible with car DVD players.
- Music video files: Collect the music videos you wish to include on the DVD. Make sure you have legally-acquired copies of these videos. Check the file format compatibility of your car DVD player to ensure the videos are compatible.
- Video editing software: To customize the music videos and create a seamless viewing experience, you’ll need video editing software. There are several options available, both free and paid. Choose one that suits your needs and skill level.
- A DVD creation software: In addition to video editing software, you’ll need DVD creation software to create the DVD menu and organize the music videos on the disc. There are plenty of options available, including popular software like Nero, Roxio, and Windows DVD Maker.
- A USB flash drive: Depending on your car’s DVD player, you may need to transfer the music video files from your computer to a USB flash drive and then play them through the car’s USB port. Make sure to have a reliable and compatible USB flash drive handy.
- Optional: DVD labels and covers: If you want to enhance the visual appeal of your music video DVD, you can design and print custom DVD labels and covers. This step is optional, but it adds a professional touch.
Once you have gathered all the necessary materials, you’re ready to move on to the next step: selecting and editing the music videos.
Step 2: Selecting and Editing the Music Videos
Now that you have all the necessary materials, it’s time to choose and edit the music videos that you want to include on your DVD. Here’s how you can do it:
- Selecting the music videos: Start by organizing your music video collection. Choose the videos that you want to include on your DVD based on your personal preferences or a specific theme. Consider the length of the videos and the total duration you want your DVD to be. Aim for a balanced mix of upbeat and mellow songs to keep the viewing experience dynamic.
- Checking video compatibility: Confirm that the selected music videos are in a compatible format with your video editing software and car DVD player. Commonly supported formats include MP4, AVI, and WMV. If necessary, convert the videos to a compatible format using a video conversion tool.
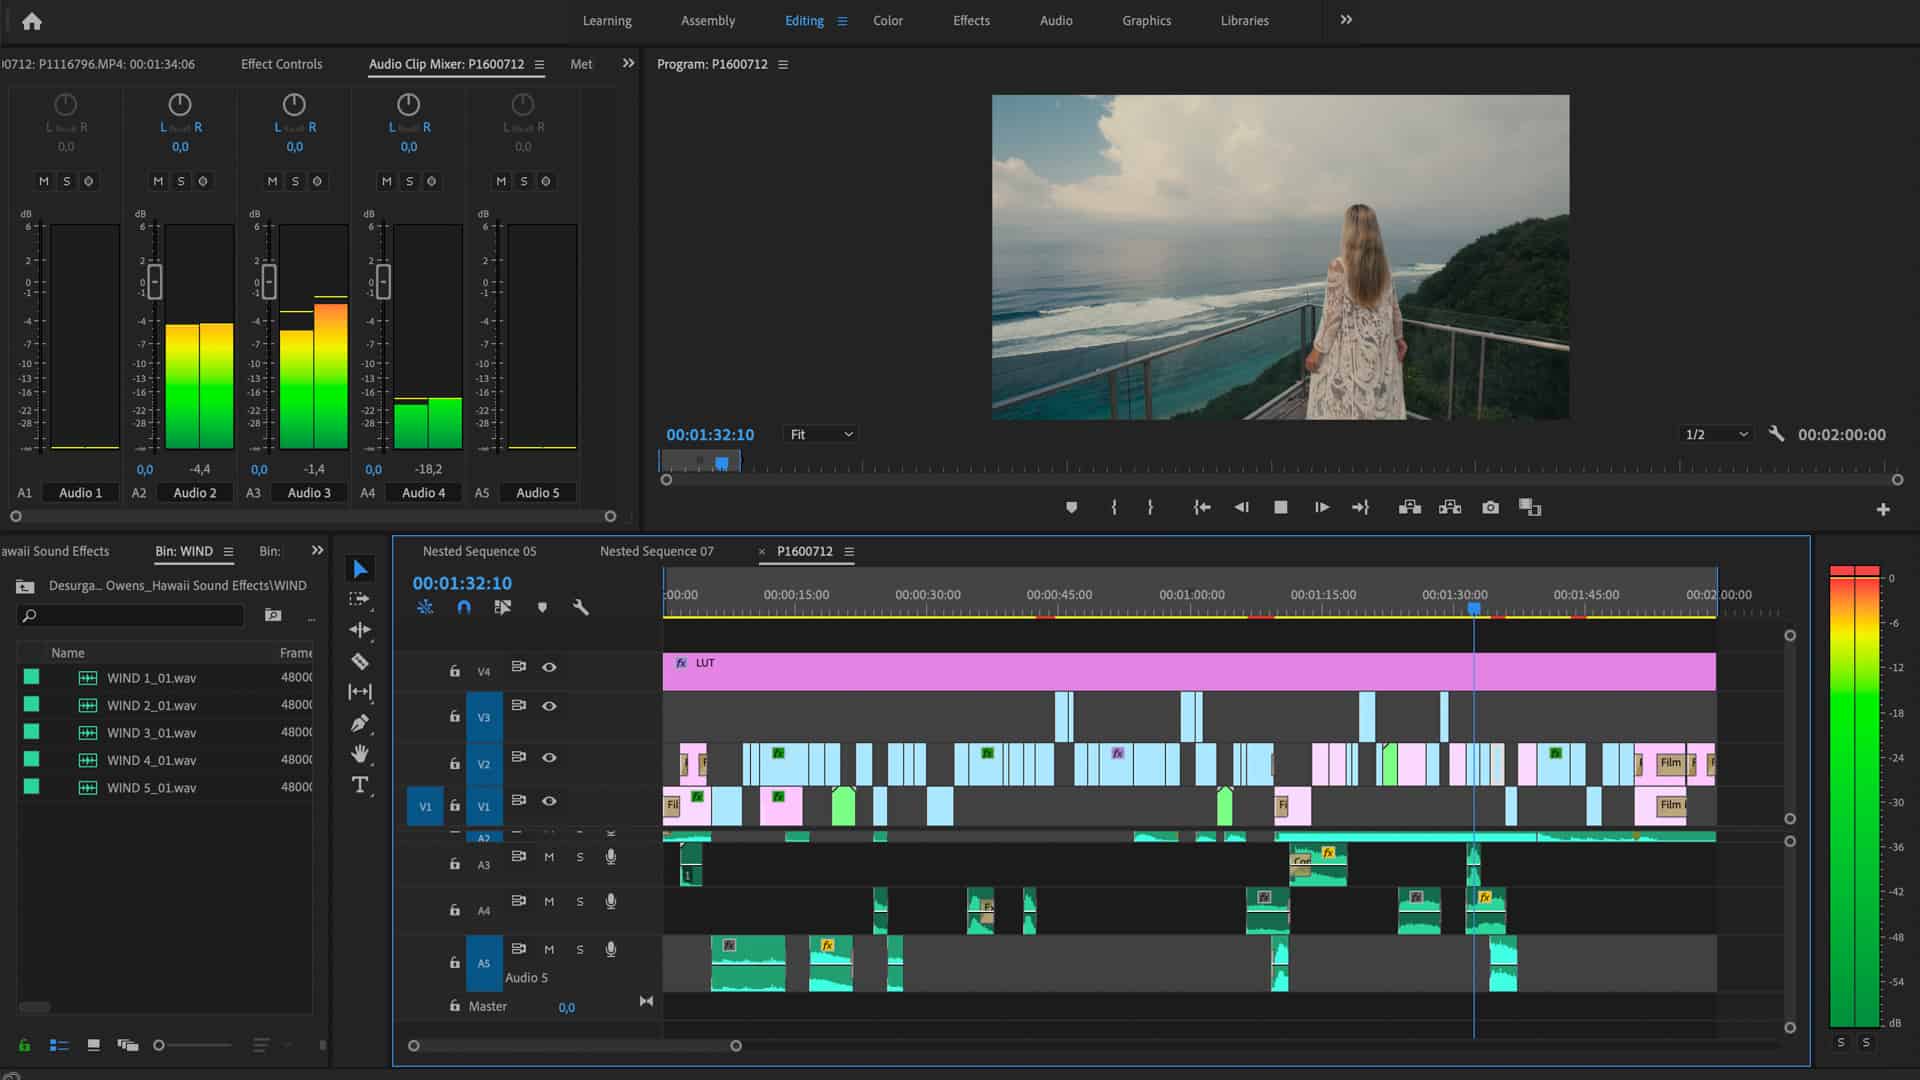
- Trimming and editing: Once you have selected the music videos, you can further enhance your DVD by trimming unnecessary footage or adding special effects. Use your video editing software to remove intro scenes, shorten long outros, or create smooth transitions between videos. You can also adjust the brightness, contrast, and color saturation to optimize the viewing experience.
- Adding subtitles or captions: If desired, you can include subtitles or captions to enhance the accessibility of the music videos. Check if your video editing software allows you to add text overlays and customize their appearance.
- Previewing and fine-tuning: After editing each music video, take the time to preview your work to ensure everything looks and sounds as desired. Make any necessary adjustments, such as adjusting audio levels or refining transitions, to achieve the desired outcome.
Remember, the editing process is an opportunity for you to express your creativity and make the music videos flow seamlessly. Take your time to create a captivating viewing experience that reflects your personal style.
Once you have finished editing the music videos, it’s time to move on to the next step: organizing the videos on the DVD.
Step 3: Organizing the Music Videos on the DVD
After selecting and editing the music videos for your DVD, it’s time to organize them in a logical and cohesive manner. Here’s how you can effectively organize the music videos on your DVD:
- Create a playlist: Start by creating a playlist for your music videos. Decide on the order in which you want the videos to play. Consider the flow and transitions between videos to create a seamless viewing experience.
- Grouping videos: If you have a large number of music videos, you can group them based on a specific theme, genre, artist, or any other criteria that you prefer. This will make it easier for viewers to navigate through the DVD menu and find videos of their interest.
- Naming videos: Assign clear and descriptive names to the music videos. This will make it easier for viewers to locate specific videos in the DVD menu.
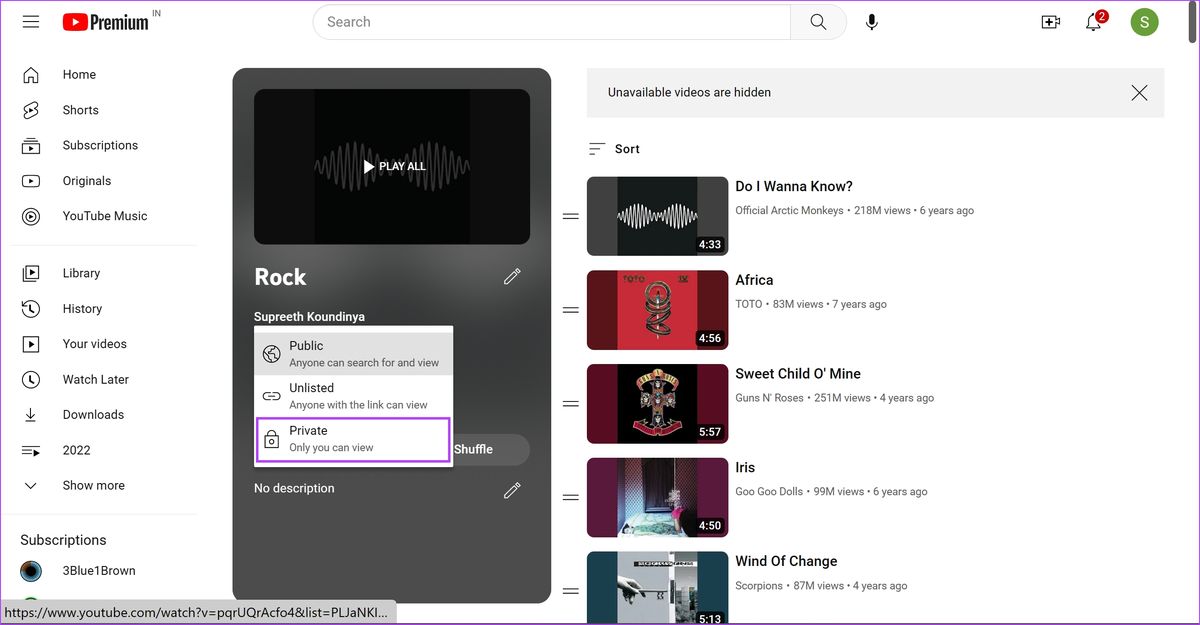
- Creating submenus: If you have a substantial collection of music videos, consider creating submenus to make navigation simpler. For example, you can have a main menu with categories like “Rock,” “Pop,” and “Hip-Hop,” and each category can have its own submenu with related videos.
- Setting thumbnail images: Assign thumbnail images to each music video or submenu. These images should represent the content or theme of the videos, making it visually appealing and helping viewers identify the videos quickly.
When organizing the music videos, stay mindful of the limitations of your car’s DVD player. Some car DVD players have restricted capabilities and may not support advanced menu features. Keep the menu structure simple and intuitive for easy navigation.
Once you have organized the music videos on your DVD, it’s time to move on to the next step: creating the DVD menu.
Step 4: Creating the DVD Menu
The DVD menu is an important component of your music video DVD as it allows viewers to easily navigate and select the videos they want to watch. Here’s how you can create an engaging and user-friendly DVD menu:
- Select a template: Most DVD creation software provides a variety of pre-designed templates for menus. Choose a template that suits the theme or style of your music videos. You can opt for a clean and minimalist design or a more visually dynamic layout.
- Add menu buttons: Customize the template by adding menu buttons corresponding to each music video or submenu on your DVD. Ensure that the buttons are clearly labeled and align with the organization structure you established in the previous step. Consider using eye-catching graphics or colors to make the menu visually appealing.
- Design background and transitions: Enhance the aesthetics of the DVD menu by selecting an appropriate background image or video. You can use a still image related to the music genre or artist, a snippet from one of the music videos, or a graphic design that complements the overall theme. Also, consider adding transitions between menu screens to create a smooth and polished viewing experience.
- Customize menu text and fonts: Adjust the font styles, sizes, and colors of the menu text to ensure readability. Use fonts that are clear and easy to read, avoiding overly decorative or elaborate fonts. Align the text and buttons in a visually pleasing manner that complements the overall design.
- Preview and fine-tune: Before finalizing the DVD menu, preview it to ensure that all the buttons and text function correctly and that the overall design is visually appealing. Make any necessary adjustments to the menu layout, transitions, or text visibility.
Remember, the DVD menu acts as the first impression for your music video DVD, so make sure it reflects the tone and style of the videos it represents. A well-designed and intuitive DVD menu will enhance the user experience and make navigating through the videos a breeze.
With the DVD menu complete, it’s time to move on to the next step: burning the DVD.
Step 5: Burning the DVD
Once you have finalized the DVD menu and organized the music videos, it’s time to burn the DVD. Follow these steps to successfully burn your music video DVD:
- Open your DVD burning software: Start by launching your DVD burning software on your computer or laptop. Ensure that it is compatible with the type of blank DVDs you purchased.
- Select the “Create DVD” or “Burn DVD” option: Look for the option that allows you to create a new DVD or burn an existing project. Click on it to proceed.
- Add your music video files: Use the DVD burning software’s interface to import the music video files you selected and edited earlier. Drag and drop the files into the software’s layout or use the “Add Files” button to locate and add them manually.
- Configure DVD settings: Adjust the settings for your DVD, including the title, aspect ratio, and DVD format (such as NTSC or PAL). Ensure that the settings are compatible with your car’s DVD player specifications.
- Customize DVD menu: If your DVD burning software allows further customization of the DVD menu, make any desired changes, such as adjusting the background, text, or button styles. Ensure consistency with the menu design you created in the previous step.
- Preview and make final adjustments: Take a final look at the DVD content, including the videos and the menu, by previewing it within the software. Make any necessary adjustments to ensure everything appears as desired.
- Insert a blank DVD: Insert a blank DVD into your computer’s DVD burner. Ensure it is of good quality and compatible with your DVD burner.
- Start the burning process: Once you’re ready, click on the “Burn” or “Start” button within the DVD burning software to initiate the burning process. The software will automatically start encoding and burning the music videos onto the DVD.
- Wait for the process to complete: The burning process may take some time, depending on the size and total duration of the music videos. Be patient and avoid interrupting the process to prevent any errors.
- Eject the DVD: After the burning process is complete, the software will notify you. Eject the DVD from your computer’s DVD burner and check it for any visible errors or defects.
Once you have successfully burned the DVD, you’re one step closer to enjoying your music videos in your car. In the next step, we will cover how to test the DVD in a car’s DVD player.
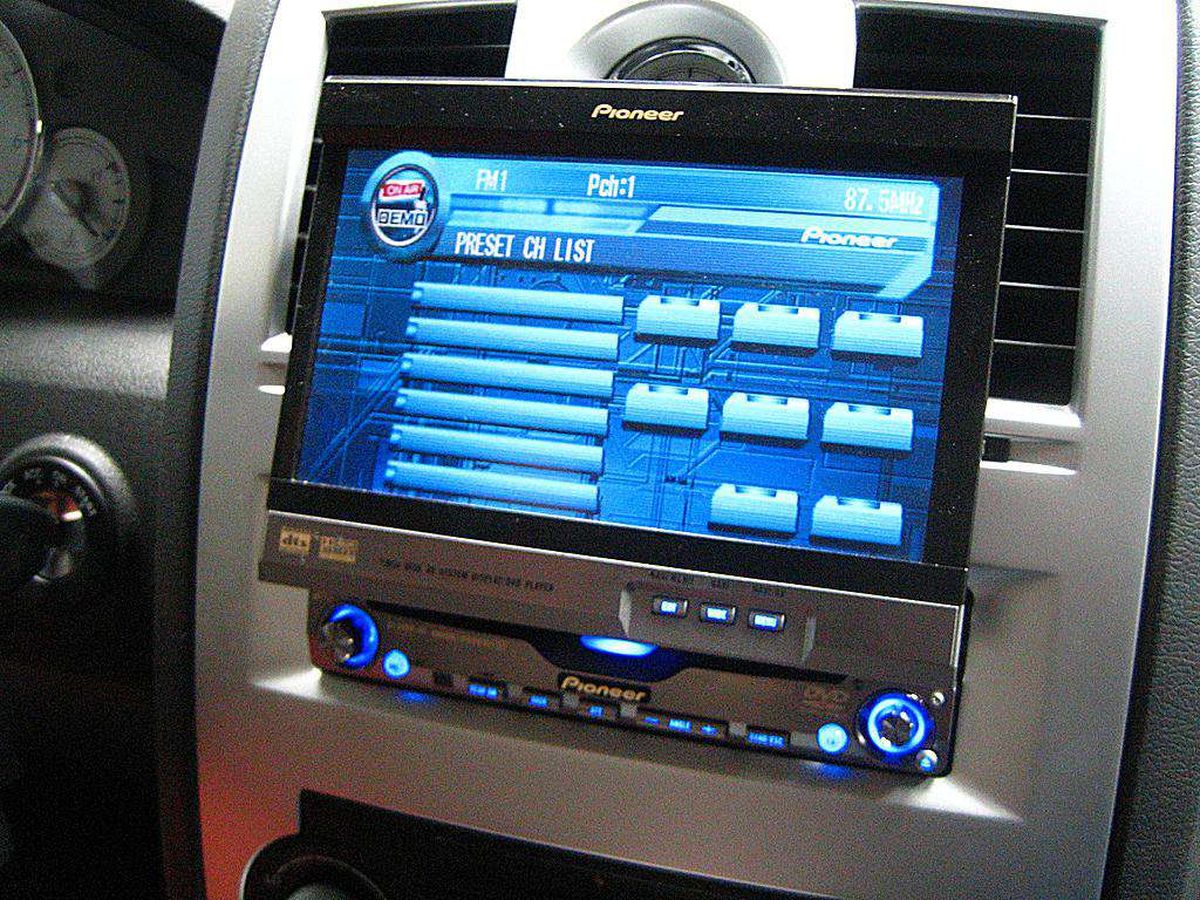
Step 6: Testing the DVD in a Car’s DVD Player
After burning the music video DVD, it’s crucial to test it in a car’s DVD player to ensure compatibility and functionality. Follow these steps to test your DVD in a car:
- Prepare your car’s DVD player: Turn on your car’s DVD player and make sure it is in proper working condition. Clear any DVDs or discs already in the player.
- Insert the DVD: Gently insert the music video DVD you created into the car’s DVD player. Ensure that it fits correctly and securely into the tray.
- Play the DVD: Use the car’s DVD player controls to navigate to the DVD menu. Select a music video or submenu and press the “Play” or “Enter” button to start playing the video.
- Check video and audio quality: Pay attention to the quality of the video and audio playback. Ensure that the visuals are clear, and the audio is synchronized with the video. Check if there are any issues like stuttering, freezing, or distortion.
- Navigate the DVD menu: Test the functionality of the DVD menu by navigating through the various options and selecting different music videos. Ensure that all buttons and submenu options function correctly and smoothly.
- Verify subtitles and captions: If you added subtitles or captions to the music videos, check if they are displayed correctly on the car’s DVD player screen. Ensure that the text is readable and properly synchronized with the audio.
- Test DVD playback in different conditions: To ensure optimal playback, test the DVD in different driving conditions, such as while the car is stationary, in motion, or on bumpy roads. This will help identify any potential issues with playback stability.
- Take note of any issues: If you encounter any issues during the testing process, such as playback problems or menu navigation difficulties, take note of them. This will help you troubleshoot and make necessary adjustments for future DVD creations.
By testing the music video DVD in a car’s DVD player, you can ensure that it performs as expected and provides an enjoyable viewing experience. If everything goes smoothly, you can now sit back, relax, and enjoy your favorite music videos on the go.
Finally, feel proud of your accomplishment in making your own personalized music video DVDs for your car, showcasing your favorite artists and songs in a unique and convenient format.
Congratulations! You have successfully completed all the steps involved in making music video DVDs for your car. Enjoy the entertainment and freedom that your custom DVDs provide!
Happy driving and happy music video watching!
Conclusion
Creating music video DVDs for your car is an enjoyable and rewarding experience that allows you to curate your own personalized collection of music videos to enjoy on the go. By following the step-by-step guide provided in this article, you can successfully create and burn your own music video DVDs that are compatible with your car’s DVD player.
We began by gathering the necessary materials, including a computer with a DVD burner, blank DVDs, music video files, video editing software, and DVD creation software. Ensuring that you have all the required tools is essential for a smooth DVD creation process.
Next, we discussed the process of selecting and editing the music videos. It’s important to choose videos that resonate with your preferences or follow a specific theme. Editing the videos allows you to trim unnecessary footage, add special effects, and create an engaging viewing experience.
Organizing the music videos on the DVD is the next step, which involves creating a playlist, grouping videos, naming them, and setting up submenus if necessary. By arranging the videos in a logical and cohesive manner, you enhance the overall user experience.
The DVD menu plays a crucial role in facilitating easy navigation through the music videos. We provided guidance on selecting a suitable template, adding menu buttons, designing the background and transitions, customizing text and fonts, and previewing and fine-tuning the menu before finalizing it.
Once the DVD menu is completed, we moved on to burning the DVD. This step requires using DVD burning software to encode the music videos onto the blank DVD. By following the software’s instructions, you can create a functional and high-quality music video DVD.
Testing the DVD in a car’s DVD player is an important final step to ensure compatibility and functionality. By inserting the DVD, playing the videos, checking the quality of the visuals and audio, navigating the menu, and testing under different driving conditions, you can ensure a smooth playback experience.
In conclusion, creating music video DVDs for your car allows you to enjoy your favorite videos in a convenient and personalized format. It’s a wonderful way to showcase your favorite artists, themes, or genres while on the go. Follow the steps outlined in this guide, and you’ll be well on your way to creating your own collection of music video DVDs to enhance your driving experience.
Now, start gathering your materials, selecting your music videos, and let your creativity shine as you embark on the journey of making music video DVDs for your car!