Home>Production & Technology>Sound Bar>Samsung Sound Bar How To Connect Subwoofer
Sound Bar
Samsung Sound Bar How To Connect Subwoofer
Modified: January 22, 2024
Learn how to connect a subwoofer to your Samsung sound bar and take your audio experience to the next level. Enhance the bass and enjoy immersive sound with ease.
(Many of the links in this article redirect to a specific reviewed product. Your purchase of these products through affiliate links helps to generate commission for AudioLover.com, at no extra cost. Learn more)
Table of Contents
Introduction
Welcome to the world of sound bars, where you can elevate your home entertainment experience to new heights. If you’re looking to enhance the audio quality of your television, a sound bar is the perfect solution. And if you want to take it even further, adding a subwoofer to your sound bar setup will give you that deep bass that will make you feel every explosion and rumble.
In this article, we will guide you through the process of connecting a Samsung sound bar to a subwoofer. Samsung is known for its high-quality audio products, and their sound bars are no exception. With their sleek designs and powerful performance, Samsung sound bars offer an immersive audio experience that will transform your movie nights and gaming sessions.
Whether you’ve just unboxed your new Samsung sound bar and subwoofer or you’re having trouble getting them to work together, we’ve got you covered. We’ll walk you through each step, from connecting the sound bar to your TV to pairing the subwoofer with the sound bar.
By the end of this article, you’ll be able to enjoy a seamless and powerful audio experience that will bring your favorite content to life. So, let’s dive in!
Step 1: Unboxing the Sound Bar and Subwoofer
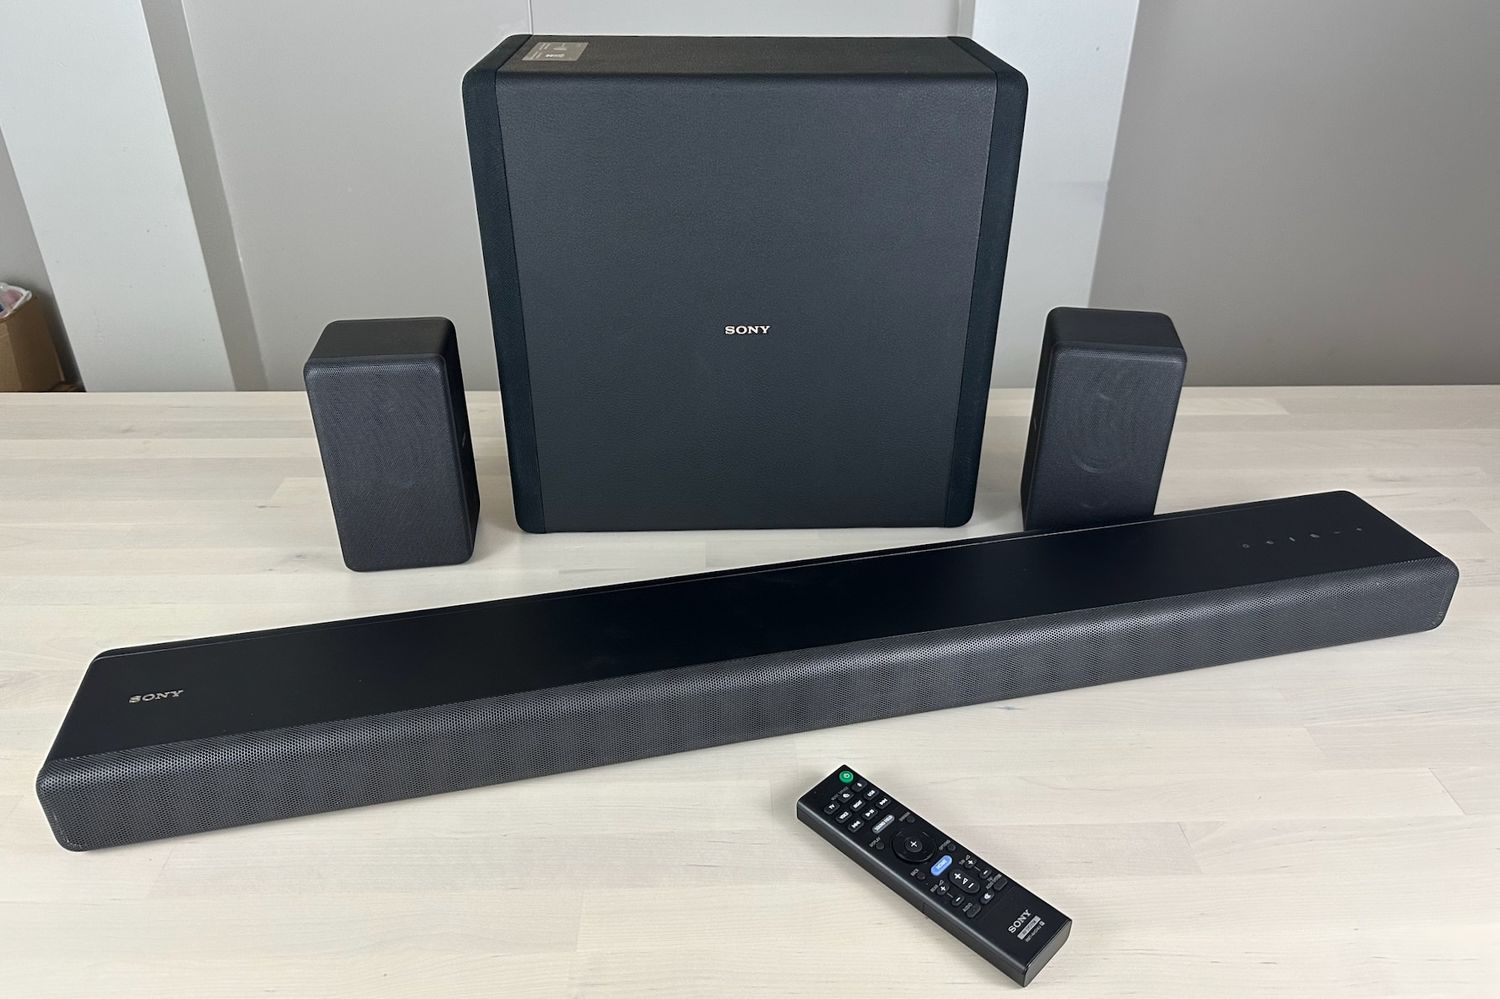
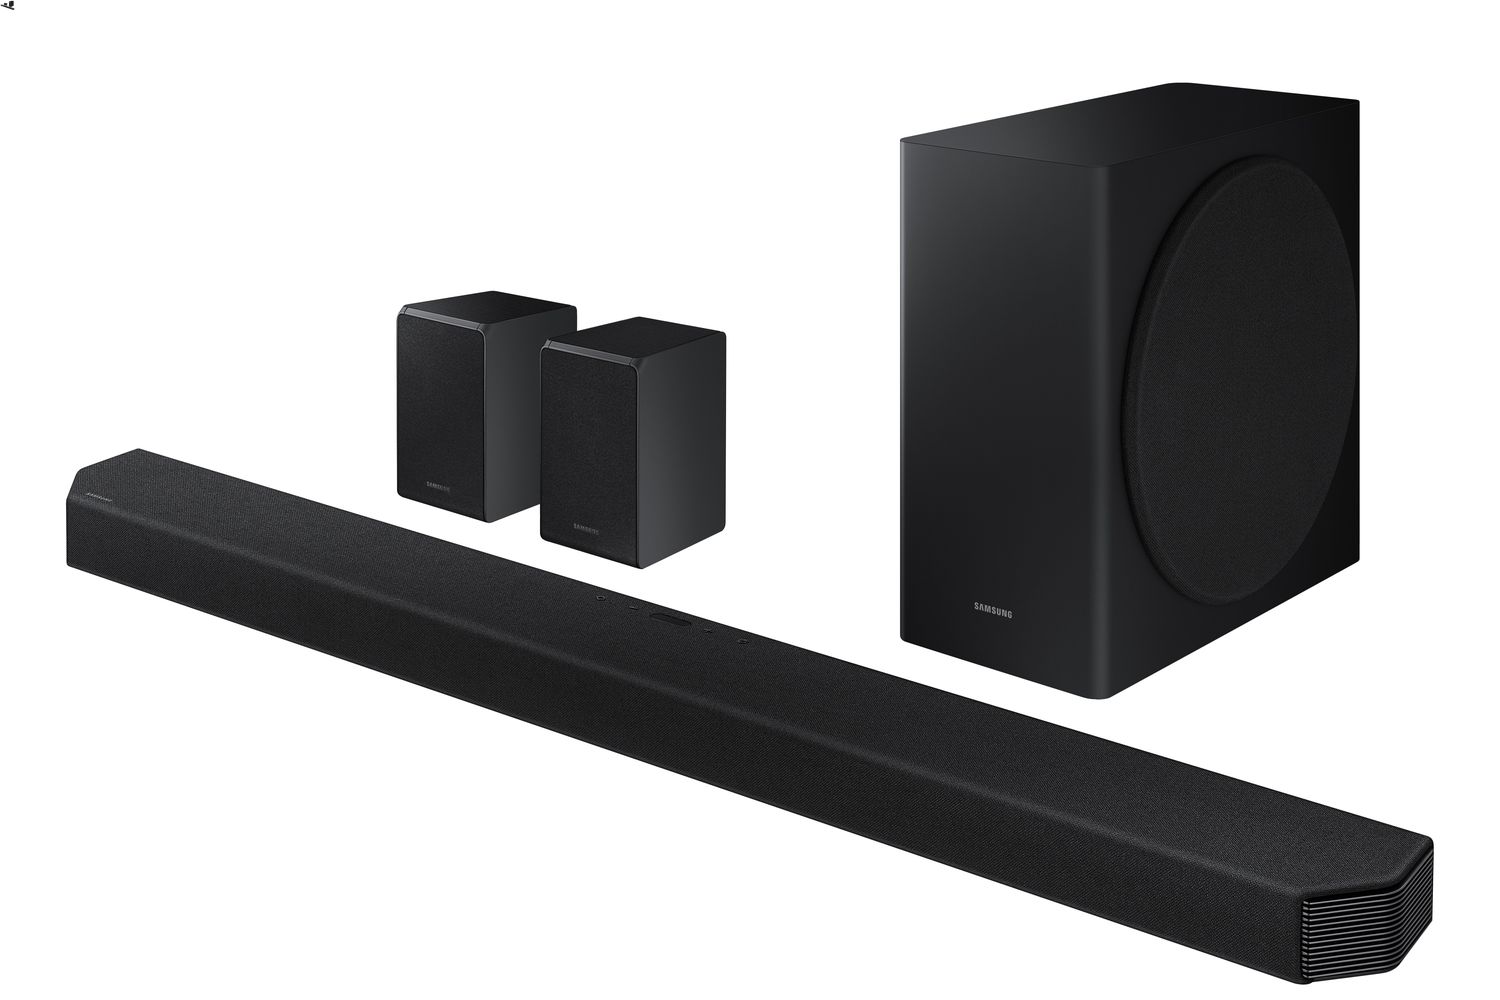
The first step in connecting your Samsung sound bar to a subwoofer is to unbox both devices. Start by finding a clean and spacious area where you can carefully unpack the sound bar and subwoofer. Make sure to keep all the packaging materials and accessories, as you may need them later.
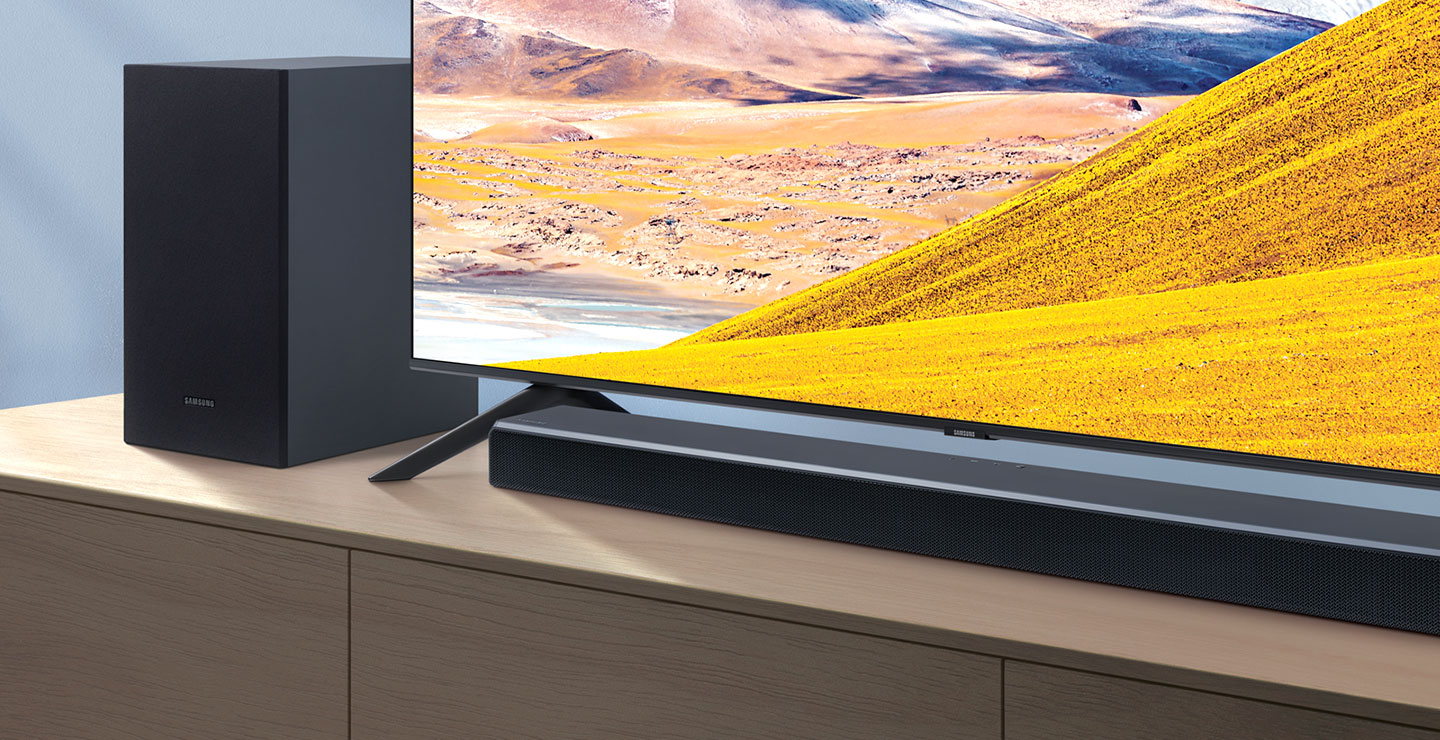
Once you’ve unboxed both devices, take a moment to familiarize yourself with the components. The sound bar is the main unit responsible for delivering clear and crisp audio. It usually comes with various connectivity options, control buttons, and indicator lights.
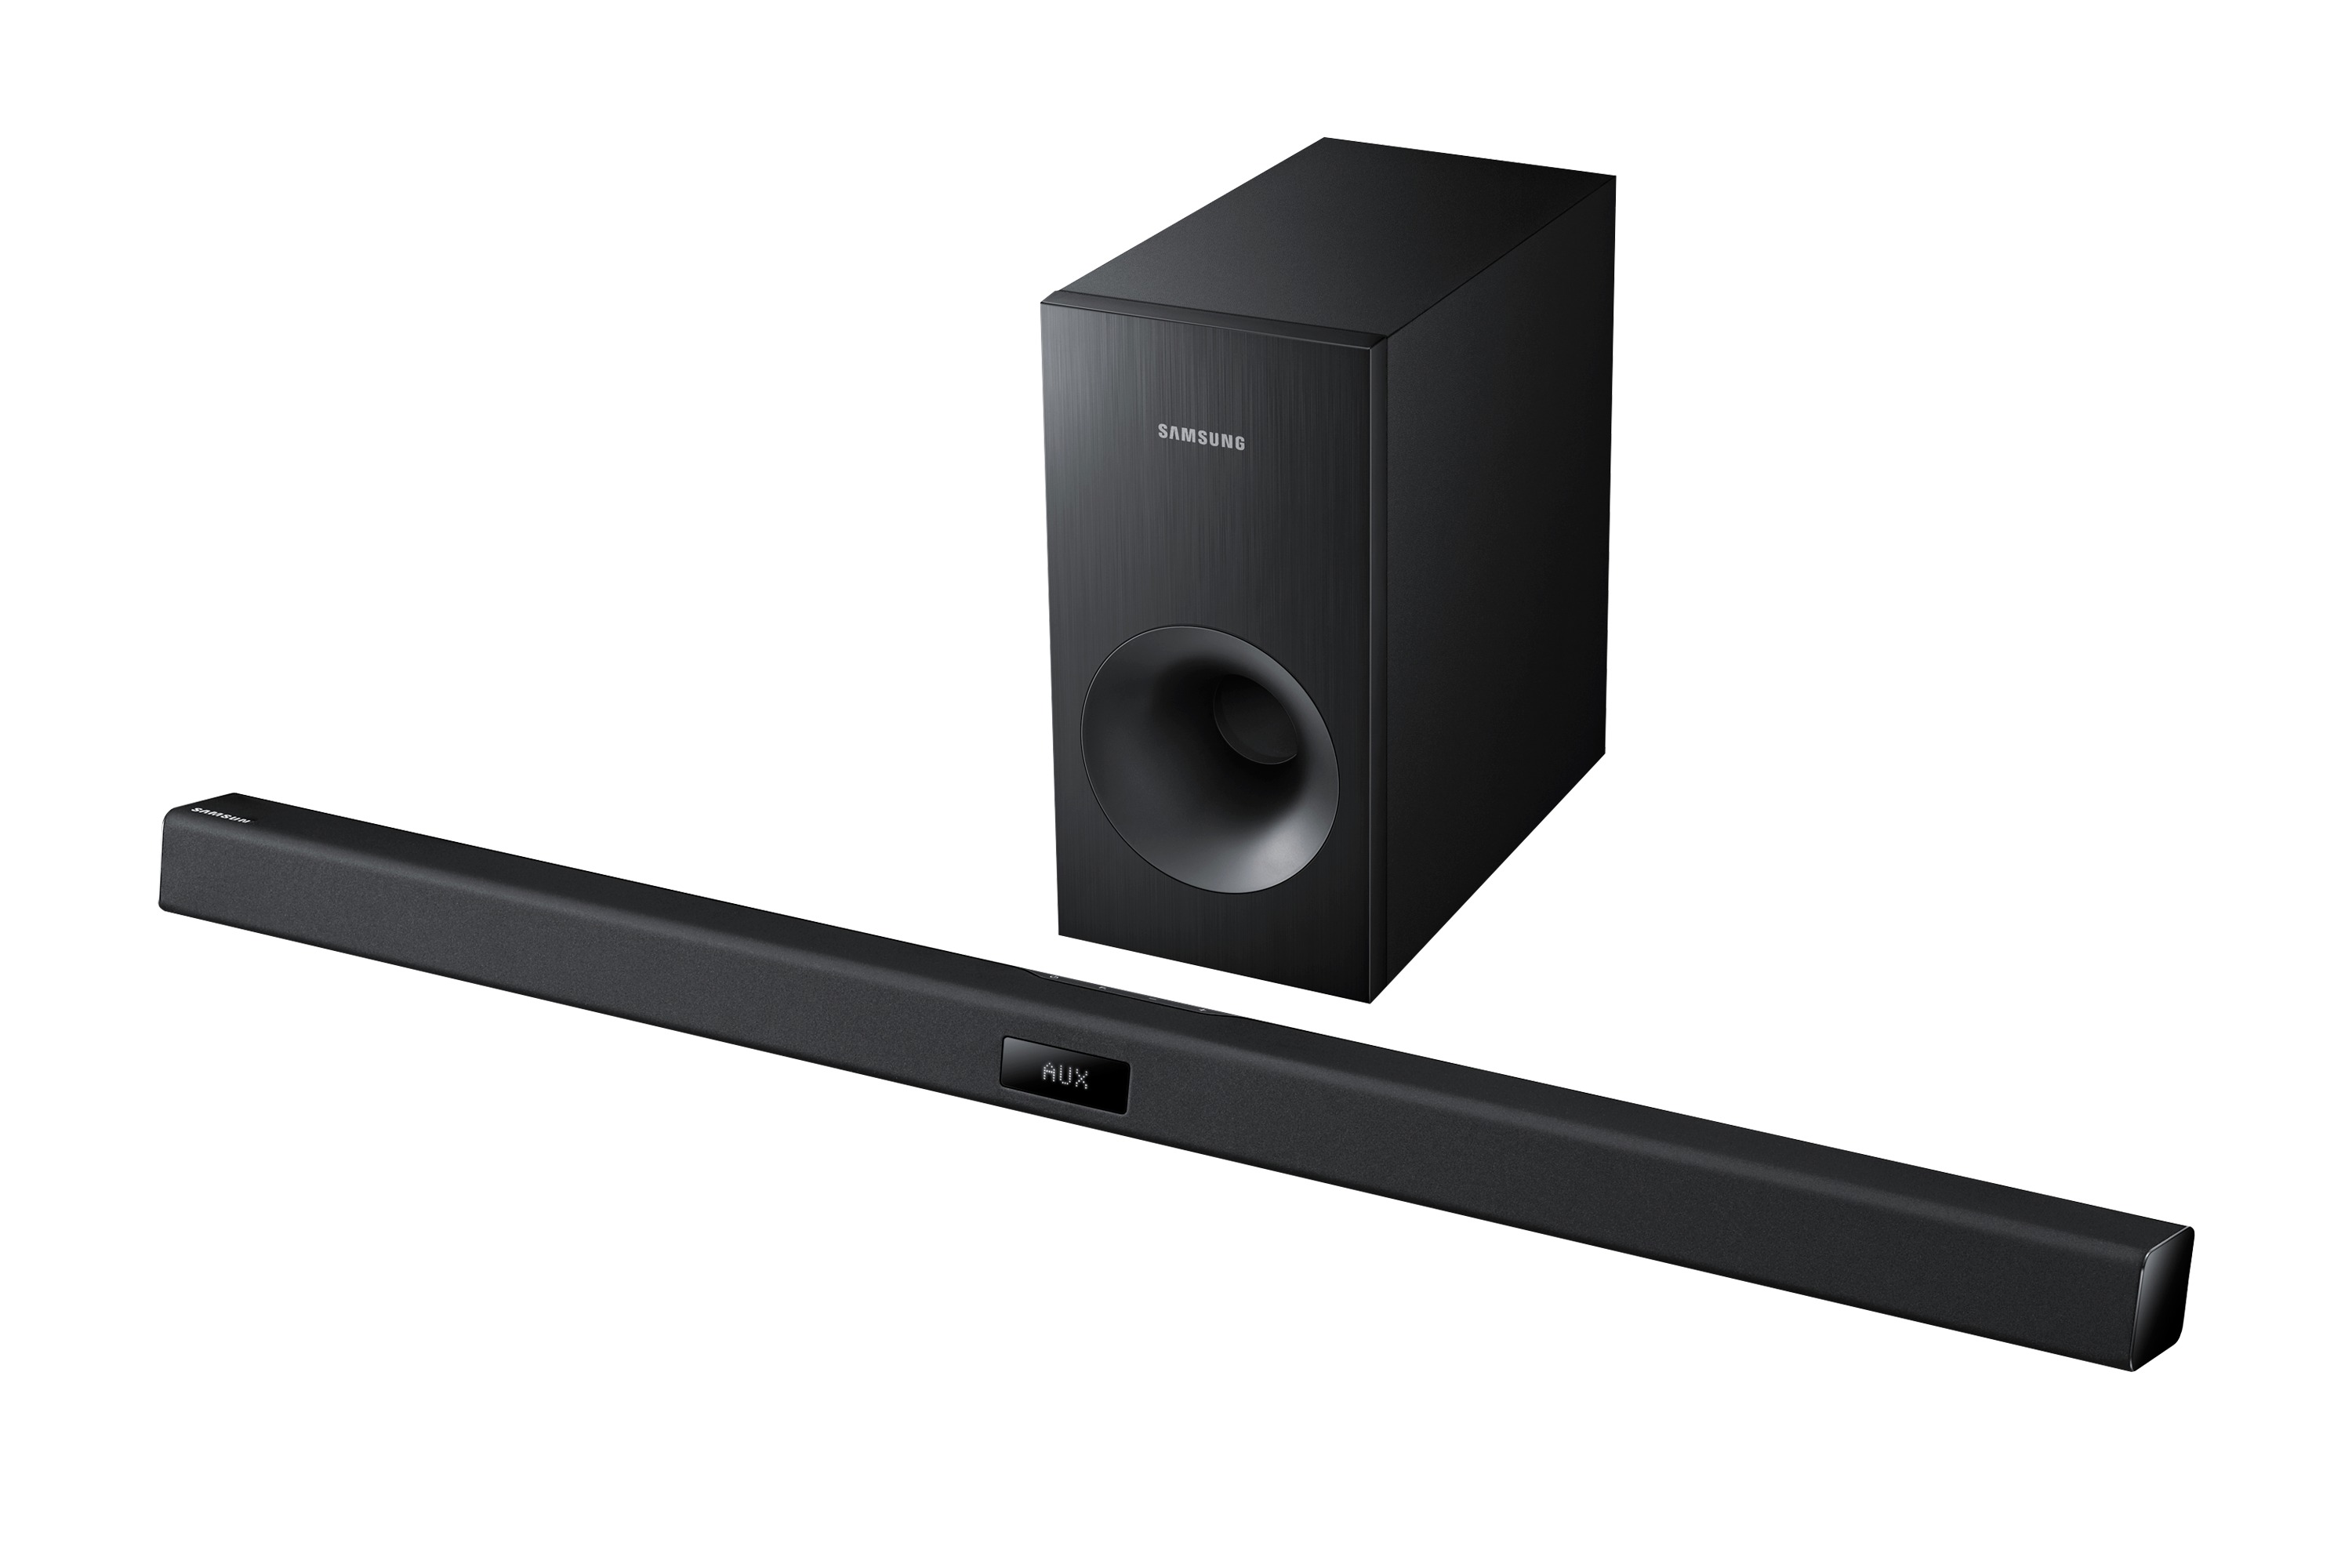
The subwoofer, on the other hand, is responsible for producing deep bass tones, adding depth and richness to your audio experience. It typically has its own power cord and a button to initiate the pairing process.
Before moving on to the next step, ensure that both devices are in good condition and free from any defects. Check for any visible damage or loose connections. If you notice any issues, contact customer support for assistance.
Once you’ve confirmed that everything is in order, you’re ready to move on to the next step: connecting the sound bar to your TV.
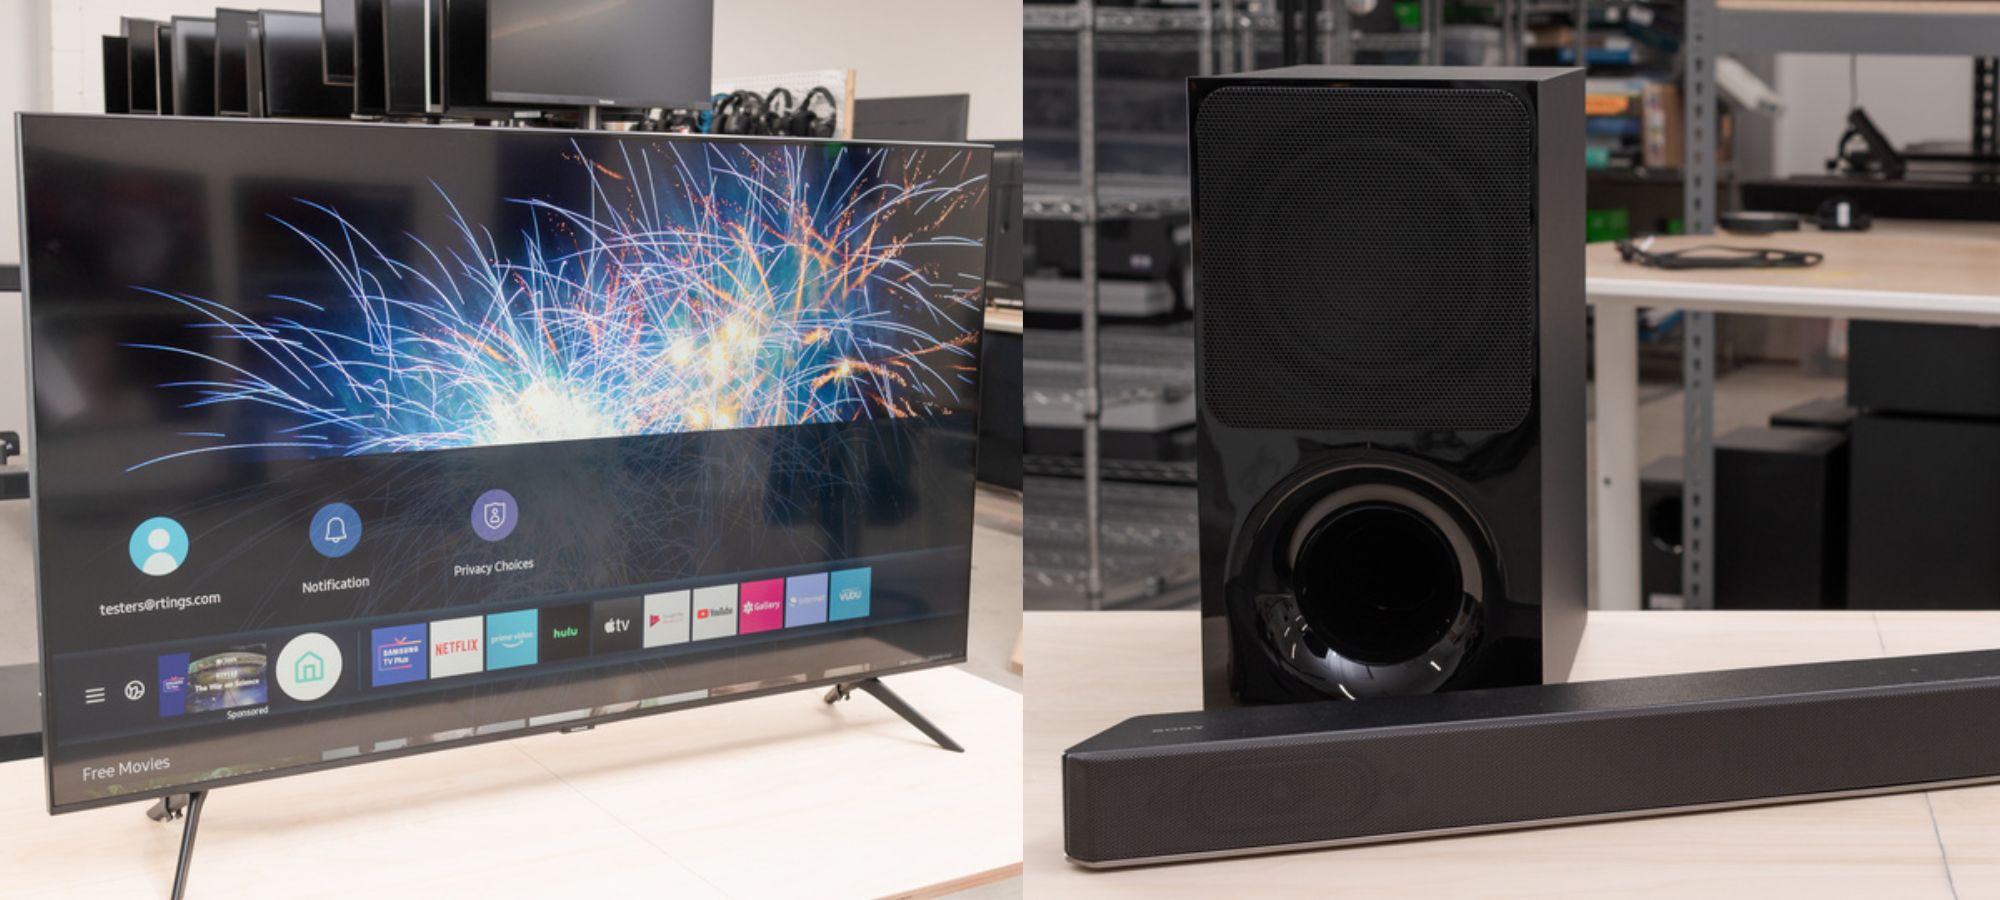
Step 2: Connecting the Sound Bar to the TV
Now that you have unboxed your Samsung sound bar and subwoofer, it’s time to connect the sound bar to your TV. This step is crucial for ensuring that the audio from your TV is routed through the sound bar, providing you with a superior audio experience.
Option 1: HDMI ARC (Audio Return Channel)
If your TV supports HDMI ARC, this is the preferred method of connection. HDMI ARC allows for both audio and video signals to be transmitted through a single HDMI cable.
- Locate the HDMI ARC port on both your TV and the sound bar. It is usually labeled as “ARC” on both devices.
- Use an HDMI cable to connect the HDMI ARC port on the sound bar to the HDMI ARC port on your TV. Make sure to insert the cable firmly to establish a secure connection.
- Turn on both the TV and the sound bar. Your TV should automatically detect the sound bar, and the audio output will be routed through the sound bar.
Option 2: Optical Cable Connection
If your TV does not support HDMI ARC, you can use an optical cable to connect the sound bar to your TV.
- Locate the optical audio output port on your TV. It is typically labeled as “Optical Out” or “Digital Out”.
- Connect one end of the optical cable to the optical audio output port on the TV.
- Connect the other end of the optical cable to the optical input port on the sound bar. Ensure that the cable is inserted securely.
- Turn on both the TV and the sound bar. Go to the audio settings on your TV and select the optical audio output as the audio source.
Option 3: HDMI or Digital Audio Connection
In some cases, you may have the option to connect the sound bar to your TV using a traditional HDMI or digital audio cable.
- Locate the HDMI or digital audio output port on your TV.
- Connect one end of the HDMI or digital audio cable to the corresponding output port on the TV.
- Connect the other end of the cable to the corresponding input port on the sound bar.
- Turn on both the TV and the sound bar. Go to the audio settings on your TV and select the connected audio output as the audio source.
Once you have successfully connected the sound bar to your TV, you can proceed to the next step: connecting the subwoofer.
Step 3: Connecting the Subwoofer to the Sound Bar
Now that you have successfully connected the sound bar to your TV, it’s time to connect the subwoofer to the sound bar. The subwoofer is responsible for adding depth and powerful bass to your audio experience, giving you a truly immersive sound.
Follow these steps to connect the subwoofer to the sound bar:
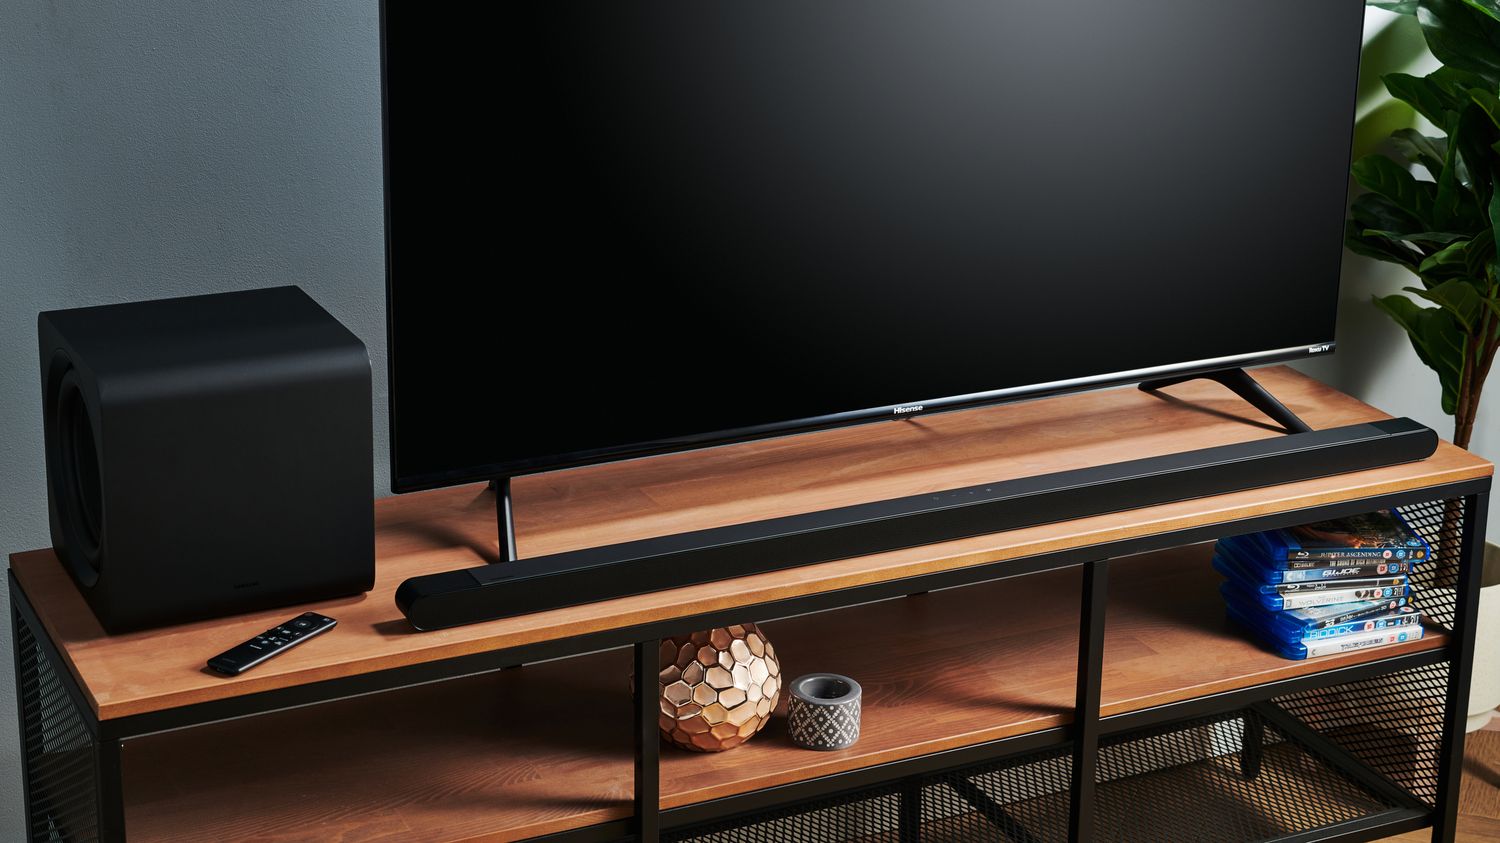
- Place the subwoofer in an appropriate location within your viewing area. Make sure it is within range of the sound bar.
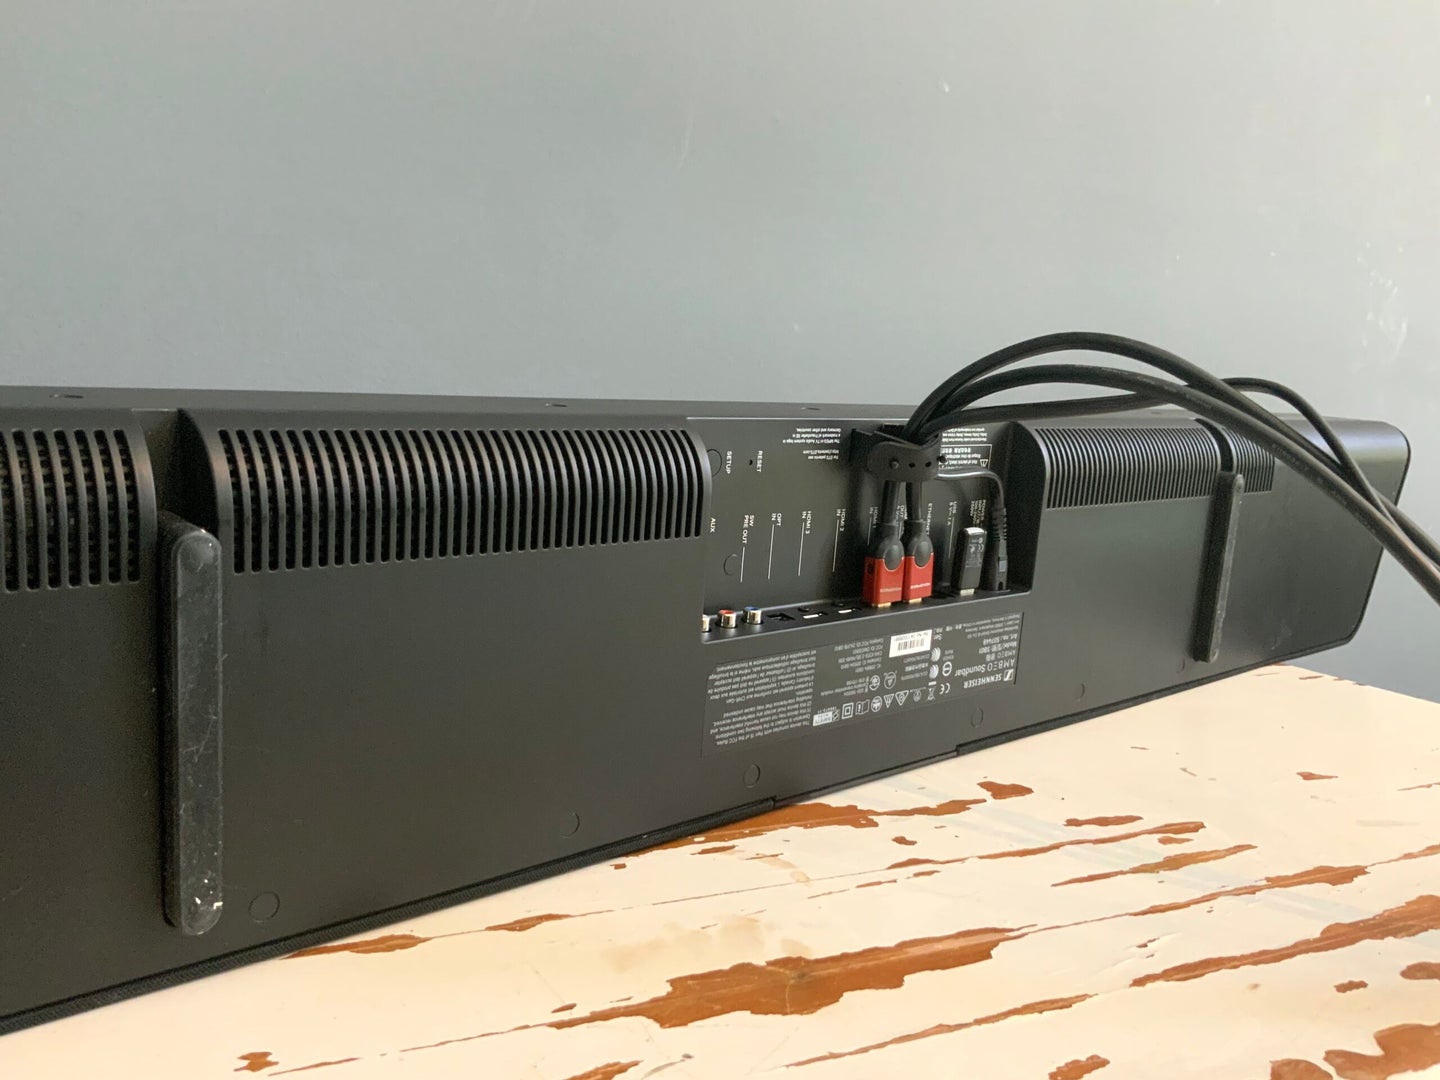
- Check the back of the sound bar for a designated subwoofer output port. It is usually labeled as “Subwoofer Out” or “Sub Out”.
- Using the provided cable, connect one end to the subwoofer output port on the sound bar.
- Connect the other end of the cable to the subwoofer’s input port. It is typically labeled as “Sub In” or “Input”.
- Ensure that the cable is securely connected to both the sound bar and the subwoofer to avoid any audio issues.
Once the connection is established, you may need to power on the subwoofer if it has a separate power button. Refer to the user manual for specific instructions on how to turn on the subwoofer.
Now that the subwoofer is connected to the sound bar, you can move on to the next step: pairing the subwoofer with the sound bar.
Step 4: Pairing the Subwoofer with the Sound Bar
After connecting the subwoofer to the sound bar, the next step is to pair the subwoofer with the sound bar. This process ensures that the sound bar recognizes and synchronizes with the subwoofer, enabling them to work together seamlessly.
To pair the subwoofer with the sound bar, follow these steps:
- Ensure that both the sound bar and the subwoofer are powered on.
- Locate the pairing button on the subwoofer. It is usually labeled as “Pairing” or has an icon of two arrows forming a circle.
- Press and hold the pairing button on the subwoofer for a few seconds until the pairing indicator starts blinking. This puts the subwoofer in pairing mode.
- On the sound bar, locate the pairing button or the Bluetooth button. Press and hold the button until the indicator light starts blinking, indicating that the sound bar is searching for a subwoofer to pair with.
- Wait for the sound bar and subwoofer to establish a connection. This may take a few moments. Once connected, the pairing indicator on both devices should stop blinking and stay solid.
Once the pairing process is complete, the subwoofer is now successfully paired with the sound bar. The subwoofer will now receive audio signals from the sound bar and produce the low-frequency sounds, enhancing your overall audio experience.
If you’re having trouble pairing the subwoofer with the sound bar, make sure that both devices are within range of each other and that there are no obstacles blocking the signal. Consult the user manual for specific troubleshooting tips if needed.
With the subwoofer successfully paired, you can move on to the next step: adjusting the subwoofer settings to fine-tune your audio experience.
Step 5: Adjusting the Subwoofer Settings
Now that the subwoofer is paired with the sound bar, it’s time to fine-tune the subwoofer settings to optimize your audio experience. Adjusting the subwoofer settings allows you to control the bass levels and ensure that the low-frequency sounds blend harmoniously with the rest of your audio.
Here are some tips for adjusting the subwoofer settings:
- Refer to the user manual or the on-screen menu of your sound bar to access the subwoofer settings. Each sound bar model may have a different menu layout, but the subwoofer settings are typically found under the “Audio” or “Sound” menu.
- Look for options to adjust the subwoofer volume or level. This setting allows you to increase or decrease the intensity of the subwoofer bass. Experiment with different levels to find the balance that suits your preferences.
- Some sound bars also offer preset EQ modes or sound profiles that enhance specific types of content, such as movies, music, or gaming. Explore these options to find a setting that enhances your audio experience.
- Consider the size and layout of your room. Larger rooms may require higher subwoofer levels to fill the space with rich bass, while smaller rooms may benefit from lower levels to prevent overpowering the audio.
- Take note of any room acoustics. If you have a carpeted room or heavily furnished space, the bass may sound more pronounced. Adjust the subwoofer levels accordingly to maintain a balanced sound.
Remember, personal preference plays a vital role when adjusting the subwoofer settings. It’s all about finding the right balance that suits your audio taste and the specific content you’re enjoying.
Once you have fine-tuned the subwoofer settings, you’re ready to immerse yourself in a captivating audio experience. Whether you’re watching an action-packed movie or grooving to your favorite music, the optimized subwoofer settings will enhance the overall impact and depth of the sound.
Now that you have successfully adjusted the subwoofer settings, let’s move on to the final step: troubleshooting tips to overcome any potential issues that may arise in your sound bar and subwoofer setup.
Step 6: Troubleshooting Tips
While setting up your Samsung sound bar and subwoofer, you might encounter some issues that could affect the overall sound quality or connectivity. Don’t worry – here are some troubleshooting tips to help you overcome common problems:
- No Sound: If you’re not hearing any sound from the sound bar or subwoofer, check the audio input settings on your TV and make sure it is set to the correct audio source (HDMI ARC, optical, or HDMI). Also, ensure that the volume levels on both the sound bar and TV are turned up.
- Poor Bass: If the bass doesn’t sound as powerful as expected, try adjusting the subwoofer settings on the sound bar. Increase the subwoofer level to enhance the bass. Additionally, ensure that the subwoofer is placed in an optimal location for better bass response.
- Bluetooth Connectivity Issues: If you’re experiencing difficulties connecting the sound bar or subwoofer via Bluetooth, make sure both devices are within range and that there are no obstacles blocking the signal. Try turning off and on Bluetooth on both devices, then attempt to pair them again.
- Audio Sync Issues: If you notice a delay between the audio and video when using the sound bar, go into the sound settings of your TV and adjust the audio delay or lip-sync settings. This will synchronize the audio with the video playback.
- No Power: If the sound bar or subwoofer is not powering on, ensure that all power cords are connected securely to both the devices and the power outlet. If there is still no power, try using a different power outlet or contact Samsung customer support for assistance.
If you’re still experiencing issues that cannot be resolved with the troubleshooting tips mentioned above, consult the user manual that came with your Samsung sound bar and subwoofer. The manual should provide you with more specific troubleshooting steps to address any unique problems.
Remember, it’s always a good idea to reach out to the manufacturer’s customer support if you need further assistance. They have dedicated teams that can provide personalized troubleshooting guidance based on your specific setup and model.
By following these troubleshooting tips, you’ll be well-equipped to overcome any potential challenges and enjoy a seamless audio experience with your Samsung sound bar and subwoofer.
Now that you have the troubleshooting knowledge, you’re ready to sit back, relax, and enjoy the immersive audio experience provided by your connected Samsung sound bar and subwoofer setup.
Conclusion
Congratulations on successfully connecting your Samsung sound bar to a subwoofer! By following the steps outlined in this article, you have significantly enhanced your home entertainment experience, immersing yourself in high-quality audio and powerful bass.
We started by unboxing the sound bar and subwoofer, ensuring that everything was in good condition. Then, we moved on to connecting the sound bar to your TV, utilizing options like HDMI ARC, optical cable, or traditional HDMI/digital audio connections.
Once the sound bar was successfully connected, we proceeded to connect the subwoofer, which adds depth and richness to your audio by producing powerful bass tones. We then paired the subwoofer with the sound bar, enabling them to work together seamlessly.
After that, we explored the subwoofer settings, allowing you to fine-tune the bass levels to suit your preferences and optimize the audio experience. We provided troubleshooting tips for common issues that may arise and offered solutions to overcome them.
Remember, personal preference plays a significant role in adjusting the settings and finding the perfect balance between bass and the rest of the audio. Feel free to experiment and find the optimal settings that suit your preferences and the content you’re enjoying.
Now that you have successfully set up your Samsung sound bar and subwoofer and addressed any potential issues, it’s time to sit back, relax, and immerse yourself in a captivating audio experience. Whether you’re watching movies, playing games, or listening to music, the enhanced audio quality and powerful bass will truly elevate your entertainment.
If you have any further questions or need additional assistance, don’t hesitate to consult the user manual or reach out to Samsung customer support. They will be more than happy to assist you further and ensure that you have a delightful audio experience with your Samsung sound bar and subwoofer.
Enjoy your new audio setup and get ready to be blown away by the immersive sound experience provided by your Samsung sound bar and subwoofer!