Home>Devices & Equipment>Yamaha>How To Connect A Yamaha Sound Bar
Yamaha
How To Connect A Yamaha Sound Bar
Published: February 6, 2024
Learn how to connect a Yamaha sound bar to your audio setup easily and enhance your audio experience with the best sound quality.
(Many of the links in this article redirect to a specific reviewed product. Your purchase of these products through affiliate links helps to generate commission for AudioLover.com, at no extra cost. Learn more)
Table of Contents
Introduction
Welcome to the world of Yamaha sound bars! If you’re looking to upgrade your TV’s audio quality and create a more immersive entertainment experience, connecting a Yamaha sound bar is a great choice. With their sleek design and powerful sound technology, Yamaha sound bars are a popular choice for home theater enthusiasts.
In this article, we will guide you through the process of connecting a Yamaha sound bar to your TV. Whether you’re a tech-savvy individual or a beginner, our step-by-step instructions will ensure a seamless setup process. By the end of this article, you’ll be enjoying enhanced audio quality and a cinema-like experience in the comfort of your own home.
Before we dive into the details, let’s quickly go over the benefits of using a Yamaha sound bar. First and foremost, sound bars are an excellent alternative to traditional home theater systems. They offer a compact and space-saving solution without compromising on audio quality. Yamaha sound bars are known for delivering rich, immersive sound, creating a more dynamic and lifelike experience while watching movies, TV shows, or playing video games.
Additionally, Yamaha sound bars are designed with user convenience in mind. Most models come with wireless connectivity options, allowing you to stream music from your smartphone or other devices effortlessly. Some sound bars also support advanced audio technologies such as Dolby Atmos and DTS:X, which further enhance the audio experience by providing multidimensional sound.
Now that you understand the advantages of Yamaha sound bars, let’s move on to the step-by-step process of connecting them to your TV. Rest assured, it’s a relatively straightforward process, and you don’t need any technical expertise to get started. So, let’s grab our equipment and get ready to enjoy a whole new level of audio performance!
Step 1: Gather the necessary equipment
Before you begin connecting your Yamaha sound bar to your TV, you’ll need to gather the necessary equipment. Here’s what you’ll need:
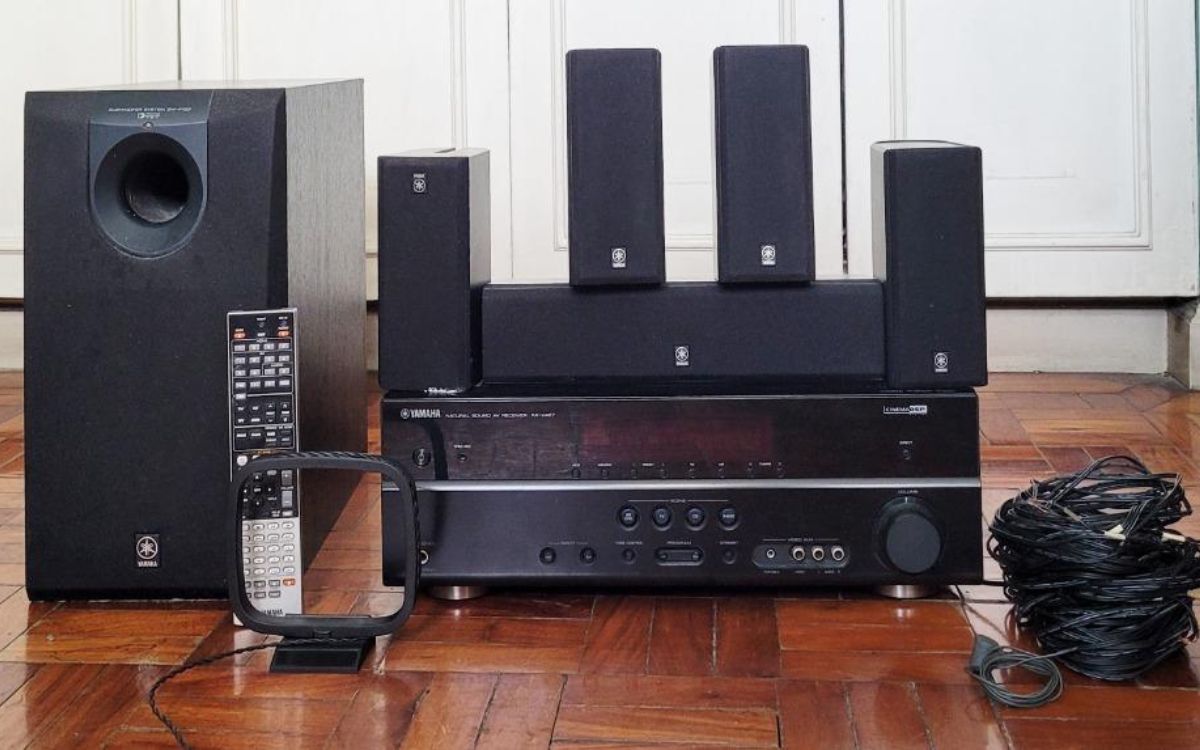
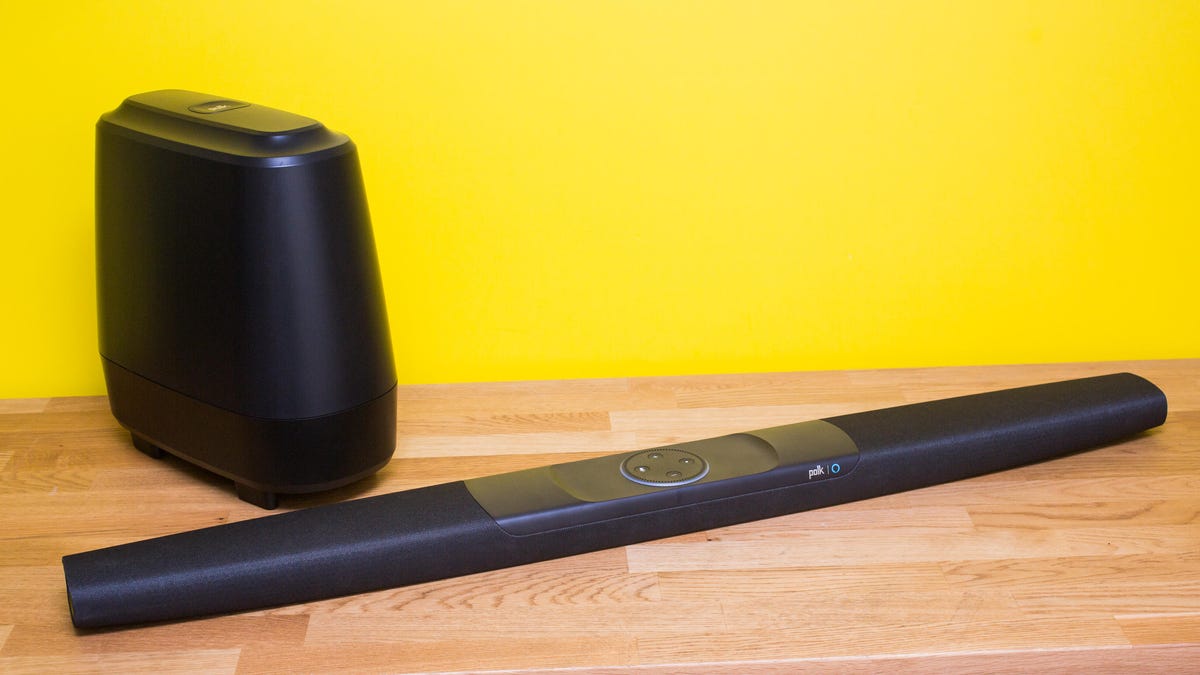
- A Yamaha sound bar: Ensure that you have a compatible Yamaha sound bar model that suits your audio preferences and fits the dimensions of your TV setup. Yamaha offers a range of sound bars with various features and power outputs, so choose the one that best meets your needs.
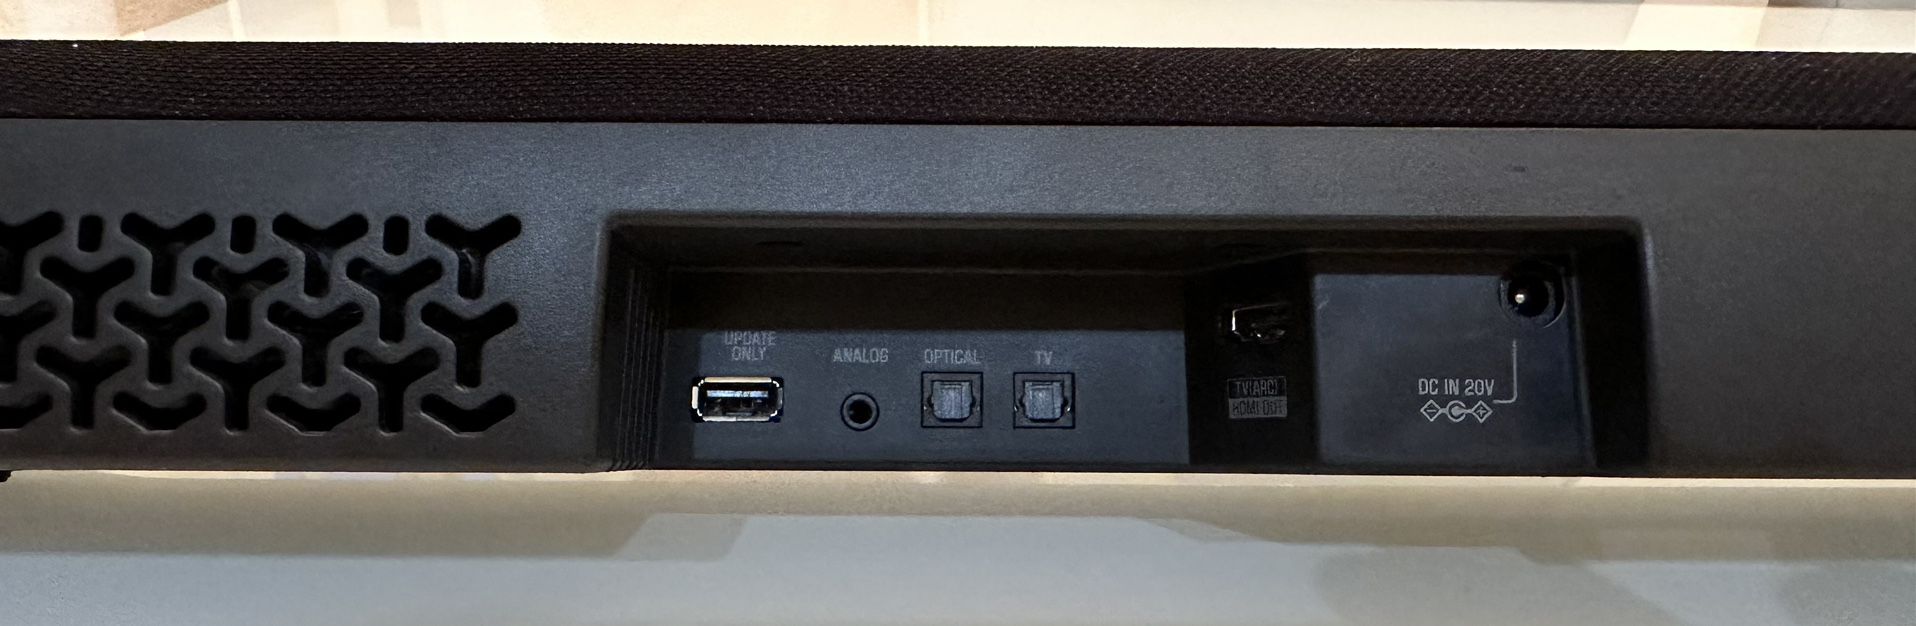
- An HDMI cable: This is the most common and convenient way to connect your sound bar to your TV. Make sure you have an HDMI cable that is long enough to reach from your TV to the sound bar.
- A power source: Your sound bar will need to be connected to a power outlet. Make sure you have an available power source near your TV setup.
- Remote control: Most Yamaha sound bars come with a remote control. Ensure that you have the remote control handy, as you will need it to navigate through the sound bar’s settings and adjust the audio levels.
- An instruction manual: While this may not be a physical equipment, it is crucial to have the instruction manual that came with your Yamaha sound bar. The manual will provide detailed instructions on how to properly set up and operate your specific model.
Once you have gathered all the necessary equipment, you’re ready to move on to the next step: identifying the audio outputs on your TV.
Step 2: Identify the audio outputs on your TV
Before connecting your Yamaha sound bar to your TV, it’s important to identify the audio outputs on your TV. This step is necessary to ensure that you connect the sound bar to the correct audio output for optimal sound quality. Here’s how to identify the audio outputs:
- Check the user manual: In most cases, the user manual of your TV will provide detailed information about the audio outputs. Look for a section that specifically mentions audio output options.
- Look for labeled ports: Examine the back or side panel of your TV for labeled ports. Common audio output options include HDMI ARC (Audio Return Channel), optical ports (sometimes labeled as SPDIF or Toslink), or RCA (red and white) audio output ports.
- Consult the manufacturer’s website: If the user manual does not provide clear information or if you cannot locate labeled ports on your TV, visit the manufacturer’s website for your TV model. They may have online resources or support documents that provide audio output details.
- Use your TV settings: Some TVs also have a built-in menu or settings option to check the available audio outputs. Navigate through the TV’s menu system and look for options related to audio output or sound settings.
Once you have identified the audio output options on your TV, make a note of the type of audio output you will be using. This information will be useful when you connect the sound bar in the next step.
With the audio outputs identified, you’re now ready to proceed to step 3, where you will connect the sound bar to your TV using an HDMI cable.
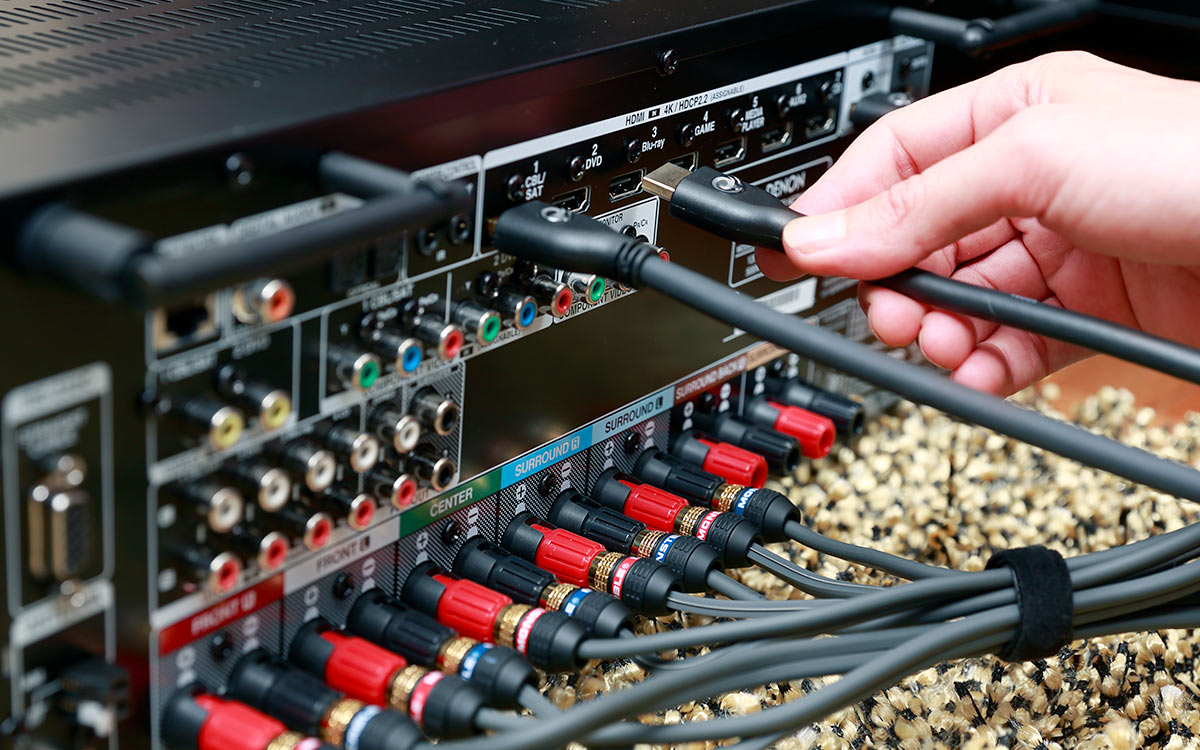
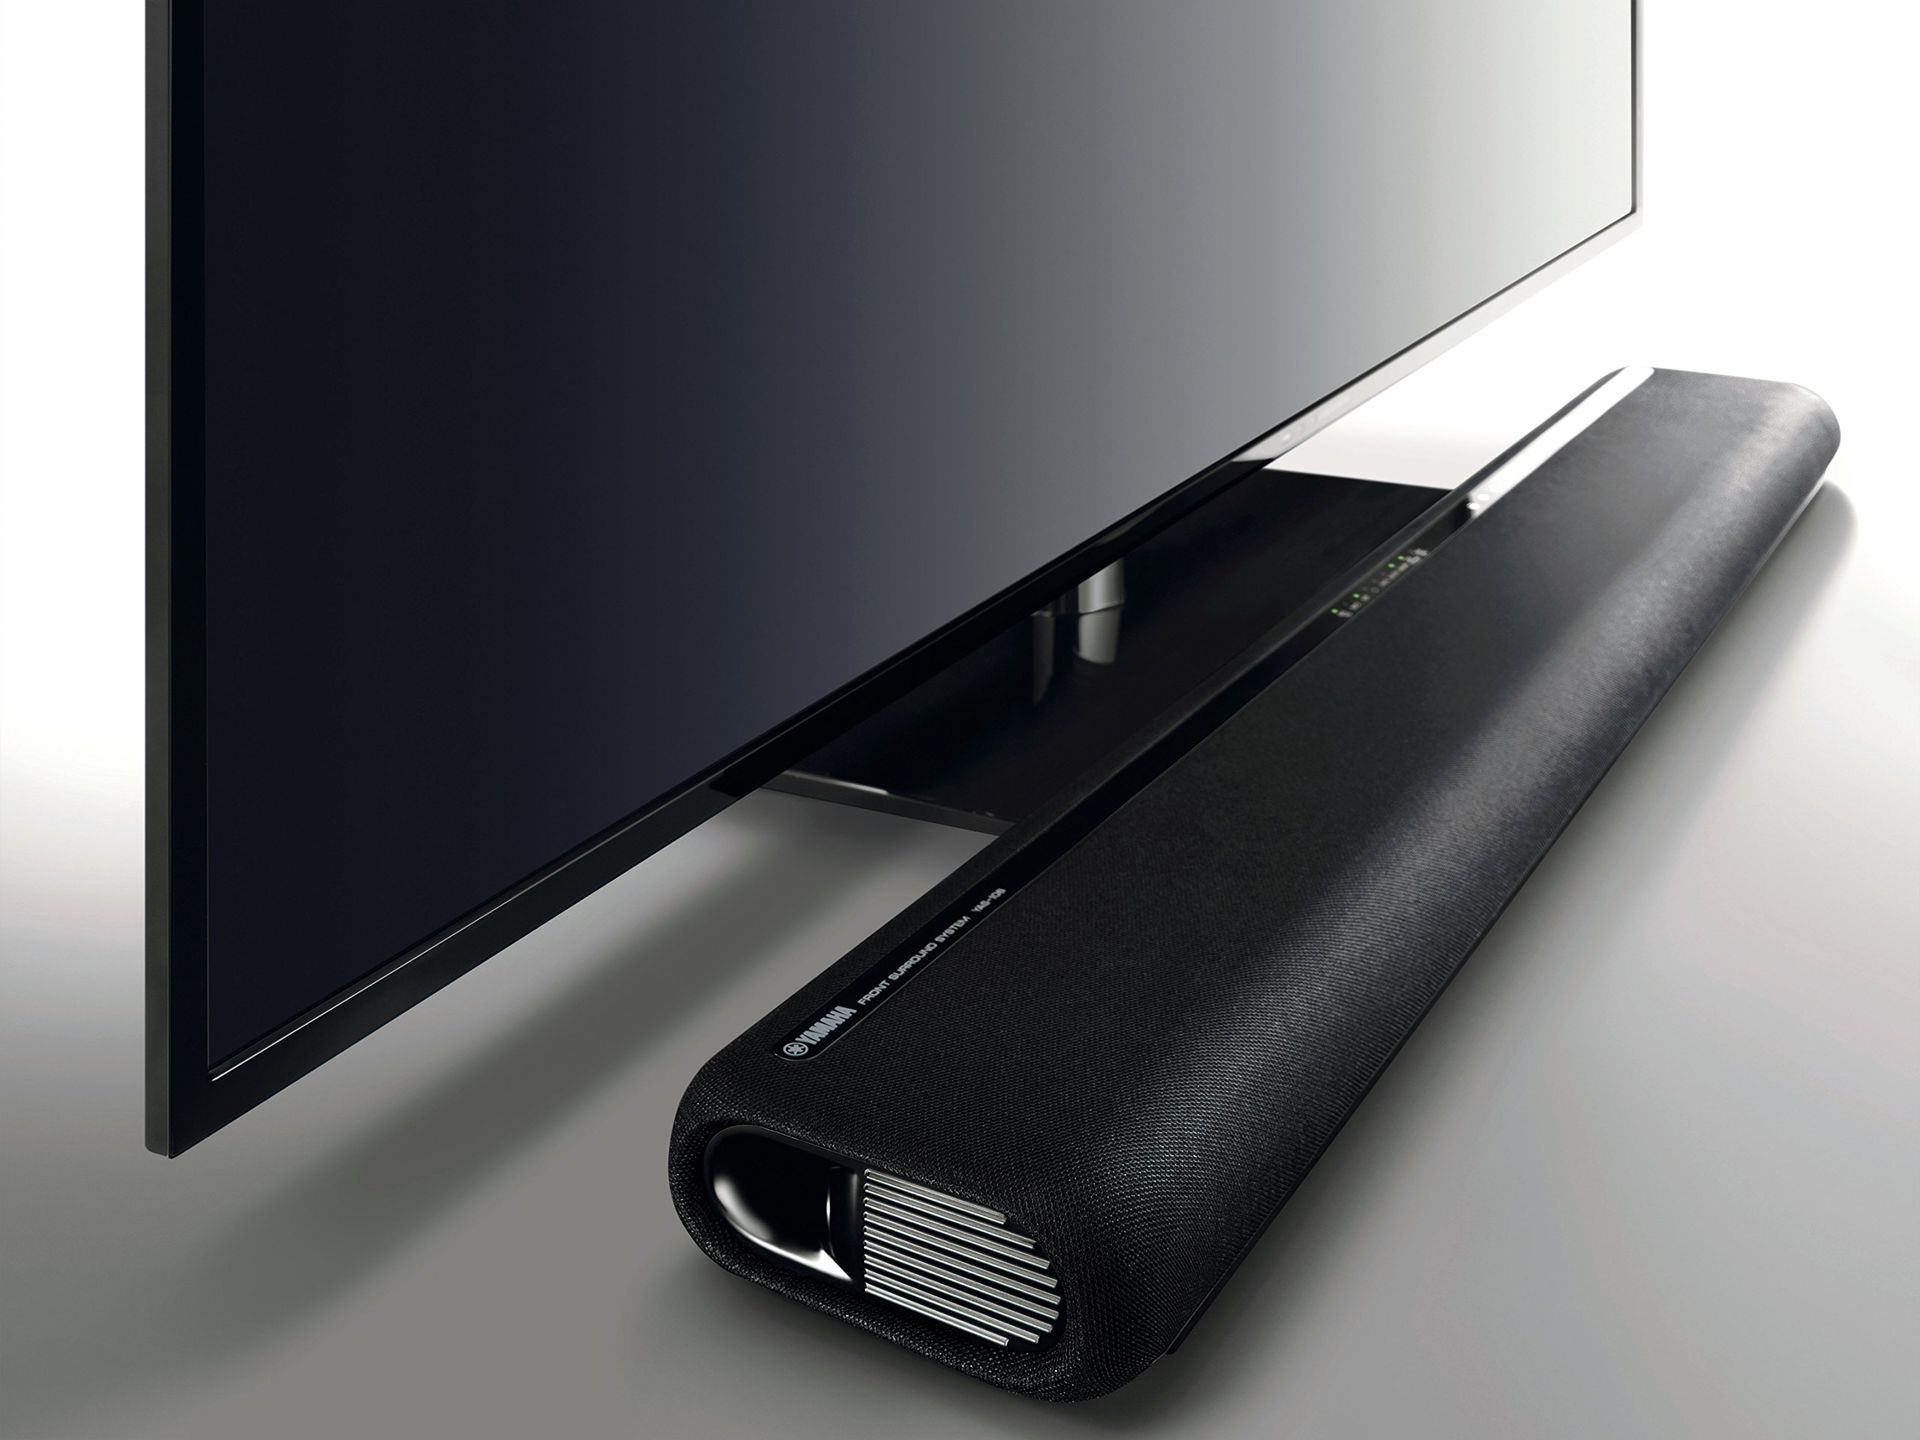
Step 3: Connect the sound bar to your TV using an HDMI cable
Now that you have identified the audio outputs on your TV, it’s time to connect your Yamaha sound bar using an HDMI cable. HDMI (High-Definition Multimedia Interface) is the preferred method for connecting audio and video devices due to its high-quality audio transmission and ease of use. Here are the steps to connect the sound bar:
- Locate the HDMI ARC port: Check the back or side panel of your TV for an HDMI ARC (Audio Return Channel) port. It is usually labeled as “ARC” or “HDMI-ARC” and is separate from other HDMI ports.
- Connect one end of the HDMI cable: Take one end of the HDMI cable and insert it into the HDMI ARC port on your TV.
- Connect the other end of the HDMI cable: Plug the other end of the HDMI cable into the HDMI ARC input on your Yamaha sound bar.
- Power on the devices: Turn on your TV and the sound bar. Make sure they are both set to the appropriate input source.
Once the HDMI cable is securely connected and the devices are powered on, your TV and sound bar should recognize each other. This allows for seamless audio transmission from your TV to the sound bar.
Note: If your TV does not have an HDMI ARC port, you can still use the HDMI connection method by connecting the HDMI cable from your sound bar to any available HDMI input on your TV. However, in this case, you will need to use an optical cable or RCA cables to establish an audio connection between the TV and sound bar.
Congratulations! You have successfully connected your Yamaha sound bar to your TV using an HDMI cable. In the next step, we will guide you through the process of setting up your sound bar for optimal performance.
Step 4: Set up the sound bar
Now that you have successfully connected your Yamaha sound bar to your TV, it’s time to set it up for optimal performance. Follow these steps to get your sound bar up and running:
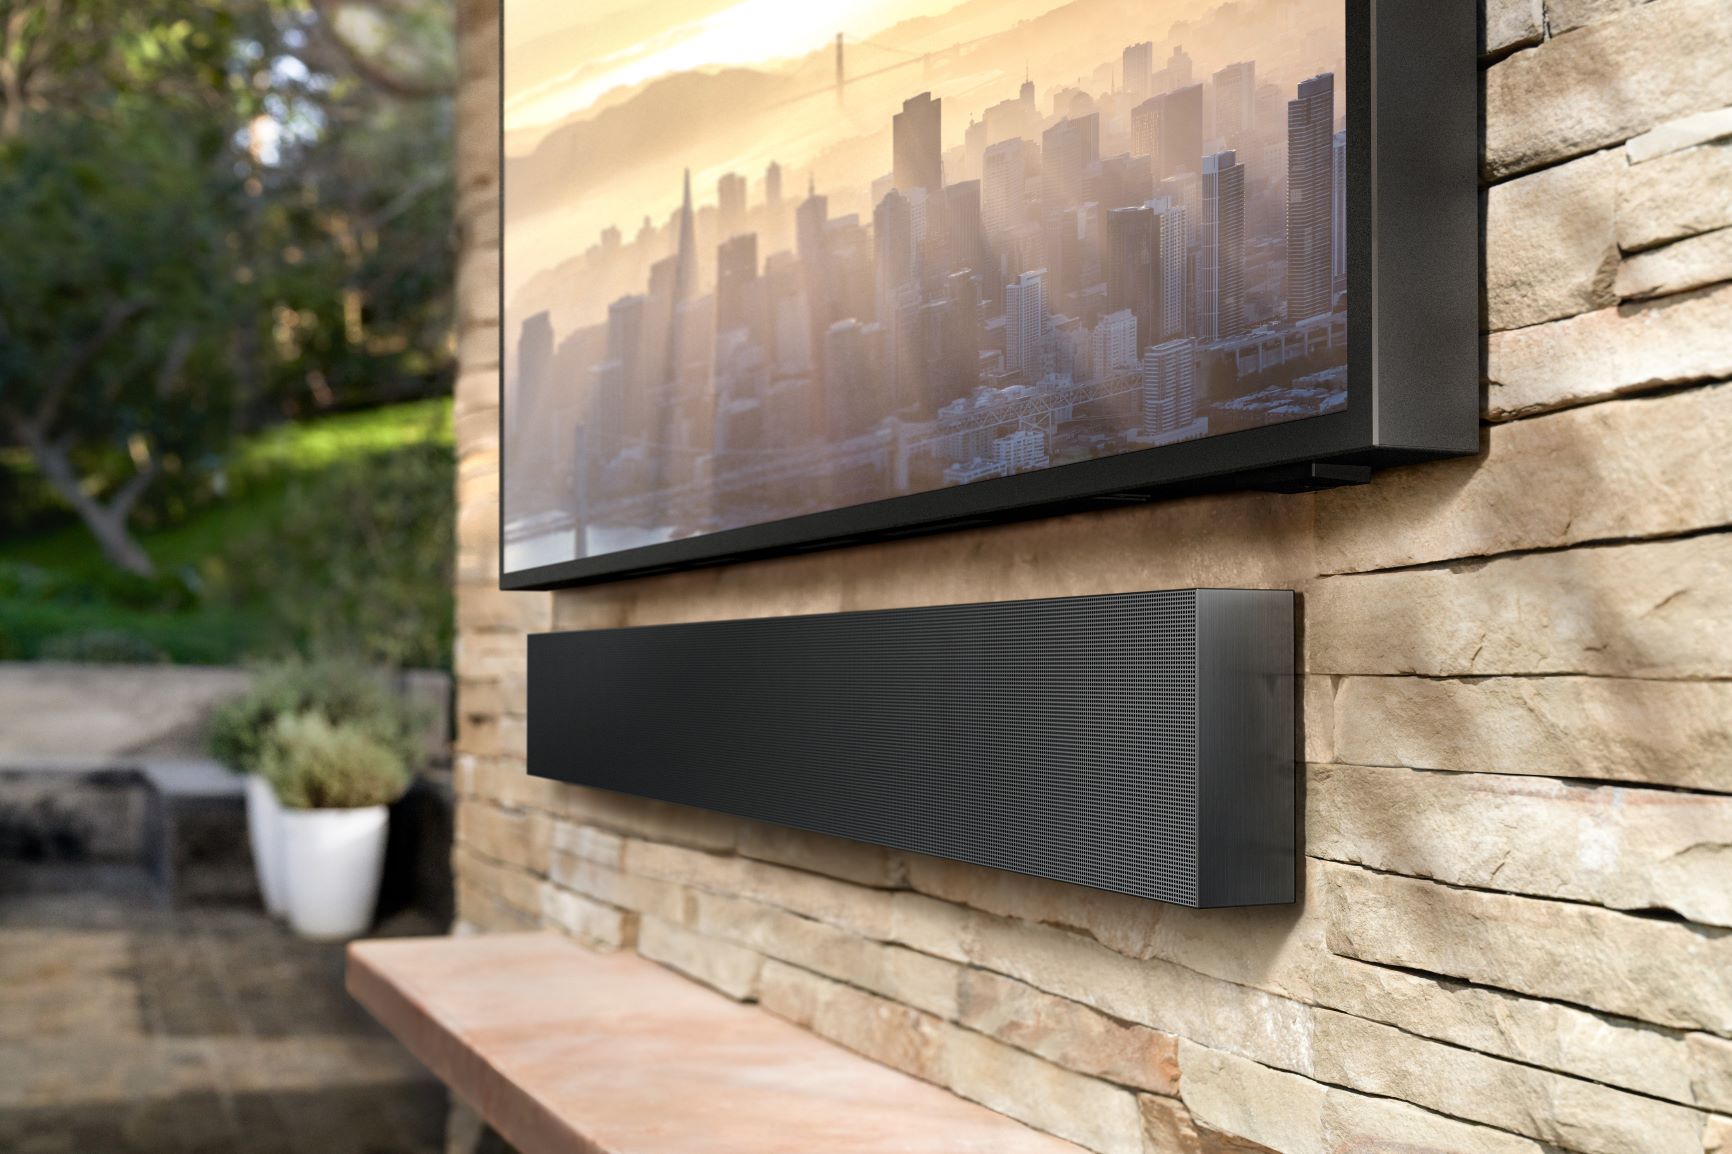
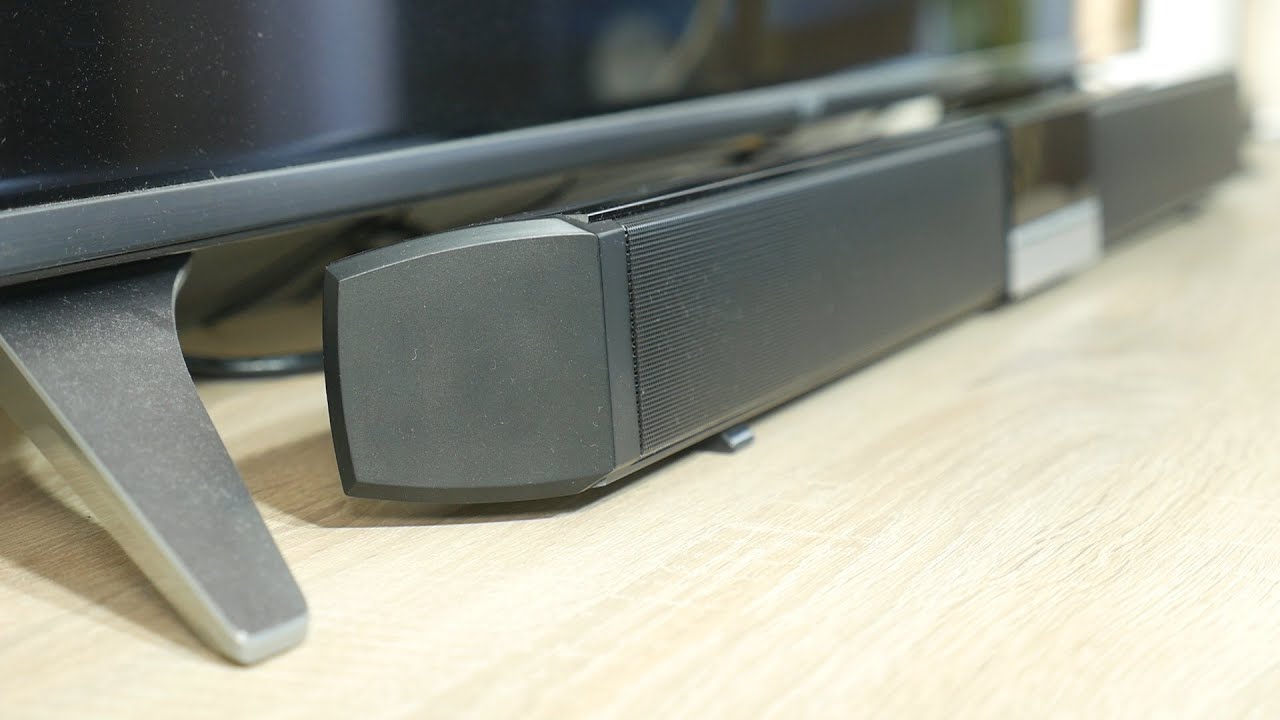
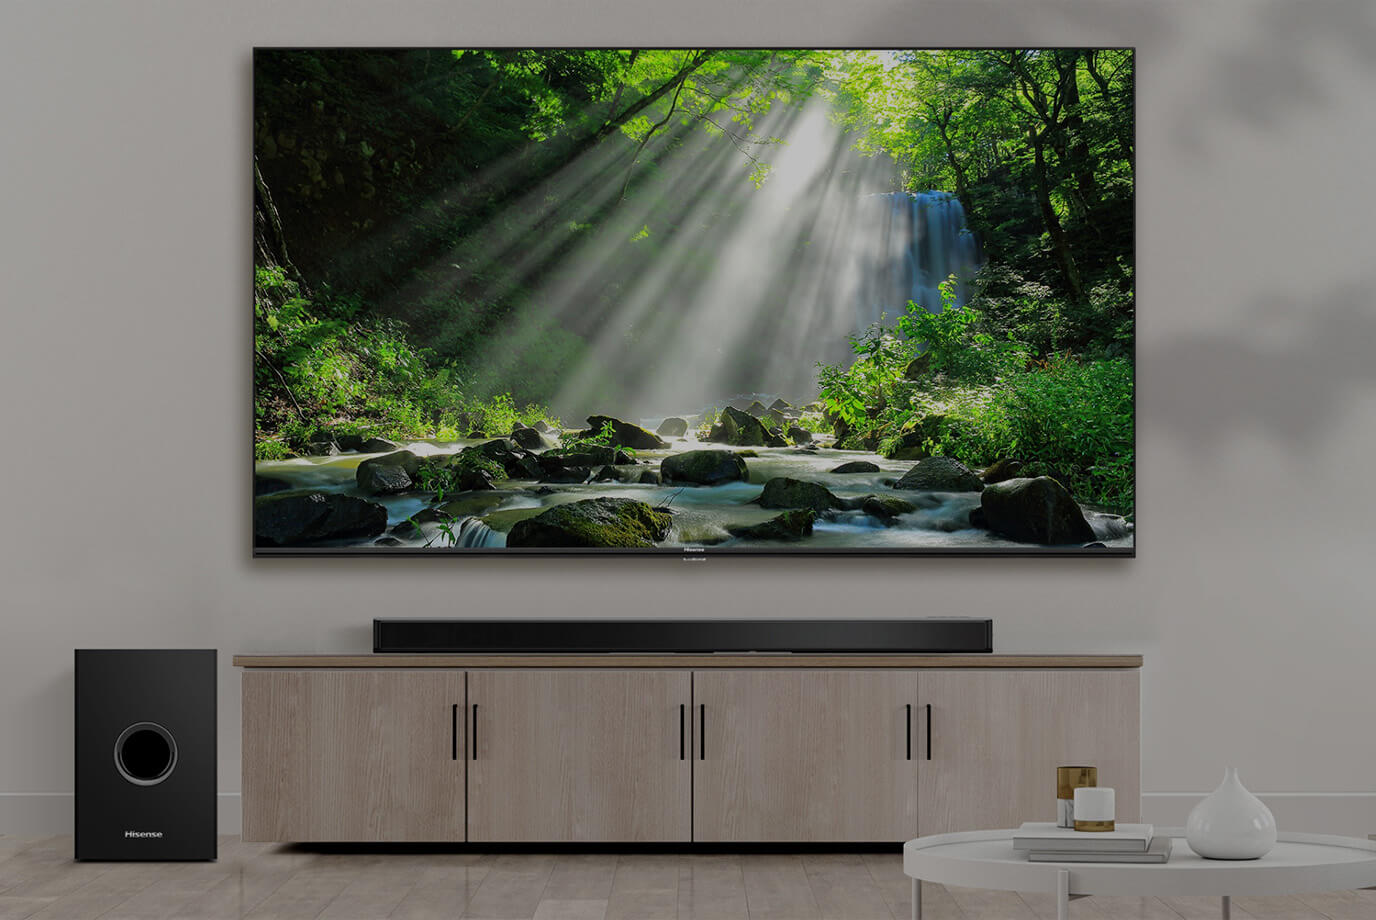
- Position the sound bar: Decide on the ideal placement for your sound bar. It should be placed in front of your TV, preferably centered, to ensure the best audio experience.
- Connect the power cable: Plug the power cable of your sound bar into a nearby power outlet. Ensure that the sound bar is receiving power.
- Power on the sound bar: Turn on the power of your Yamaha sound bar either using the power button on the sound bar itself or the remote control.
- Select the input source: Use the remote control to select the input source on your sound bar. This should match the HDMI input that you connected the sound bar to on your TV.
- Adjust the audio settings: Depending on your preferences, you can customize the audio settings of your sound bar. Use the remote control to navigate through the sound bar’s settings menu and adjust parameters such as volume, bass, treble, and audio modes.
- Position the subwoofer (if applicable): If your Yamaha sound bar comes with a separate subwoofer, position it somewhere near the sound bar for better bass response. Follow the manufacturer’s instructions for optimal subwoofer placement.
During the setup process, refer to the instruction manual that came with your Yamaha sound bar for more detailed instructions on specific settings and features. The manual will provide valuable information on how to navigate through the settings menu and make the most out of your sound bar.
Once you have completed the setup, you’re ready to move on to the next step: adjusting the settings on your TV to ensure proper audio output.
Step 5: Adjust the settings on your TV
After setting up your Yamaha sound bar, it’s important to adjust the audio settings on your TV to ensure proper output. Follow these steps to optimize the audio settings:
- Access the TV settings menu: Using your TV remote control, navigate to the settings menu on your TV.
- Find the audio settings: Look for an option related to audio settings or sound settings in the TV menu. It may be labeled as “Sound,” “Audio,” or something similar.
- Choose the audio output: In the audio settings menu, select the audio output option that corresponds to the connection you made with your Yamaha sound bar. For example, if you connected the sound bar using HDMI, choose the HDMI ARC or HDMI output option.
- Configure audio settings: Within the audio settings menu, you may have additional options to customize the audio output. Adjust parameters like audio mode, equalizer settings, and surround sound options to your preference.
- Test the audio output: Once you have adjusted the settings, play a movie, TV show, or your favorite music to test the audio output. Make sure the sound is coming from the sound bar and that it is loud and clear.
Make sure to consult your TV’s user manual or the manufacturer’s website for specific instructions on adjusting audio settings. The process may vary depending on the model and brand of your TV.
By properly adjusting the audio settings on your TV, you ensure that the sound is optimized to match your Yamaha sound bar and provide an immersive audio experience.
Now that you have adjusted the settings on your TV, it’s time for the final step: testing the sound bar to ensure everything is working correctly.
Step 6: Test the sound bar
With your Yamaha sound bar connected, set up, and the audio settings adjusted, it’s time to test it out and ensure that everything is working correctly. Here’s how to test your sound bar:
- Select a source: Choose a source such as a movie, TV show, or music that you are familiar with and enjoy. This will help you identify any changes in sound quality and performance.
- Play the media: Start playing the selected media on your TV. Make sure the volume is at a reasonable level before proceeding.
- Listen for audio output: As the media plays, pay attention to the sound coming from your Yamaha sound bar. Check if the audio is clear, balanced, and immersive. Pay attention to dialogues, background music, and sound effects to ensure they are all audible and well-balanced.
- Check surround sound (if applicable): If your sound bar supports surround sound or virtual surround sound, enable the feature and listen for a more immersive audio experience. Some sound bars even have specific audio modes tailored for movies, music, or sports, so try out different modes to find your preferred setting.
- Test connectivity options (if applicable): If your Yamaha sound bar supports wireless connectivity or has additional input options such as Bluetooth or USB, test them out by connecting your smartphone or other audio devices. Stream music or play audio files to ensure these connectivity features are functioning properly.
- Make adjustments if necessary: If you notice any issues with the sound quality or if certain audio frequencies seem overpowering or lacking, you can make further adjustments to the sound bar settings. Use the remote control to fine-tune the volume, bass, treble, or other audio parameters to your liking.
It’s important to take your time and thoroughly test the sound bar to ensure it meets your expectations. Experiment with different media sources and genres to get a comprehensive understanding of its performance capabilities.
If you encounter any issues during the testing phase, refer back to the instruction manual or contact Yamaha customer support for assistance. They will be able to provide further guidance and troubleshooting steps.
Congratulations! You have successfully connected and tested your Yamaha sound bar. Sit back, relax, and enjoy a cinematic audio experience right in your own home.
Conclusion
Connecting a Yamaha sound bar to your TV has now become a breeze. By following the simple steps outlined in this guide, you can enjoy enhanced audio quality and create a more immersive entertainment experience in your home.
Throughout this article, we covered everything from gathering the necessary equipment to testing the sound bar. We discussed the benefits of using a Yamaha sound bar, such as their sleek design, powerful sound technology, and convenient wireless connectivity options. By connecting your sound bar using an HDMI cable and adjusting the settings on both your sound bar and TV, you can ensure optimal audio performance.
Remember to consult the instruction manuals provided by Yamaha and your TV manufacturer for more specific guidance and troubleshooting information. If you encounter any difficulties or have questions, don’t hesitate to reach out to the customer support teams for assistance.
Now that you have successfully set up your Yamaha sound bar, it’s time to sit back, relax, and enjoy your favorite movies, TV shows, and music with immersive, high-quality sound. Experience the power of Yamaha’s audio technology and take your entertainment to new heights.
Thank you for choosing Yamaha, and we hope you have a fantastic audio experience with your new sound bar!