Home>Production & Technology>Sound Bar>How To Connect Samsung Sound Bar To Wifi

Sound Bar
How To Connect Samsung Sound Bar To Wifi
Published: December 25, 2023
Learn how to connect your Samsung sound bar to WiFi with our step-by-step guide. Enhance your audio experience by seamlessly streaming your favorite music and movies.
(Many of the links in this article redirect to a specific reviewed product. Your purchase of these products through affiliate links helps to generate commission for AudioLover.com, at no extra cost. Learn more)
Table of Contents
Introduction
Welcome to the world of immersive audio experience with your Samsung sound bar! Whether you’re a music lover, movie enthusiast, or gaming aficionado, a sound bar can elevate your audio quality and bring your entertainment to life. But to fully enjoy all the features of your Samsung sound bar, it’s essential to connect it to your Wi-Fi network.
In this guide, we will walk you through the step-by-step process of connecting your Samsung sound bar to Wi-Fi, so you can access online streaming services, control your sound bar conveniently, and enjoy seamless audio streaming. With a stable Wi-Fi connection, you’ll have access to a wide range of entertainment options and gain the flexibility to customize your sound preferences effortlessly.
Before we dive into the steps, it’s important to note that the process may vary slightly depending on the model of your Samsung sound bar. However, the general principles and instructions outlined in this guide should apply to most Samsung sound bars.
So, let’s get started and unlock the full potential of your Samsung sound bar by connecting it to your Wi-Fi network!
Step 1: Check Compatibility and Requirements
Before you begin the process of connecting your Samsung sound bar to Wi-Fi, it’s crucial to ensure that your sound bar is compatible with a Wi-Fi connection. Check the specifications of your sound bar or refer to the user manual to confirm Wi-Fi compatibility.
In addition to compatibility, there are a few requirements that you need to fulfill:
- Wi-Fi Network: Make sure you have a stable Wi-Fi network available in your home. This network should have a reliable internet connection to enable seamless streaming and control of your sound bar.
- Router Placement: Position your router in a central location to ensure optimal Wi-Fi coverage across your home. This will help prevent signal dropouts and maintain a strong connection to your sound bar.
- Wi-Fi Network Name (SSID) and Password: Locate your Wi-Fi network name (SSID) and password. This information is usually printed on the back or bottom of your router. If you can’t find it, you may need to contact your internet service provider (ISP) for assistance.
- Mobile Device or Computer: You’ll need a mobile device (such as a smartphone or tablet) or a computer with Wi-Fi connectivity to complete the setup process.
By ensuring that you have a compatible sound bar, a stable Wi-Fi network, and the necessary information at hand, you’ll be ready to proceed with the connection process. Let’s move on to the next step and prepare your Samsung sound bar.
Step 2: Prepare Your Samsung Sound Bar
Before we can connect your Samsung sound bar to Wi-Fi, it’s important to ensure that it is properly set up and ready for the connection process. Here’s what you need to do:
- Power On: Make sure your sound bar is connected to a power source and turned on. Check the power indicator to ensure it’s receiving power.
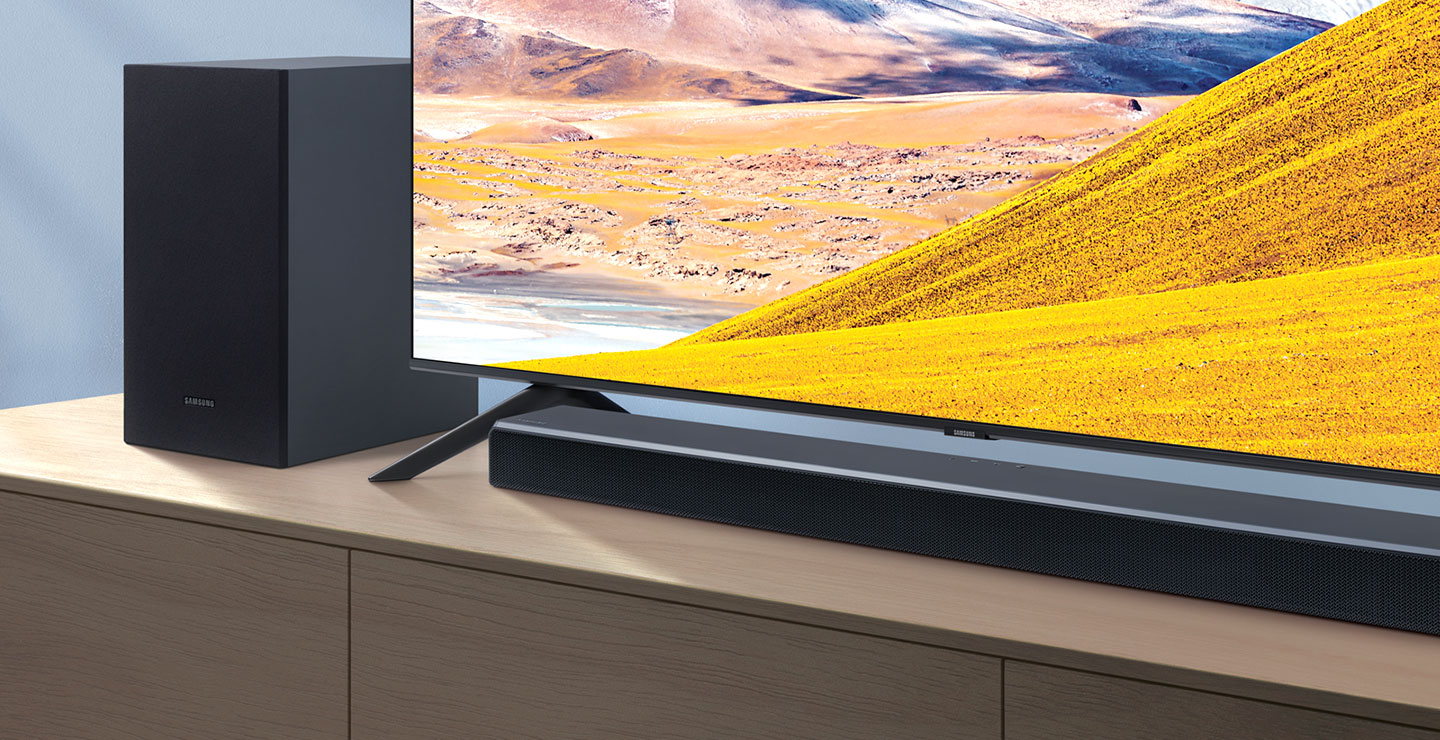
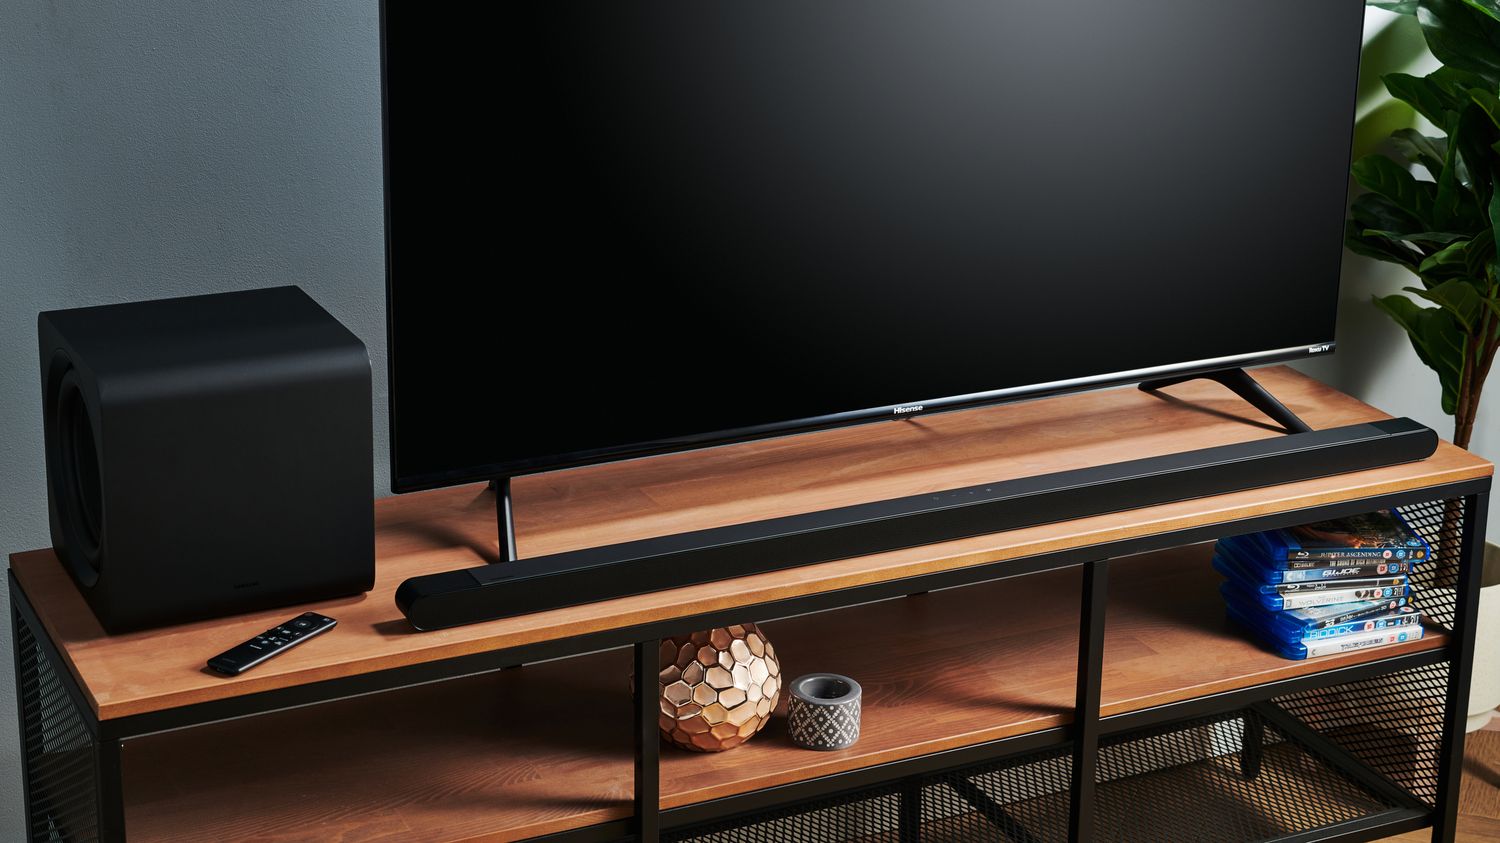
- Placement: Position your sound bar in a suitable location near your TV or entertainment setup. For optimal sound performance, it’s recommended to place the sound bar in front of or below your TV, ensuring that it has a clear line of sight to the remote control.
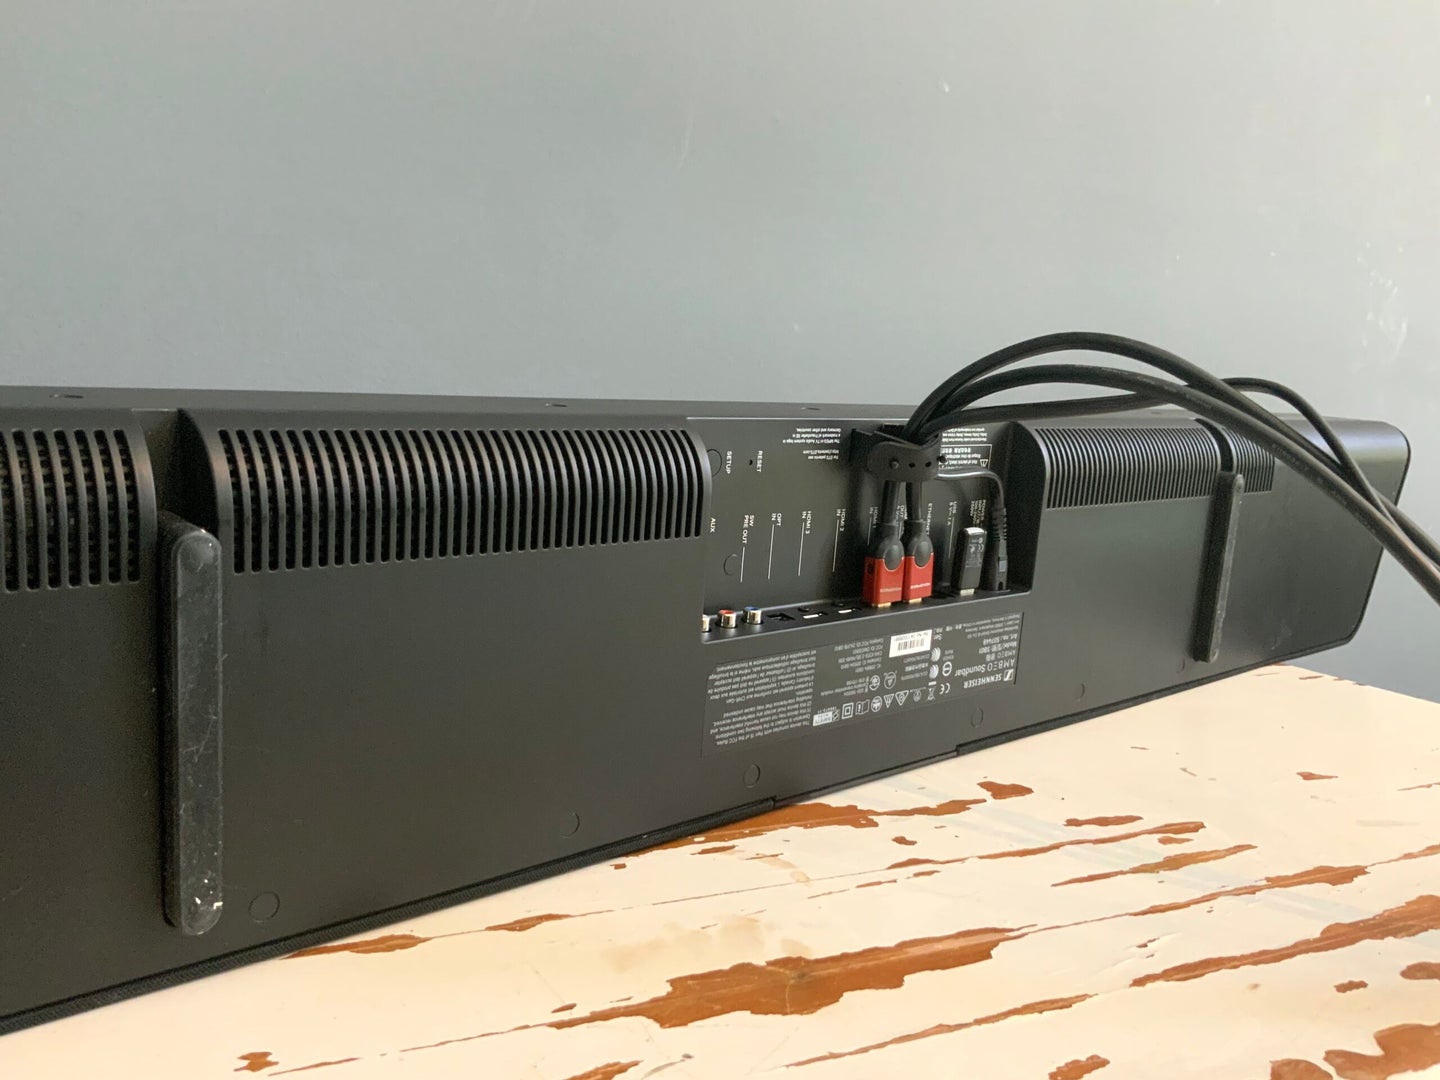
- Connection Cables: Depending on your sound bar model, you may need to connect it to your TV or other devices using HDMI, optical, or AUX cables. Refer to your sound bar’s user manual for the specific cable connections required.
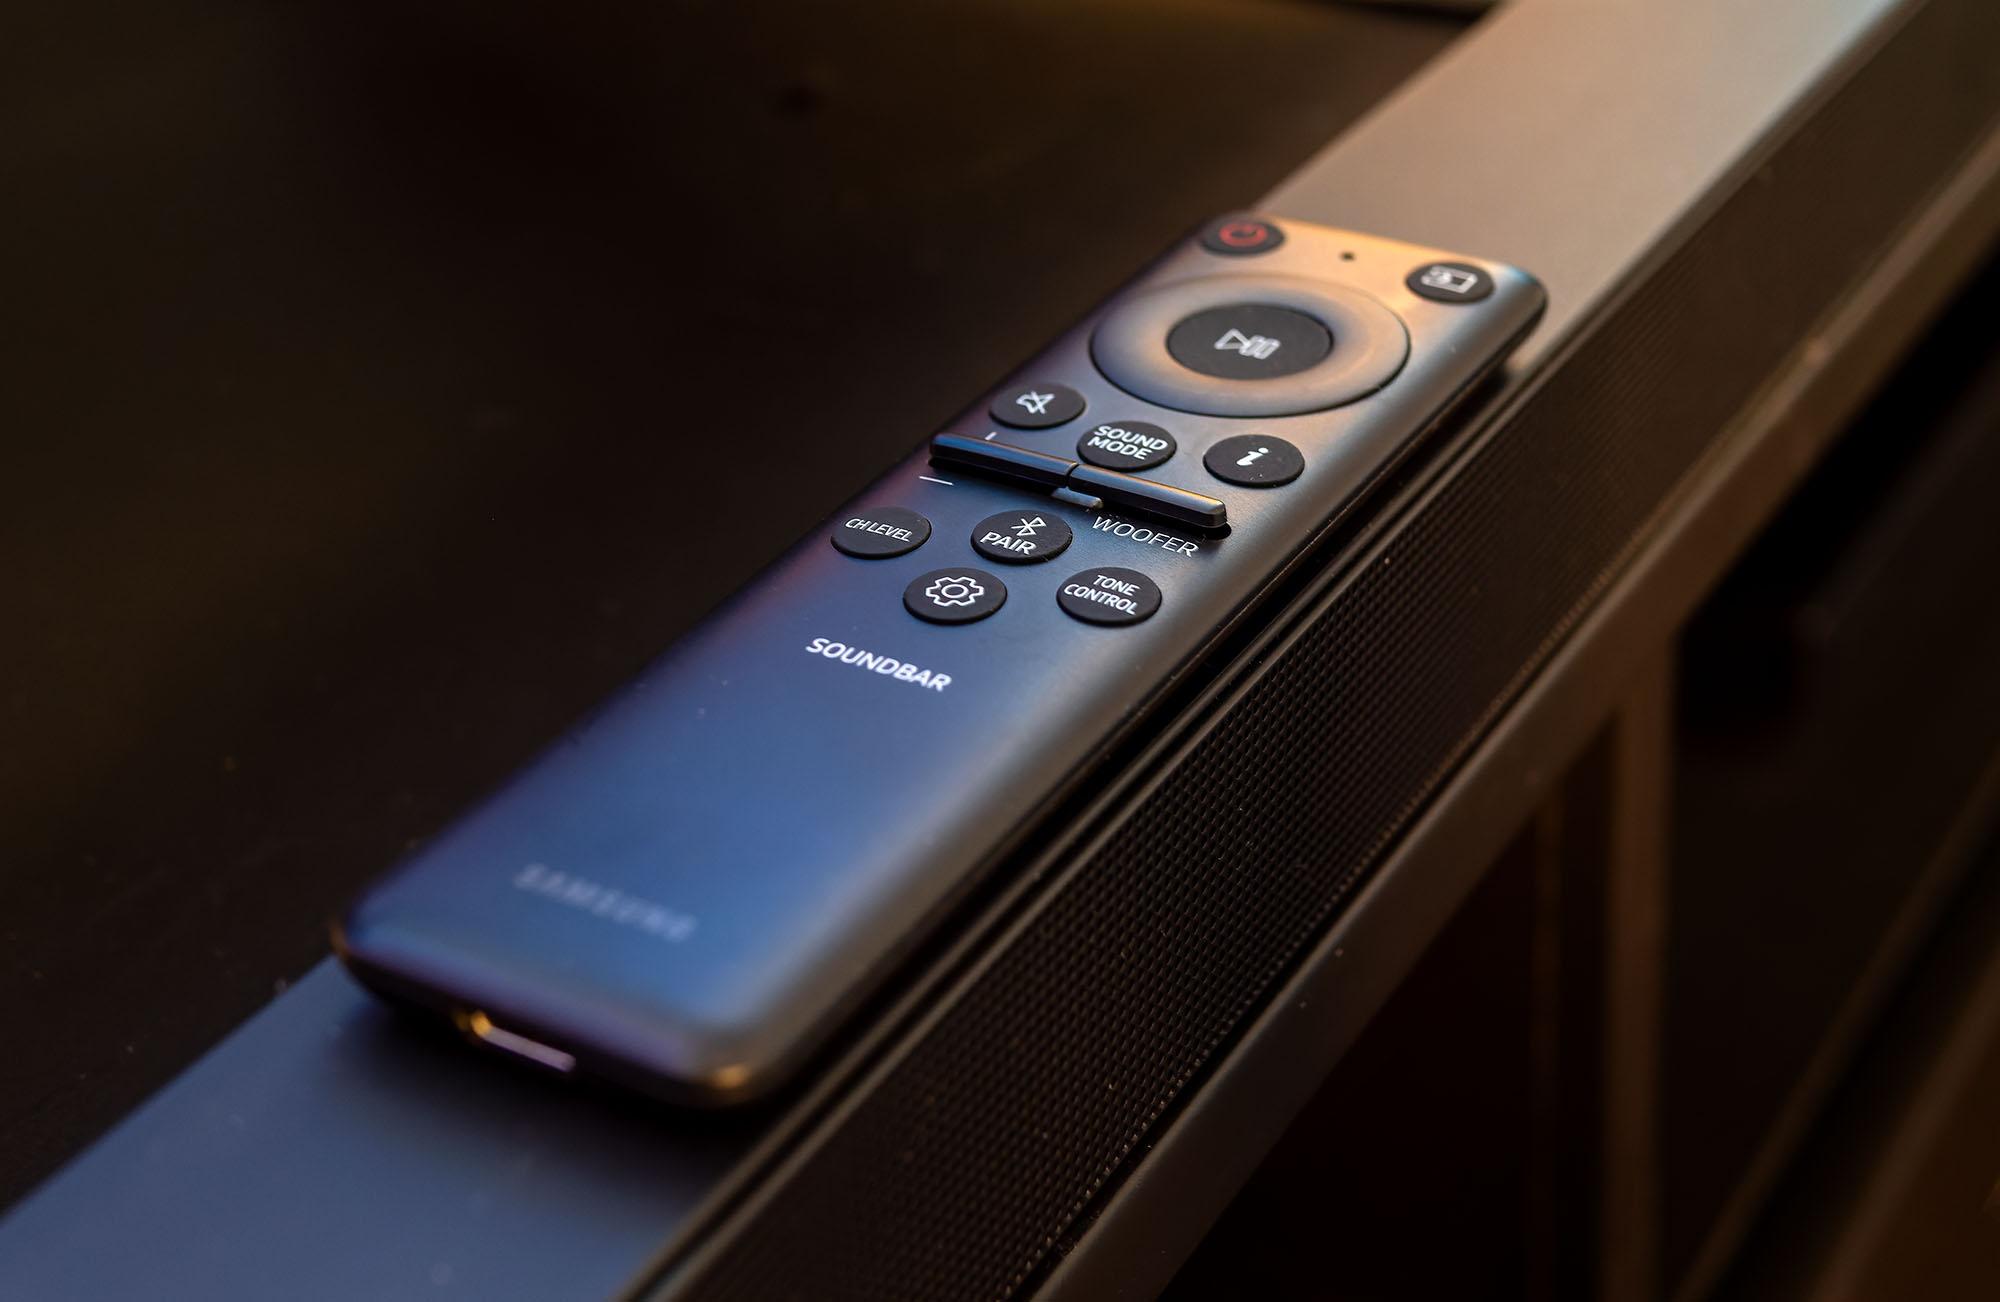
- Remote Control: Ensure that the batteries in the sound bar’s remote control are fully charged. This will allow you to navigate and control the settings during the setup process.
- Update Firmware: It’s always a good idea to check for any available firmware updates for your sound bar. Updating the firmware can optimize performance, improve compatibility, and add new features. Refer to your sound bar’s user manual or visit the Samsung support website for instructions on updating the firmware.
With your Samsung sound bar properly prepared and set up, you’re now ready to establish a Wi-Fi connection. Follow the next step to connect your sound bar to your Wi-Fi network and start enjoying a seamless audio experience.
Step 3: Establish a Wi-Fi Connection
Now that your Samsung sound bar is prepared, it’s time to establish a Wi-Fi connection. Follow these steps to connect your sound bar to your Wi-Fi network:
- Open the Samsung SmartThings App: If your sound bar supports Wi-Fi connectivity, it should come with the Samsung SmartThings app. Open the app on your mobile device or computer.
- Sign in or Create an Account: If you already have a Samsung account, sign in to the SmartThings app. Otherwise, create a new account by following the on-screen instructions.
- Add Device: Once you’re signed in, tap on “Add Device” or the plus (+) icon to start the device setup process.
- Select Sound Bar: From the list of available devices, locate and select your Samsung sound bar model to begin the setup process.
- Follow On-Screen Instructions: The SmartThings app will guide you through the necessary steps to connect your sound bar to Wi-Fi. This may include selecting your Wi-Fi network from the list of available networks and entering the Wi-Fi password.
- Wait for the Connection: Once you’ve entered the necessary information, the SmartThings app will establish a connection between your sound bar and Wi-Fi network. Be patient as the process may take a few moments.
- Confirmation: Once the connection is established, you’ll receive a confirmation message indicating that your sound bar is now connected to Wi-Fi.
Congratulations! You have successfully established a Wi-Fi connection for your Samsung sound bar. Now, let’s move on to the next step and ensure the connection is working correctly.
Step 4: Connect the Samsung Sound Bar to Your Wi-Fi Network
Now that your sound bar is connected to your Wi-Fi network, it’s time to ensure that it is properly linked and ready to stream audio wirelessly. Follow these steps to connect your Samsung sound bar to your Wi-Fi network:
- Open the SmartThings App: Open the Samsung SmartThings app on your mobile device or computer.
- Go to Sound Bar Settings: Find and select your connected Samsung sound bar from the list of devices in the SmartThings app.
- Access the Wi-Fi Settings: In the sound bar settings, look for an option related to Wi-Fi or network settings.
- Select Wi-Fi Network: Tap on the option to select your desired Wi-Fi network from the available list of networks.
- Enter Wi-Fi Password: If required, enter the password for your Wi-Fi network.
- Confirm Connection: Once you’ve entered the necessary information, the sound bar will attempt to connect to the Wi-Fi network. Wait for the connection confirmation.
Once the connection is established, your Samsung sound bar is now connected to your Wi-Fi network and ready to stream audio wirelessly. This allows you to enjoy the convenience of accessing online streaming services, controlling your sound bar remotely, and experiencing high-quality audio throughout your home.
Now that you’ve successfully connected your sound bar to your Wi-Fi network, it’s essential to test the connection to ensure everything is working correctly. Let’s move on to the next step and perform a quick test.
Step 5: Test the Connection
After connecting your Samsung sound bar to your Wi-Fi network, it’s important to test the connection to ensure that everything is working as expected. Follow these steps to perform a quick test:
- Select Audio Source: Use your sound bar’s remote control or the SmartThings app to select an audio source, such as your TV, streaming service, or any connected device.
- Play Audio: Start playing audio from your selected source. It could be a movie, a song, or any audio content that you want to listen to on your sound bar.
- Check Audio Output: Listen to the audio output from your sound bar to ensure that it is playing clearly and without any disruptions.
- Test SmartThings Control: If your sound bar supports SmartThings control, use the app or any compatible device to adjust the volume, change settings, or switch between audio sources. Make sure that the control functions are working smoothly.
- Test Streaming Services: If your sound bar supports online streaming services, explore the pre-installed apps or services available using your sound bar’s remote control or the SmartThings app. Ensure that you can navigate through different streaming services and play audio without any issues.
If you encounter any problems during the testing phase, make sure to double-check your Wi-Fi network settings, ensure that your sound bar is connected to the correct Wi-Fi network, and verify that your internet connection is stable. You may also refer to the troubleshooting tips in the next section for common issues and solutions.
Congratulations! If the connection and audio playback are successful, you have now successfully connected and tested your Samsung sound bar’s Wi-Fi connection. You can now enjoy immersive audio, convenient control, and access to various entertainment options.
In case of any difficulties or if you encounter ongoing problems, refer to the troubleshooting tips in the next section to resolve any issues that may arise.
Troubleshooting Tips
While connecting your Samsung sound bar to Wi-Fi, you may encounter some common issues. Here are a few troubleshooting tips to help you resolve any potential problems:
- Check Wi-Fi Signal Strength: Ensure that your sound bar is within range of your Wi-Fi network. Weak or fluctuating signals can cause connectivity issues. Consider repositioning your router or using Wi-Fi range extenders to improve coverage.
- Verify Wi-Fi Network Credentials: Double-check that you have entered the correct Wi-Fi network name (SSID) and password during the setup process. Typos or incorrect information can prevent a successful connection.
- Restart Your Devices: Try restarting your sound bar, Wi-Fi router, and any connected devices. This can help resolve temporary glitches and establish a fresh connection.
- Update Firmware: Ensure that both your sound bar and Wi-Fi router have the latest firmware updates installed. Manufacturers often release firmware updates to address performance issues and improve compatibility.
- Secure Wi-Fi Network: If your Wi-Fi network has network security features enabled, such as MAC address filtering or firewall settings, ensure that your sound bar’s MAC address (found in the device settings) is allowed access.
- Reset and Retry: If all else fails, you can try resetting your sound bar and starting the Wi-Fi connection process again from the beginning. Refer to your sound bar’s user manual for instructions on how to perform a factory reset.
If you continue to experience connectivity issues or encounter specific error messages during the setup process, it’s recommended to consult the user manual for your specific sound bar model or reach out to Samsung customer support for further assistance.
By following these troubleshooting tips, you should be able to overcome most Wi-Fi connectivity issues and enjoy a seamless wireless audio experience with your Samsung sound bar.
Conclusion
Connecting your Samsung sound bar to Wi-Fi opens up a whole new world of immersive audio and convenient control. By following the step-by-step process outlined in this guide, you can easily establish a Wi-Fi connection and enjoy seamless audio streaming, access to online services, and effortless control of your sound bar.
Throughout the setup process, make sure to check compatibility, meet the necessary requirements, and properly prepare your sound bar for the connection. Utilize the Samsung SmartThings app, enter your Wi-Fi network credentials, and establish a stable connection. Once connected, test the connection by playing audio and exploring the various features and streaming services available to you.
If you encounter any issues, refer to the troubleshooting tips provided to help resolve common connectivity problems. Remember to check your Wi-Fi signal strength, verify network credentials, and consider updating firmware for both your sound bar and Wi-Fi router.
By successfully connecting your Samsung sound bar to Wi-Fi, you have unlocked a world of audio possibilities. Enjoy the convenience of wireless streaming, personalized sound settings, and easy control from your mobile device or computer. Elevate your movie nights, music listening sessions, and gaming experiences with enhanced audio quality.
If you encounter ongoing difficulties or require further assistance, consult your sound bar’s user manual or reach out to Samsung customer support. They will be able to provide additional guidance specific to your sound bar model.
Now, it’s time to sit back, relax, and immerse yourself in the captivating audio experience offered by your Samsung sound bar connected to Wi-Fi!