Home>Production & Technology>Sound>How To Change Sound On IPhone
Sound
How To Change Sound On IPhone
Modified: January 22, 2024
Learn how to easily change the sound settings on your iPhone and customize your audio experience. Follow our step-by-step guide for adjusting sound settings for calls, notifications, and media on your device.
(Many of the links in this article redirect to a specific reviewed product. Your purchase of these products through affiliate links helps to generate commission for AudioLover.com, at no extra cost. Learn more)
Table of Contents
- Introduction
- Step 1: Accessing the Sound Settings
- Step 2: Adjusting Ringtone Volume
- Step 3: Changing the Ringtone
- Step 4: Customizing Text Tones
- Step 5: Modifying System Sounds
- Step 6: Setting the Media Volume
- Step 7: Adjusting the Alarm Volume
- Step 8: Changing the Alarm Sound
- Step 9: Configuring App Notifications
- Step 10: Modifying Keyboard Clicks
- Step 11: Customizing Lock Sound
- Conclusion
Introduction
The sound settings on your iPhone play a crucial role in enhancing your overall user experience. Whether you want to change the ringtone, adjust the volume, or customize system sounds, knowing how to navigate through the sound options is essential. In this article, we will guide you through the step-by-step process of changing the sound on your iPhone. So, whether you want to personalize your ringtone or modify the alarm sound, we’ve got you covered.
Sound customization not only allows you to personalize your iPhone but also helps you in distinguishing between different notifications and alerts. By modifying various sound settings, you can set the perfect tones to match your preferences and personality.
Not only that, but changing the sound settings also comes in handy when you want to adjust the volume levels for calls, alarms, or media playback. With just a few taps, you can ensure that you hear audio clearly without any issues.
So, if you’re ready to take control of the sound settings on your iPhone, let’s dive into the step-by-step process of changing the sound settings. Whether you’re using the latest iPhone model or an older version, the steps are generally the same; however, the settings might vary slightly depending on your device’s iOS version.
Step 1: Accessing the Sound Settings
To begin changing the sound settings on your iPhone, you need to access the sound options. Here’s how you can do it:
- Unlock your iPhone by entering your passcode or using Face ID or Touch ID.
- Locate the “Settings” app on your home screen. It is represented by a gray icon with gears.
- Tap on the “Settings” app to open it.
- Scroll down the settings menu until you find the “Sounds & Haptics” or “Sounds” option and tap on it. The name of this option may differ slightly depending on your iPhone model and iOS version.
- You will now see a list of sound-related settings that you can customize.
Once you have accessed the sound settings, you can proceed to the next steps to make specific changes to the sound options on your iPhone. Remember that the settings and options may vary slightly depending on your iPhone model and iOS version, but the general process remains the same.
Now that you have successfully accessed the sound settings, you are ready to explore the various options and customize the sound settings on your iPhone. Whether you want to adjust the volume levels, change the ringtone, or customize system sounds, the following steps will guide you through the process effortlessly.
Step 2: Adjusting Ringtone Volume
One of the first sound settings you may want to adjust on your iPhone is the ringtone volume. This determines the volume level at which your iPhone rings when you receive a call. Here’s how you can adjust the ringtone volume:
- Go to the “Settings” app on your iPhone.
- Scroll down and tap on the “Sounds & Haptics” or “Sounds” option.
- Under the “Ringer and Alerts” section, you will see a slider labeled “Ringer and Alerts.”
- Tap and drag the slider to the left to decrease the volume or to the right to increase the volume.
You can also use the volume buttons on the side of your iPhone to adjust the ringtone volume directly. Press the volume up button to increase the volume and the volume down button to decrease it. The changes you make will be immediately reflected in the volume level of the ringtone.
To test the adjusted ringtone volume, you can ask a friend to call your iPhone, or you can use another device to place a test call to your iPhone. Adjust the volume until you are satisfied with the ringtone volume level, ensuring that it is audible but not too loud or too quiet for your preference.
Remember that the ringtone volume setting is independent of the media playback volume. So, if you want to adjust the volume while watching a video or listening to music, you will need to use the volume buttons or the slider specifically available for media volume control.
Now that you have learned how to adjust the ringtone volume, let’s move on to the next step and explore how to change the ringtone on your iPhone.
Step 3: Changing the Ringtone
Changing the ringtone on your iPhone can help you personalize your device and stand out from the crowd. Here’s how you can change the ringtone to a new one:
- Open the “Settings” app on your iPhone.
- Scroll down and tap on the “Sounds & Haptics” or “Sounds” option.
- Under the “Sounds and Vibration Patterns” section, tap on “Ringtone.”
- You will see a list of pre-installed ringtones available to choose from. Tap on any of the listed ringtones to hear a preview.
- If you want to use a custom ringtone that you have downloaded or created, scroll down and tap on “Custom” at the top of the list.
- In the following screen, you will see a list of all the custom ringtones available on your iPhone. Tap on the desired custom ringtone to select it.
Once you have selected a new ringtone, it will be applied immediately. You can test it by asking someone to call your iPhone or by using another device to place a test call. This way, you can ensure that the new ringtone sounds how you expected it to.
If none of the pre-installed ringtones or custom ringtones suit your preferences, you can also purchase or download new ringtones from the iTunes Store or other third-party websites. Simply follow the instructions provided by the source to download and install the new ringtone, then repeat the above steps to select it as your ringtone.
Changing your iPhone’s ringtone can add a personal touch to your device and make it truly yours. Now that you know how to change the ringtone, let’s move on to the next step: customizing text tones.
Step 4: Customizing Text Tones
Customizing text tones on your iPhone allows you to assign unique sounds to different contacts or apps, making it easier to identify incoming text messages without even looking at your screen. Here’s how you can customize text tones:
- Launch the “Settings” app on your iPhone.
- Scroll down and tap on the “Sounds & Haptics” or “Sounds” option.
- Under the “Sounds and Vibration Patterns” section, tap on “Text Tone.”
- You will see a list of pre-installed text tones to choose from. Tap on any of the listed text tones to hear a preview.
- If you want to use a custom text tone, scroll down and tap on “Vibration” at the top of the list.
- In the following screen, you can create a custom vibration pattern by tapping on the screen or selecting from predefined patterns. Once you have chosen or created a vibration pattern, tap on “Back.”
- Now, tap on “Text Tone” again, and you will see the option to assign the selected text tone to “Default,” “None,” or “Contacts.”
- If you want to assign the text tone to specific contacts, tap on “Contacts” and select the desired contacts from your address book.
- Close the settings app, and the custom text tones will be applied.
By customizing text tones, you can easily differentiate between various incoming text messages based on the assigned sound. This can be particularly useful when you want to prioritize or quickly identify messages from important contacts or specific apps.
In addition to applying text tones to individual contacts or apps, you can also change the default text tone for all incoming messages. Simply select a different text tone from the list and choose the “Default” option instead of “Contacts.”
Now that you have learned how to customize text tones on your iPhone, let’s move on to the next step and explore how to modify system sounds.
Step 5: Modifying System Sounds
Modifying system sounds on your iPhone allows you to personalize the auditory experience of various system events and alerts. From keyboard clicks to lock sounds, you can customize them all. Here’s how you can modify system sounds:
- Open the “Settings” app on your iPhone.
- Scroll down and tap on the “Sounds & Haptics” or “Sounds” option.
- Under the “Sounds and Vibration Patterns” section, you will see a list of different system sounds you can modify.
- Tap on any of the options, such as “Keyboard Clicks,” “Lock Sound,” or “Sent Mail,” to customize the sound.
- In the subsequent screen, you will find various pre-installed sound options to choose from. Tap on any of the listed sounds to hear a preview.
- If you want to use a custom sound, scroll down and tap on “Custom” at the top of the list.
- In the following screen, you will see a list of all the custom sounds available on your iPhone. Tap on the desired custom sound to select it.
- Close the settings app, and the modified system sound will be applied.
Customizing system sounds allows you to add a personal touch to your iPhone and make it more enjoyable to use. For example, changing the keyboard clicks sound can give you a satisfying feedback while typing, or modifying the lock sound can add a unique touch to the unlocking experience.
Keep in mind that some system sounds, such as the charging sound or the FaceTime call connect sound, cannot be customized. However, you can customize a wide range of other system sounds to suit your preferences.
Now that you know how to modify system sounds on your iPhone, let’s move on to the next step and explore how to set the media volume.
Step 6: Setting the Media Volume
Setting the media volume on your iPhone allows you to control the sound level when playing music, videos, games, or any other multimedia content. Here’s how you can adjust the media volume:
- Play any media content on your iPhone, such as a song, video, or game.
- While the media is playing, use the volume buttons on the side of your iPhone to adjust the volume level.
- Press the volume up button to increase the volume and the volume down button to decrease it.
Alternatively, you can also adjust the media volume by using the on-screen volume slider. To access the on-screen volume slider, follow these steps:
- While playing any media content, tap on the screen to reveal the controls.
- Locate the volume slider on the screen.
- Drag the slider to the left to decrease the volume or to the right to increase the volume.
The changes you make to the media volume will be immediately reflected in the sound level of the media content you are playing. This allows you to customize the audio experience according to your preference, ensuring that you can enjoy your favorite music, videos, or games at the desired volume.
It’s important to note that adjusting the media volume does not affect the ringtone volume or other system sounds. They have separate volume controls, as discussed in the previous steps. Once you have set the media volume to your desired level, it will remain the same until you adjust it again or turn off your iPhone.
Now that you know how to set the media volume on your iPhone, let’s move on to the next step: adjusting the alarm volume.
Step 7: Adjusting the Alarm Volume
Adjusting the alarm volume on your iPhone is essential to ensure that you wake up to the desired sound level. Here’s how you can adjust the alarm volume:
- Open the “Clock” app on your iPhone.
- Tap on the “Alarm” tab at the bottom of the screen.
- Select the alarm that you want to adjust the volume for.
- Tap on the “Edit” button in the top-left corner of the screen.
- Tap on the “Sound” option.
- In the subsequent screen, you will see a list of different alarm sounds to choose from. Tap on any of the listed sounds to hear a preview.
- Below the sound options, you will see a slider labeled “Volume.” Use your finger to slide the volume indicator to the left to decrease the volume or to the right to increase the volume.
- Tap on the “Back” button to save the changes.
The modified alarm volume will be applied to the selected alarm. You can test it by setting the alarm to go off and checking if the volume is now adjusted to your desired level. This allows you to ensure that you wake up on time without being startled by an excessively loud or too soft alarm sound.
Keep in mind that adjusting the alarm volume does not affect the ringtone volume or other system sounds. They have separate volume controls, as discussed in earlier steps. Once you have set the alarm volume to your preference, it will remain the same unless you modify it again or turn off your iPhone.
Now that you know how to adjust the alarm volume on your iPhone, let’s move on to the next step: changing the alarm sound.
Step 8: Changing the Alarm Sound
Changing the alarm sound on your iPhone allows you to personalize your wake-up experience. You can choose from a variety of different sounds to start your day off on the right note. Here’s how you can change the alarm sound:
- Open the “Clock” app on your iPhone.
- Tap on the “Alarm” tab at the bottom of the screen.
- Select the alarm that you want to change the sound for.
- Tap on the “Edit” button in the top-left corner of the screen.
- Tap on the “Sound” option.
- You will see a list of different alarm sounds to choose from. Tap on any of the listed sounds to hear a preview.
- If you want to use a song from your music library as the alarm sound, scroll up to the top of the list and tap on “Pick a Song.”
- In the following screen, you can browse through your music library and select the desired song. Once you have made your selection, tap on it to set it as the alarm sound.
- Tap on the “Back” button to save the changes.
The newly selected alarm sound will be applied to the chosen alarm. You can test it by setting the alarm to go off and checking if the sound is now changed to your preferred option. This allows you to wake up to a pleasant melody, your favorite song, or any sound that motivates you to start your day.
Customizing the alarm sound adds a personal touch to your wake-up routine and can make the morning experience more enjoyable. Experiment with different sounds to find the one that suits your style and helps you wake up feeling refreshed and energized.
Now that you know how to change the alarm sound on your iPhone, let’s move on to the next step: configuring app notifications.
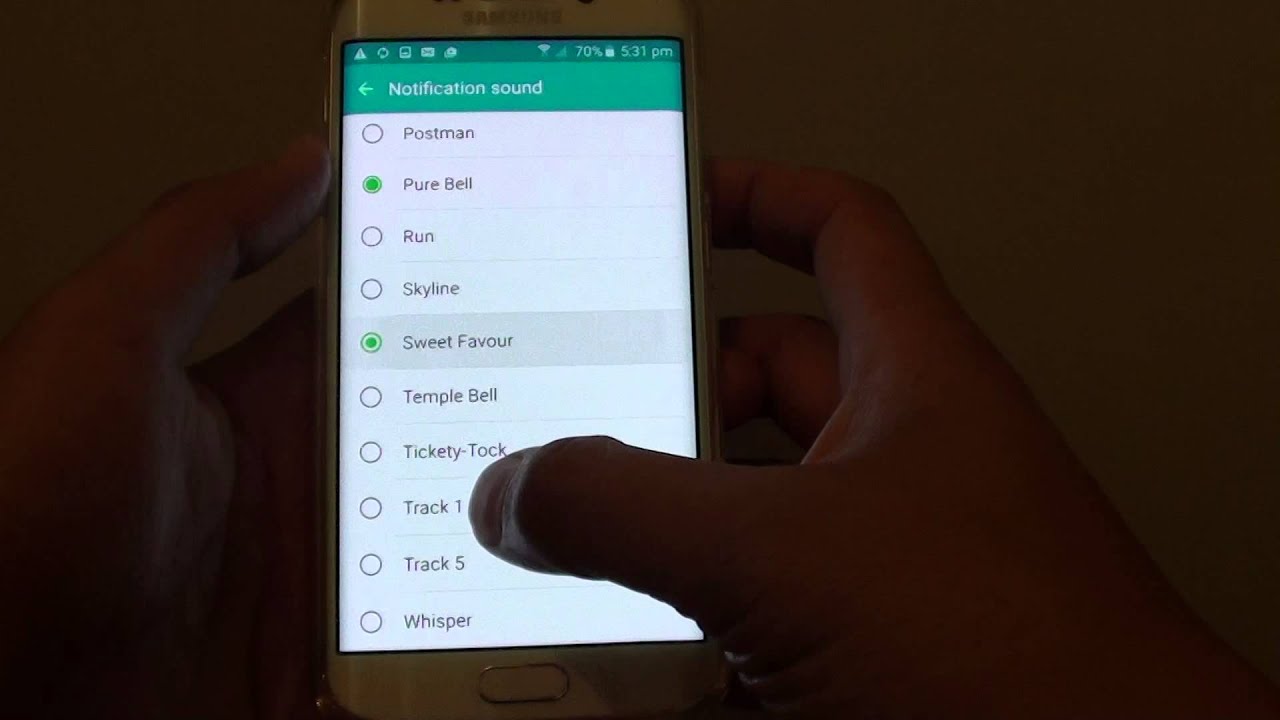
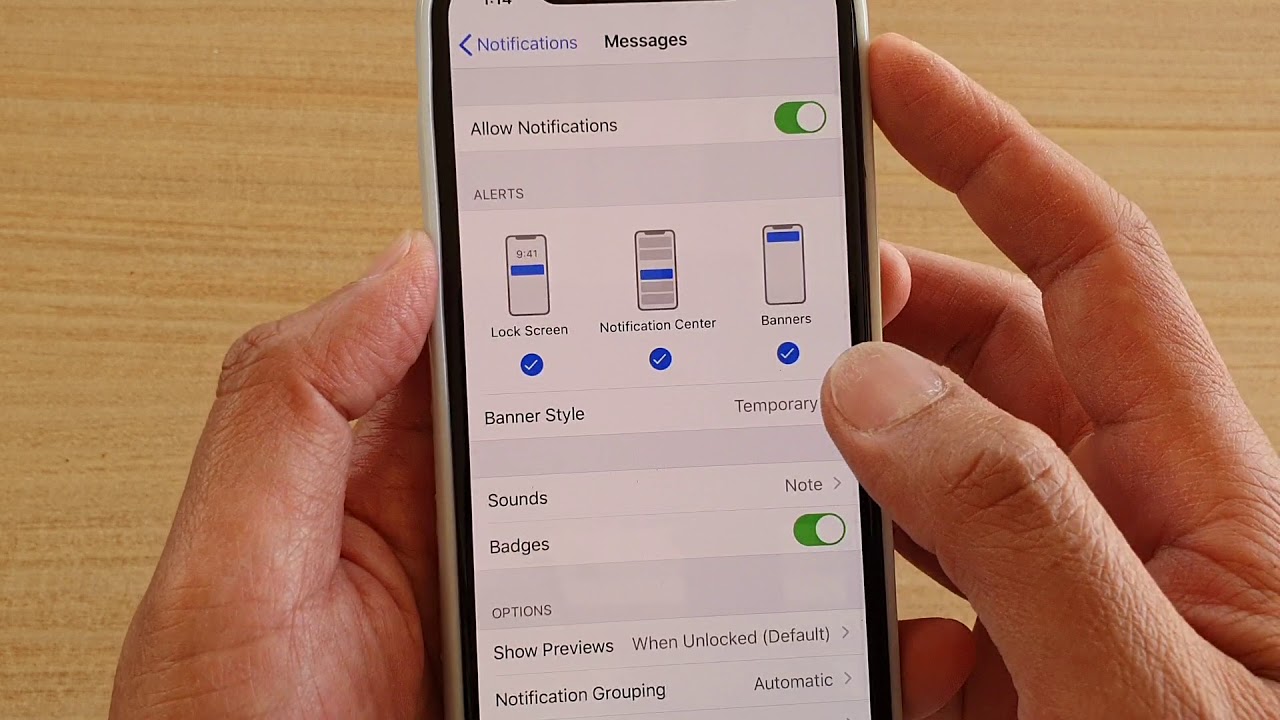
Step 9: Configuring App Notifications
Configuring app notifications on your iPhone allows you to manage which apps can send you alerts, and customize how they appear and sound. This gives you control over the notifications you receive and helps you stay organized. Here’s how you can configure app notifications:
- Open the “Settings” app on your iPhone.
- Scroll down and tap on the “Notifications” option.
- You will see a list of all the installed apps on your iPhone.
- Tap on the app you want to configure notifications for.
- In the app’s notification settings, you can customize various options, such as the notification style, sounds, and badge app icon.
- Choose the desired notification settings for the app.
- Repeat the process for each app you want to configure notifications for.
By configuring app notifications, you can choose which apps are allowed to send you alerts, and how those alerts are presented. You can opt to receive banners, alerts, or notifications that appear on the lock screen, or customize the sound that accompanies the notification.
Additionally, you can manage the badges displayed on app icons, which show how many unread notifications you have for that particular app. If you find certain app notifications to be distracting, you can also choose to disable them altogether.
Take the time to explore the notification settings for each app on your iPhone and tailor them to your preference. This way, you can ensure that you only receive the notifications that are important to you and prevent unnecessary interruptions throughout the day.
Now that you know how to configure app notifications on your iPhone, let’s move on to the next step: modifying keyboard clicks.
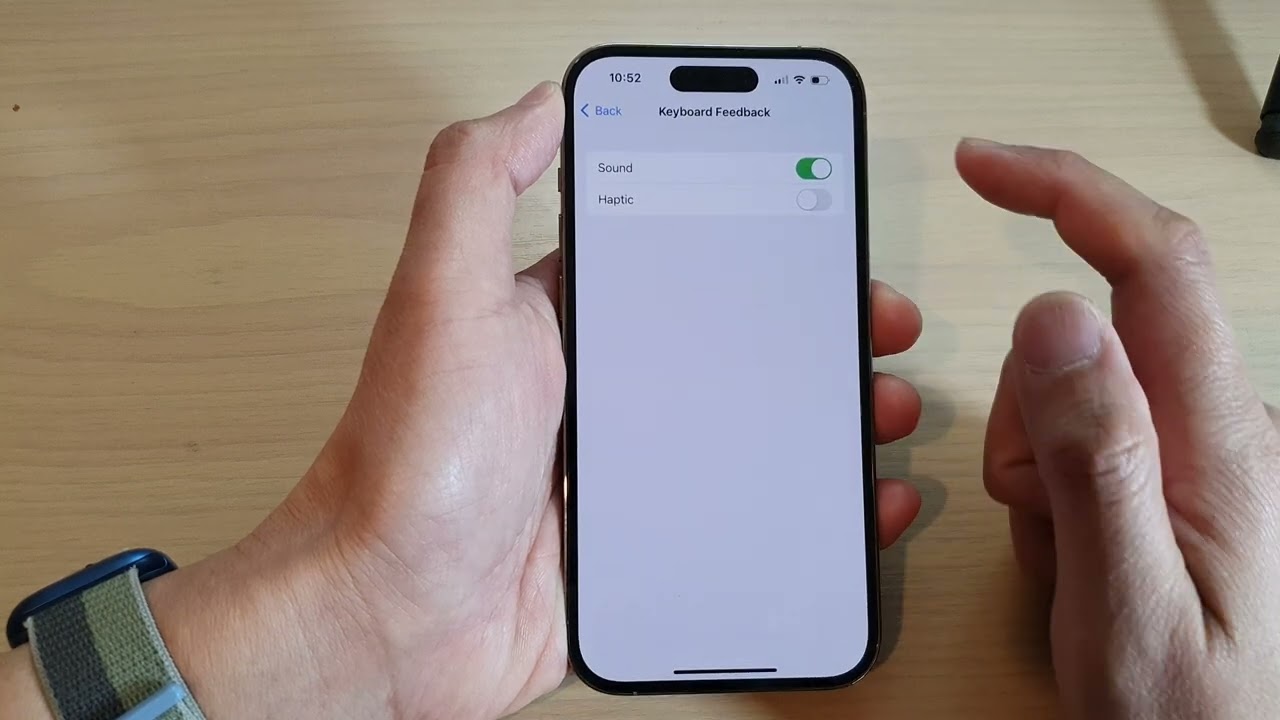
Step 10: Modifying Keyboard Clicks
Modifying the keyboard clicks on your iPhone allows you to customize the sound that plays when you type on the on-screen keyboard. This feature adds a satisfying auditory feedback to your typing experience. Here’s how you can modify keyboard clicks:
- Open the “Settings” app on your iPhone.
- Scroll down and tap on the “Sounds & Haptics” or “Sounds” option.
- Within the “Sounds and Vibration Patterns” section, tap on “Keyboard Clicks.”
- You will see a toggle switch next to “Keyboard Clicks.” Tap on the toggle switch to turn the keyboard clicks on or off.
Once enabled, the keyboard clicks will play a sound every time you type on the on-screen keyboard of your iPhone. This provides a satisfying feedback that mimics the experience of physical buttons, helping you type with greater accuracy and confidence.
If you find the default keyboard click sound to be too loud or too soft, there is no direct option to modify the volume of keyboard clicks. However, you can adjust the overall system volume or use the volume buttons on the side of your iPhone to control the volume of keyboard clicks.
Modifying the keyboard clicks is a personal preference, and you can choose to enable or disable them based on your typing preferences. Some users find the keyboard clicks helpful, while others prefer a quieter typing experience. Modify this setting to your liking to enhance your overall typing experience on your iPhone.
Now that you know how to modify keyboard clicks, let’s move on to the final step: customizing the lock sound.
Step 11: Customizing Lock Sound
Customizing the lock sound on your iPhone allows you to personalize the sound that plays when you lock your device. You can choose from different options or even use a custom sound of your choice. Here’s how you can customize the lock sound:
- Open the “Settings” app on your iPhone.
- Scroll down and tap on the “Sounds & Haptics” or “Sounds” option.
- Under the “Sounds and Vibration Patterns” section, tap on “Lock Sound.”
- You will see a list of pre-installed lock sounds to choose from. Tap on any of the listed sounds to hear a preview.
- If you want to use a custom lock sound, scroll down and tap on “Custom” at the top of the list.
- In the following screen, you will see a list of all the custom sounds available on your iPhone. Tap on the desired custom sound to select it.
- Tap on the “Back” button to save the changes.
Once customized, the new lock sound will play whenever you lock your iPhone, adding a personal touch to the device. Whether you choose a sound that matches your personality or opt for a soothing melody, customizing the lock sound can make using your iPhone a more enjoyable and personalized experience.
Keep in mind that not all iPhone models support custom lock sounds. If your device does not have the option to choose a custom lock sound, you can still select from the pre-installed lock sound options.
Now that you know how to customize the lock sound on your iPhone, you have successfully completed all the steps to change and personalize the sound settings on your device. Whether it’s adjusting the volume, changing ringtones, or configuring app notifications, these steps enable you to customize your iPhone’s sound settings to make it truly yours.
Remember that you can always go back to these settings at any time to make further adjustments or revert any changes you have made. Enjoy the customized sound experience that matches your preferences and enhances your overall iPhone usage.
Conclusion
In conclusion, mastering the sound settings on your iPhone allows you to personalize your device and enhance your overall user experience. By following the step-by-step process outlined in this article, you can easily change the ringtone, adjust the volume, customize system sounds, and configure app notifications. These customization options allow you to tailor your iPhone to your preferences and make it truly yours.
Whether you want to wake up to a favorite song, hear satisfying keyboard clicks, or receive customized alerts from specific apps, the sound settings on your iPhone provide endless possibilities for personalization. By taking the time to explore and customize these settings, you can create an immersive and enjoyable audio experience that suits your style and enhances your daily interactions with your device.
Remember, sound settings are not only for entertainment but also for practical purposes. Adjusting the volume levels ensures that you can hear important calls and alarms, and customizing text tones and app notifications helps you stay organized and prioritize important messages and alerts.
Keep in mind that the sound settings may vary slightly depending on your iPhone model and iOS version. However, the general process remains the same, and the steps provided in this article will serve as a helpful guide regardless of your device’s specific configuration.
Now that you have learned how to change and customize the sound settings on your iPhone, it’s time to get started. Unlock the full potential of your device by personalizing the sounds that accompany your everyday activities, and enjoy a more immersive and tailored audio experience as you navigate through your iPhone’s features and functions.