Home>Production & Technology>Sound>How To Screen Record On Iphone With Sound
Sound
How To Screen Record On Iphone With Sound
Published: December 18, 2023
Learn how to screen record on iPhone with sound using this step-by-step guide. Capture and save videos with audio effortlessly.
(Many of the links in this article redirect to a specific reviewed product. Your purchase of these products through affiliate links helps to generate commission for AudioLover.com, at no extra cost. Learn more)
Table of Contents
Introduction
Screen recording on your iPhone can be a useful feature in various situations. Whether you want to create a tutorial, capture gameplay, or record a video call, being able to record your screen with sound can make a huge difference in the quality of your content. In this article, we will explore two methods to screen record on your iPhone with sound.
Method 1 involves using the built-in screen recording feature on your iPhone, while Method 2 involves using a third-party screen recording app. We will guide you step-by-step through both methods, so you can easily choose the one that suits your needs.
Screen recording on the iPhone allows you to capture both the visual elements on your screen and the audio that accompanies them. This is particularly useful when you want to demonstrate a particular process or share your iPhone screen activity with others.
Whether you are an avid gamer looking to live stream your gameplay, a productivity enthusiast wanting to create tutorials, or a business professional conducting virtual meetings, being able to screen record on your iPhone with sound can enhance your content and make it more engaging.
Now, let’s dive into the two methods that will enable you to screen record on your iPhone with sound, and choose the one that suits your needs best.
Method 1: Using the Built-in Screen Recording Feature
iPhones come with a built-in screen recording feature that makes it incredibly easy to capture your screen with sound. Here’s how you can use this feature:
- First, make sure that the screen recording feature is enabled on your iPhone. To check this, go to the “Settings” app on your iPhone and scroll down to find “Control Center”. Tap on it.
- In the Control Center settings, you will see a list of icons. Look for “Screen Recording” and tap on the green plus sign (+) next to it. This will add the screen recording feature to your Control Center.
- Now, navigate to the screen that you want to record. This could be your home screen, a specific app, or any other screen that you want to capture.
- Swipe down from the top-right corner of your screen (or from the bottom if you have an older iPhone model) to access the Control Center.
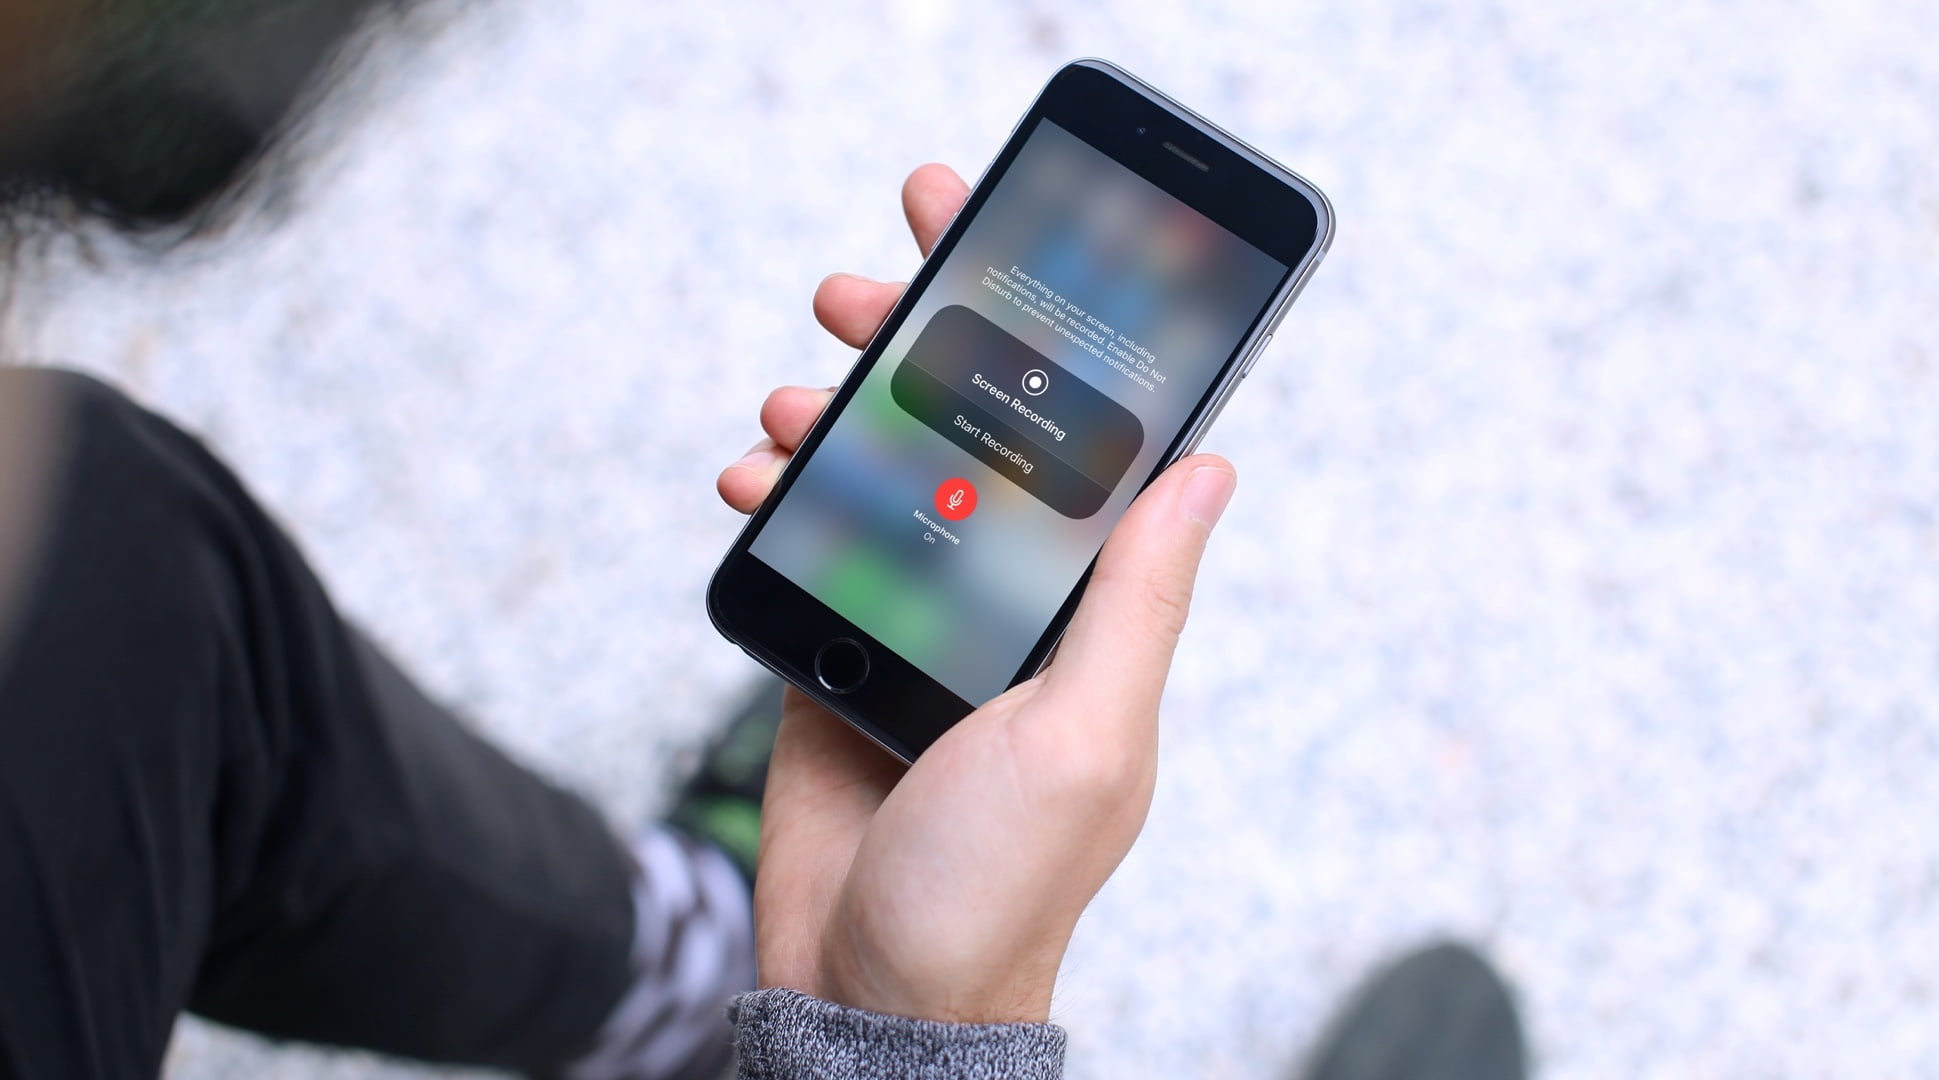
- In the Control Center, you will see the screen recording button, which looks like a circle inside a circle. Press and hold this button until a menu appears.
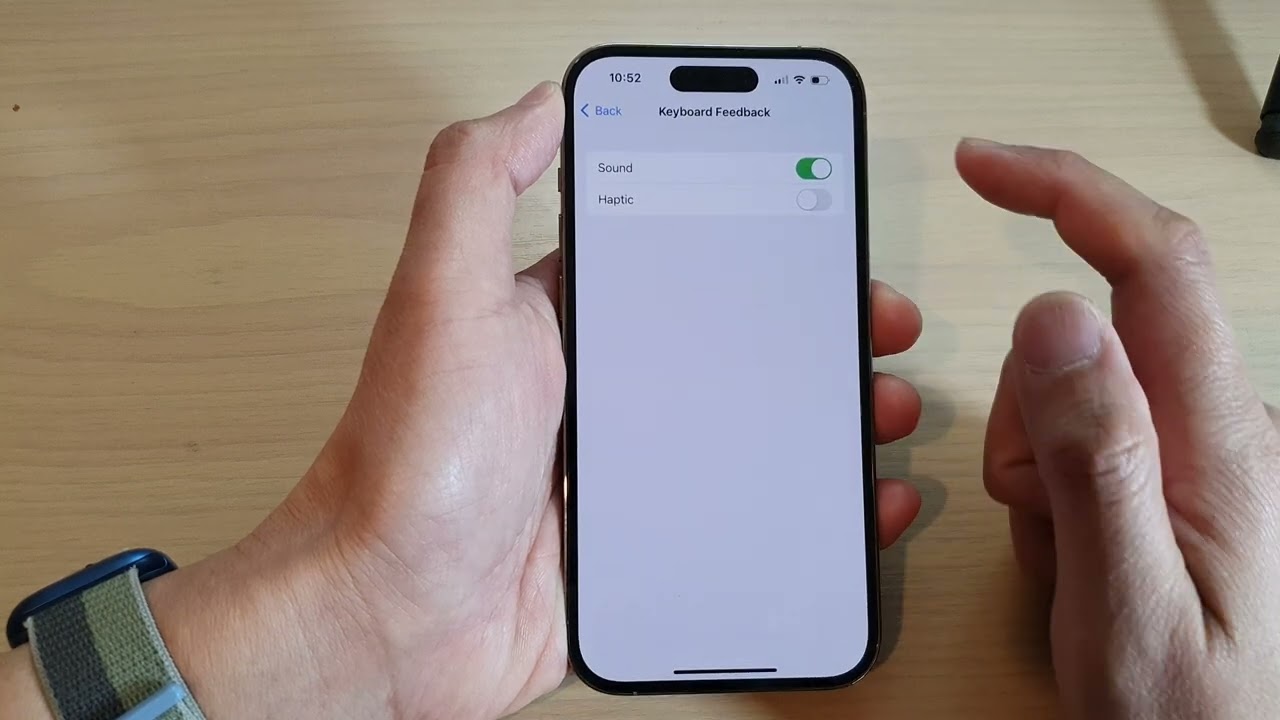
- In the menu, you will see an option to enable or disable the microphone audio for your screen recording. If you want to record sound along with your screen, make sure the microphone icon is highlighted in red.
- Tap the “Start Recording” button, and a three-second countdown will begin. After the countdown, your iPhone will start recording the screen along with the sound from the microphone.
- To stop the screen recording, simply tap the red bar at the top of your screen and select “Stop”. Alternatively, you can also access the Control Center and tap the screen recording button again to stop the recording.
- Your screen recording will be saved in the Photos app on your iPhone, where you can access and share it as needed.
The built-in screen recording feature on the iPhone is a convenient and straightforward method to capture your screen with sound. It requires no additional software or apps, making it readily available to all iPhone users.
However, it’s important to note that the built-in screen recording feature does not capture system sounds, such as notifications or game audio. To record these sounds, you may need to explore the second method using a third-party screen recording app, which we will cover next.
Method 2: Using a Third-Party Screen Recording App
If you want to capture your iPhone screen with sound, including system sounds or audio from apps, you may need to use a third-party screen recording app. These apps offer advanced features and flexibility beyond what the built-in screen recording feature provides. Here’s how you can use a third-party screen recording app:
- Open the App Store on your iPhone and search for a screen recording app. Some popular options include “TechSmith Capture”, “Screen Recorder +”, and “Go Record: Screen Recorder”.
- Install the screen recording app of your choice by tapping on the “Get” or “Install” button next to the app name.
- Once the app is installed, launch it from your home screen.
- Follow the on-screen instructions to set up the app and grant necessary permissions, such as access to your microphone and camera roll.
- Now, you can customize the recording settings according to your preferences. Many of these apps allow you to adjust video quality, frame rate, and audio settings. Explore the app’s settings to make any desired changes.
- Tap the screen recording button within the app to start recording your iPhone screen with sound. Make sure to enable microphone audio if you want to capture sound as well.
- Record the desired screen activity by navigating through your iPhone as you normally would. The app will capture everything on your screen, including any sound being played.
- When you’re finished recording, stop the screen recording within the app by tapping the stop button.
- Once the recording is stopped, you can save it to your camera roll or share it directly from the app. Some apps may offer additional editing features before exporting the recording.
Using a third-party screen recording app gives you more control and flexibility over your screen recordings. These apps often allow you to capture not only the screen but also system audio and even external audio sources if required.
However, keep in mind that third-party screen recording apps may require additional features or subscriptions for full functionality. Be sure to explore the app’s features and reviews before deciding which one suits your needs best.
With the help of a third-party screen recording app, you can create high-quality screen recordings with sound, offering a more immersive and comprehensive experience to your viewers.
Conclusion
Screen recording on your iPhone with sound can be a powerful tool for capturing and sharing your screen activity. Whether you choose to use the built-in screen recording feature or a third-party app, you now have the knowledge and steps to record your iPhone screen with sound.
The built-in screen recording feature offers a simple and convenient way to capture your screen, while third-party apps provide more advanced features and customization options. Depending on your specific needs and preferences, you can choose the method that works best for you.
Remember to consider the audio sources you want to capture, whether it’s the microphone audio, system sounds, or audio from specific apps. Each method described in this article offers different capabilities in this regard, so be sure to choose accordingly.
Screen recording with sound opens up a world of possibilities. Whether you’re creating engaging tutorials, sharing gameplay highlights, or conducting virtual meetings, adding sound to your screen recordings enhances the overall experience and helps your content stand out.
Now it’s time to start experimenting with screen recording on your iPhone and unleash your creativity. Explore the built-in screen recording feature or try out different third-party apps to find the perfect fit for your needs.
With a little practice and the right tools, you’ll soon be producing professional and engaging screen recordings that capture every detail and sound on your iPhone.