Home>Production & Technology>Surround Sound>How To Connect Logitech Surround Sound Speakers Z506 To Computer
Surround Sound
How To Connect Logitech Surround Sound Speakers Z506 To Computer
Modified: January 22, 2024
Learn how to easily connect Logitech Surround Sound Speakers Z506 to your computer and enhance your audio experience. Discover step-by-step instructions for a seamless setup.
(Many of the links in this article redirect to a specific reviewed product. Your purchase of these products through affiliate links helps to generate commission for AudioLover.com, at no extra cost. Learn more)
Table of Contents
Introduction
Welcome to the world of surround sound! If you’re an audio enthusiast or a movie buff, you know that having a high-quality sound system can greatly enhance your audio experience. One popular option is the Logitech Surround Sound Speakers Z506, which offer immersive sound and a truly cinematic experience right in the comfort of your own home.
Connecting the Logitech Z506 speakers to your computer may seem like a daunting task, especially if you’re not familiar with audio setups. But fear not! In this article, we will walk you through the step-by-step process of connecting your Logitech Z506 speakers to your computer, ensuring you can enjoy rich and vibrant surround sound in no time.
Before we dive into the details, it’s important to understand the components you’ll need for this setup. The Logitech Z506 speaker system consists of multiple satellite speakers, a subwoofer, and the necessary cables to connect everything together. Additionally, if you’re using a desktop computer, make sure you have an available audio output jack or an HDMI port for audio.
Now that we have the basics covered, let’s get started on setting up your Logitech Z506 speakers!
Step 1: Gather the Necessary Components
Before you begin connecting your Logitech Z506 speakers to your computer, it’s essential to gather all the necessary components. Here’s a list of what you’ll need:
- Logitech Z506 Surround Sound Speaker System: This includes the satellite speakers, subwoofer, and control pod.
- Audio Cables: The Logitech Z506 speakers typically come with color-coded cables for easy setup. You’ll need an audio cable to connect the speakers to the subwoofer and another cable to connect the subwoofer to your computer.
- Power Cable: The subwoofer requires a power supply, so make sure you have the appropriate power cable.
- Computer with Audio Output: Ensure that your computer has an available audio output jack or an HDMI port if you plan to connect via HDMI.
Once you have gathered all the necessary components, you’re ready to move on to the next step. Having everything on hand will make the connection process smooth and hassle-free.
Step 2: Place and Position the Speakers
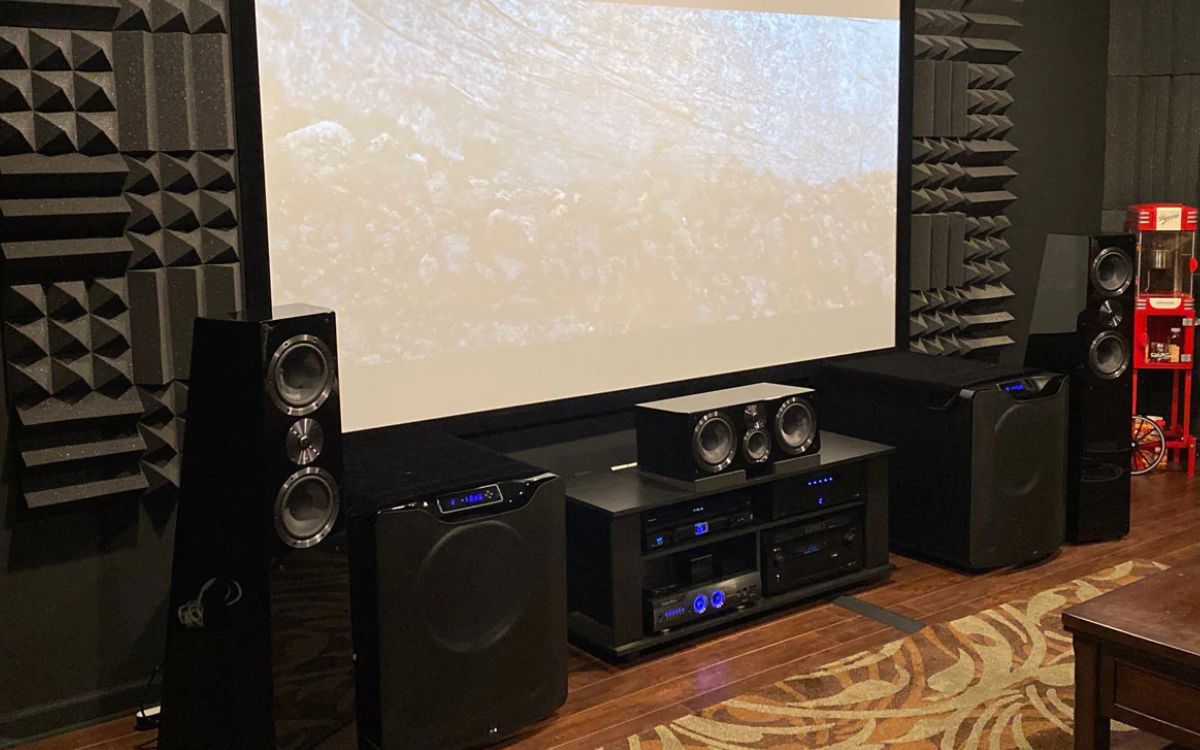
Now that you have all the components ready, it’s time to think about the placement and positioning of your Logitech Z506 speakers. Proper placement can significantly impact the overall sound quality and your listening experience. Follow these guidelines to optimize your surround sound setup:
- Position the Subwoofer: Start by placing the subwoofer on the floor near your computer or entertainment center. It’s recommended to position it close to a wall for enhanced bass response.
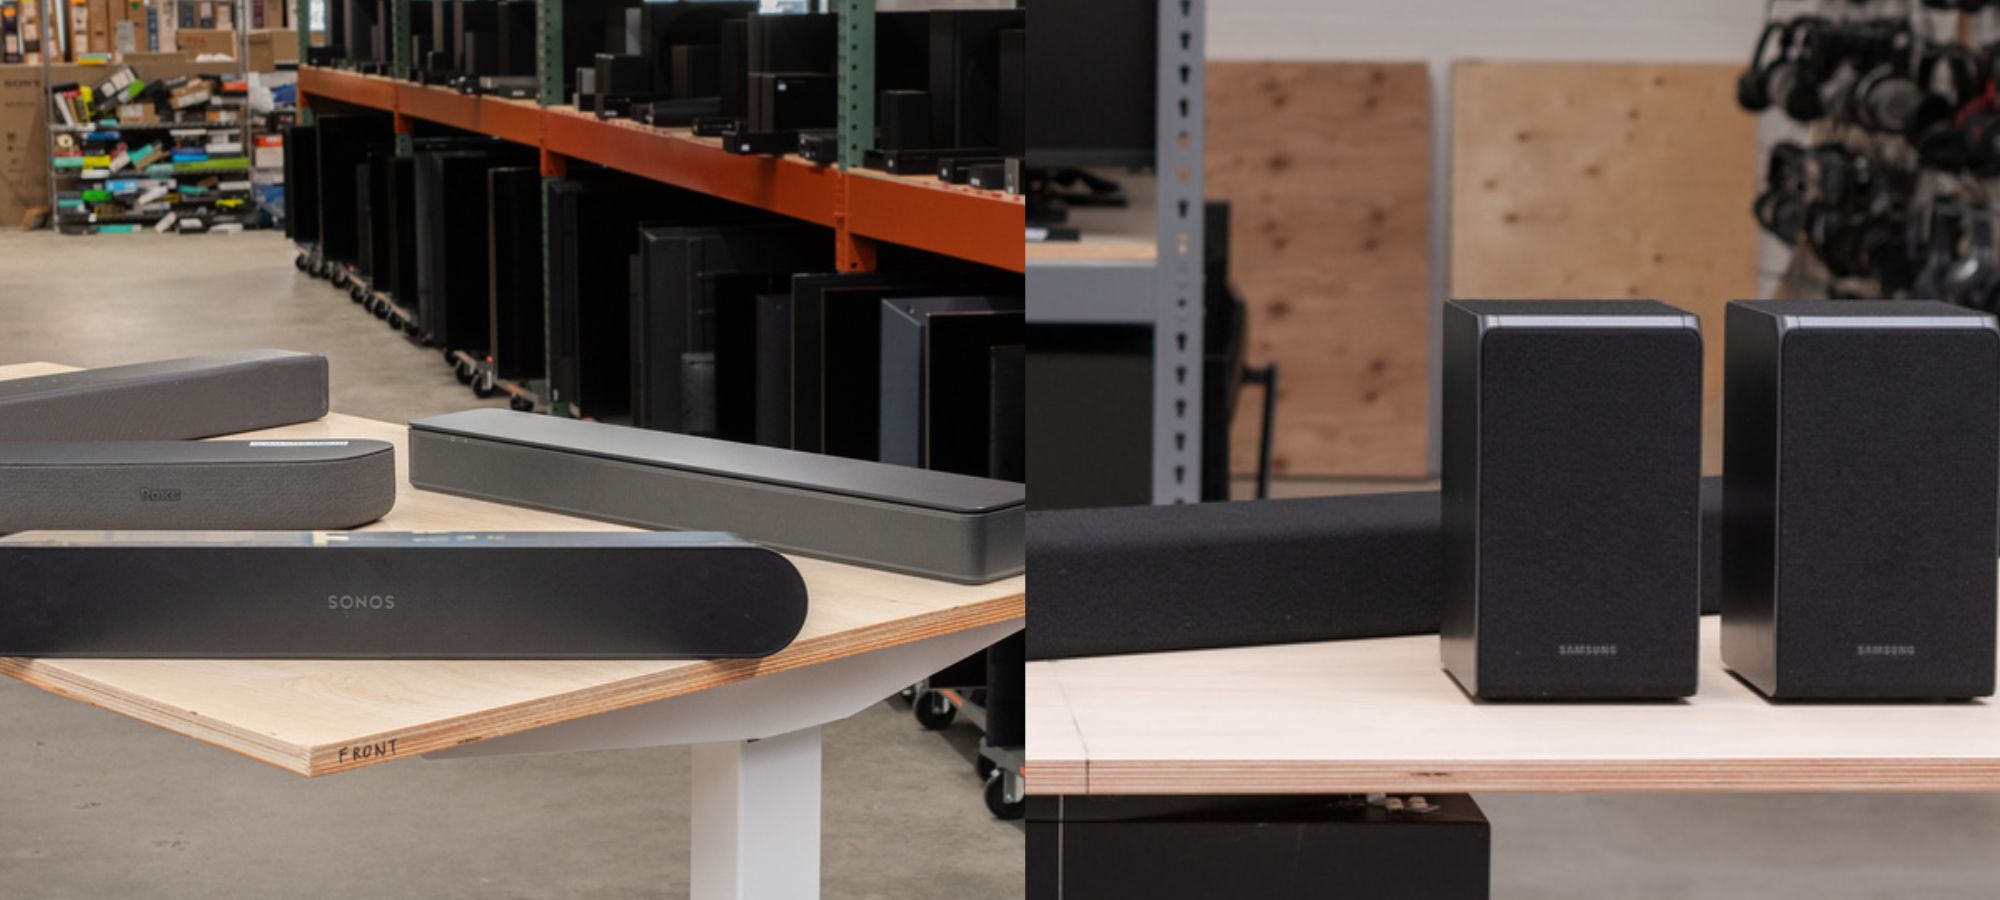
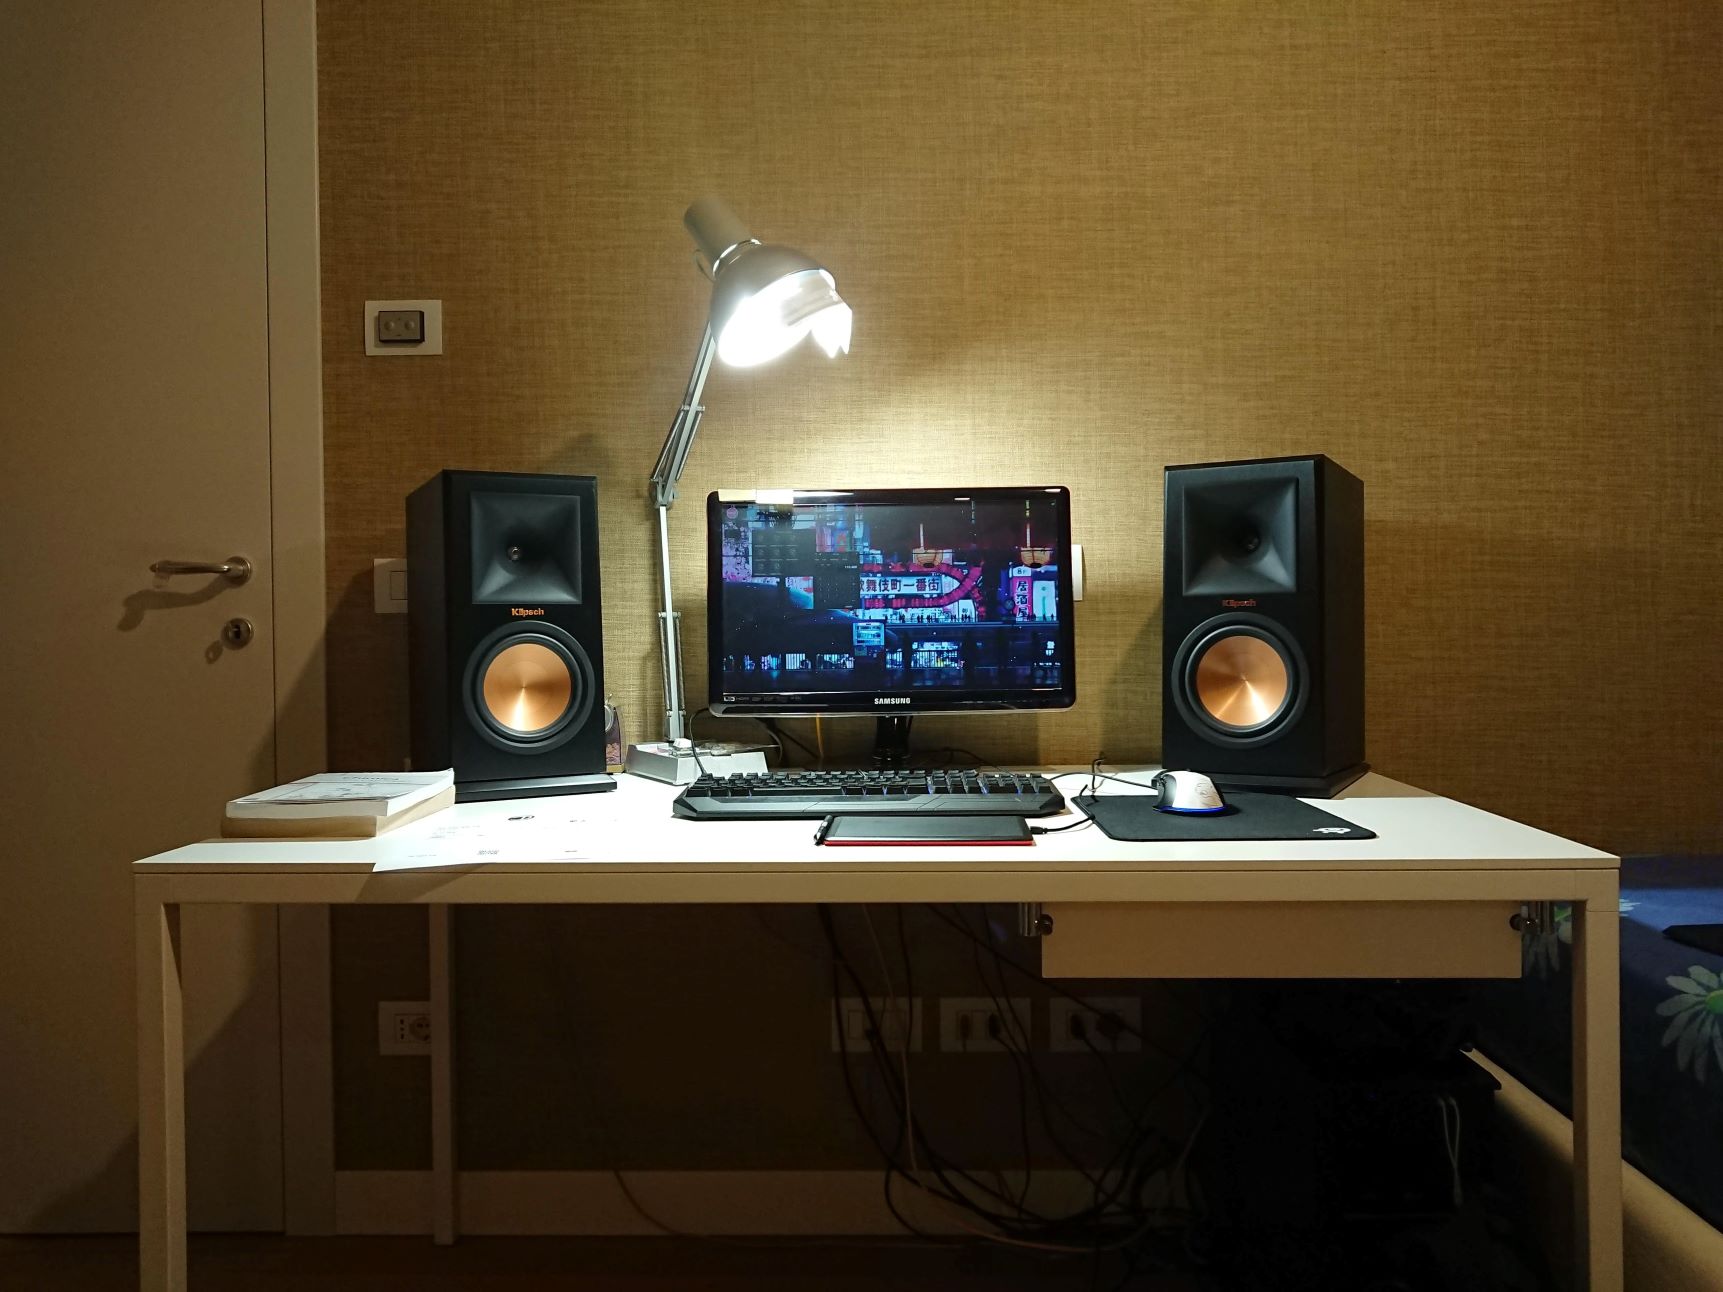
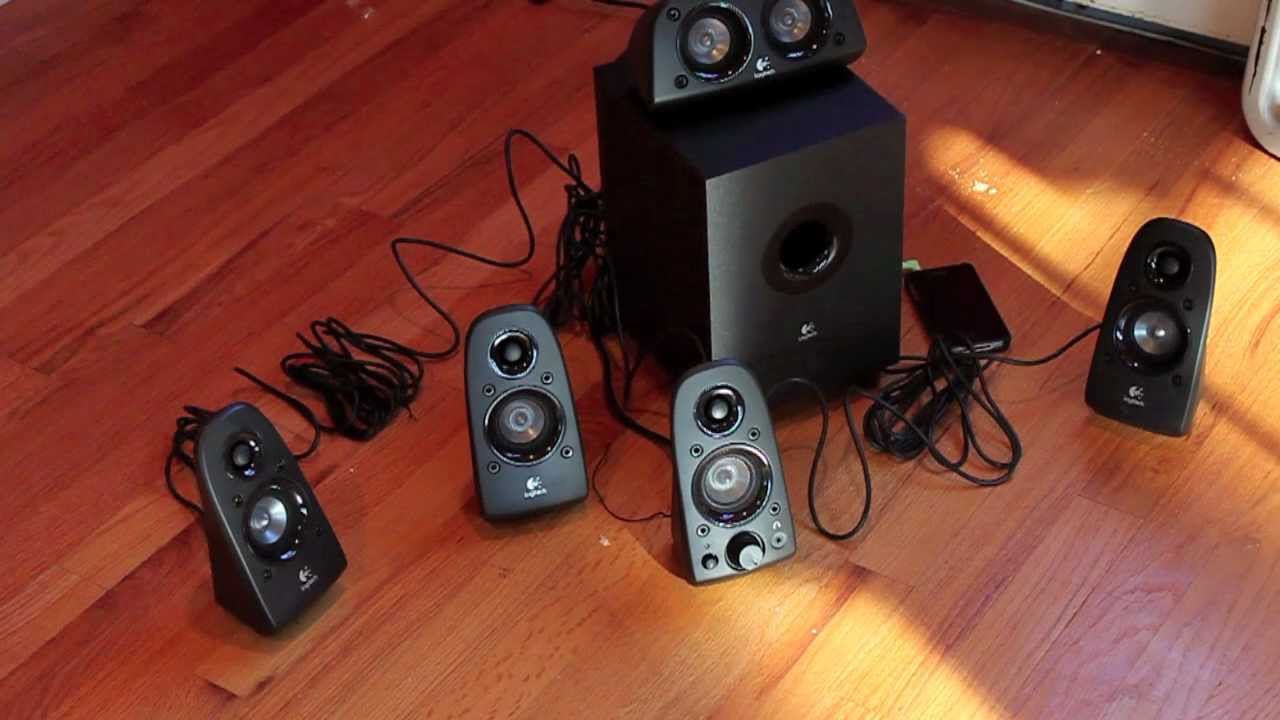
- Place the Satellite Speakers: The Logitech Z506 system includes five satellite speakers. Aim to position the front two speakers on either side of your computer or TV screen, facing towards your listening area. The remaining three speakers can be placed behind you, creating a surround sound effect.
- Elevate the Satellite Speakers: For optimal sound projection, consider elevating the satellite speakers. You can use speaker stands, wall mounts, or even bookshelves to achieve the desired height and angle.
- Adjust the Speaker Angles: Experiment with the speaker angles to find the sweet spot. Tilt the front speakers slightly inward and the surround speakers slightly outward for a more immersive sound experience.
Remember, the key is to achieve a balanced soundstage and create a surround sound field that envelops you. Take the time to adjust and fine-tune the speaker placement until you’re satisfied with the results.
Once you have placed and positioned the speakers to your liking, you’re ready to move on to the next step and start connecting them.
Step 3: Connect the Speakers to the Subwoofer
With the speakers properly placed, it’s time to connect them to the subwoofer. Follow these steps to ensure a successful connection:
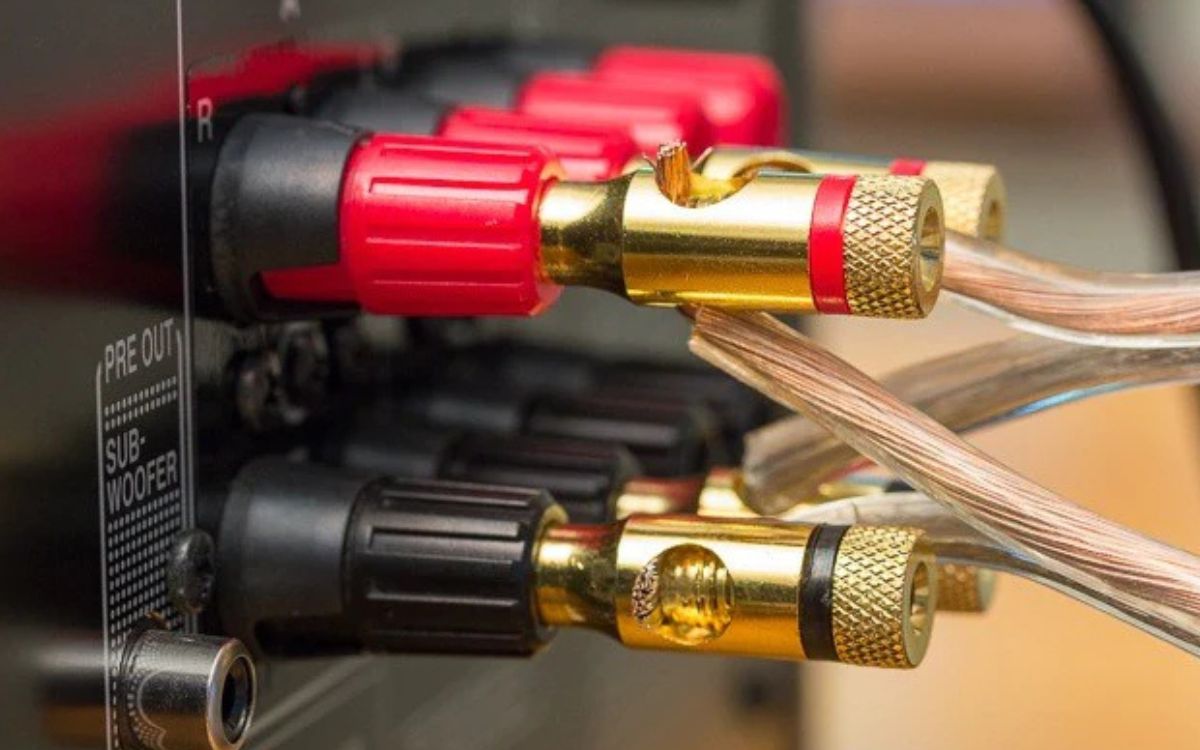
- Locate the audio cable with color-coded plugs. Most Logitech Z506 systems come with green, black, and orange plugs.
- Take the green plug and insert it into the corresponding green jack on the back of the subwoofer. This is usually labeled as “Front Left” or “Front R”.
- Connect the black plug to the black jack, typically labeled as “Front Right” or “Front L”.
- Insert the orange plug into the orange jack, which is usually marked as “Center Sub” or “C/Sub”.
- If your Logitech Z506 system includes rear speakers, locate the gray and purple plugs. Connect the gray plug to the gray jack and the purple plug to the purple jack on the back of the subwoofer.
Ensure that each plug is securely inserted into the corresponding jack, and that the colors match. This will ensure that the audio signals are properly transmitted from the subwoofer to the satellite speakers.
Once you have connected all the speakers to the subwoofer, move on to the next step to connect the subwoofer to your computer.
Step 4: Connect the Subwoofer to the Computer
Now that the speakers are connected to the subwoofer, it’s time to link the subwoofer to your computer. Here’s how to do it:
- Identify the audio output options on your computer. You’ll typically find audio jacks, such as a headphone jack or a line-out jack, located on the back or side of your computer tower or on the side of your laptop.
- If you’re using an audio cable with a 3.5mm stereo plug, insert one end into the audio output jack on your computer. This is usually color-coded green.
- Plug the other end of the cable into the corresponding audio input jack on the back of the subwoofer. It might be labeled as “Input”, “PC”, or something similar.
- If your computer has an HDMI port, you can also connect it to the subwoofer using an HDMI cable. Plug one end of the HDMI cable into the HDMI port on your computer and the other end into the “HDMI In” port on the back of the subwoofer.
Ensure that all connections are secure and firmly inserted to guarantee a stable audio connection.
Now that the subwoofer is connected to your computer, you’re almost ready to enjoy the immersive surround sound experience your Logitech Z506 speakers provide. However, there are a few more steps to complete before you can start enjoying your favorite movies, music, or games.
Step 5: Configure Audio Settings on the Computer
After connecting the subwoofer to your computer, it’s necessary to configure the audio settings to ensure the Logitech Z506 speakers work optimally. Follow these steps to configure the audio settings:
- Access the audio settings on your computer. This can typically be done by right-clicking on the volume icon in the system tray and selecting “Playback Devices” or “Sound Settings”.
- In the playback devices or sound settings window, you should see a list of available audio output devices. Look for the option that represents the Logitech Z506 speakers. It might be labeled as “Speakers – Logitech Z506” or something similar. Set it as the default playback device by right-clicking on it and selecting “Set as Default Device.
- Once the Logitech Z506 speakers are set as the default device, click on it to highlight it, and then click on the “Configure” button.
- In the speaker configuration window, select the “5.1 Surround” or “5.1 Channel” option to match the configuration of your Logitech Z506 speaker system. This ensures that the correct audio channels are assigned to each speaker.
- Click through the remaining prompts or options to complete the speaker configuration process. Follow any additional instructions or recommendations provided by your computer’s operating system.
- Once you have finished configuring the audio settings, test the speakers to verify that sound is coming from all channels. You can play a test sound or play a video or audio file to ensure that the surround sound is functioning correctly.
By properly configuring the audio settings on your computer, you’ll be able to take full advantage of the surround sound capabilities of your Logitech Z506 speakers.
Now that your speakers are connected and configured, it’s time for the final step: testing the speakers to ensure everything is working smoothly.
Step 6: Test the Speakers
Now that you have completed the setup and configuration of your Logitech Z506 speakers, it’s time to test them to ensure they are functioning correctly. Follow these steps to test your speakers:
- Play a Surround Sound Test Audio/Video: There are several websites and software programs available that offer surround sound test audio or video files. Play one of these files to check if sound is being produced from all the speakers. The test file will usually play a sound or voice that moves across the different speakers, allowing you to identify any issues with speaker placement or connectivity.
- Test Different Audio Sources: After confirming that all the speakers are working correctly with the surround sound test file, try playing various audio sources, such as movies, music, or games, to ensure a consistent and immersive audio experience. Pay attention to the directional audio cues and the overall quality of the sound.
- Adjust Sound Settings: If necessary, you can fine-tune the sound settings on your computer or media player to adjust the volume levels of individual speakers or tweak the bass and treble settings to your preference. This will allow you to optimize the audio output according to your personal taste.
During the testing phase, make sure to listen for any abnormalities, such as distorted sound, crackling, or uneven volume levels. If you encounter any issues, double-check the connections and ensure that all cables are securely plugged in.
Once you are satisfied with the sound performance of your Logitech Z506 speakers, sit back, relax, and enjoy a truly immersive audio experience that will bring your favorite movies, music, and games to life.
Congratulations! You have successfully connected, configured, and tested your Logitech Z506 surround sound speakers, creating a home entertainment setup that offers exceptional sound quality and immersion.
Remember, if you ever need to make changes or troubleshoot any issues, simply refer back to this guide or consult the Logitech Z506 user manual for further assistance.
Enjoy your surround sound experience!
Conclusion
Congratulations on successfully setting up your Logitech Surround Sound Speakers Z506 with your computer! By following the step-by-step process outlined in this guide, you have transformed your audio experience into an immersive and cinematic one.
Throughout this article, we covered the necessary components, the placement and positioning of the speakers, the connection process, audio configuration, and finally, testing the speakers. Each step is essential in creating the optimal surround sound setup for your Logitech Z506 speakers.
Remember that proper speaker placement, accurate connections, and correct audio settings contribute to the overall audio experience. Take the time to experiment and fine-tune these aspects to suit your preferences and the layout of your space.
Having a surround sound system like Logitech Z506 adds depth, richness, and realism to your movies, music, and gaming sessions. You will notice subtle audio details and feel completely immersed in the soundscapes created by your speakers.
Should any issues arise during the setup process or while using your Logitech Z506 speakers, refer to the user manual or reach out to Logitech’s customer support for further assistance. They will be able to provide you with additional guidance and troubleshooting tips.
Now, it’s time to sit back, relax, and enjoy the immersive audio experience that your Logitech Z506 speakers offer. Whether you’re watching your favorite movies, listening to music, or gaming, you can now fully appreciate the power of surround sound in the comfort of your own home.