Home>Production & Technology>Stereo>How To Add An Auxiliary Jack To A Factory Stereo
Stereo
How To Add An Auxiliary Jack To A Factory Stereo
Modified: January 22, 2024
Learn how to add an auxiliary jack to your factory stereo for enhanced audio connectivity. Upgrade your stereo system and enjoy seamless integration of your devices.
(Many of the links in this article redirect to a specific reviewed product. Your purchase of these products through affiliate links helps to generate commission for AudioLover.com, at no extra cost. Learn more)
Table of Contents
- Introduction
- What is an auxiliary jack?
- Why add an auxiliary jack to a factory stereo?
- Tools and materials needed
- Step 1: Determine the type of stereo system
- Step 2: Locate the auxiliary input port
- Step 3: Choose an auxiliary jack adapter
- Step 4: Connect the adapter to the stereo
- Step 5: Test the connection
- Conclusion
Introduction
Adding an auxiliary jack to a factory stereo can be a game-changer for any music lover. It opens up a world of possibilities, allowing you to connect your smartphone, MP3 player, or any other audio device directly to your car’s stereo system. Say goodbye to relying solely on the limited radio stations or CD collection in your car. With an auxiliary jack, you can enjoy your favorite tunes, podcasts, or audiobooks anytime, anywhere.
In this guide, we will walk you through the steps of adding an auxiliary jack to a factory stereo. Whether you’re a seasoned DIYer or a newbie looking to enhance your car’s audio system, this tutorial has got you covered. We’ll provide you with the necessary tools and materials you’ll need, as well as easy-to-follow instructions to make the process as smooth as possible. Before you know it, you’ll be jamming out to your own curated playlists while hitting the road.
Before we dive into the step-by-step instructions, let’s first understand what an auxiliary jack is and why adding one to your factory stereo is beneficial.
What is an auxiliary jack?
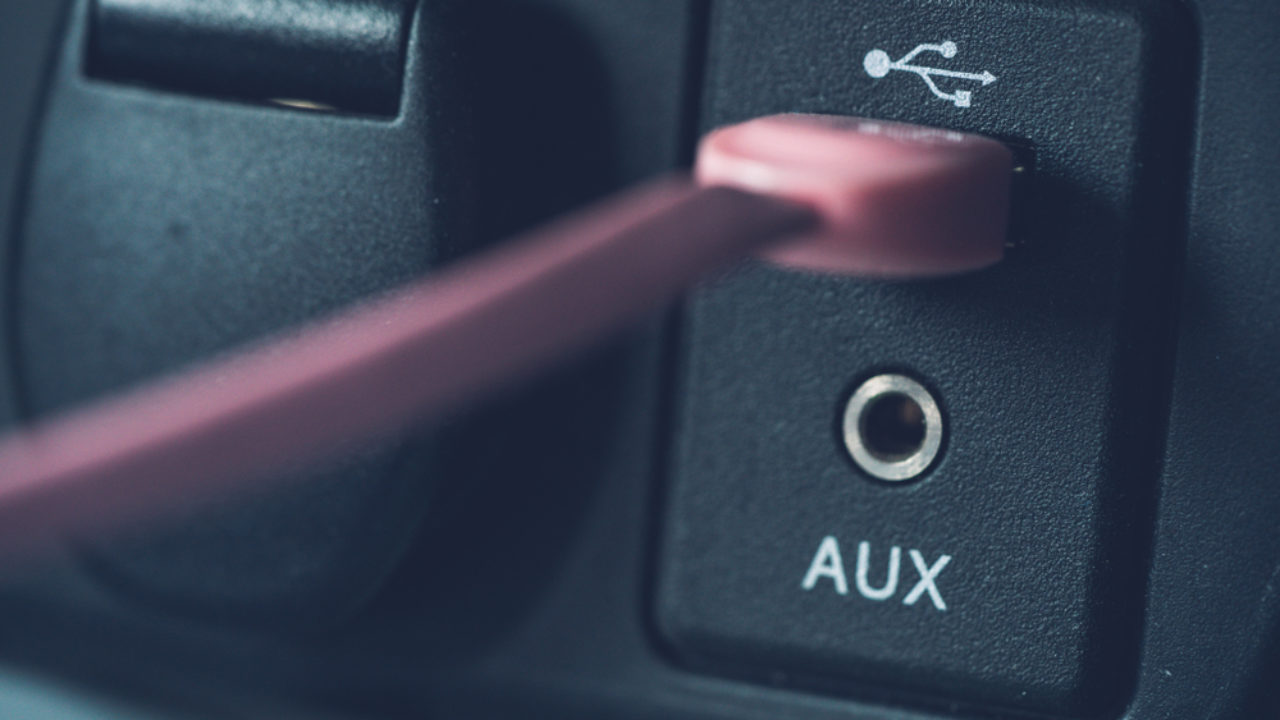
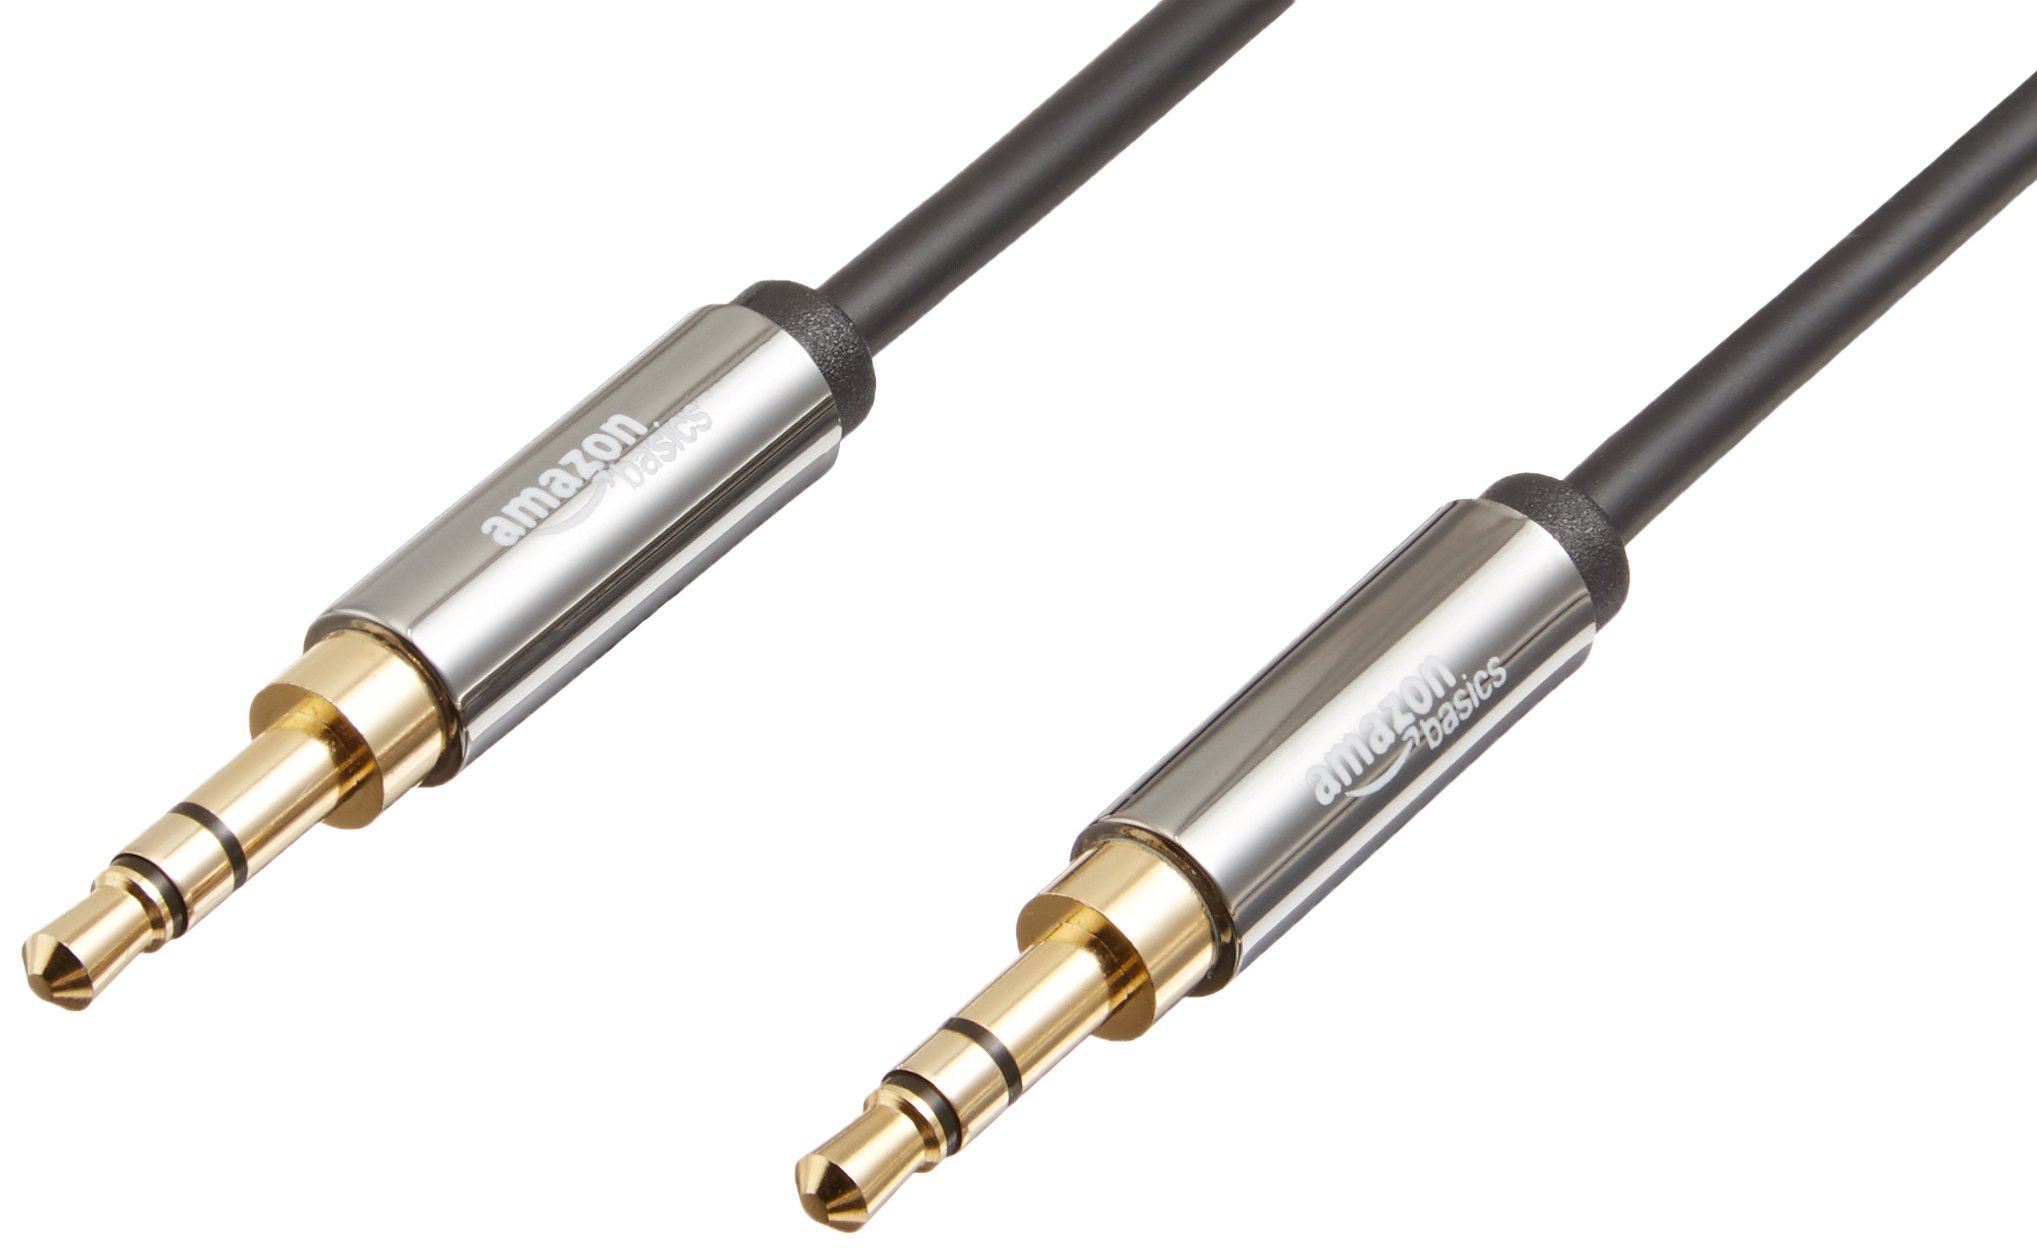
An auxiliary jack, commonly referred to as an AUX input or AUX port, is a type of audio input that allows you to connect external audio devices to your stereo system. It is a small port typically found on the front or back of a stereo receiver, car stereo, or other audio devices. The AUX input is designed to accept a standard 3.5mm audio cable, also known as a headphone jack or audio jack.
The purpose of an auxiliary jack is to provide a convenient way to play audio from external devices through your stereo system. By connecting your smartphone, tablet, MP3 player, or any other compatible audio device to the auxiliary jack, you can stream music, podcasts, audiobooks, or even navigation instructions directly through your car’s speakers or home stereo.
One of the key advantages of an auxiliary jack is its versatility. Unlike CD or radio options, which have limited options and repetitive playlists, an auxiliary jack allows you to play any audio content you desire. You have complete control over what you listen to, whether it’s your favorite Spotify playlist, a podcast episode, or an audiobook. With an auxiliary jack, your stereo system becomes a gateway to an expansive world of audio entertainment.
The popularity of auxiliary jacks has soared in recent years due to the widespread use of smartphones and portable audio devices. It has become a standard feature in many modern car stereo systems and audio equipment. However, some older factory stereo systems or devices might not come equipped with an auxiliary jack. Fortunately, it is usually possible to add an auxiliary jack to these systems with the help of a simple adapter or modification.
Now that we understand what an auxiliary jack is and its benefits, let’s move on to why you might want to add one to your factory stereo system.
Why add an auxiliary jack to a factory stereo?
There are several compelling reasons to add an auxiliary jack to a factory stereo system. Let’s explore why you might want to consider this upgrade:
- Expanded audio options: By adding an auxiliary jack, you can connect your smartphone, MP3 player, or any other audio device directly to your car’s stereo system. This opens up a wide range of possibilities for audio entertainment. You can choose from your personal music library, stream music online, listen to podcasts, or even play audio from navigation applications.
- Convenience: With an auxiliary jack, you no longer need to rely on CDs or radio stations for your audio needs. You can simply connect your preferred device and enjoy your own curated playlists or audio content. It’s a hassle-free way to access your favorite music or media on the go.
- Improved sound quality: Factory stereo systems may not always provide the best sound quality. By connecting your device through an auxiliary jack, you can bypass the limitations of the factory system and enjoy better audio performance. This is especially evident when playing high-quality audio files or streaming from premium music services.
- Seamless integration: Adding an auxiliary jack doesn’t require extensive modifications or changes to your factory stereo system. With the right adapter or modification, you can seamlessly integrate the auxiliary input into your existing setup. The audio signal will flow through the stereo system just like any other source, ensuring a smooth and integrated experience.
- Affordability: Compared to other audio system upgrades, adding an auxiliary jack is generally a cost-effective solution. The required adapters or modifications are often reasonably priced, making it accessible to most car owners or audio enthusiasts.
In summary, adding an auxiliary jack to a factory stereo system offers expanded audio options, convenience, improved sound quality, seamless integration, and affordability. It’s a simple yet impactful upgrade that can transform your audio experience while driving or using your stereo system at home. Now that you understand the benefits, let’s move on to the tools and materials you’ll need to get started.
Tools and materials needed
Before you start adding an auxiliary jack to your factory stereo, you’ll need to gather a few tools and materials. Here’s a list of what you’ll need:
- Trim removal tools: These tools are used to safely and effectively remove the trim panels around your stereo system. They help prevent damage to the panels during the installation process. Trim removal tools typically include plastic pry tools or panel removal tools.
- Wire stripper: A wire stripper is essential for removing insulation from the wires to make proper connections. Make sure you have one that is compatible with the wire gauge you’ll be working with.
- Soldering iron and solder: If you need to make permanent connections, a soldering iron and solder will be required. This ensures reliable and secure connections between wires or components.
- Heat shrink tubing: Heat shrink tubing is used to insulate and protect soldered connections. It provides a clean and professional finish to the wiring job and helps prevent any short circuits or wire exposure.
- Wire crimp connectors: Wire crimp connectors make it easy to connect wires without the need for soldering. These connectors securely hold the wires together and provide a reliable electrical connection.
- Electrical tape: Electrical tape is useful for wrapping and securing wires. It provides insulation and protects against any potential damage or short circuits.
- Auxiliary jack adapter: Depending on your stereo system’s compatibility, you may need an auxiliary jack adapter. These adapters come in various types, such as cassette adapters, Bluetooth receivers, or direct aux input adapters. Choose the one that suits your needs and stereo system requirements.
- Audio cables: You’ll need a 3.5mm audio cable to connect your device to the auxiliary jack. Make sure to choose a high-quality cable that is long enough to reach your desired location for easy access.
Ensure that you have all the necessary tools and materials before you begin the installation process. This will help to ensure a smooth and efficient installation experience. With everything ready, you’re now ready to move on to the step-by-step instructions to add an auxiliary jack to your factory stereo system.
Step 1: Determine the type of stereo system
Before you start adding an auxiliary jack to your factory stereo, it’s important to determine the type of stereo system you have. This will help you understand the necessary steps and compatibility requirements for the installation process. Here’s how to determine the type of stereo system you have:
- Identify the stereo manufacturer and model: Look for any labels, branding, or markings on the stereo system. This information can usually be found on the front faceplate, sides, or back of the unit. Take note of the manufacturer and model as you’ll need this information to find the appropriate auxiliary jack adapter or modification.
- Research the stereo system: Once you have identified the manufacturer and model, conduct some research to learn more about your stereo system. Look for online resources such as forums, user manuals, or manufacturer websites that provide information about the capabilities and compatibility of the stereo system. This research will help you understand if an auxiliary jack can be added and the specific requirements for your particular stereo system.
- Consult a professional: If you’re unsure about the type of stereo system you have or need assistance with determining compatibility, consider consulting a professional. Car audio specialists or stereo installation shops can provide expert advice and guidance based on their experience and knowledge. They can help you determine the best approach for adding an auxiliary jack to your factory stereo system.
Taking the time to determine the type of stereo system you have is crucial for a successful installation. It ensures that you choose the right auxiliary jack adapter or modification that is compatible with your stereo system. Once you have gathered all the necessary information, you can move on to the next step of locating the auxiliary input port on your factory stereo system.
Step 2: Locate the auxiliary input port
Finding the auxiliary input port on your factory stereo is an essential step in adding an auxiliary jack. This port is where you will connect the auxiliary jack adapter or modification. Here’s how to locate the auxiliary input port:
- Consult the stereo manual: Start by checking the user manual or documentation that came with your stereo system. The manual usually provides information on the location of the auxiliary input port. Look for terms like “AUX IN” or “AUX INPUT” along with the corresponding diagram or description.
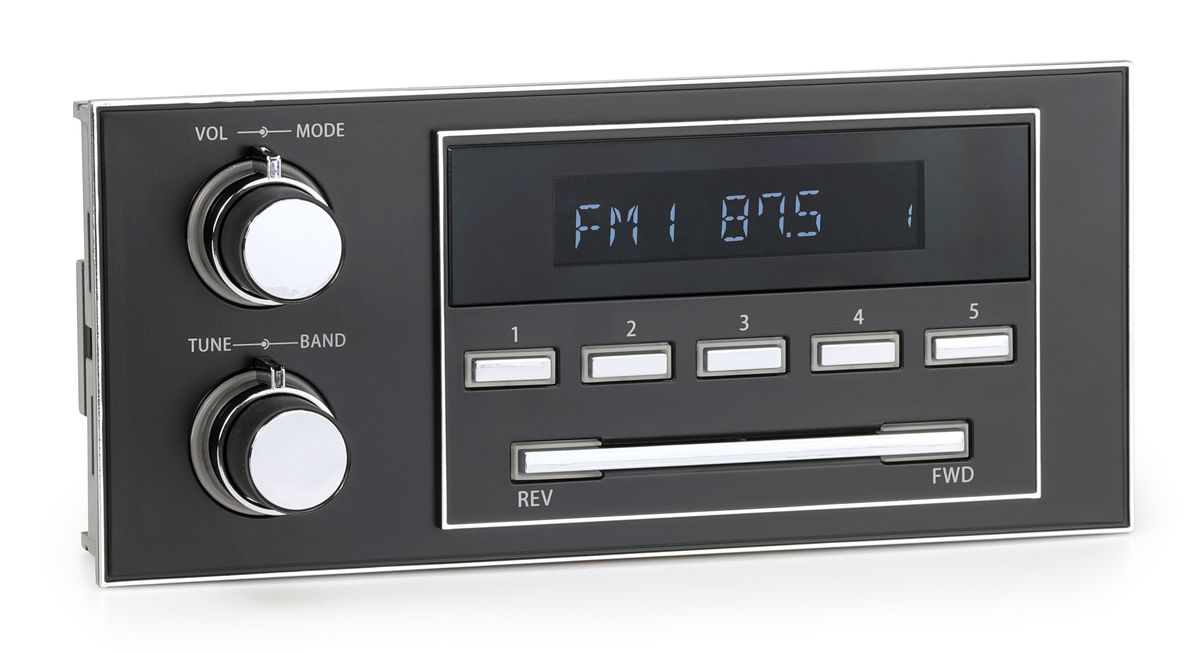
- Inspect the front panel: If you can’t find the auxiliary input port in the manual, the next step is to inspect the front panel of your stereo system. Look for any labeled or marked ports or buttons. The auxiliary input port is typically a small round hole with a headphone symbol or the word “AUX” adjacent to it. It may be located on the front face, near the volume control or source selection buttons.
- Check the rear panel: If you still haven’t located the auxiliary input port, check the rear panel of your stereo system. Some manufacturers may place the auxiliary input port on the back of the stereo for a cleaner look on the front panel. Look for any labeled or marked ports that indicate an auxiliary input.
- Look for additional accessories: In some cases, the auxiliary input port may be located in a separate module or accessory that connects to the stereo system. Check for any additional modules or accessories that may be connected to your stereo system, such as a CD changer or audio interface. The auxiliary input port could be integrated into one of these accessories.
- Consult professional assistance: If you are still unable to locate the auxiliary input port or need help with the process, consider seeking professional assistance. Car audio experts or stereo installation professionals can use their expertise to quickly identify the location of the auxiliary input port on your specific stereo system.
Once you have successfully located the auxiliary input port on your factory stereo, you are ready to proceed with choosing and connecting the appropriate auxiliary jack adapter. This is covered in the next step of the installation process.
Step 3: Choose an auxiliary jack adapter
Choosing the right auxiliary jack adapter is crucial for a successful integration with your factory stereo system. Different stereo systems may require different types of adapters, so it’s important to select one that is compatible and meets your specific needs. Here’s how to choose the right auxiliary jack adapter:
- Consider your stereo system’s compatibility: Determine the type of auxiliary input your stereo system supports. Some stereo systems may have a dedicated AUX input port, while others may require an adapter that works through a CD changer input or FM transmitter. Ensure that the auxiliary jack adapter you choose matches the available input options on your stereo system.
-
Decide on the type of adapter: There are several types of auxiliary jack adapters available, each with its own advantages and limitations. Consider your preferences and the functionality you desire.
- Cassette adapter: If your stereo system has an available cassette player, a cassette adapter may be a simple and affordable option. These adapters mimic the functionality of a cassette tape and have an auxiliary cable that connects to your audio device.
- Bluetooth receiver: A Bluetooth receiver adapter allows you to wirelessly connect your audio device to your stereo system. This eliminates the need for physical cable connections and offers the convenience of wireless connectivity.
- Direct aux input adapter: A direct aux input adapter connects directly to the auxiliary input port on your stereo system. This type of adapter provides a reliable and direct connection for optimal audio quality.
- FM transmitter: If your stereo system lacks an auxiliary input, an FM transmitter adapter can be a viable option. These adapters transmit the audio signal wirelessly over FM radio frequencies, which can then be picked up by your stereo system’s FM receiver.
- Consider additional features: Some auxiliary jack adapters may come with additional features such as USB charging ports, built-in audio controls, or noise-canceling technology. These features can enhance the functionality and user experience, so choose an adapter that suits your preferences and requirements.
- Read reviews and compare: Before making a final decision, read reviews and compare different auxiliary jack adapters. Look for feedback from users who have a similar stereo system to yours to ensure compatibility and satisfaction. Pay attention to the build quality, audio performance, and ease of installation when evaluating different options.
By considering your stereo system’s compatibility, the type of adapter, additional features, and user reviews, you can make an informed decision and choose the right auxiliary jack adapter for your factory stereo system. Once you have selected the adapter, you can proceed to the next step of connecting it to your stereo system, which will be covered in the following section.
Step 4: Connect the adapter to the stereo
Once you have chosen the appropriate auxiliary jack adapter for your factory stereo system, it’s time to connect it. The specific steps may vary depending on the type of adapter you have selected, but here is a general guideline to help you through the process:
- Power off your stereo system: Before making any connections, it’s important to turn off your stereo system to avoid any potential electrical issues or damage.
- Locate the auxiliary input port on your stereo: Refer back to Step 2 to remind yourself of the location of the auxiliary input port on your factory stereo. Ensure that you have identified the correct port before proceeding.
- Connect the adapter to the auxiliary input port: Depending on the type of auxiliary jack adapter you have chosen, connect it to the auxiliary input port on your stereo system. Follow the instructions provided with the adapter or refer to its manual to make the appropriate connections. This may involve plugging in a cable, inserting a cassette adapter, or connecting a Bluetooth receiver.
- Make any additional connections: Some auxiliary jack adapters may require additional connections or configurations. For example, a Bluetooth receiver may need to be paired with your audio device, or an FM transmitter may require you to set the frequency. Follow the specific instructions for your chosen adapter to complete any required additional connections.
- Verify the connection: Once the adapter is connected, turn on your stereo system and switch it to the auxiliary input mode. Verify that the audio signal is being properly transmitted from your connected device to your stereo system. Adjust the volume on both your device and the stereo system as needed.
- Secure and tidy up the connections: After ensuring that the connection is working properly, secure the cables and connections to prevent them from becoming loose or tangled. You can use zip ties, adhesive clips, or cable management solutions to keep everything neat and organized. This will help minimize any potential interference or distractions while using your stereo system.
By following these steps, you should be able to connect the chosen auxiliary jack adapter to your factory stereo system. The next step is to test the connection and ensure that audio is being properly played through your stereo system, which is covered in the following section.
Step 5: Test the connection
After connecting the auxiliary jack adapter to your factory stereo system, it’s crucial to test the connection to ensure that audio is being properly transmitted. Here’s how to test the connection:
- Prepare your audio device: Connect your smartphone, MP3 player, or other audio device to the auxiliary jack adapter using a 3.5mm audio cable. Ensure that the volume on your audio device is turned up and any necessary audio settings are adjusted.
- Turn on your stereo system: Power on your stereo system and switch it to the auxiliary input mode if necessary. Consult your stereo system’s manual for specific instructions on how to access and activate the auxiliary input mode.
- Play audio from your device: Start playing audio from your connected device. It could be a song, podcast, or any other audio content. Verify that the audio is being played through your stereo system’s speakers. Adjust the volume on both your device and the stereo system as needed.
- Test the audio quality: Pay attention to the audio quality and ensure that it is clear and without any distortion or interference. Adjust the audio settings on your stereo system if needed to optimize the sound.
- Test functionality: Test the functionality of the auxiliary jack adapter. For example, if you have a Bluetooth receiver, try playing audio wirelessly and verify that the connection remains stable. If you have a cassette adapter, test the playback function and make sure the audio is coming through clearly.
- Repeat the process: Test the connection with different audio sources or devices to ensure that the auxiliary jack adapter is universally compatible and working as intended.
By thoroughly testing the connection, you can verify that the adapter is working properly and that audio is being transmitted effectively through your factory stereo system. If any issues or anomalies are detected, double-check your connections and consult the troubleshooting section in the adapter’s manual. Once you are satisfied with the test results, you can begin enjoying a wider range of audio options and a more versatile listening experience in your car or home.
Congratulations! You have successfully added an auxiliary jack to your factory stereo system. Now you can enjoy the convenience of playing your favorite music, podcasts, or audiobooks directly through your car or home stereo. Happy listening!
Conclusion
Adding an auxiliary jack to a factory stereo is a fantastic way to enhance your audio experience and bring modern connectivity options to your car or home. By following the steps outlined in this guide, you can successfully integrate an auxiliary jack adapter into your stereo system, opening up a world of possibilities for audio entertainment.
First, determine the type of stereo system you have and research its compatibility. Then, locate the auxiliary input port on your stereo and choose the right auxiliary jack adapter based on your preferences and requirements. Connect the adapter to your stereo system, making sure to follow the specific instructions for your chosen adapter. Finally, test the connection to ensure that audio is being properly transmitted through your stereo system’s speakers.
With an auxiliary jack in place, you’ll enjoy expanded audio options, increased convenience, improved sound quality, and seamless integration with your existing stereo system. Whether you’re streaming your favorite playlist, catching up on podcasts, or navigating with audio instructions, an auxiliary jack provides a versatile and enjoyable listening experience.
Remember to consider the compatibility and features of the auxiliary jack adapter you choose. Read user reviews and seek professional advice if needed. Additionally, take the time to properly connect and secure the cables, and test the audio quality to ensure optimal performance.
Now that you have successfully added an auxiliary jack to your factory stereo system, you can embark on your audio journey with an expanded range of entertainment possibilities. Enjoy the freedom of personalized playlists, on-demand podcasts, and an enhanced audio experience. Safe travels and happy listening!