Home>Production & Technology>Audio Cable>How To Wire An Auxiliary Audio Cable To Car
Audio Cable
How To Wire An Auxiliary Audio Cable To Car
Modified: January 22, 2024
Learn how to wire an auxiliary audio cable to your car and enjoy high-quality audio on the go. Step-by-step guide for seamless installation.
(Many of the links in this article redirect to a specific reviewed product. Your purchase of these products through affiliate links helps to generate commission for AudioLover.com, at no extra cost. Learn more)
Table of Contents
- Introduction
- Tools and Materials Needed
- Step 1: Gather the Required Components
- Step 2: Prepare the Auxiliary Audio Cable
- Step 3: Identify the Car’s Audio System
- Step 4: Locate the Appropriate Connection Points
- Step 5: Connect the Auxiliary Audio Cable to the Car’s Audio System
- Step 6: Test the Connection
- Conclusion
Introduction
Music is an integral part of our everyday lives, and having a high-quality audio experience in our cars is essential for many of us. While most modern cars come equipped with Bluetooth connectivity and USB ports, there are still many vehicles on the road that lack these features. However, you don’t have to miss out on your favorite tunes while driving. One solution is to wire an auxiliary audio cable to your car’s audio system.
Wiring an auxiliary audio cable allows you to connect your phone, tablet, or portable audio device directly to your car’s sound system, providing a seamless and convenient audio experience. Whether you want to listen to your curated playlists, stream podcasts, or enjoy hands-free phone calls through your car’s speakers, a properly wired auxiliary audio cable can make it all possible.
In this guide, we will walk you through the step-by-step process of wiring an auxiliary audio cable to your car’s audio system. We will cover the tools and materials you’ll need, as well as the specific steps to follow in order to successfully complete the installation. By the end, you’ll be able to enjoy your favorite audio content with crystal clear sound quality while on the go.
Tools and Materials Needed
Before you begin wiring an auxiliary audio cable to your car’s audio system, it’s important to gather the necessary tools and materials. Having everything prepared in advance will make the installation process smoother and more efficient. Here are the tools and materials you’ll need:
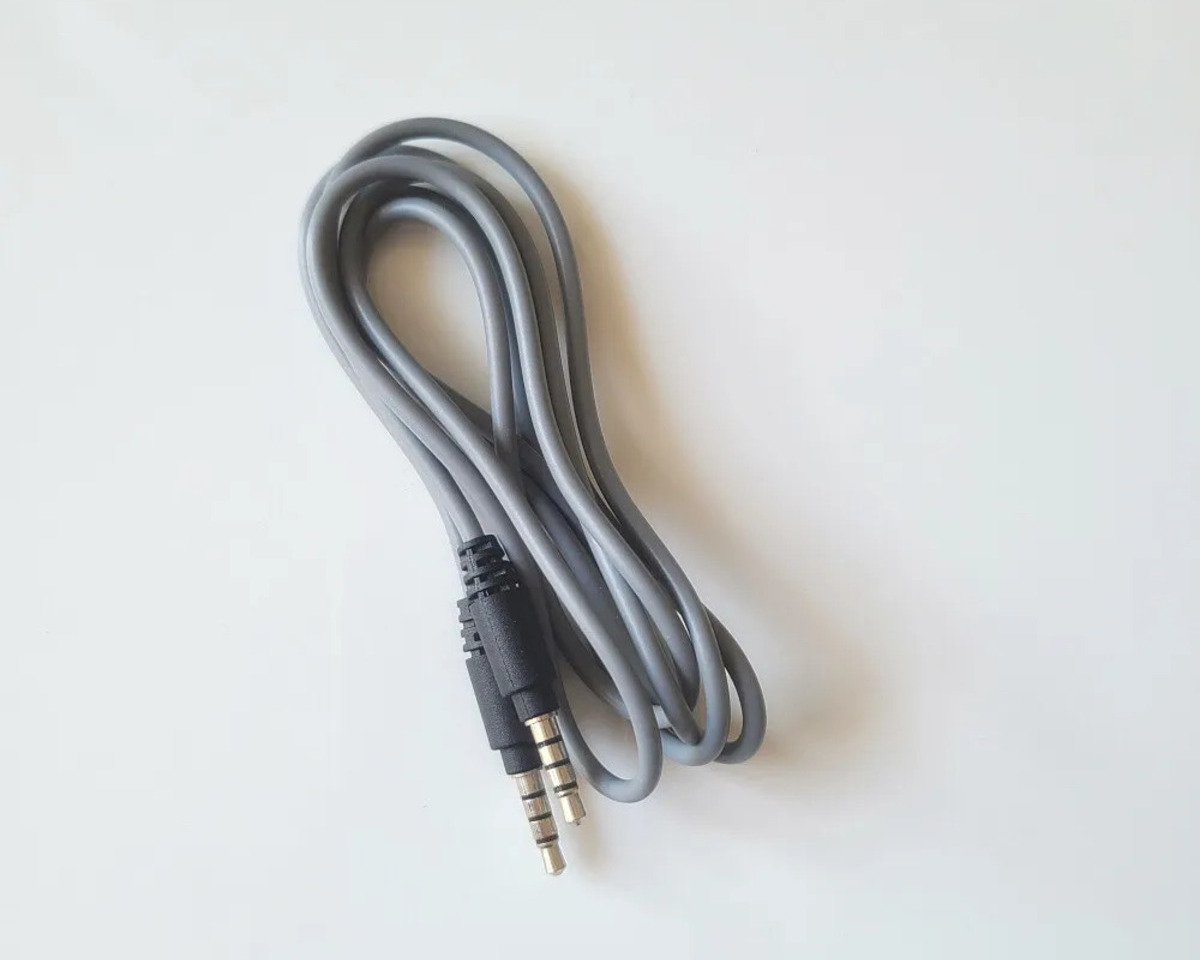
- An auxiliary audio cable: Look for a cable with a 3.5mm audio connector on both ends. This is the standard size for auxiliary audio cables and is compatible with most audio devices.
- Wire strippers: These will be used to remove the outer insulation from the wires.
- Wire cutters: These will come in handy for cutting any excess wire.
- Electrical tape: This will be used to secure the connections and prevent any exposed wires.
- A multimeter: This tool will help you test the audio connections and ensure everything is functioning properly.
- A trim removal tool (optional): If you need to access the audio system connections behind the interior panels, a trim removal tool can make the process easier.
- A soldering iron and solder (optional): If you prefer a more permanent and secure connection, you may choose to solder the wires instead of using connectors.
- A user manual for your car’s audio system: This will help you identify the appropriate connections for wiring the auxiliary audio cable.
Having these tools and materials ready before you start the installation will help you save time and ensure a successful wiring process. Once you have everything gathered, you can move on to the next steps of preparing the auxiliary audio cable and identifying the car’s audio system connections.
Step 1: Gather the Required Components
Before you begin wiring an auxiliary audio cable to your car’s audio system, it’s essential to gather all the necessary components. Having everything you need in one place will make the installation process smoother and more efficient. Here’s what you’ll need:
- Auxiliary Audio Cable: Look for a high-quality auxiliary audio cable with a 3.5mm audio connector on both ends. This is the standard size for most audio devices and car audio systems. Make sure the cable length is appropriate for your car’s setup.
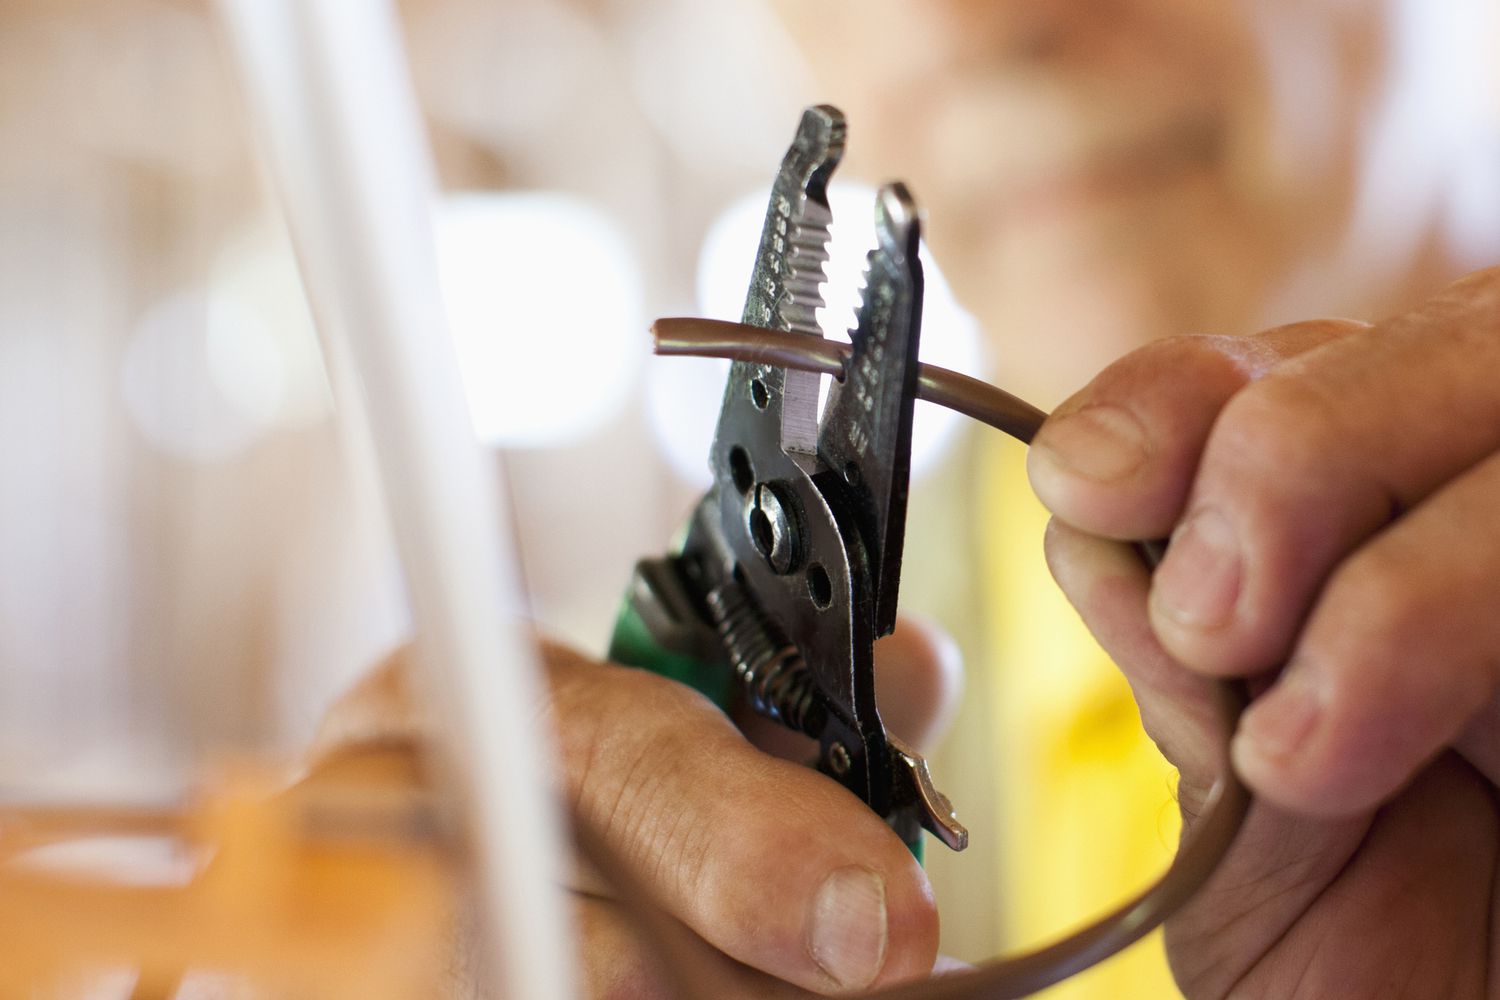
- Wire Strippers: You’ll need wire strippers to remove the outer insulation from the wires. This will expose enough wire for a secure connection.
- Wire Cutters: Wire cutters will come in handy for cutting any excess wire after making the connections.
- Electrical Tape: This will be used to secure and insulate the connections, preventing any exposed wires and ensuring a reliable connection.
- Multimeter: A multimeter is a useful tool for testing the audio connections and ensuring everything is working correctly. It will help you identify any faulty connections or wiring issues.
- User Manual: It’s essential to have your car’s audio system user manual on hand. This will provide valuable information about the specific connections and setup of your audio system.
- Optional: Trim Removal Tools: If you need to access the audio system connections behind interior panels or trim, having trim removal tools can make the process easier and prevent any damage to the vehicle’s interior.
- Optional: Soldering Iron and Solder: For a more secure and permanent connection, you may choose to use a soldering iron and solder instead of connectors. This is optional but can provide added durability.
Having all the necessary components ready in advance will save you time and frustration during the installation process. Once you have gathered these components, you can move on to the next steps of preparing the auxiliary audio cable and identifying the appropriate connections in your car’s audio system.
Step 2: Prepare the Auxiliary Audio Cable
Now that you have gathered all the necessary components, it’s time to prepare the auxiliary audio cable for wiring to your car’s audio system. Follow these steps to properly prepare the cable:
- Measure and Cut: Measure the desired length of the auxiliary audio cable based on your car’s setup. It’s important to have enough length to comfortably reach the audio system connections without excess cable cluttering the interior. Use wire cutters to cut the cable to the desired length.
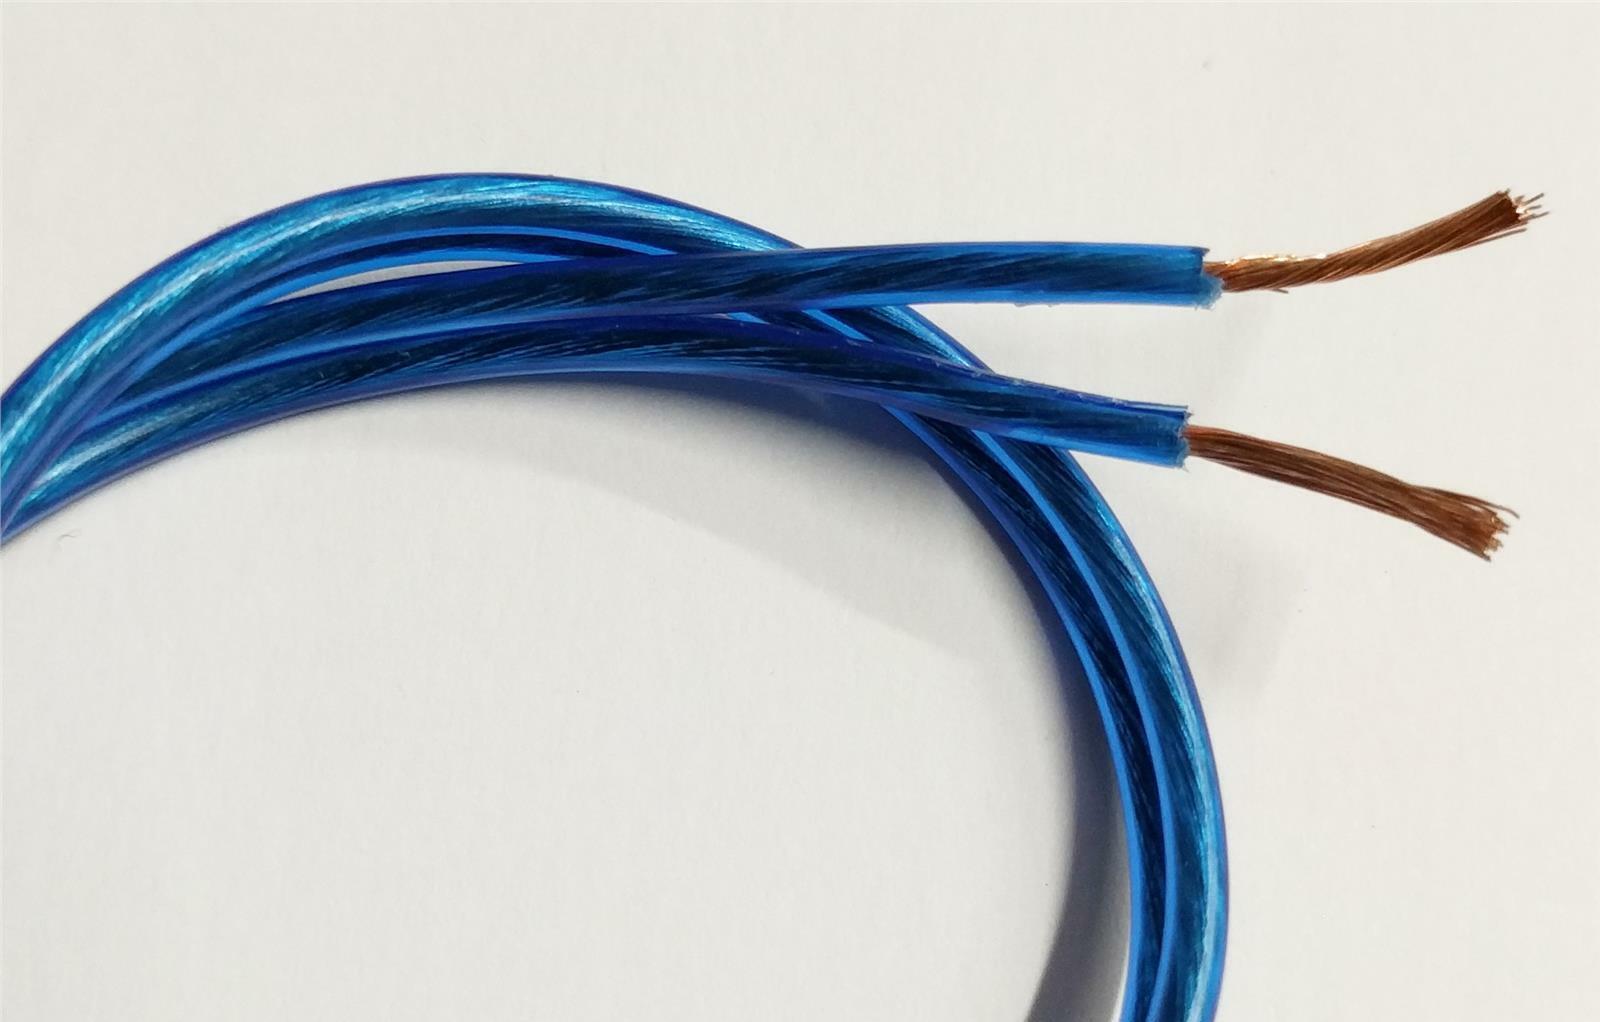
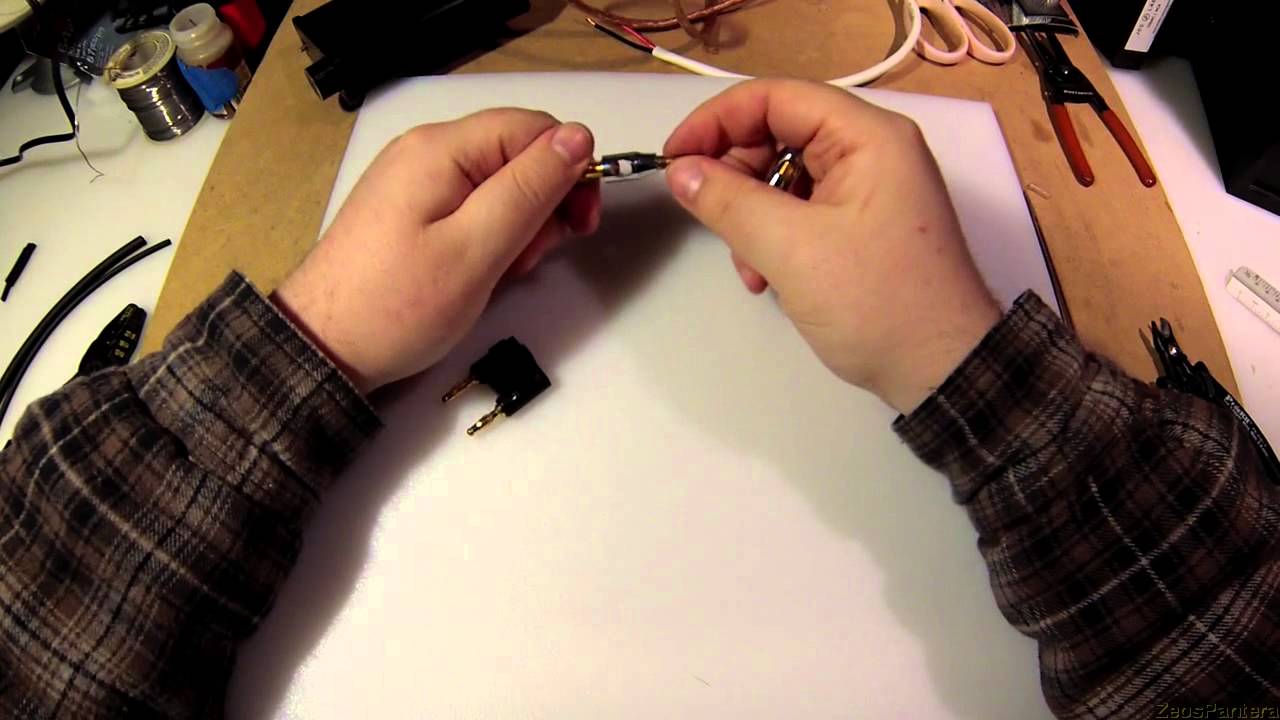
- Strip the Wires: Use wire strippers to carefully strip a small section (around 1-2 centimeters) of the insulation from the two ends of the auxiliary audio cable. Be cautious not to damage the internal wires while stripping the insulation.
- Identify the Wires: Inside the auxiliary audio cable, you will find two insulated wires. One wire is typically colored or marked as “left” or “L,” and the other wire is colored or marked as “right” or “R.” Take note of the colors or markings as they will be crucial for proper wiring.
- Expose the Copper Wires: After stripping the insulation, you will see copper wires within each wire. Use wire strippers to carefully remove a small portion of the insulation from these copper wires. This will expose enough wire to make a solid and secure connection.
- Optional: Soldering: If you prefer a more permanent and secure connection, you can solder the exposed copper wires. Apply a small amount of solder to each exposed wire to create a bond. This step is optional but recommended for added durability.
- Insulate the Connections: After preparing the wires, use electrical tape to individually wrap and insulate each exposed wire. This will prevent any short circuits or unwanted contact with other wires.
By properly preparing the auxiliary audio cable, you ensure that the connection to your car’s audio system will be secure and reliable. Once you have prepared the cable, you can proceed to the next step of identifying the appropriate connections in your car’s audio system.
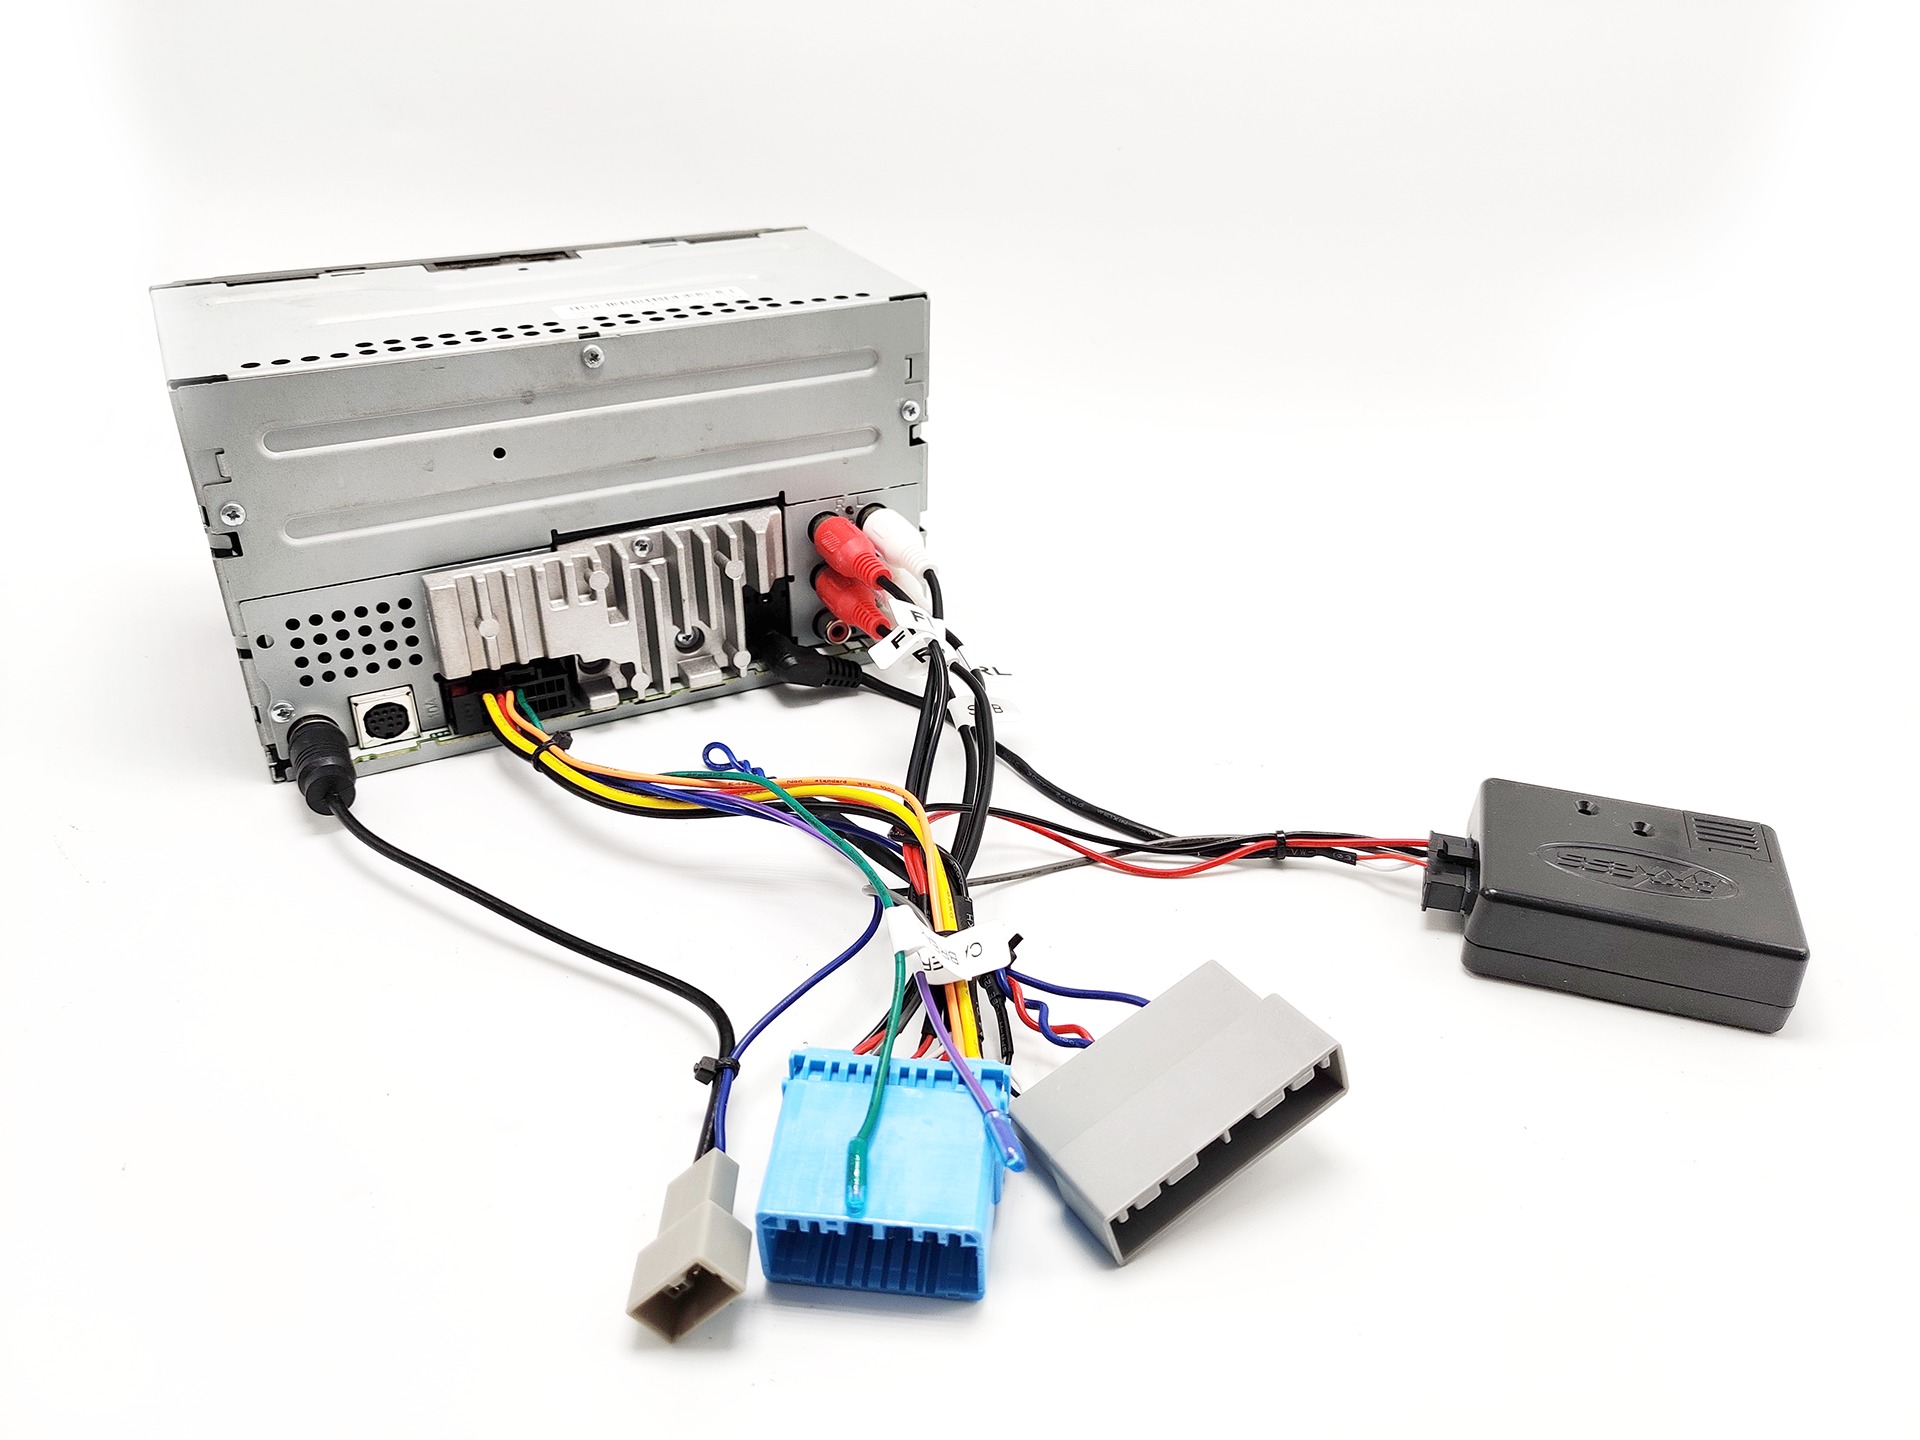
Step 3: Identify the Car’s Audio System
Before you can successfully wire the auxiliary audio cable to your car, it’s crucial to identify the specific audio system setup in your vehicle. This step will help you understand the different connection points and ensure a proper and seamless integration with your car’s audio system. Here’s how to identify the car’s audio system:
- Consult the User Manual: Refer to the user manual that came with your car. It will provide valuable information about the audio system, including the location of the audio inputs and outputs.
- Check the Dashboard: Look for any indications of auxiliary or audio input options on the dashboard, radio interface, or control panel. Some cars have clearly labeled auxiliary input jacks or USB ports for audio connectivity.
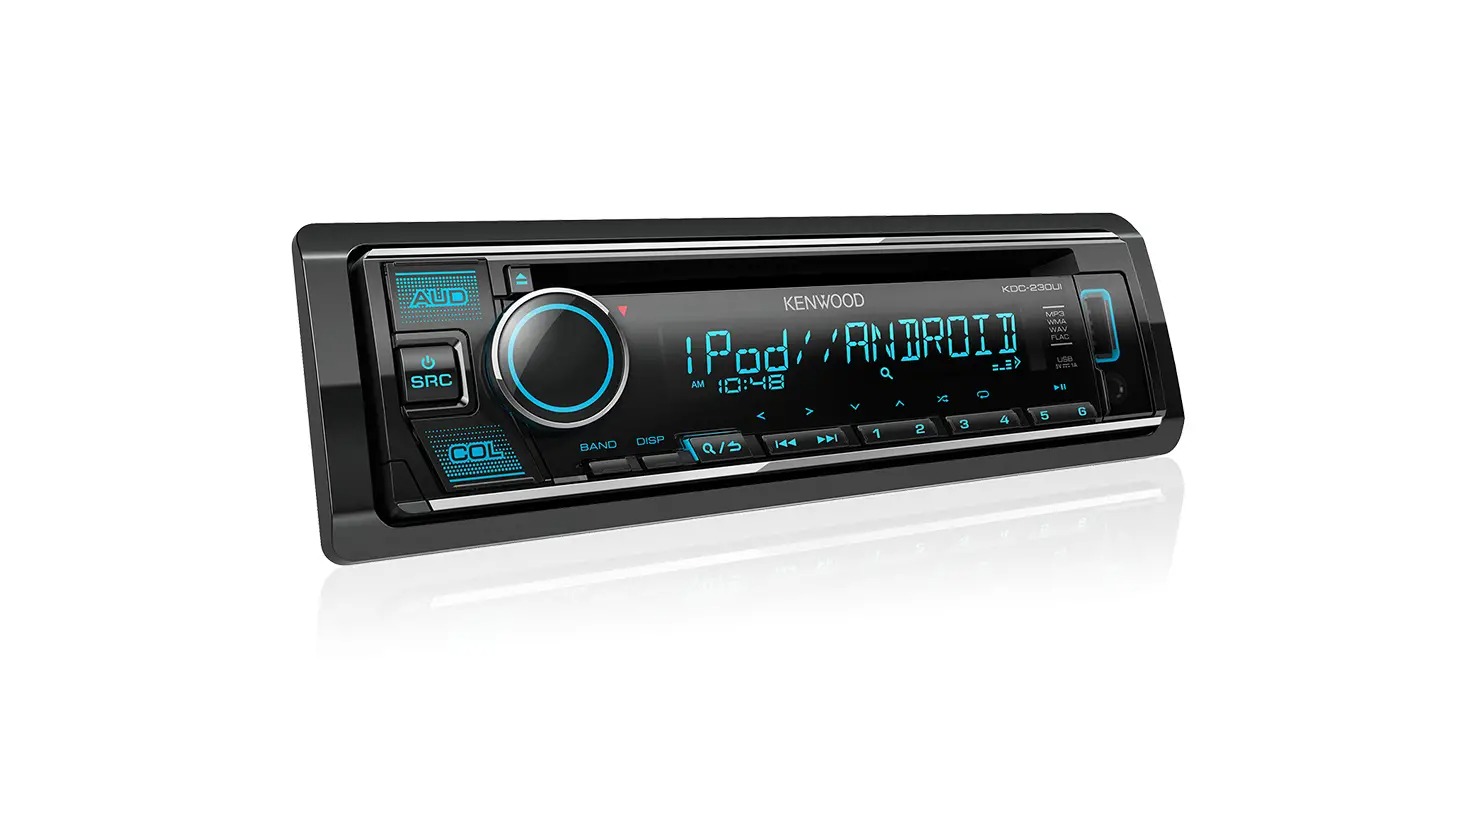
- Examine the Radio Unit: If your car has a built-in radio unit, examine the front panel for any auxiliary input options. This can be in the form of a dedicated auxiliary input jack or a multi-purpose input that supports auxiliary connections.
- Look for Auxiliary Labels: Check for labels or markings near the audio system’s connection points. These labels may indicate the presence of an auxiliary input or provide further instructions for connecting external audio devices.
- Inspect the User Interface: Navigate through the audio system’s user interface or settings menu. Look for options related to auxiliary or external audio connections. Some audio systems offer multiple input sources that may need to be switched to the auxiliary mode.
- Seek Professional Advice: If you’re unable to locate the audio system connections or need further assistance, consider reaching out to a professional car audio technician. They can provide expert guidance and help identify the specific audio system setup in your car.
Properly identifying the car’s audio system is essential to ensure that you connect the auxiliary audio cable to the correct inputs or outputs. By familiarizing yourself with the audio system, you’ll have a better understanding of where to make the necessary connections. With this information in hand, you’re ready to proceed to the next step of locating the appropriate connection points in your car’s audio system.
Step 4: Locate the Appropriate Connection Points
Now that you have identified the audio system in your car, it’s time to locate the appropriate connection points where you will wire the auxiliary audio cable. Different car audio systems may have varying connection options, so it’s important to find the right ones for your specific setup. Follow these steps to locate the connection points:
- Dashboard: Check the dashboard area for any labeled audio input jacks or ports. These are often located in the center console, near the radio unit, or in armrest compartments. Look for icons or labels such as “AUX” or a headphone symbol.
- Radio Unit: Examine the front panel of the radio unit. Look for any connection options specifically labeled as “AUX IN” or “AUX INPUT.” These are typically 3.5mm audio jacks that can be used to connect external devices like your auxiliary audio cable.
- Glove Box or Center Console: Some car models may have auxiliary input jacks located inside the glove box or center console. Open these compartments and inspect for any labeled audio input options.
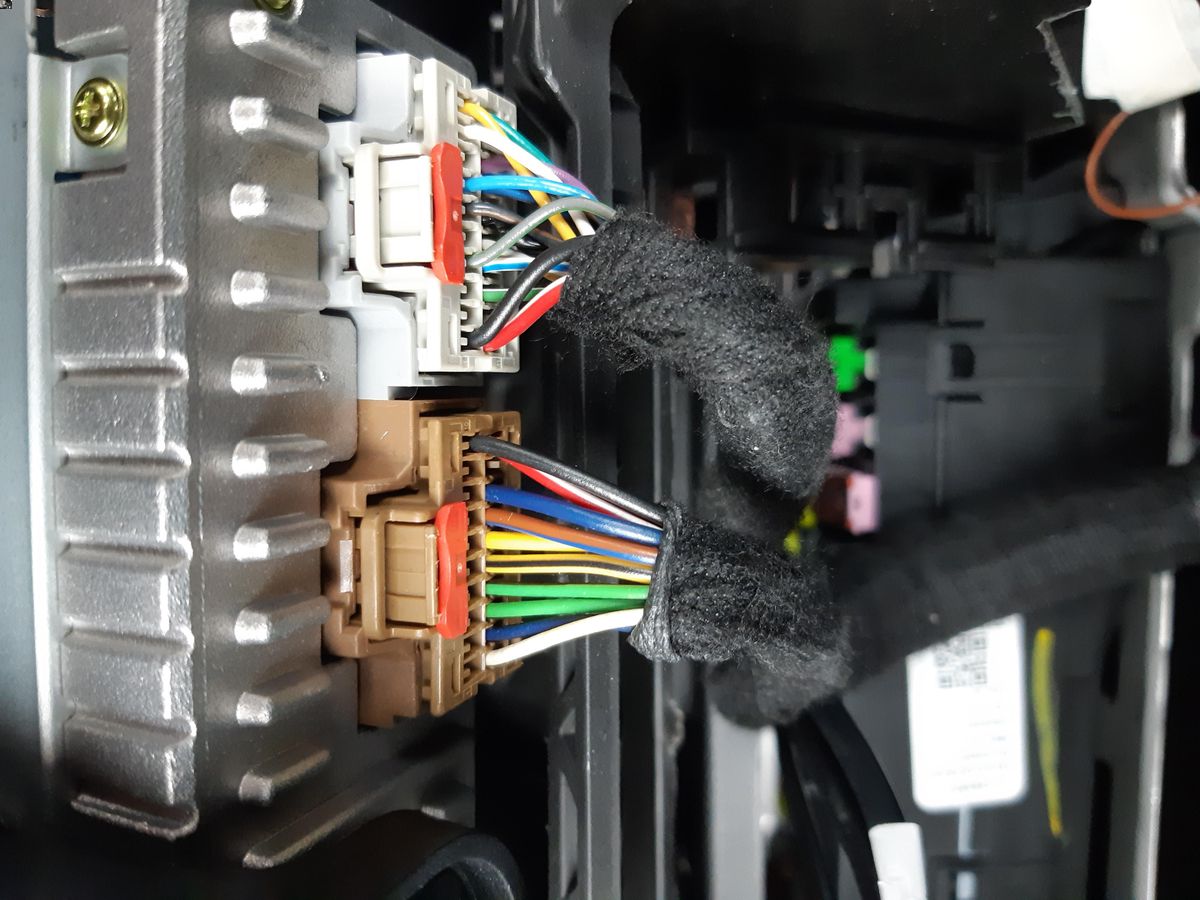
- Behind the Radio Unit: In some cases, the auxiliary input or audio connection points may be located behind the radio unit. To access them, you may need to remove the trim or paneling surrounding the radio unit. Use caution and refer to your car’s user manual or seek professional help if needed.
- Consult the User Manual: If you’re unable to locate the appropriate connection points, refer to your car’s user manual. It should provide detailed instructions and diagrams on the audio system’s connections.
- Ask for Assistance: If you’re still having trouble finding the right connection points, don’t hesitate to consult a professional car audio technician. They have the expertise to help you locate and identify the appropriate audio input ports in your car.
Locating the appropriate connection points is crucial in ensuring a proper and seamless integration of the auxiliary audio cable with your car’s audio system. Once you have identified the connection points, you are ready to move on to the next step of connecting the auxiliary audio cable to your car’s audio system.
Step 5: Connect the Auxiliary Audio Cable to the Car’s Audio System
With the connection points identified, it’s time to make the physical connections between the auxiliary audio cable and your car’s audio system. Follow these steps to connect the auxiliary audio cable:
- Ensure the Car is Turned Off: Before making any connections, make sure your car is turned off to avoid any potential electrical hazards.
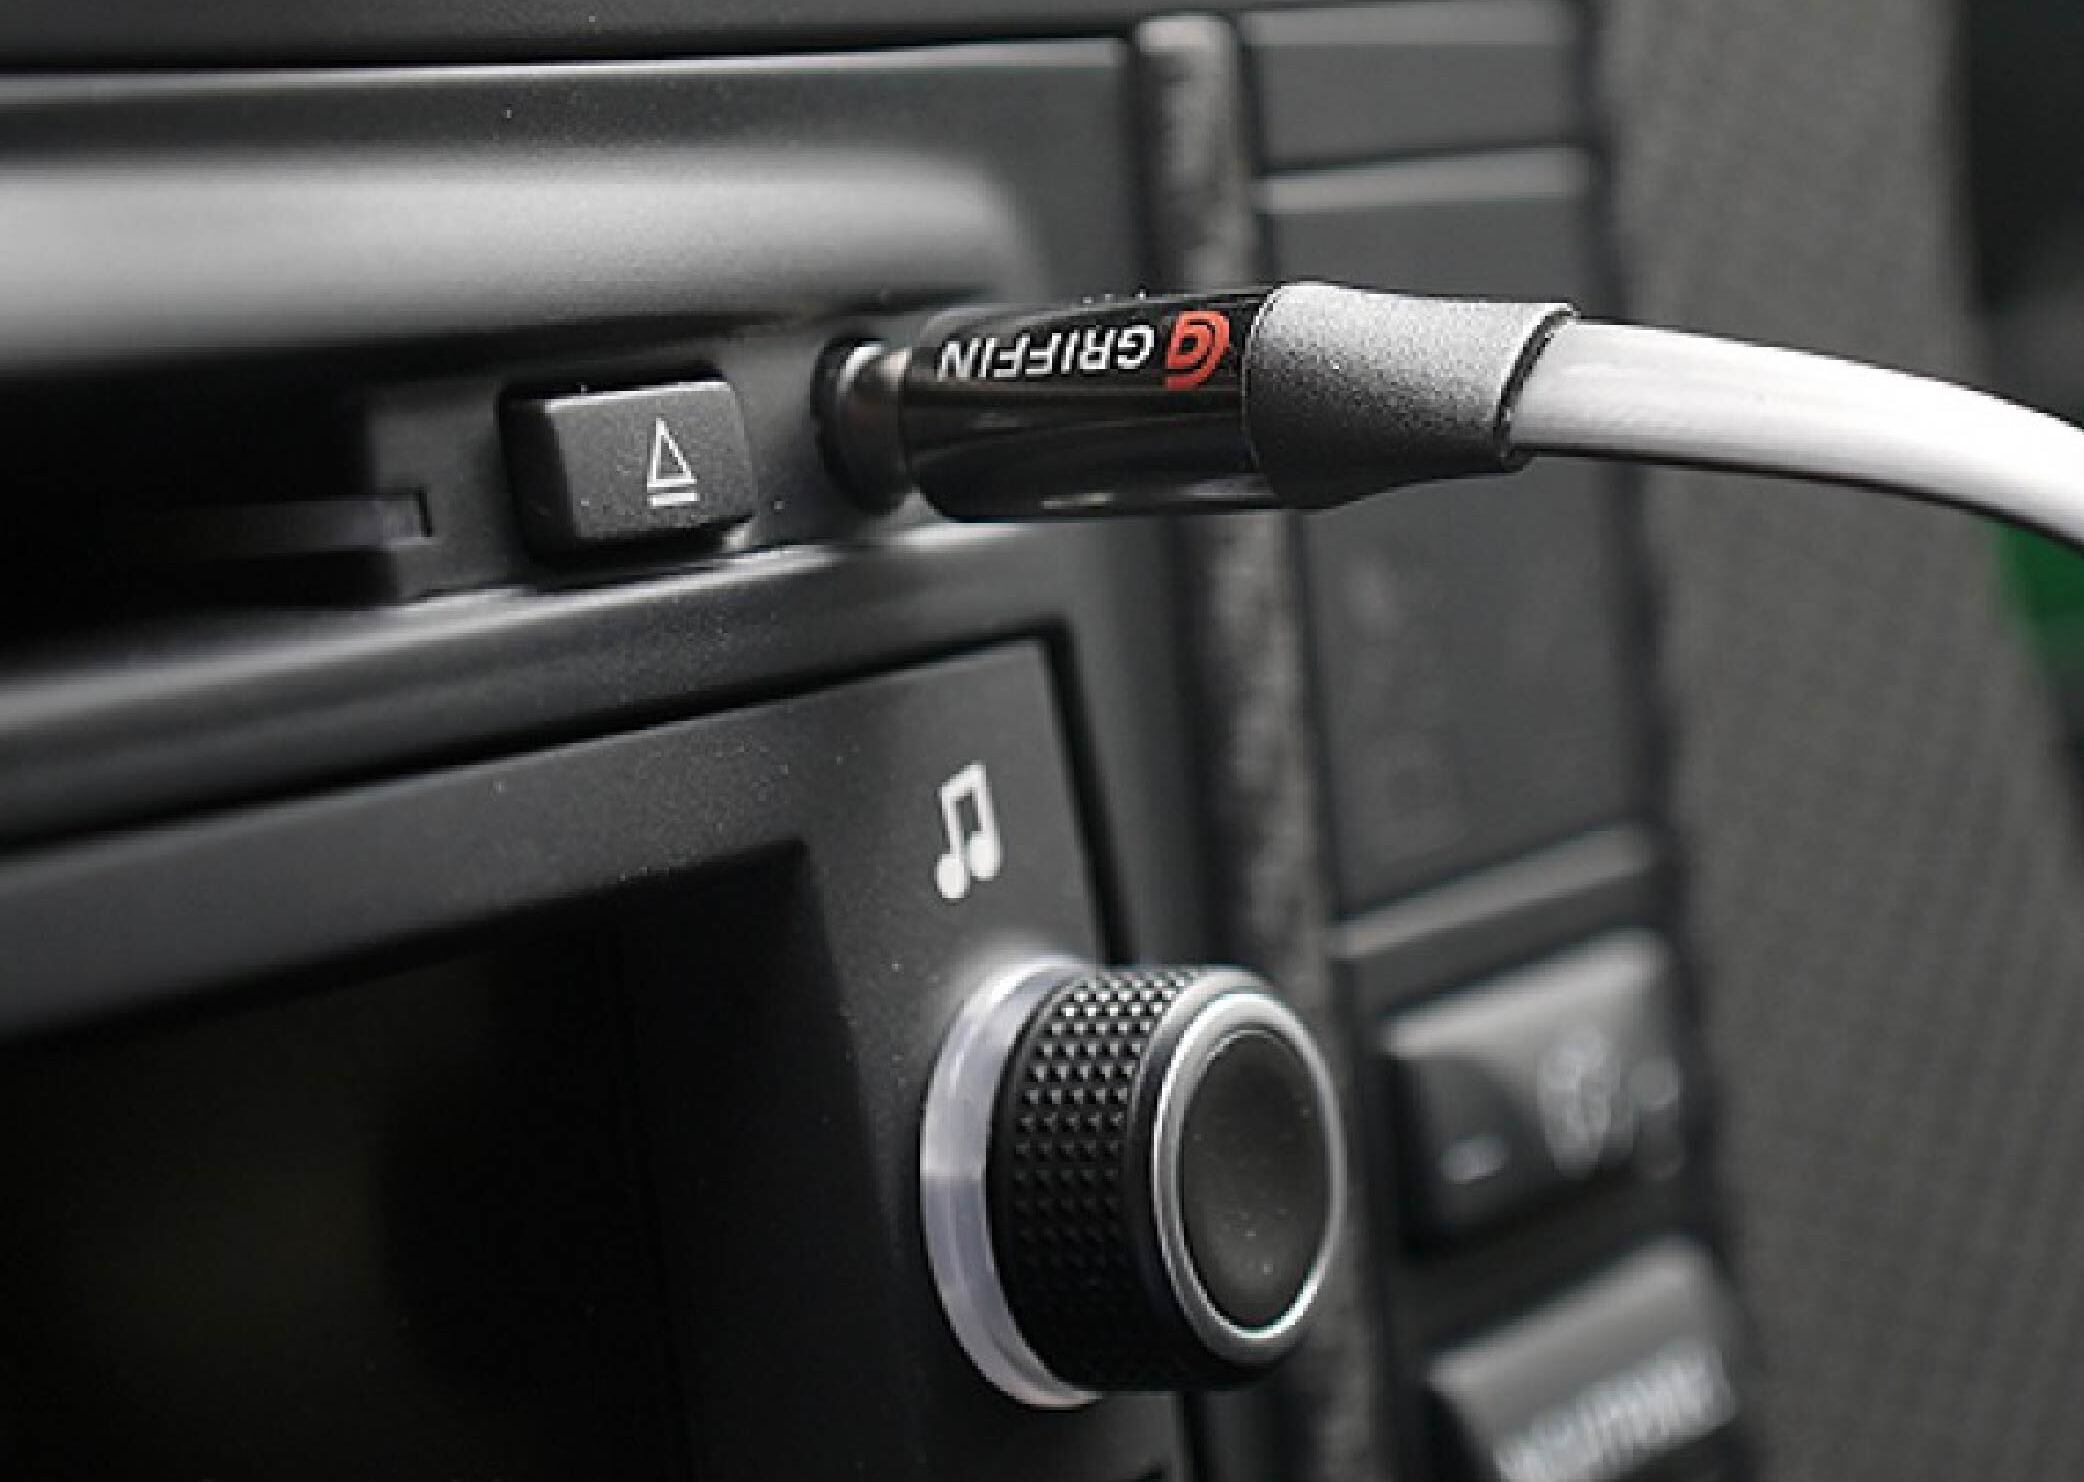
- Insert the Auxiliary Audio Cable: Take one end of the auxiliary audio cable and insert it into the appropriate connection point in your car’s audio system. This could be an auxiliary input jack, an audio input port, or any other designated audio input labeled as “AUX.”
- Secure the Connection: Once the auxiliary audio cable is inserted into the connection point, ensure it is firmly and securely seated. This helps maintain a stable connection and prevents any unwanted audio interruptions.
- Connect the Other End: Take the other end of the auxiliary audio cable and connect it to the audio output port of your audio device, such as your smartphone, tablet, or portable music player. This might be a headphone jack or an audio output port.
- Test the Connection: Turn on your car’s audio system and set it to the appropriate input source (e.g., AUX). Play some audio on your connected device and listen for sound coming through the car’s speakers. Adjust the volume levels as needed.
- Check for Proper Functioning: Listen to different audio tracks and test both the left and right channels to ensure that the audio is coming through clearly and evenly. If you experience any issues with the audio, check the cables for any loose connections or damage.
By carefully following these steps and making the proper connections, you will have successfully wired the auxiliary audio cable to your car’s audio system. Enjoy the seamless audio playback and the convenience of listening to your favorite content through your car’s speakers.
Step 6: Test the Connection
After connecting the auxiliary audio cable to your car’s audio system, it’s crucial to test the connection to ensure everything is working properly. Follow these steps to test the connection:
- Choose Audio Source: Set your car’s audio system to the appropriate input source (e.g., AUX or external input). This ensures that the audio is routed to the connected device.
- Start Audio Playback: Play some audio on your connected device, such as your smartphone or portable music player. Choose a familiar track or audio source for testing purposes.
- Check for Sound: Listen for sound coming through your car’s speakers. Ensure that the volume levels are audible and balanced. If you don’t hear any sound or if the audio is distorted, check the connections and ensure they are secure.
- Test Left and Right Channels: Pay attention to the audio channels to verify that the left and right speakers are working correctly. Play audio material that tests stereo separation, such as a song with distinct left and right audio elements. Confirm that the audio is properly balanced and distributed between the left and right channels.
- Adjust Volume Levels: Adjust the volume levels using your car’s audio system controls and the connected device’s volume controls. Ensure that the volume can be controlled smoothly and without any issues.
- Check for Audio Quality: Listen for any audio anomalies, such as buzzing, crackling, or static noises. These could indicate interference or a poor connection. If you experience any issues, check for loose cables or try reconnecting the auxiliary audio cable.
- Ensure Device Compatibility: If you encounter any compatibility issues with your audio device, consult its user manual or the manufacturer’s support resources for further troubleshooting.
By thoroughly testing the connection, you can verify that the auxiliary audio cable is properly wired to your car’s audio system. This step ensures that you can enjoy high-quality audio playback and a seamless listening experience while driving.
Conclusion
Wiring an auxiliary audio cable to your car’s audio system is a fantastic way to enhance your driving experience by enabling you to enjoy your favorite music, podcasts, and other audio content directly through your car’s speakers. By following the steps outlined in this guide, you can successfully connect your audio device to your car’s audio system and enjoy high-quality sound while on the go.
First, gather the required components, including the auxiliary audio cable, wire strippers, wire cutters, electrical tape, a multimeter, and your car’s audio system user manual. With these tools in hand, you can proceed to prepare the auxiliary audio cable by cutting it to the desired length, stripping and exposing the wires, and insulating the connections.
Next, identify the audio system in your car by consulting the user manual, checking the dashboard and radio unit for auxiliary input options, and looking for any labeled connection points or auxiliary-related icons. Once you have identified the appropriate connection points, carefully make the physical connections between the auxiliary audio cable and your car’s audio system.
Before finalizing the installation, it’s essential to test the connection to ensure proper functionality. Set the car’s audio system to the correct input source, start audio playback on your connected device, and listen for sound coming through your car’s speakers. Check for audio quality, balance, and any signs of interference or distortion.
By following these steps and taking the time to properly wire the auxiliary audio cable to your car’s audio system, you can enjoy a seamless and immersive audio experience while driving. Whether you’re on a road trip, commuting to work, or simply running errands, having your favorite music and audio content at your fingertips makes every journey more enjoyable.
Remember to refer to your car’s user manual for specific instructions and consult a professional car audio technician if you encounter any difficulties or challenges during the installation process. With a little time and effort, you can wire an auxiliary audio cable to your car and elevate your driving experience with a personalized soundtrack.