Home>Devices & Equipment>Radio>How To Hook Up Amp To Factory Radio

Radio
How To Hook Up Amp To Factory Radio
Published: November 10, 2023
Learn how to easily hook up an amp to your factory radio and enhance your audio experience. Our step-by-step guide will help you integrate your amp seamlessly with your existing radio system.
(Many of the links in this article redirect to a specific reviewed product. Your purchase of these products through affiliate links helps to generate commission for AudioLover.com, at no extra cost. Learn more)
Table of Contents
- Introduction
- Step 1: Gather Materials
- Step 2: Determine Amp and Speaker Wiring
- Step 3: Disconnect Battery
- Step 4: Access Factory Radio
- Step 5: Locate Wiring Harness
- Step 6: Connect RCA Cables
- Step 7: Connect Amp Power Wire
- Step 8: Connect Amp Ground Wire
- Step 9: Connect Remote Wire
- Step 10: Connect Speaker Wires
- Step 11: Reconnect Battery
- Step 12: Test the Setup
- Conclusion
Introduction
Hooking up an amp to a factory radio can be a great way to upgrade your car’s audio system without having to replace the entire head unit. By adding an amplifier, you can achieve improved sound quality, better bass response, and increased volume levels.
However, before you jump into the process, it’s important to understand that connecting an amp to a factory radio requires careful planning and execution. You’ll need to gather the necessary materials, determine the wiring configuration, and follow the proper installation steps to ensure a successful and safe installation.
In this guide, we will take you through the step-by-step process of how to hook up an amp to a factory radio. Whether you’re a seasoned car audio enthusiast or a beginner, this article will provide you with all the information you need to make the installation process as smooth as possible.
Before we dive into the details, it’s important to note that the specific steps may vary depending on the make and model of your car, as well as the type of factory radio you have. It’s always a good idea to consult your car’s manual or seek professional assistance if you’re unsure about any aspect of the installation.
Now, let’s get started with the first step: gathering the materials you’ll need for the installation.
Step 1: Gather Materials
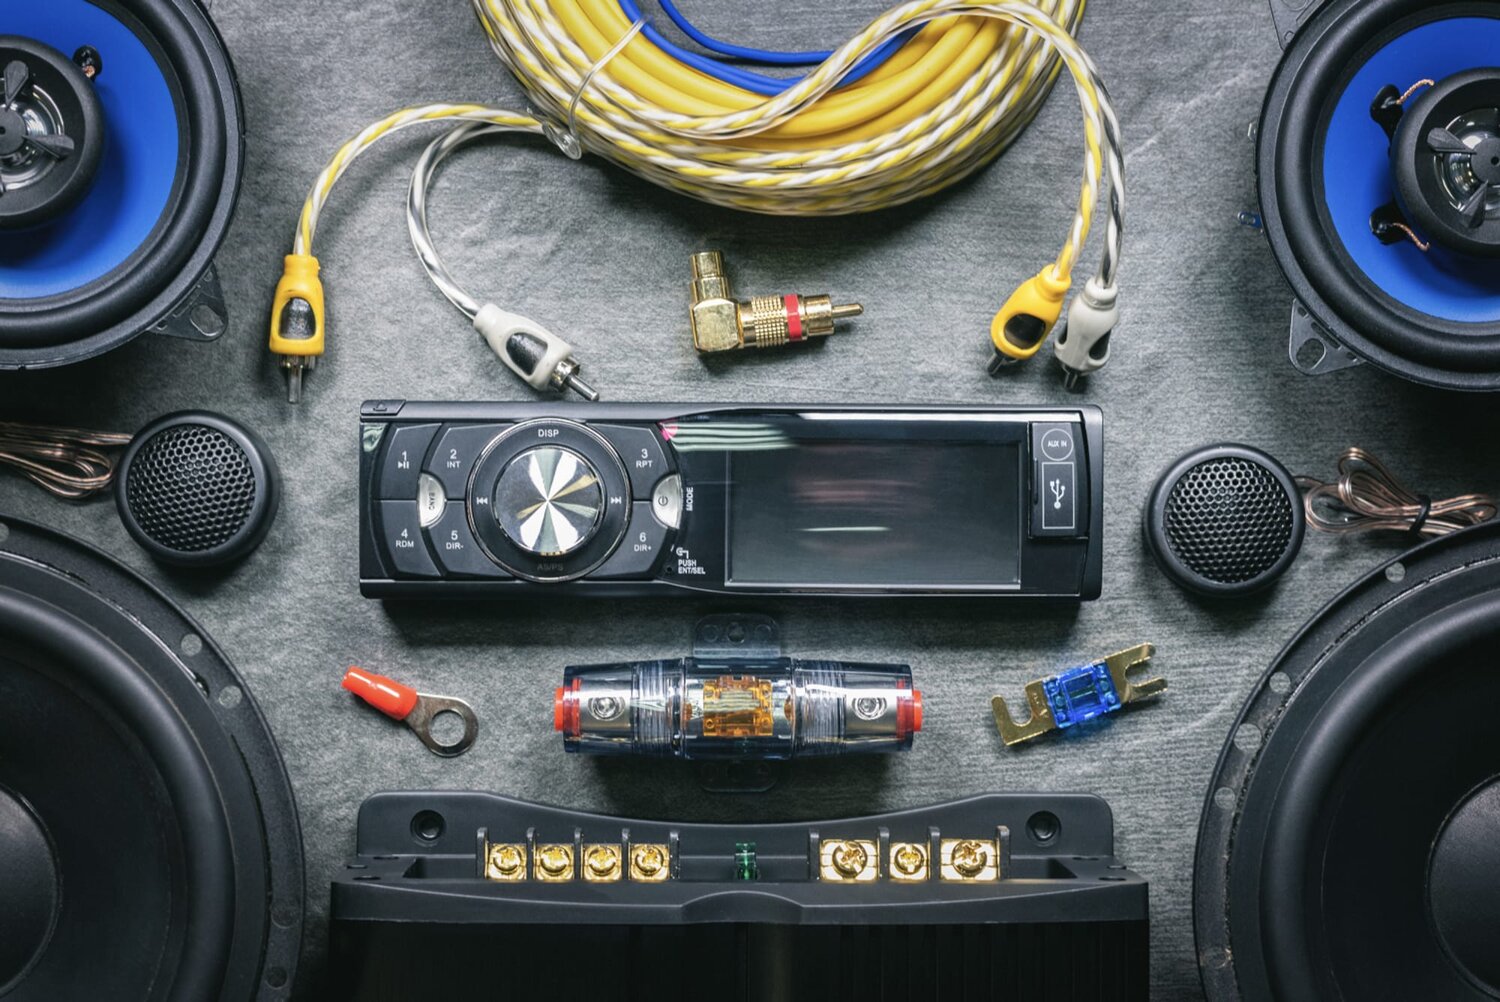
Before you begin the installation process, it’s crucial to ensure that you have all the necessary materials and tools at hand. Here’s a list of what you’ll need:
- An amplifier: Choose an amplifier that suits your audio needs and is compatible with your car’s electrical system.
- RCA cables: These cables are used to connect the audio signal from your factory radio to the amplifier.
- Amp wiring kit: This kit typically includes power wire, ground wire, remote wire, and fuse holder.
- Speaker wire: You’ll need this to connect the amplifier to your car’s speakers.
- Wire strippers: These tools are essential for removing the insulation from the wires.
- Wire crimpers: Crimpers are used to secure the wire connections.
- Electrical tape: This helps insulate and protect the wires from damage.
- Panel removal tools: These tools will be useful for accessing the factory radio and removing any trim pieces.
It’s important to invest in high-quality materials to ensure a reliable and long-lasting installation. Cheap or subpar components can negatively impact the sound quality and potentially cause electrical issues.
Once you have gathered all the necessary materials and tools, you’ll be ready to move on to the next step: determining the wiring configuration for your amp and speakers.
Step 2: Determine Amp and Speaker Wiring
Before you start connecting your amp to the factory radio, it’s crucial to determine the wiring configuration for both the amplifier and the speakers. This step will ensure that you make the correct connections and avoid any potential issues.
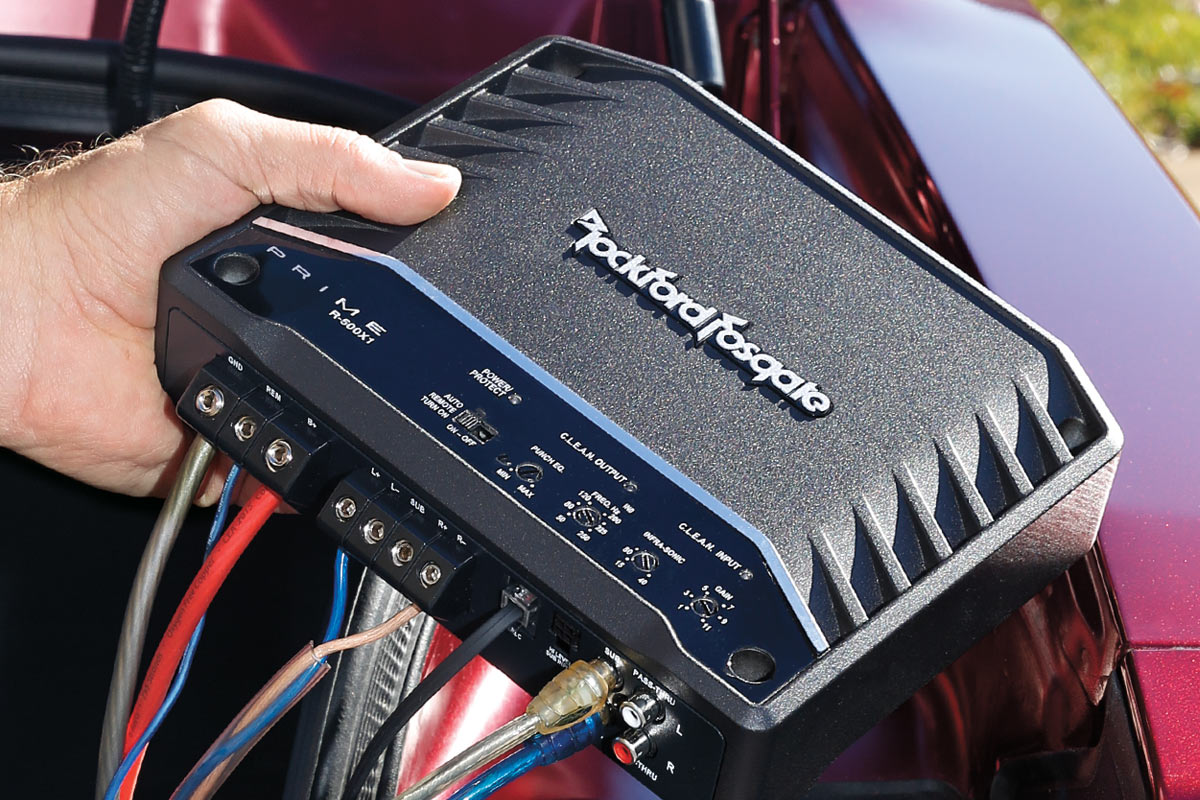
First, you need to identify the types of audio inputs and outputs on your amplifier. Most amplifiers have RCA inputs for the audio signal and speaker wire outputs to connect to the speakers. Make sure you understand the layout and color coding of these connections.
Next, determine the wiring configuration of your car’s speakers. This information can usually be found in your car’s manual or by doing a quick internet search for your car’s make and model. Take note of the positive (+) and negative (-) terminal connections for each speaker.
Once you have the necessary information, you can plan your wiring connections. You’ll need to decide which speakers you want to connect to the amplifier and how you want to wire them. For example, you may choose to wire all speakers in parallel, in series, or using a combination of both.
It’s essential to ensure that the impedance (measured in ohms) of your speaker configuration matches the amplifier’s requirements. Using speakers with too low or too high impedance can damage the amplifier or result in poor sound quality.
Take the time to draw a diagram or make a note of your planned wiring configuration. This will serve as a reference during the installation process and help you make the correct connections.
Once you have determined the amp and speaker wiring configuration, you’re ready to move on to the next step: disconnecting the battery to ensure safety during the installation.
Step 3: Disconnect Battery
Before you start working on the electrical components of your car, it’s essential to disconnect the battery. This step is crucial for your safety and helps prevent electrical shorts or damage to the components during the installation process.
To disconnect the battery, follow these steps:
- Make sure your car is parked in a safe and well-ventilated area.
- Locate the battery in your car’s engine bay or trunk. It is typically a rectangular box with positive (+) and negative (-) terminals.
- Identify the negative terminal, usually marked with a “-” symbol or the word “NEG.” It is often connected to the car’s chassis or a grounding point.
- Using a wrench or a socket, loosen the nut holding the negative terminal in place.
- Remove the negative cable from the terminal and carefully position it away from the battery, ensuring it does not accidentally come in contact with the terminal.
By disconnecting the battery, you eliminate the risk of electrical shock and minimize the chances of accidentally shorting out any wires or components. It’s always a good practice to wait for a few minutes after disconnecting the battery to allow any residual electrical charge to dissipate.
Remember to exercise caution when working with car batteries. Avoid touching the positive terminal or allowing any metal tools or jewelry to come into contact with the battery terminals, as this can cause a short circuit.
Now that you have safely disconnected the battery, you’re ready to proceed with accessing the factory radio in your car. This will be covered in the next step.
Step 4: Access Factory Radio
Accessing the factory radio in your car is a necessary step to connect the amp. The method and tools required to access the radio may vary depending on your car’s make and model. Here are some general steps that can guide you through the process:
- If your car has a removable faceplate or trim surrounding the radio, gently pry off the faceplate or remove any screws holding it in place.
- Use panel removal tools or a trim removal tool to carefully remove any panels or trim pieces around the radio. These pieces are usually held in place by clips or screws.
- Once the panels or trim pieces are removed, you should have clear access to the factory radio. Take note of the mounting screws or brackets that secure the radio in place.
- Using the appropriate tools, such as a screwdriver or socket wrench, remove the mounting screws or brackets to release the factory radio from its housing.
- Gently pull out the radio from the dashboard, taking care not to damage any wires or connectors.
It’s important to be patient and gentle during this process to avoid any damage to the panels, trim, or radio itself. If you encounter any difficulty, refer to your car’s manual or seek professional assistance to ensure you’re performing the removal correctly.
Once you have successfully accessed the factory radio, you’re ready to move on to the next step: locating the wiring harness that connects to the radio.
Step 5: Locate Wiring Harness
The wiring harness is a crucial component that connects the factory radio to the electrical system of your car. It carries the audio signal, power, and other necessary connections. Locating the wiring harness is an essential step in connecting an amp to a factory radio. Here’s how you can find it:
- Inspect the back of the factory radio. Look for a cluster of wires coming out from the rear of the unit. The wiring harness is usually a bundle of wires that are bound together with tape or plastic wrapping.
- Identify the connector on the wiring harness that is plugged into the radio. This connector is what you’ll need to interface with to connect the amp and other accessories.
- Trace the wiring harness to its connections. In some cases, the harness may be connected directly to the radio without any additional connectors. Other times, it may connect to the car’s wiring system through a separate connector in the dashboard.
- If there are multiple connectors on the wiring harness, take note of their types and colors. It’s crucial to understand the purpose of each connector to ensure proper connections when installing the amp.
It’s important to exercise care when handling the wiring harness. Avoid pulling or tugging on the wires excessively, as this can cause damage. If you encounter any difficulties in locating the wiring harness or identifying the connectors, consult your car’s manual or seek professional assistance for guidance.
Once you have located the wiring harness, you’re ready to move on to the next step: connecting the RCA cables to the factory radio.
Step 6: Connect RCA Cables
Connecting the RCA cables is a crucial step in hooking up an amp to a factory radio. RCA cables are responsible for transmitting the audio signal from the factory radio to the amplifier. Follow these steps to connect the RCA cables:
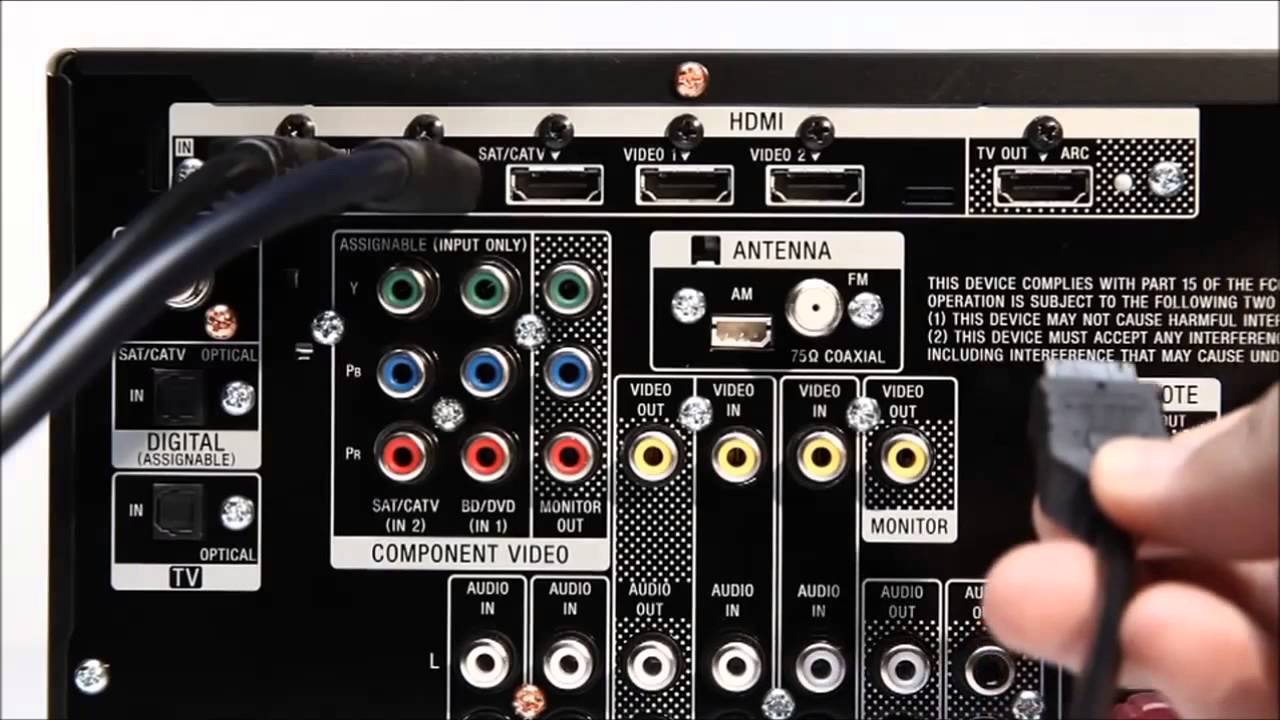
- Identify the preamp outputs or low-level outputs on the back of the factory radio. These outputs are typically labeled “RCA” or “Preamp Out.”
- Take one end of the RCA cables and plug them into the preamp outputs on the back of the factory radio. Make sure to match the red connector with the red output and the white or black connector with the left or right channel.
- Route the RCA cables towards the location where you plan to install the amplifier. You may need to remove some panels or trim pieces to create a clean and hidden routing path.
- Secure the RCA cables using zip ties or adhesive clips to prevent them from moving or interfering with other components in the car.
- Leave a bit of slack in the RCA cables to allow for easy connections and adjustments during the installation process.
It’s important to use high-quality RCA cables to ensure optimal sound quality and minimize interference. Lower-quality cables may introduce noise or distort the audio signal. Additionally, be mindful of the length of the cables to ensure they reach from the factory radio to the amplifier without being stretched or strained.
Once the RCA cables are securely connected, you’re ready to move on to the next step: connecting the amp power wire.
Step 7: Connect Amp Power Wire
Connecting the amp power wire is a critical step in the installation process. The power wire provides the necessary electrical current to the amplifier to ensure it functions properly. Follow these steps to connect the amp power wire:
- Locate the positive terminal of your car’s battery. It is usually marked with a “+” symbol or the word “POS.”
- Measure the distance from the battery to the location where you plan to install the amplifier. This will help determine the length of power wire needed.
- Cut the power wire to the appropriate length, leaving some extra length for flexibility and proper connection.
- Using wire strippers, remove approximately half an inch of insulation from the end of the power wire.
- Connect a fuse holder to the end of the power wire, ensuring that the fuse rating matches the requirements of your amplifier. This will help protect the amplifier and other components in case of a power surge.
- Attach the other end of the power wire to the positive terminal of the car battery. Ensure a secure and stable connection by using a wrench or socket to tighten the connection.
It’s crucial to route the power wire away from any moving parts or sources of heat in the engine bay to prevent damage or interference. Use zip ties or clips to secure the power wire along the existing wiring harness or chassis of the car.
Remember to leave enough slack in the power wire to allow for movement when opening the hood or performing maintenance on the car.
Once the amp power wire is securely connected, you’re ready to move on to the next step: connecting the amp ground wire.
Step 8: Connect Amp Ground Wire
Connecting the amp ground wire is a crucial step in ensuring proper operation and safety of your car audio system. The ground wire provides a path for electrical current to flow back into the car’s chassis. Follow these steps to connect the amp ground wire:
- Locate a suitable grounding point near the amplifier installation location. This can be a metal stud, bolt, or screw that connects to the car’s chassis.
- Using a wire stripper, remove approximately half an inch of insulation from the end of the ground wire.
- Attach a ring terminal to the end of the ground wire. Ensure that the ring terminal is the appropriate size for the grounding point you’ve chosen.
- Loosen the grounding point by using a wrench or socket. Insert the ring terminal onto the bolt or stud, then tighten it securely.
- For optimal performance, ensure that the grounding point is free from any paint, rust, or corrosion, as these can hinder the grounding connection.
It’s important to choose a suitable grounding point that is close to the amplifier installation location. This helps minimize the length of the ground wire and reduces the risk of electrical interference.
Proper grounding is essential for reducing potential noise and electrical issues in your audio system. It provides a stable reference point for the amplifier and helps prevent ground loops and unwanted noise.
Once the amp ground wire is securely connected, you’re ready to move on to the next step: connecting the amp remote wire.
Step 9: Connect Remote Wire
Connecting the remote wire is an important step in the installation process as it allows your amplifier to turn on and off with the factory radio. The remote wire is responsible for sending a signal from the radio to the amplifier, instructing it to power on or off. Follow these steps to connect the remote wire:
- Locate the remote wire output on the back of the factory radio. It is usually labeled as “REMOTE,” “REM,” or “REMOTE TURN-ON.”
- Measure the distance from the radio to the amplifier to determine the length of the remote wire required.
- Cut the remote wire to the appropriate length, leaving some extra length for flexibility and proper connection.
- Strip off approximately half an inch of insulation from the end of the remote wire using wire strippers.
- Connect one end of the remote wire to the remote wire output on the back of the factory radio. Ensure a secure connection by ensuring that the wire is firmly inserted into the output terminal.
- Route the remote wire from the radio to the amplifier location, ensuring that it is kept away from any sources of electrical noise or interference.
- At the amplifier, strip off approximately half an inch of insulation from the other end of the remote wire.
- Connect the other end of the remote wire to the remote input terminal on the amplifier. Ensure a secure connection by tightening any screws or terminals.
The remote wire is typically a thin wire, often blue in color, that carries a low voltage signal. It’s important to keep the remote wire separate from the power and audio signal wires to prevent interference or noise in the system.
Once the remote wire is securely connected, you’re ready to move on to the next step: connecting the speaker wires.
Step 10: Connect Speaker Wires
Connecting the speaker wires is a crucial step in the installation process as it allows the amplifier to amplify and distribute the audio to your car’s speakers. Follow these steps to connect the speaker wires:
- Identify the speaker outputs on the back of the amplifier. These outputs are typically labeled as “Speaker Out” or have positive (+) and negative (-) markings.
- Measure the distance from the amplifier to each speaker to determine the length of speaker wire required. Cut the speaker wire into appropriate lengths for each speaker.
- Strip off approximately half an inch of insulation from each end of the speaker wire using wire strippers.
- Connect one end of the speaker wire to the positive terminal of the corresponding speaker output on the amplifier. Ensure a secure connection by tightening the terminal or using crimp connectors.
- Connect the other end of the speaker wire to the corresponding positive terminal of the speaker. Again, ensure a solid connection by using crimp connectors or suitable terminals.
- Repeat steps 4 and 5 for each speaker, ensuring that you connect the correct speaker wire to the corresponding speaker and maintain the polarity (positive to positive and negative to negative).
- Once all speaker wires are connected, double-check each connection to ensure they are secure and properly connected.
It’s important to maintain the polarity of the speaker wires when making the connections. In most cases, the positive terminal is marked with a “+” symbol or a red color, while the negative terminal is marked with a “-” symbol or a black color.
Be mindful of the placement and routing of the speaker wires to avoid any interference or contact with moving parts within the car. Use cable ties or clips to secure the wires along the existing wiring harness or chassis.
Once all the speaker wires are securely connected, you’re ready to move on to the next step: reconnecting the car battery.
Step 11: Reconnect Battery
Now that all the necessary connections have been made, it’s time to reconnect the car battery. Reconnecting the battery will restore power to your car’s electrical system and allow you to test the newly installed amp. Follow these steps to reconnect the battery:
- Ensure that all the connections, including the amp power wire, ground wire, remote wire, and speaker wires, are secure and properly connected.
- Double-check that no wires are exposed or in danger of coming into contact with any moving parts.
- Carefully position the negative cable back onto the negative terminal of the car battery.
- Use a wrench or socket to tighten the nut on the negative terminal, ensuring a secure connection.
Reconnecting the battery completes the electrical circuit and allows the amp to receive power. However, it’s essential to exercise caution during this step to avoid any accidental short circuits or electrical mishaps.
Once the battery is reconnected, you’re ready to move on to the final step: testing the setup.
Note: If at any point during the installation or testing process you notice any unusual behavior, such as a popping sound, excessive heat, or electrical malfunctions, it’s important to disconnect the battery immediately and seek professional assistance to rectify the issue.
Now that the battery is reconnected, let’s move on to the final step and test the functionality of the newly installed amp.
Step 12: Test the Setup
Now that your amp is connected to the factory radio and all the necessary wiring is in place, it’s time to test the setup and ensure everything is working correctly. Follow these steps to test your newly installed amp:
- Turn on your car’s ignition and power on the factory radio.
- Adjust the volume settings on the radio to a moderate level.
- Listen for sound coming from the speakers connected to the amplifier. Ensure that sound is coming through all the speakers and that the audio is clear and without distortion.
- Test the functionality of the amplifier by adjusting the bass, treble, and balance settings on the radio. Confirm that these adjustments are reflected in the audio output from the speakers.
- Play some music or an audio source with a range of frequencies to evaluate the performance of the amplifier. Pay attention to the clarity of vocals and instruments, as well as the presence of bass response.
- If you encounter any issues, such as no sound, distorted audio, or any other abnormalities, double-check all the connections and consult your car’s manual or a professional for assistance.
It’s important to allow the system to play music or audio for a sufficient amount of time to ensure that everything is functioning as expected. Pay attention to any signs of overheating, unusual noises, or other anomalies during the testing process.
If everything sounds good and operates as intended, congratulations! You have successfully hooked up your amp to the factory radio. Enjoy the enhanced audio experience in your car.
As a final note, remember to periodically check the connections and wiring to ensure they remain secure. This will help maintain the optimal performance and longevity of your car’s audio system.
With the testing complete, you’re now finished with the installation process. Enjoy your upgraded audio system!
Conclusion
Hooking up an amp to a factory radio can be a rewarding project that greatly enhances your car’s audio system. By following the step-by-step guide outlined in this article, you have successfully learned how to connect an amp to a factory radio.
Throughout the installation process, we discussed the importance of gathering the necessary materials, determining amp and speaker wiring, disconnecting the battery for safety, accessing the factory radio, locating the wiring harness, connecting RCA cables, and wiring the amp power, ground, remote, and speaker wires.
Once the connections were made, we emphasized the significance of reconnecting the battery and thoroughly testing the setup to ensure proper functionality and audio performance. This testing step is essential for identifying any issues or adjustments that may be necessary.
Remember, while this guide provides a general overview, it’s important to consult your car’s manual and seek professional assistance if needed, as every car model may have slight variations in the installation process.
By successfully hooking up your amp to the factory radio, you can now enjoy an enhanced audio experience in your car. The added power, improved sound quality, and increased volume levels will make your drives more enjoyable.
It’s worth mentioning that regular maintenance and inspection of your car’s audio system will help ensure long-lasting performance. Periodically check the connections, keep an eye out for any issues, and address them promptly to maintain the highest audio quality.
Whether you’re a car audio enthusiast or a beginner, this guide has provided you with the knowledge and steps needed to connect an amp to a factory radio. Now, sit back, relax, and enjoy the enhanced sound experience in your car!

