Home>Production & Technology>Stereo>How To Hook Up Subs And Amp To Factory Stereo
Stereo
How To Hook Up Subs And Amp To Factory Stereo
Modified: January 22, 2024
Learn how to easily connect subs and an amp to your factory stereo for enhanced audio quality. Upgrade your stereo system with our step-by-step guide.
(Many of the links in this article redirect to a specific reviewed product. Your purchase of these products through affiliate links helps to generate commission for AudioLover.com, at no extra cost. Learn more)
Table of Contents
- Introduction
- Tools and Materials Needed
- Step 1: Preparing the Wiring
- Step 2: Locating the Line Output Converter (LOC)
- Step 3: Connecting the LOC to the Factory Stereo
- Step 4: Mounting the Amplifier
- Step 5: Wiring the Amplifier to the Battery
- Step 6: Wiring the Amplifier to the Subwoofers
- Step 7: Testing the System
- Conclusion
Introduction
Welcome to the world of car audio enthusiasts! If you’re looking to give your factory stereo a serious bass boost, then you’ve come to the right place. Adding a subwoofer and amplifier to your car’s audio system can make a world of difference in your listening experience. The deep, powerful bass produced by a subwoofer can really bring your music to life and make every drive feel like a concert.
While adding subs and an amp to a factory stereo may seem like a daunting task, it’s actually more manageable than you might think. With the right tools and a little know-how, you can easily upgrade your car’s audio system and enjoy the immersive sound that comes with it.
In this guide, we’ll walk you through the step-by-step process of hooking up subs and an amp to a factory stereo. We’ll cover everything from preparing the wiring to testing the system, so you’ll be able to enjoy your music with enhanced bass in no time.
Before we dive into the details, it’s important to note that every car’s audio system is slightly different, and the process may vary. It’s always a good idea to consult your car’s manual or seek professional help if you’re unsure about any step along the way.
Now, let’s get started with the tools and materials you’ll need for this project.
Tools and Materials Needed
Before you begin the process of hooking up subs and an amp to your factory stereo, it’s important to gather all the necessary tools and materials. Having everything on hand will help ensure a smooth installation process. Here’s what you’ll need:
- Line Output Converter (LOC): This device is essential for connecting your factory stereo to the amplifier. It converts speaker-level signals to line-level signals that the amp can process.
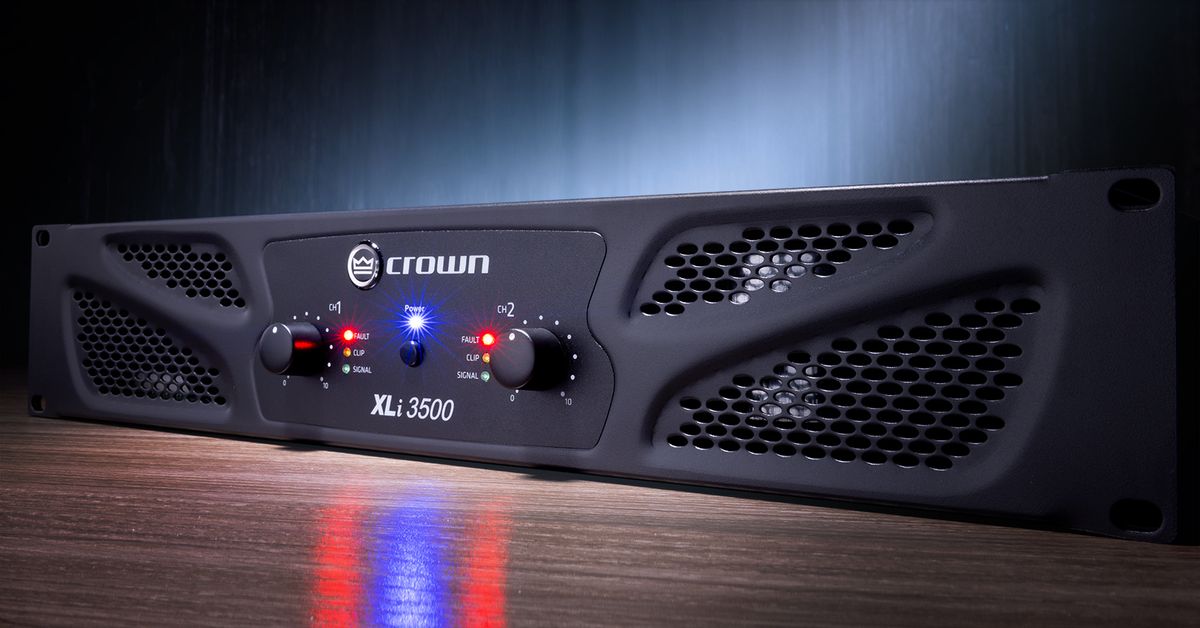
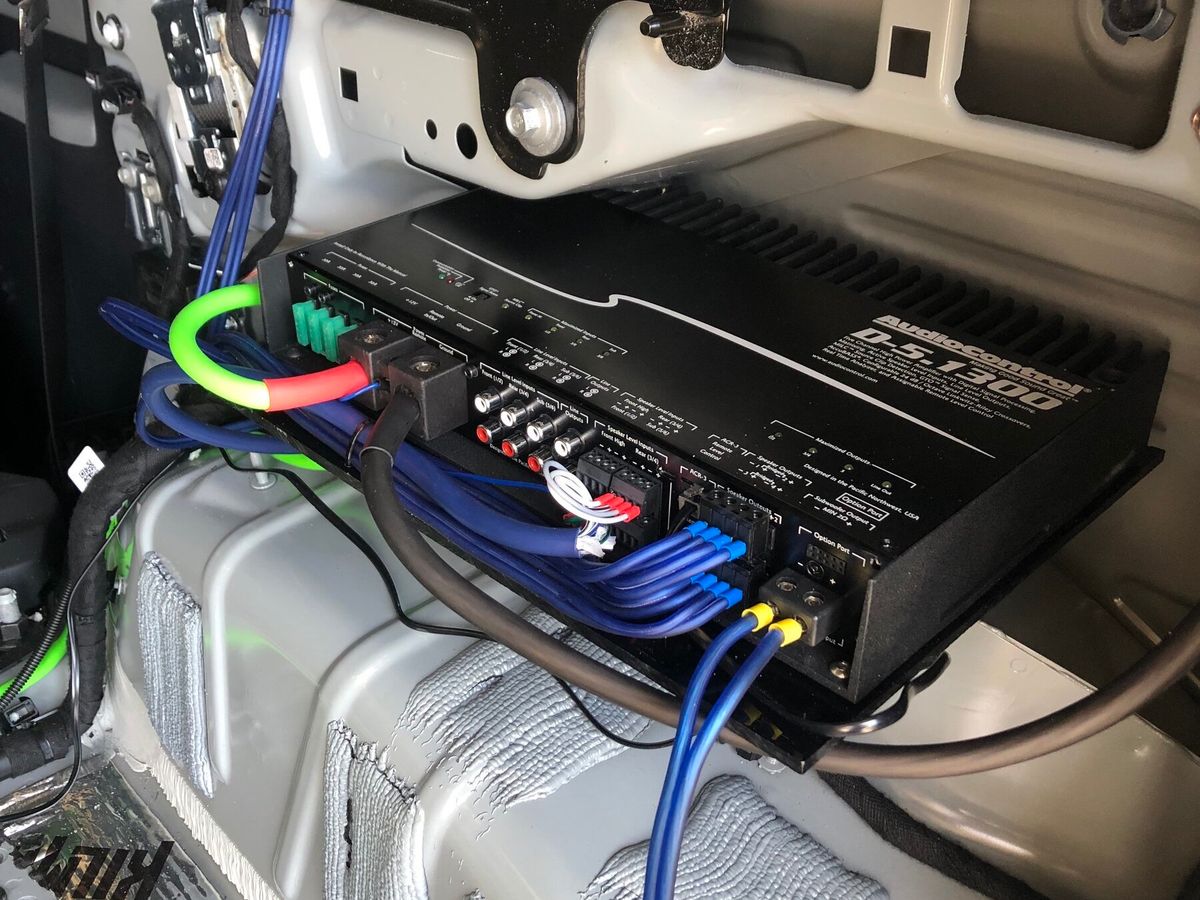
- Amplifier: The amplifier powers the subwoofers and provides the necessary amplification for deep bass reproduction.
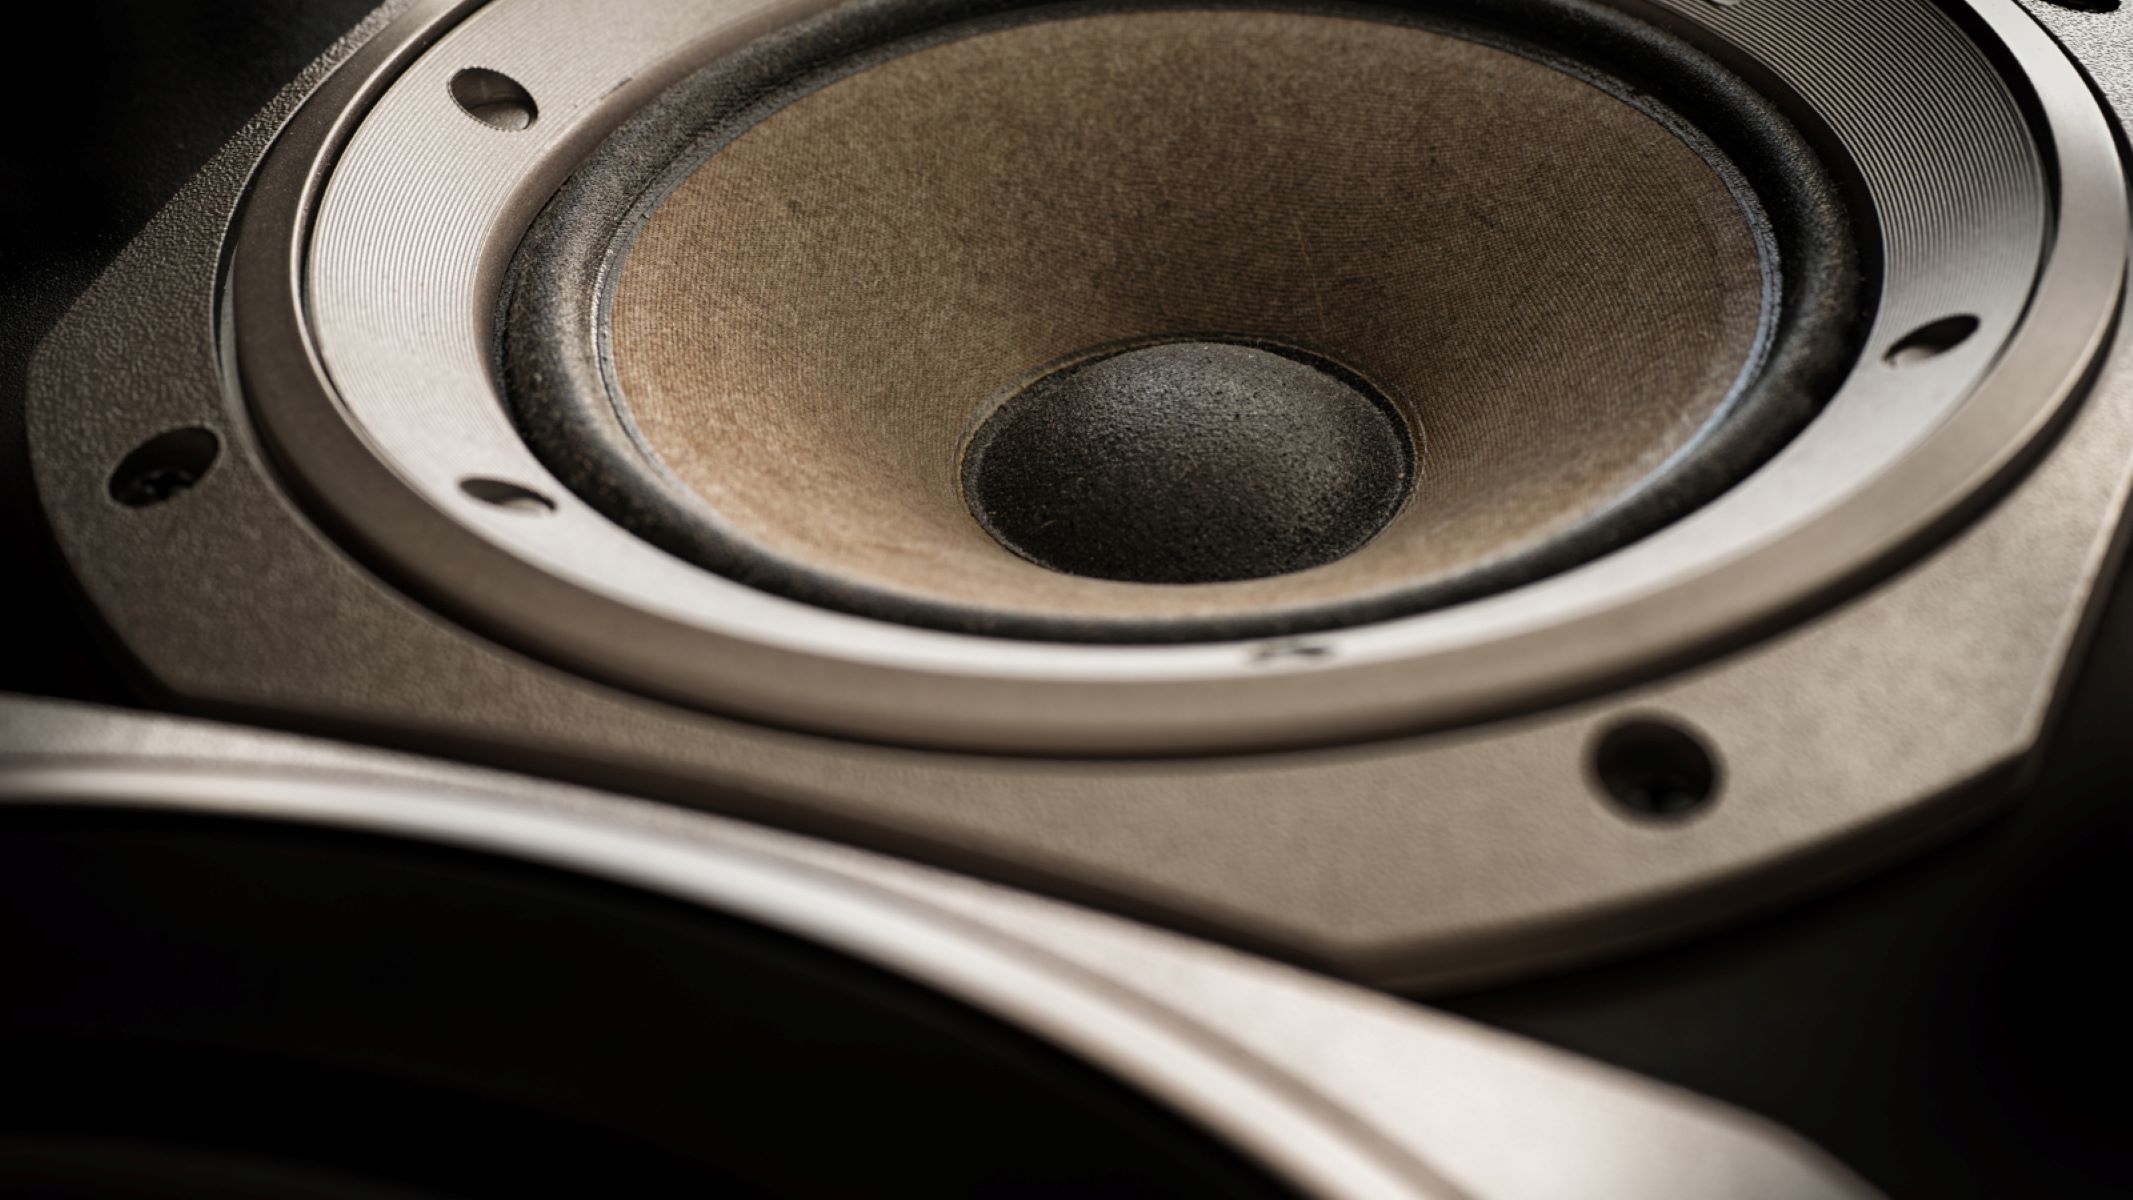
- Subwoofers: These are the speakers responsible for producing the low-frequency sounds, also known as the bass.
- Amp wiring kit: This kit includes all the necessary wiring and cables to connect the amplifier to the battery and the subwoofers.
- Screwdriver set: A set of screwdrivers will come in handy for removing panels and accessing the factory stereo.
- Wire cutter/stripper: This tool will be used to cut and strip the necessary wires for the installation.
- Electrical tape: Electrical tape is essential for securing and insulating the connected wires.
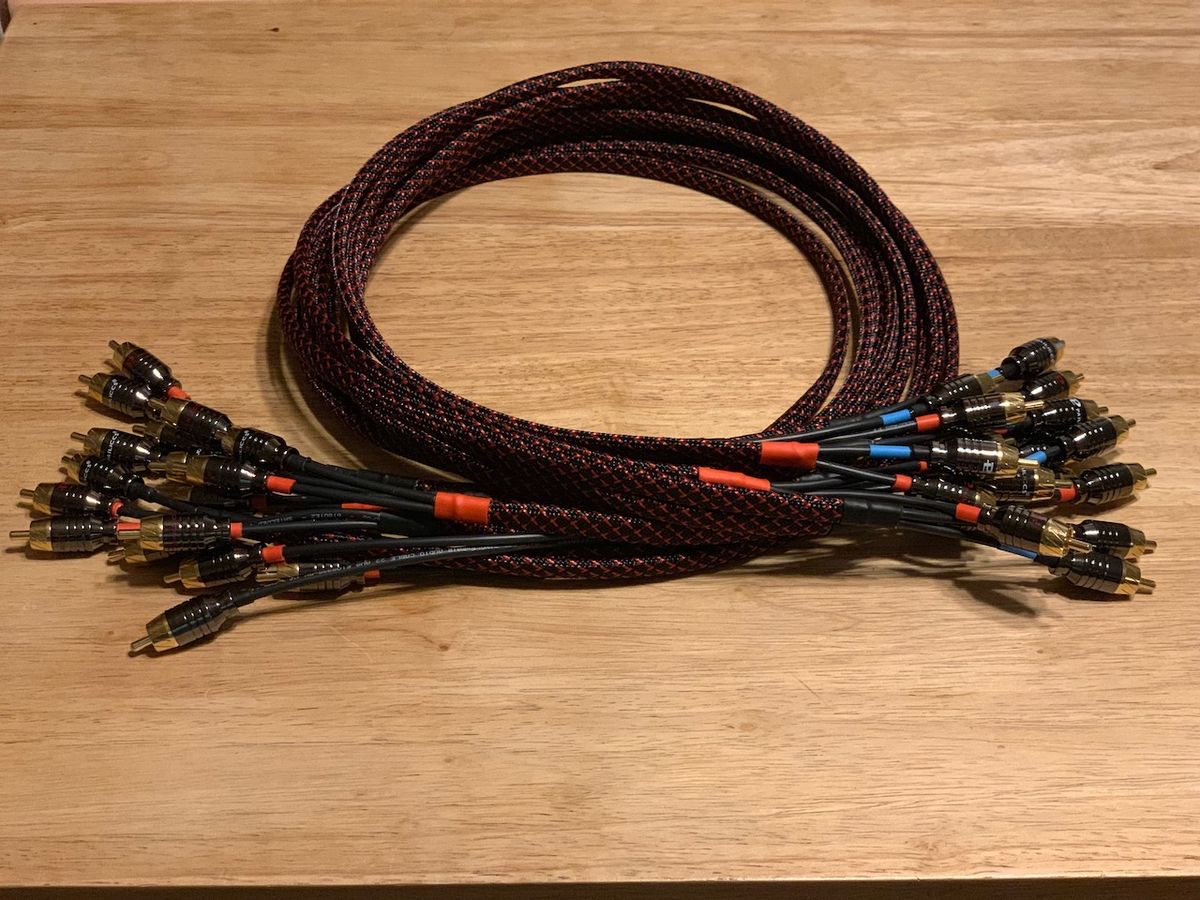
- RCA cables: These cables are used to connect the LOC to the amplifier, carrying the audio signals.
- Fuse holder and fuse: These protective devices help prevent damage to the amplifier and the car’s electrical system.
- Mounting hardware: If your amplifier and subwoofers don’t come with mounting hardware, you’ll need to purchase it separately to securely mount them in your car.
It’s important to note that the specific tools and materials you’ll need may vary depending on your car’s make and model, as well as the type of amplifier and subwoofers you choose. Always refer to the instruction manuals that come with your equipment for any additional requirements or recommendations.
Now that you have gathered all the necessary tools and materials, you’re one step closer to upgrading your car’s audio system. In the next section, we’ll guide you through the first step: preparing the wiring.
Step 1: Preparing the Wiring
Before you can start connecting your subs and amp to your factory stereo, you’ll need to prepare the wiring. This involves identifying the wires you’ll need to tap into and making sure they’re ready for the installation process. Here’s how to get started:
- Disconnect the car battery: To ensure your safety and prevent any electrical mishaps, it’s important to disconnect the car battery before working on any wiring. Locate the battery in your car’s engine bay and use a wrench to loosen the negative (-) battery terminal. Move the terminal away from the battery to prevent accidental contact.
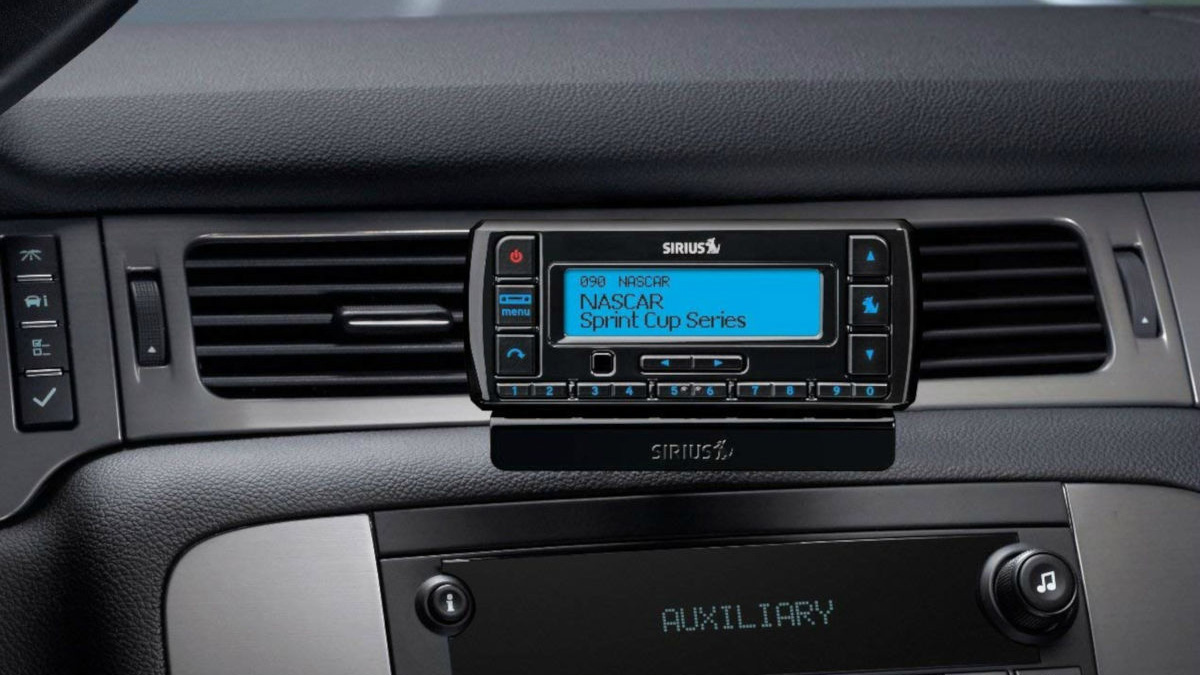
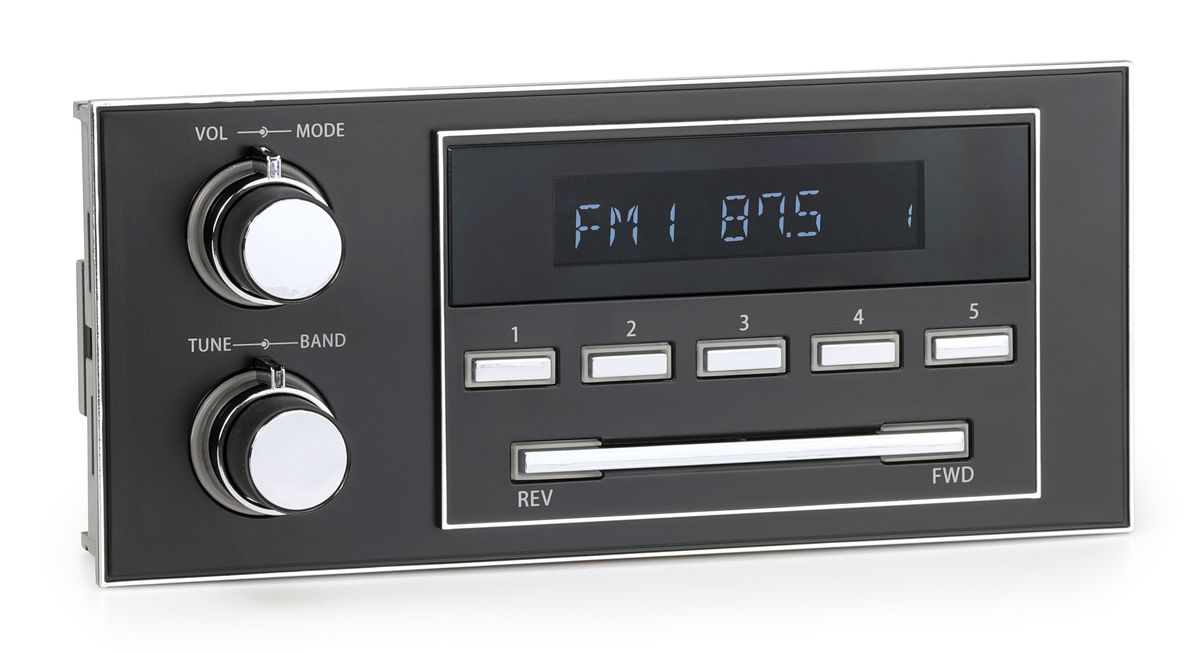
- Locate the factory stereo: Depending on your car’s make and model, the factory stereo may be located in the dashboard or in a separate compartment. Consult your car’s manual or do a quick online search to find out where the stereo is located.
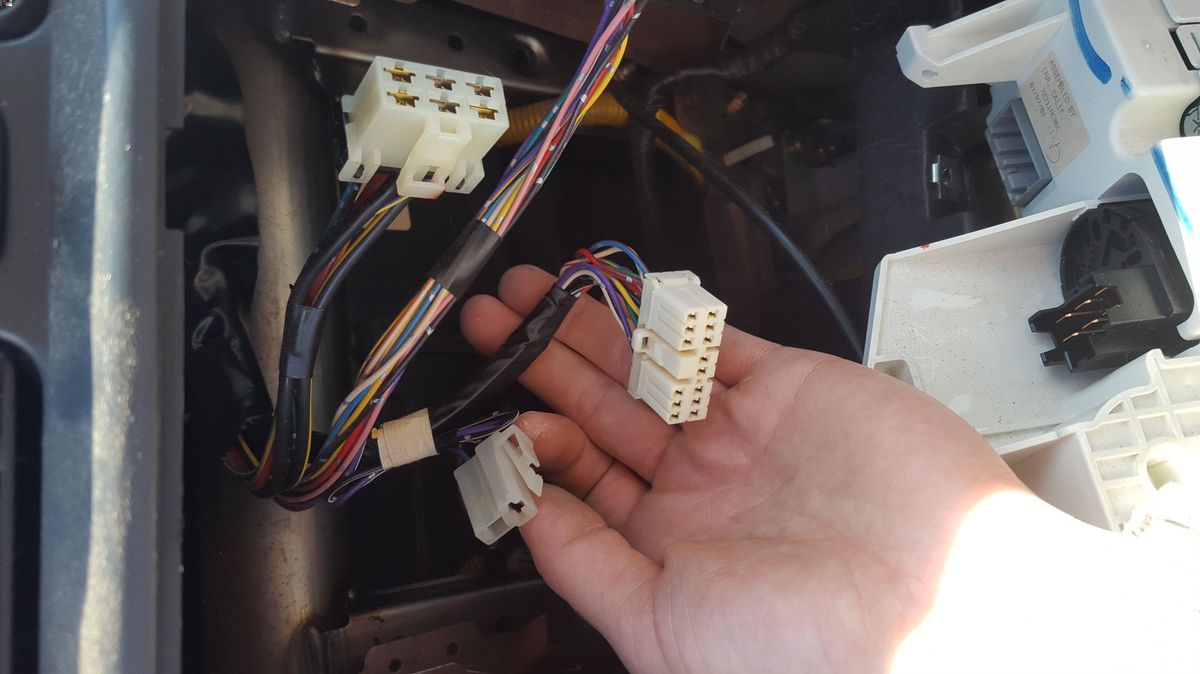
- Identify the speaker wires: Look for the speaker wires connected to the back of the factory stereo. These wires carry the audio signals from the stereo to the car’s speakers. You’ll need to tap into these wires to connect the LOC.
- Strip the wires: Use a wire stripper to carefully remove a small section of insulation from the speaker wires. Be cautious not to cut through the wires themselves. You’ll need enough exposed wire to make a secure connection.
- Connect the LOC: Take the output connections from the LOC and connect them to the stripped speaker wires. It’s important to match the positive and negative connections correctly to ensure proper audio signal transmission.
- Secure the connections: Once the connections are made, use electrical tape or heat shrink tubing to secure and insulate the soldered or crimped connections. This will help prevent any short circuits or loose connections.
Preparing the wiring is a crucial first step in hooking up subs and an amp to a factory stereo. By properly identifying and connecting the necessary wires, you’ll lay the foundation for a successful installation. Once the wiring is prepared, you can move on to the next step: locating the Line Output Converter (LOC).
Step 2: Locating the Line Output Converter (LOC)
The next step in the process of hooking up subs and an amp to a factory stereo is locating the Line Output Converter (LOC). The LOC is a device that converts the speaker-level signals from the factory stereo into line-level signals that can be amplified by the aftermarket amplifier. Here’s how to find and locate the LOC:
- Refer to the LOC manual: Consult the instruction manual that came with your LOC to understand its specific installation requirements. It may provide guidance on where the LOC should be installed in your car.
- Look for a suitable mounting location: Choose a location in your car’s interior where the LOC can be easily accessed and securely mounted. This can be under the dashboard, behind the stereo unit, or in any other suitable location.
- Ensure proper access to the factory stereo: Before installing the LOC, make sure you have access to the back of the factory stereo. You may need to remove panels or trim pieces to reach the necessary wiring connections.
- Mount the LOC: Use the appropriate mounting hardware (such as screws or adhesive) to secure the LOC in the chosen location. Make sure it is securely fastened and won’t move or vibrate during normal driving conditions.
Take your time to carefully locate and mount the LOC in a convenient and secure spot. Remember to refer to the instruction manual for any specific requirements or recommendations related to the installation. Once the LOC is properly installed, you can move on to the next step: connecting the LOC to the factory stereo.
Step 3: Connecting the LOC to the Factory Stereo
Now that you have located and installed the Line Output Converter (LOC), it’s time to connect it to the factory stereo. This step is crucial for ensuring the proper transmission of audio signals from the stereo to the amplifier. Follow these steps to connect the LOC to the factory stereo:
- Access the back of the factory stereo: Depending on your car’s make and model, you may need to remove panels or trim pieces to gain access to the back of the stereo. Refer to your car’s manual or seek assistance if needed.
- Identify the speaker wire connections: Locate the speaker wire connections that you prepared earlier in Step 1. These are the wires you will be tapping into to connect the LOC.
- Connect the input wires of the LOC: Take the input wires of the LOC (usually RCA cables) and connect them to the output wires of the factory stereo. The colors of the wiring may vary, so consult the instruction manual of the LOC to determine the correct connections.
- Secure the connections: Use electrical tape or heat shrink tubing to secure and insulate the connected wires. This will prevent any loose connections or electrical shorts.
- Connect the LOC to the amplifier: Take the output wires of the LOC and connect them to the input connections on the amplifier. Again, consult the instruction manual of the LOC and the amplifier to ensure the proper connections.
- Double-check all connections: Before moving on to the next step, double-check all the connections to make sure they are secure and properly insulated. This will help prevent any audio interference or signal loss.
By connecting the LOC to the factory stereo, you are establishing the crucial link between the audio system and the amplifier. The LOC allows the stereo’s speaker-level signals to be transformed into line-level signals that the amplifier can process. Once the connections are made, you can proceed to the next step: mounting the amplifier.
Step 4: Mounting the Amplifier
With the Line Output Converter (LOC) connected to the factory stereo, it’s time to move on to mounting the amplifier. Properly securing the amplifier is essential to ensure it stays in place and doesn’t interfere with any other components in your car. Follow these steps to mount the amplifier:
- Select an appropriate mounting location: Choose a location in your car’s trunk or interior where the amplifier can be securely mounted. It should be away from any sources of excessive heat or moisture.
- Ensure proper ventilation: Make sure the mounting location allows for adequate airflow around the amplifier. This will help prevent overheating and ensure optimal performance.
- Prepare the mounting surface: Clean and prepare the surface where the amplifier will be mounted. Remove any dirt, debris, or adhesive residue to ensure a secure attachment.
- Attach the amplifier: Depending on the mounting options provided by your amplifier, use mounting brackets, screws, or adhesive to secure it in place. Ensure that the amplifier is firmly attached and won’t move or vibrate while driving.
When mounting the amplifier, make sure to consider the accessibility of the controls and connections on the amplifier. You may want to position it in a way that makes adjusting settings or connecting cables easier.
It’s important to note that the specific mounting instructions may vary depending on the make and model of your amplifier. Always refer to the manufacturer’s instructions for any specific requirements or recommendations.
Once the amplifier is securely mounted, you’re ready to move on to the next step: wiring the amplifier to the battery.
Step 5: Wiring the Amplifier to the Battery
Now that the amplifier is securely mounted, it’s time to connect it to the car’s battery. This step is crucial for providing power to the amplifier and ensuring that it operates properly. Follow these steps to wire the amplifier to the battery:
- Locate the car battery: Open the hood of your car and locate the battery. It is typically located in the engine bay and is marked with a positive (+) and negative (-) terminal.
- Measure the length of the power cable: Measure the distance from the amplifier to the car battery. This will determine the length of the power cable needed.
- Cut the power cable: Use wire cutters to cut the power cable to the appropriate length. Remember to leave some extra length for routing and any necessary adjustments.
- Strip the ends of the power cable: At both ends of the power cable, strip off a small section of insulation to expose the wire underneath. This will allow for proper connections.
- Connect the power cable to the battery: Attach the positive (+) terminal of the power cable to the positive (+) terminal of the battery. Use an appropriate-sized ring terminal and secure it with a nut or bolt. Repeat the same process for the negative (-) terminal of the battery.
- Route the power cable: Carefully route the power cable from the battery to the amplifier. Make sure to avoid any hot or moving parts in the engine bay and ensure that the cable is protected from potential damage.
- Connect the power cable to the amplifier: Attach the positive (+) end of the power cable to the positive (+) terminal on the amplifier. Use an appropriate-sized ring terminal and secure it tightly. Repeat the same process for the negative (-) terminal of the amplifier.
When connecting the power cable, it’s important to follow proper safety precautions. Avoid creating any short circuits by ensuring that the positive and negative terminals do not come into contact with each other or any other metal surfaces.
Once the power cable is securely connected, you have successfully wired the amplifier to the battery. In the next step, we’ll focus on wiring the amplifier to the subwoofers.
Step 6: Wiring the Amplifier to the Subwoofers
With the amplifier connected to the car battery, it’s time to wire it to the subwoofers. This step is crucial for delivering audio signals from the amplifier to the subwoofers, allowing them to produce deep and powerful bass. Follow these steps to wire the amplifier to the subwoofers:
- Determine the wiring configuration: Depending on the number and type of subwoofers you have, determine the appropriate wiring configuration, such as series or parallel wiring.
- Measure the length of the speaker wire: Measure the distance from the amplifier to each subwoofer. This will determine the length of the speaker wire needed.
- Cut the speaker wire: Use wire cutters to cut the speaker wire to the appropriate length for each subwoofer.
- Strip the ends of the speaker wire: Strip off a small section of insulation from the ends of the speaker wire for each subwoofer.
- Connect the speaker wire to the amplifier: Take the positive (+) wire from each subwoofer and connect them to the positive (+) terminal on the amplifier. Repeat the same process for the negative (-) wire.
- Connect the speaker wire to the subwoofers: Attach the positive (+) wire from each subwoofer to the corresponding positive (+) terminal on the speaker. Repeat the same process for the negative (-) wire.
When making the connections, it’s important to ensure that the positive (+) wire from the amplifier is connected to the positive (+) terminal on the subwoofers, and the negative (-) wire from the amplifier is connected to the negative (-) terminal on the subwoofers. This ensures proper phase alignment and avoids any wiring issues.
Once all the connections are made securely, you have successfully wired the amplifier to the subwoofers. In the final step, we’ll test the system to ensure everything is working properly.
Step 7: Testing the System
After all the connections have been made, it’s important to test the system to ensure that everything is functioning as expected. Testing the system will allow you to identify any issues or adjustments that need to be made. Follow these steps to test the subs and amp hooked up to your factory stereo:
- Reconnect the car battery: Before testing, reconnect the car battery by securely tightening the negative (-) terminal. This will restore power to the audio system.
- Turn on the audio system: Start your car and turn on the audio system. Gradually increase the volume to a moderate level.
- Listen for audio output: Pay close attention to the sound coming from the subwoofers. Ensure that you hear deep, clear, and powerful bass without any distortion or unusual noises. You should be able to feel the impact of the bass as well.
- Adjust the settings: Use the amplifier’s gain, crossover, and equalizer settings to fine-tune the sound to your preferences. Make adjustments as necessary to achieve the desired audio quality and bass performance.
- Test different audio sources: Play various songs and genres to test the performance of the subs and amp across different audio sources. This will help you evaluate the system’s ability to handle different types of music.
If you encounter any issues during the testing phase, such as distortion, lack of bass, or other audio problems, double-check all connections and settings. Make sure everything is properly connected and adjusted according to the manufacturer’s recommendations.
If you’re unable to resolve the issues on your own, it’s recommended to seek professional help or consult with an experienced car audio technician.
Once you are satisfied with the sound output and performance of your subs and amp, congratulations! You have successfully hooked up subs and an amp to your factory stereo. Enjoy your enhanced audio experience on your future drives!
Remember, it’s important to regularly inspect and maintain your car audio system to ensure optimal performance. Check for any loose connections, damaged wires, or other issues that may affect the system’s functionality. With proper care, your upgraded car audio setup will provide you with enjoyable listening experiences for years to come.
Conclusion
Congratulations on successfully hooking up subs and an amp to your factory stereo! By following the steps outlined in this guide, you’ve transformed your car audio system and enhanced your listening experience. The deep and powerful bass produced by the subwoofers, along with the increased amplification from the amp, will truly immerse you in your favorite music.
Throughout the process, you’ve learned about the necessary tools and materials, prepared the wiring, connected the Line Output Converter (LOC) to the factory stereo, mounted the amplifier, wired it to the battery, connected it to the subwoofers, and tested the system for optimal performance.
Remember, every car’s audio system may have slight variations, so it’s crucial to consult your car’s manual and follow the specific instructions provided by the manufacturers of the components you’re installing.
Now that you have a fully upgraded car audio system, make sure to enjoy it responsibly and respect your fellow drivers and pedestrians. Adjust the volume levels to a safe and comfortable level, and always prioritize road safety.
If you encounter any difficulties or are unsure about any step throughout the process, don’t hesitate to seek professional assistance. A car audio specialist can provide valuable guidance and ensure a smooth installation process.
With your newly upgraded audio system, you’ll be able to enjoy your favorite music in a whole new way and make every drive feel like a concert. So, buckle up, turn up the bass, and hit the road with an immersive audio experience!